In this post, you will find the directions on how to make folding chair covers that will instantly give your mundane chairs some pizazz!
How To Make Folding Chair Covers
Hello everyone! Today the Thrifty Style Team is back with lots of inexpensive ideas for putting some final touches on your holiday decorating. I thought this would be a good time for me to share how to make folding chair covers since some of you may be pulling out your folding chairs soon to seat your holiday guests.
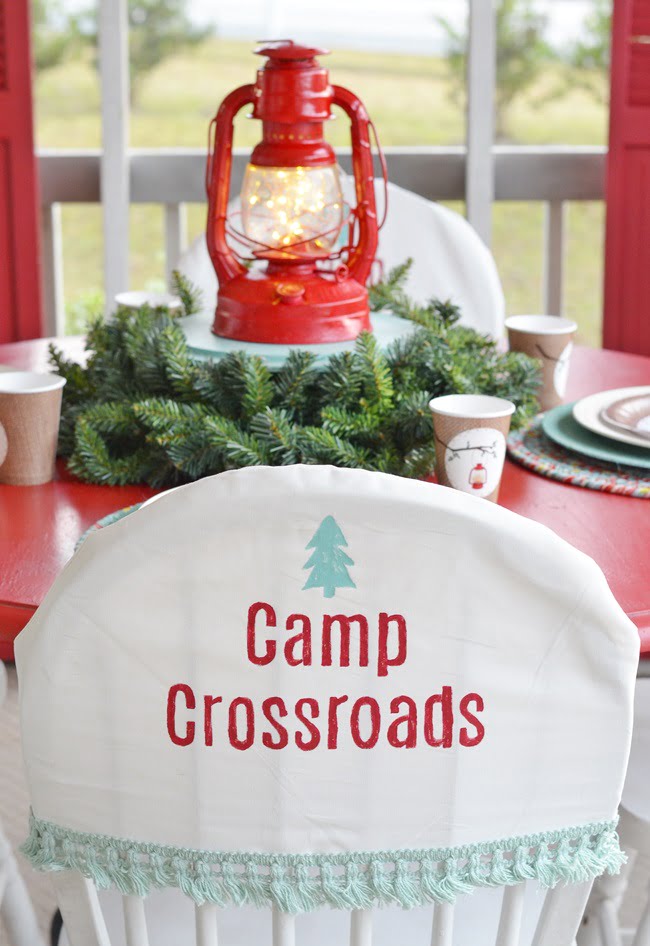
You may have noticed the chair covers that I used in decorating our vintage camper Christmas front porch recently. I don't think the porch would have been nearly as cute without the chair covers that say "Camp Crossroads," do you?
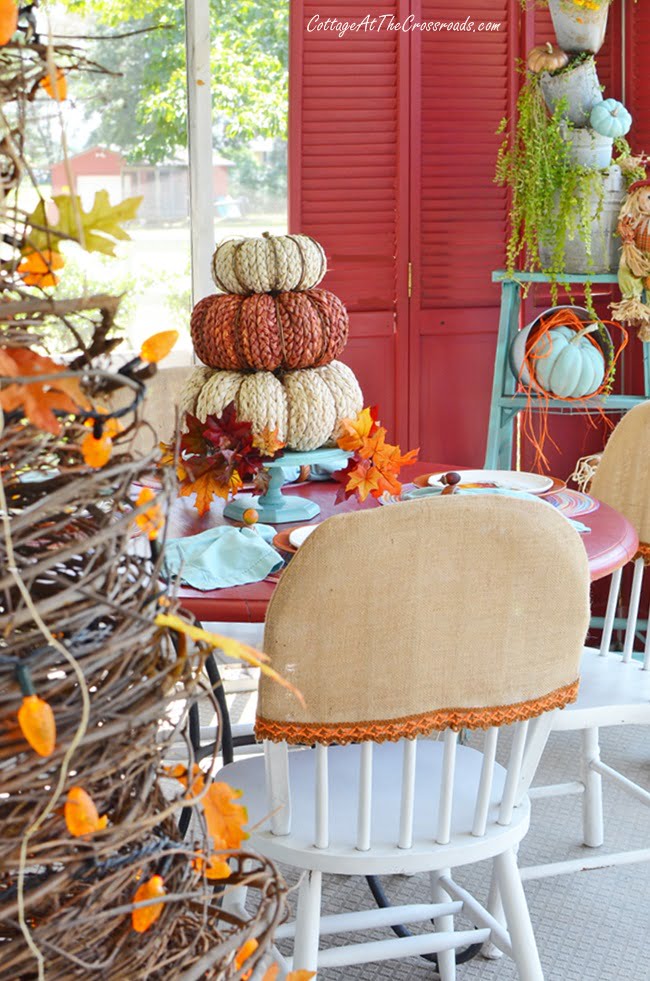
Or you may have noticed the burlap ones that I used on our aqua autumn porch.
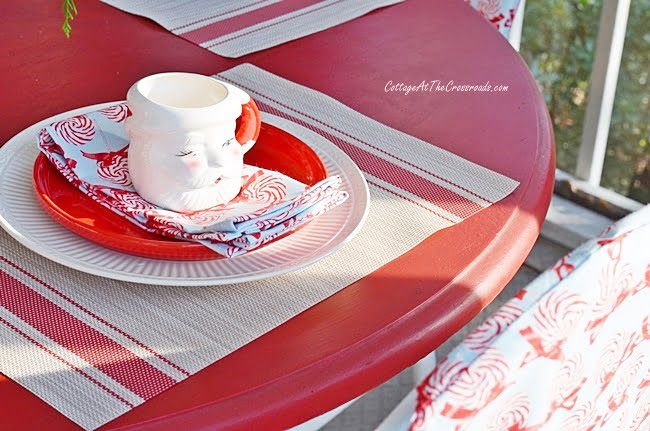
Or perhaps you saw the peppermint ones that I made last year on the retro aqua and red christmas porch.
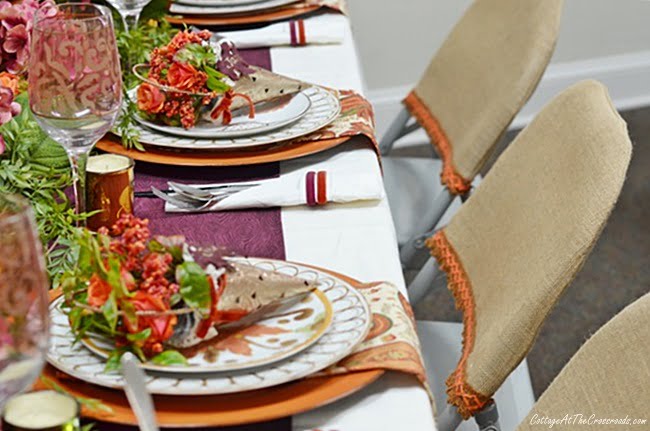
This obsession that I have for making chair covers started last year when my sisters-in-law and I were decorating tables for a church tablesetting fundraiser. The folding chairs needed some dressing up so I whipped out these burlap ones to match our scheme.
Y'all, these covers are so easy to make and you literally can make them in under an hour! And I cannot think of anything that can dress up a cold, unattractive metal folding chair than these covers!
In case you've hosting a large crowd for Christmas or New Year's Eve, here are the directions that I've been promising you!
Directions: How to Make Folding Chair Covers
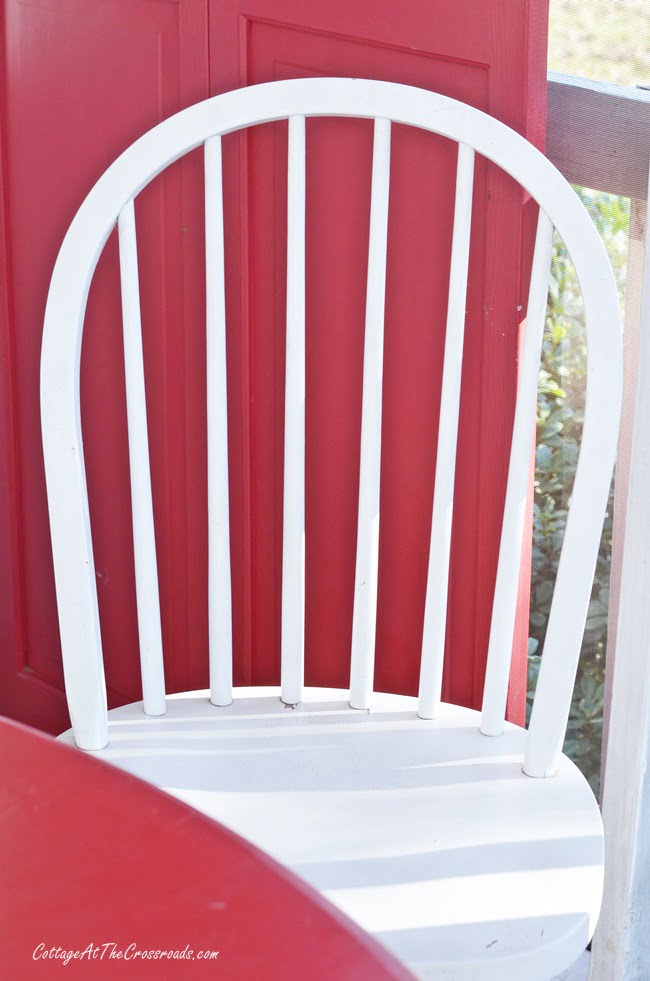
I used the rounded back Windsor chairs that are on our front porch to make the covers, but you can use these directions for folding chairs or chairs that have square backs.
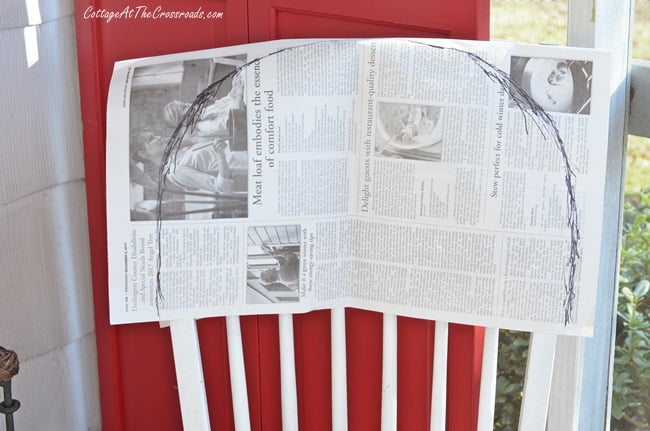
First, take a large piece of paper such as newspaper and hold it against your chair back. Trace the shape of the chair back onto it with a pen or marker. (It helps to have an assistant!)
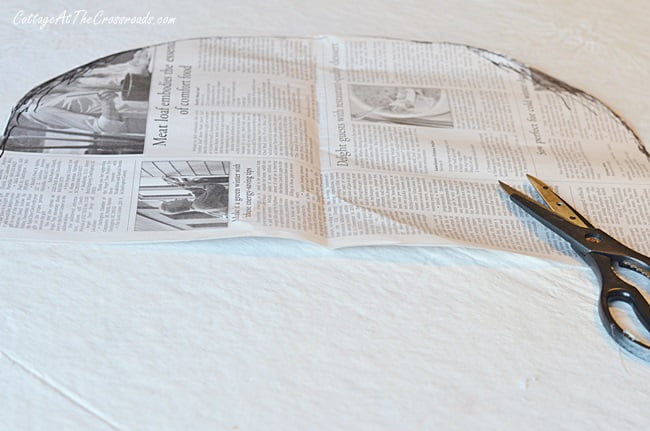
Use scissors to cut out the shape. This will serve as your template for cutting your fabric.
You can use almost any type of fabric to make these, but I recommend you use fabric that is fairly thick and has some "body" to it.
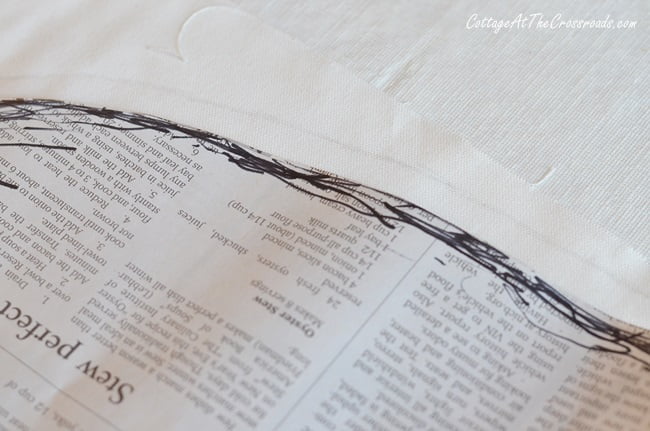
Fold your fabric so that you have a double thickness so that you can cut 2 pieces at once. Trace your pattern onto the fabric. In the photo above, I used a pencil to trace onto white fabric. You will need to allow a ½ inch seam allowance.
Using scissors, cut out the fabric, place the right sides together and pin.
Sew all the way around the sides. I usually use a sewing machine to do this but for demonstration purposes, I handstitched today's cover with a needle and thread. Didn't take but about 10 minutes to do so.
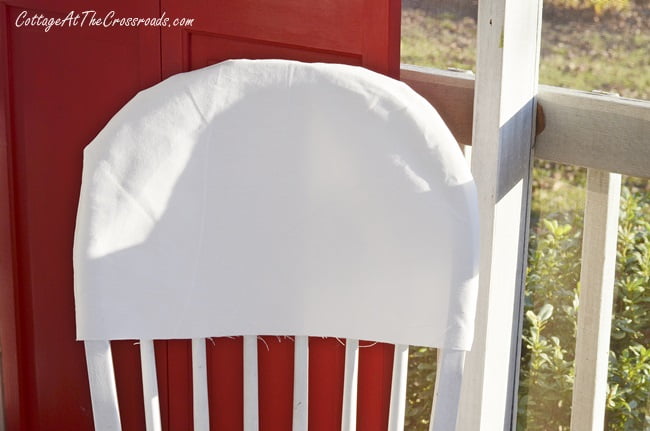
After stitching, turn the cover right side out and try it on for size. (You can always make some adjustments at this point.) Notice that I did NOT sew a hem for the cover! That's because I always like to hot glue some trim onto my covers. (I happen to have a local resource for beautiful trim that I can get for a song!)
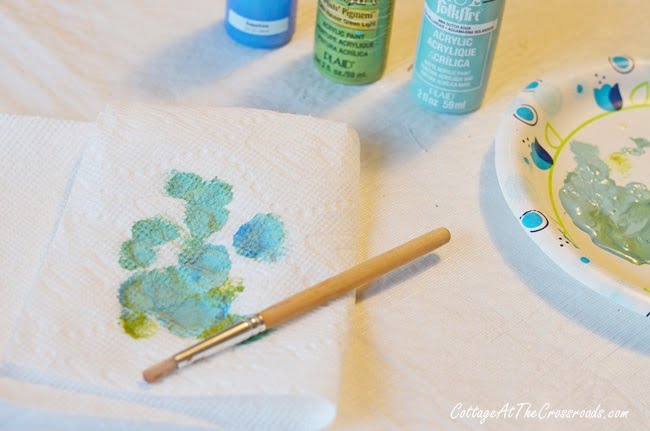
At this point, you can simply hot glue some trim around the bottom and you would be done, but I decided to use a new pineapple stencil from Stencil Revolution. I used some blue, green, and aqua acrylic paint to stencil the design onto my fabric. And a small stencil brush, of course!
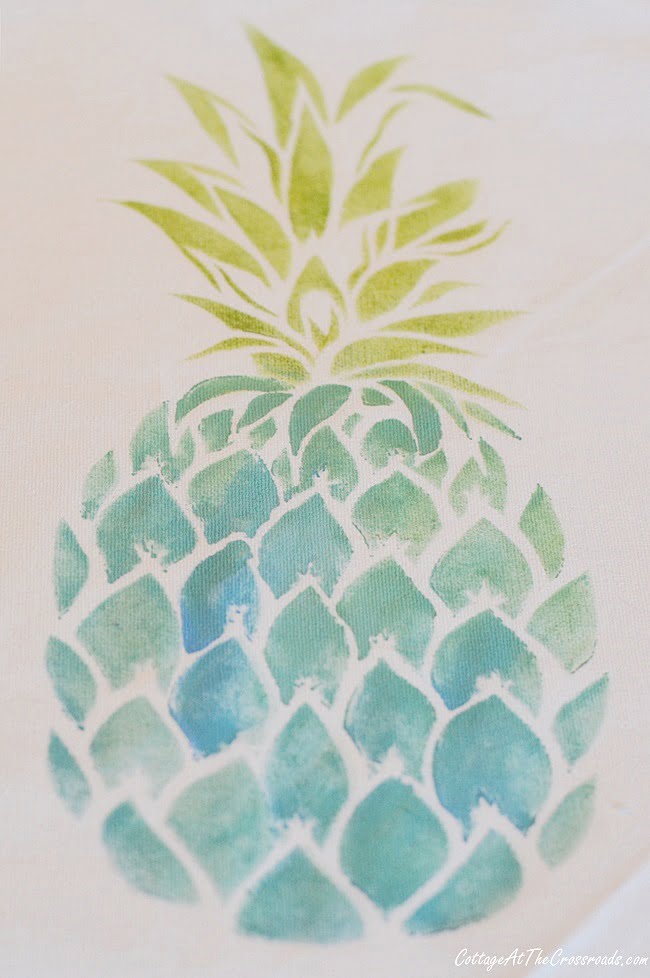
I blended the colors together to get this effect.
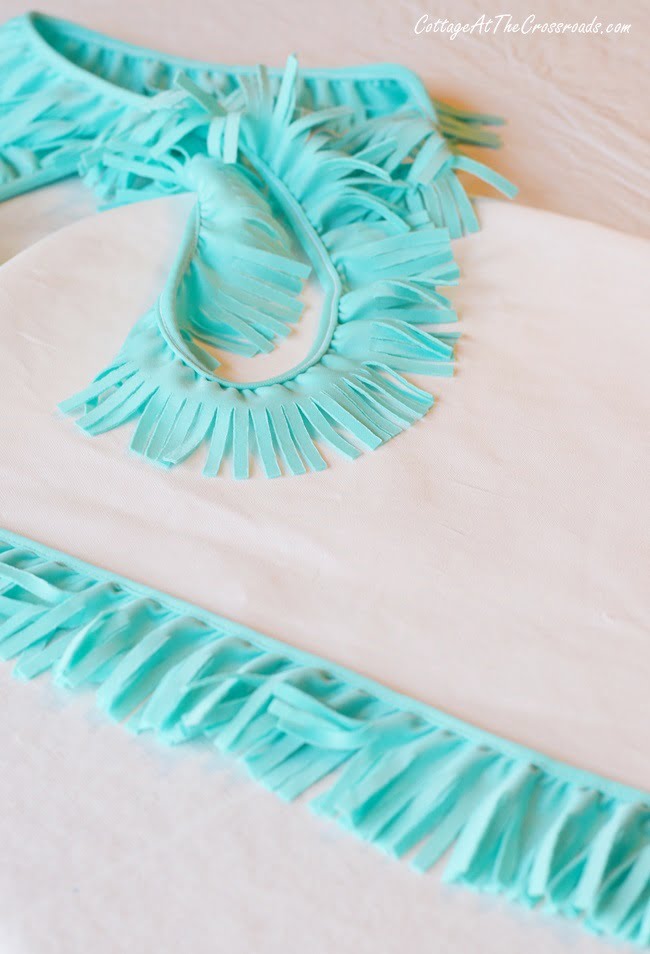
I chose these colors because I had picked up this cute fringed trim at Hobby Lobby recently. It was on sale 50% off.
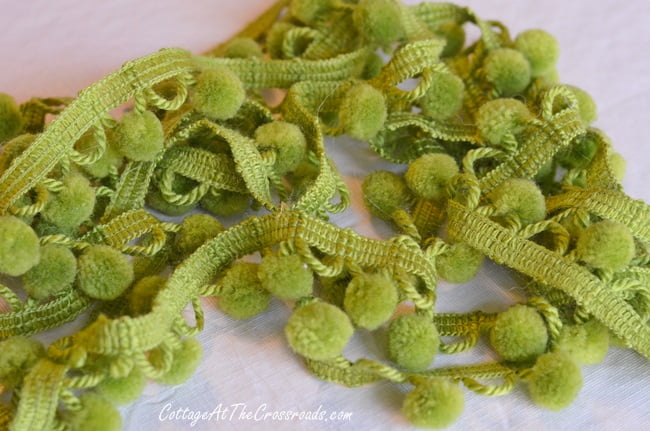
And I found this green pom pom trim in my stash left over from a long forgotten project that never got made!
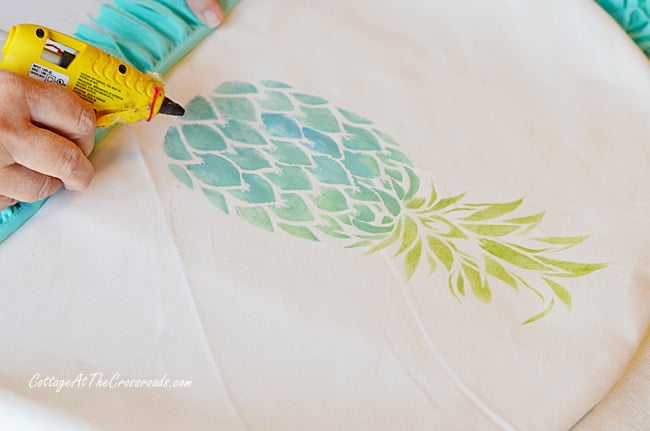
The next step is to hot glue the trim onto the bottom, but I need to mention that I did use the iron to get rid of the wrinkles and to heat set the paint before I added the trim! (I was posing for Leo in this photo! Ha! Yes, bloggers do things like that!)
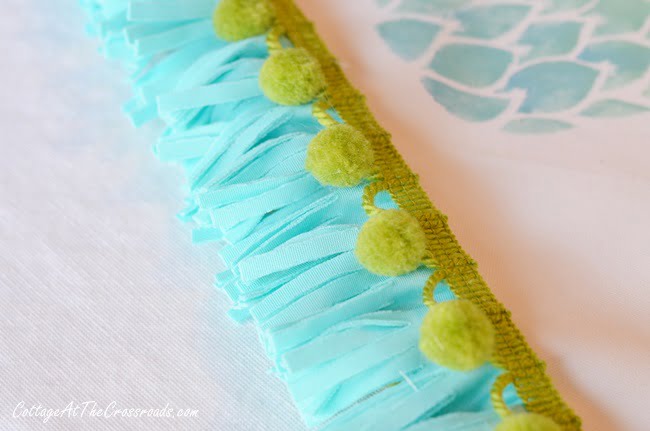
I've never added 2 different trims but I am delighted with how it picks up the colors in the pineapple!
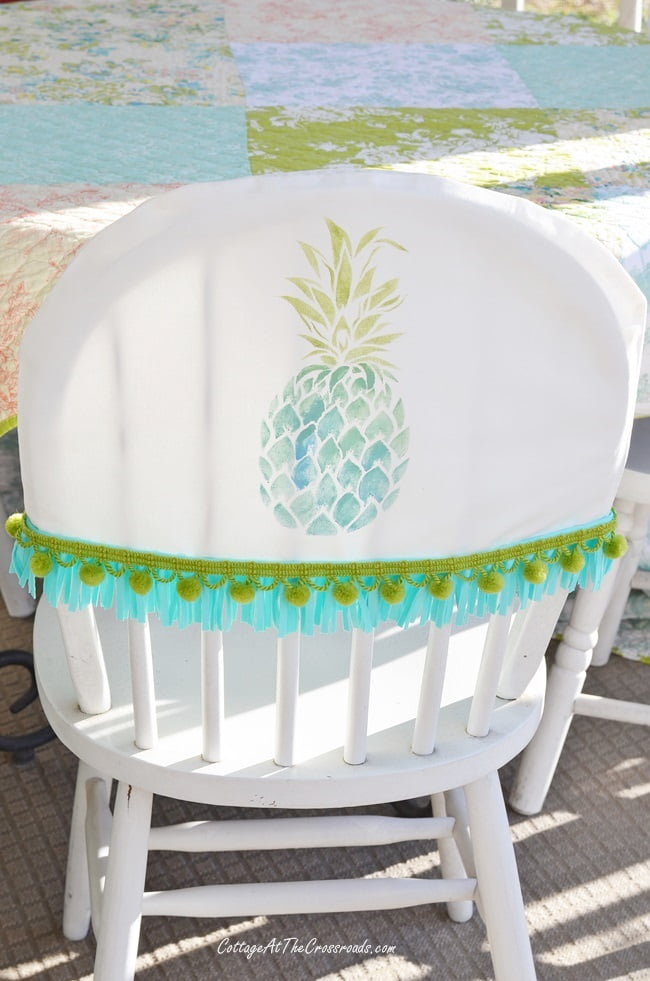
Ta-da! Here it is on my chair back! And I happened to notice that many of the same colors are in a quilt that I have so I draped it on the table while taking photos.
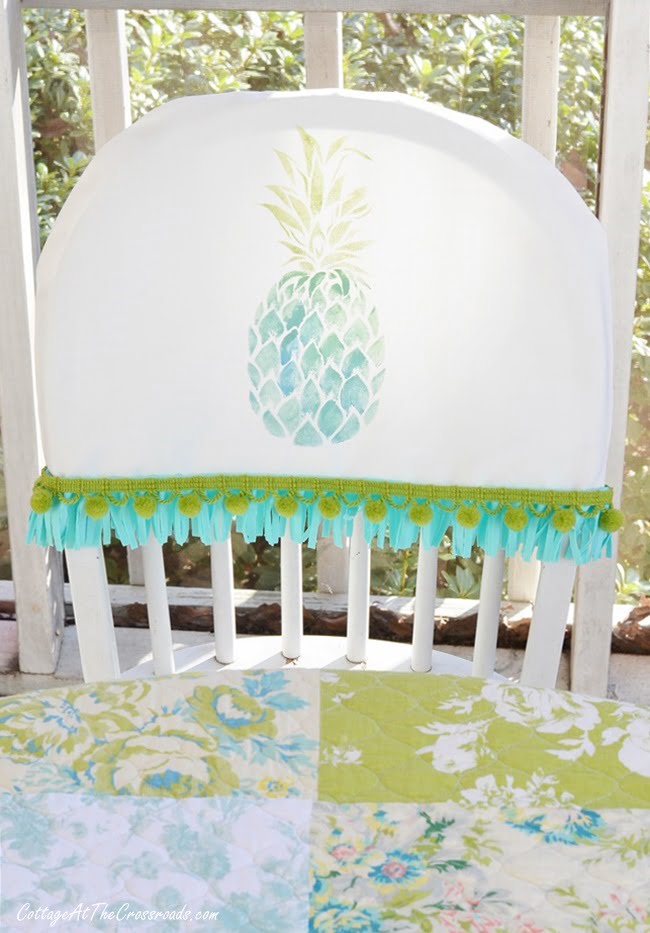
I know that it doesn't look very Christmas-y but my mind is already into spring! I can just imagine these chair covers and quilt being used in a tablescape!
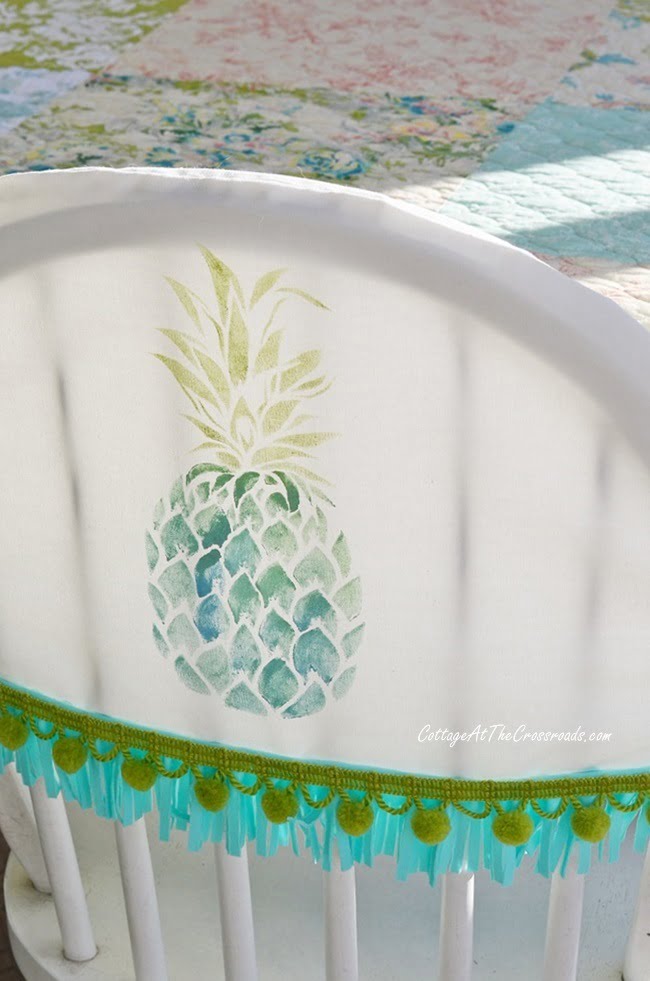
I am in love with the colors in the stenciled pineapple and the trim!
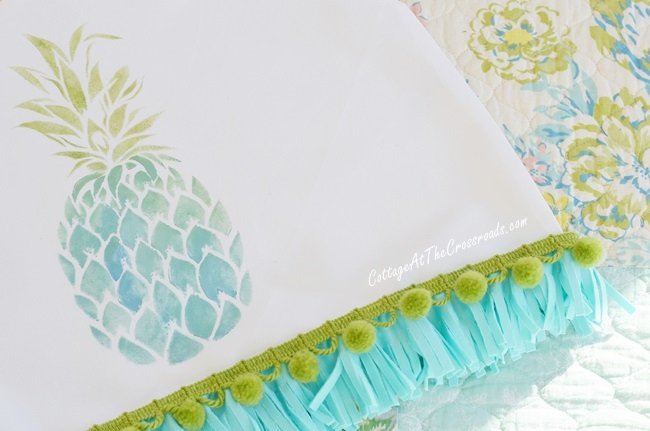
Wonder if anyone I know would like some chair covers as a Christmas present???
Anyway, I hope you've found these directions for how to make folding chair covers helpful. Be sure to pin the idea because you will NEVER be able to look at bare, cold, metal folding chairs the same after seeing this!

Peg Maier Odenthal
OMG; those chair toppers are ridiculously adorable!!
I have 6 oak colored 🙄 dining room chairs that hubby would have a fit if I painted; I just recovered the seats in saffron yellow velvet that I adore but now need something to hide the curved backs of them; see plenty of ideas for straight backs but not mine until I saw your idea & that precious pompom trim; on my way to HL for fabric & trim!
Debbie from Birmingham
Jane, I have enjoyed your blog for years now! You have so many cute ideas and your home is so homey and inviting! Wished I lived close, I would love to have a glass of sweet tea on that cute porch! Thanks for sharing your gift of homemaking with us!
Blessings,
Debbie
laura janning
Jane, how creative! love the idea of a pretty cover for a metal folding chair.
Kristi
Oh my goodness Jane, these are just too cute! What a fun way to change up a plain chair. Love!
Cindy
Oh my goodness, sew cute ???? These really are genius! I love them all but think that pineapple one is my favorite! Thanks for inspiring me Jane, Merry Christmas ☺❤
Bessie
Yes what a good thing to do . My local bird population will really seek them out . They seem to love pretty things If I am careful with what I put on them I will be able to wash them often .
Jane Windham
I'm thinking that oil cloth would work perfectly for outdoor chairs!
Vanessa
Those are sooooo darling!!! I love them! Well done Jane. Merry Christmas to you and Leo!
Deborah
I mean seriously!!! These are so so great!!!!!
Susan
Super cute!!!!!
Shirley@Housepitality Designs
This project is fantastic and you know how much I love pineapples!!! The colors you used are so very beautiful!!! Thanks for the great idea Jane! Have a Very Merry Day!
Bliss
I am going to pin this because I actually think even though sewing is involved that I can make some!