• Skip to main content
  • Skip to primary sidebar

Cottage at the Crossroads

menu icon
go to homepage
  • Gardening
  • Recipes
  • Canning
  • DIY
  • Holidays
    • Email
    • Facebook
    • Pinterest
  • search icon
    Homepage link
    • Gardening
    • Recipes
    • Canning
    • DIY
    • Holidays
    • Email
    • Facebook
    • Pinterest
  • ×
    Home » DIY » Crafts

    Thrifty Peat Pot Pumpkin Holder

    By: Jane · Updated: 12 Oct, '21 · This post may contain affiliate links · 17 Comments

    Sharing is caring!

    Orange pumpkin on top of a painted peat pot

    Run grab some seed starting peat pots before they are gone because you're going to want to make a peat pot pumpkin holder for fall!
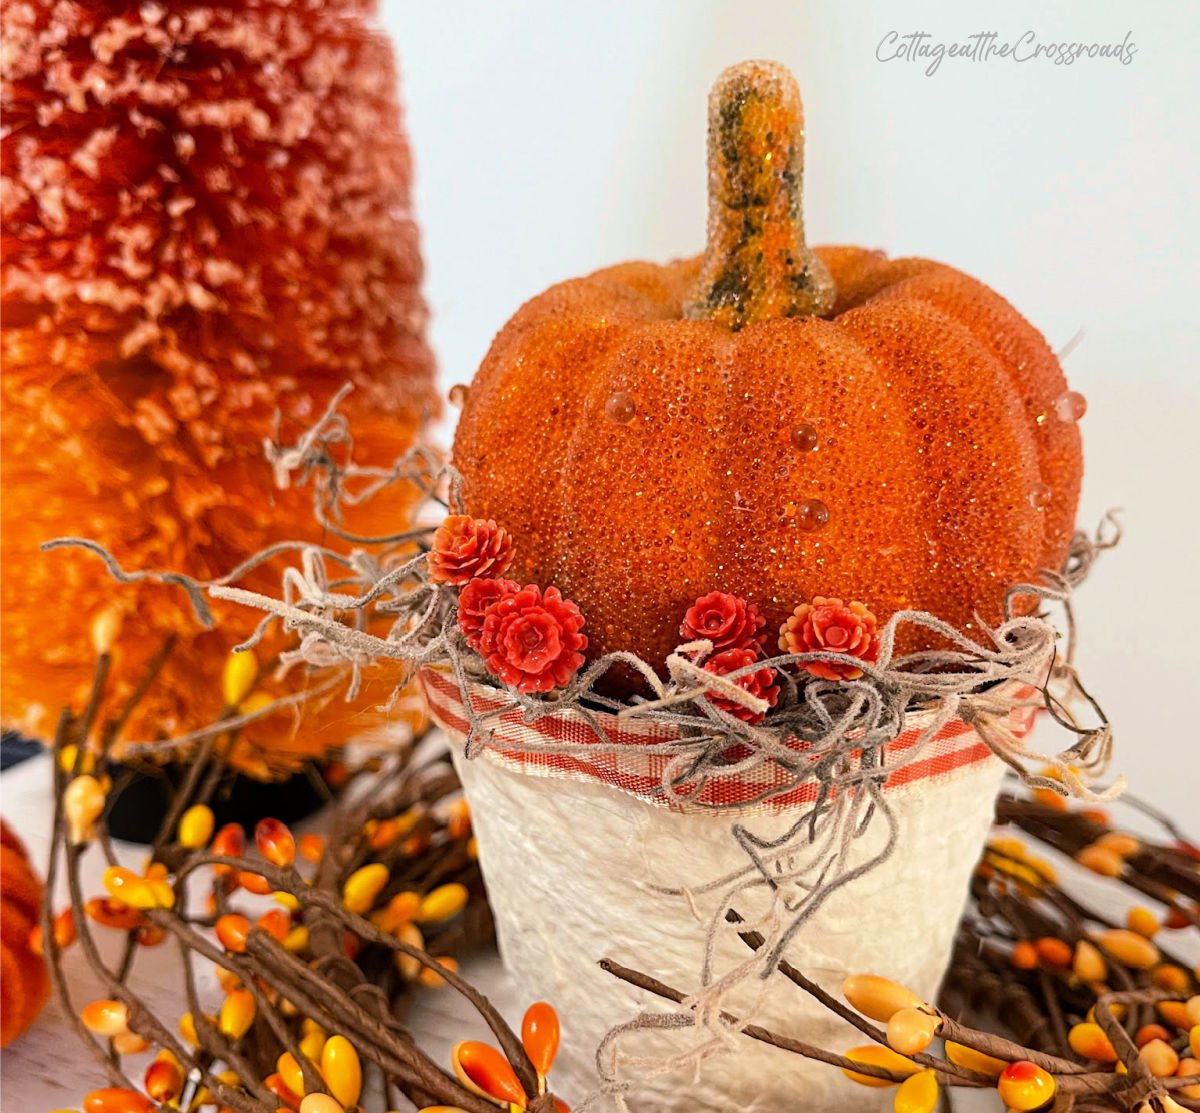
    Orange pumpkin on top of a painted peat pot
    Peat Pot Pumpkin Holder

    Hi friends! Have you started any fall decorating? I will have to admit that I've been working on my fall decor for a few weeks. This is the earliest that I've ever started but I'm glad to have things underway.

    One of the things that I've finished is the Christmas tree that I left up and have decorated for all the seasons.
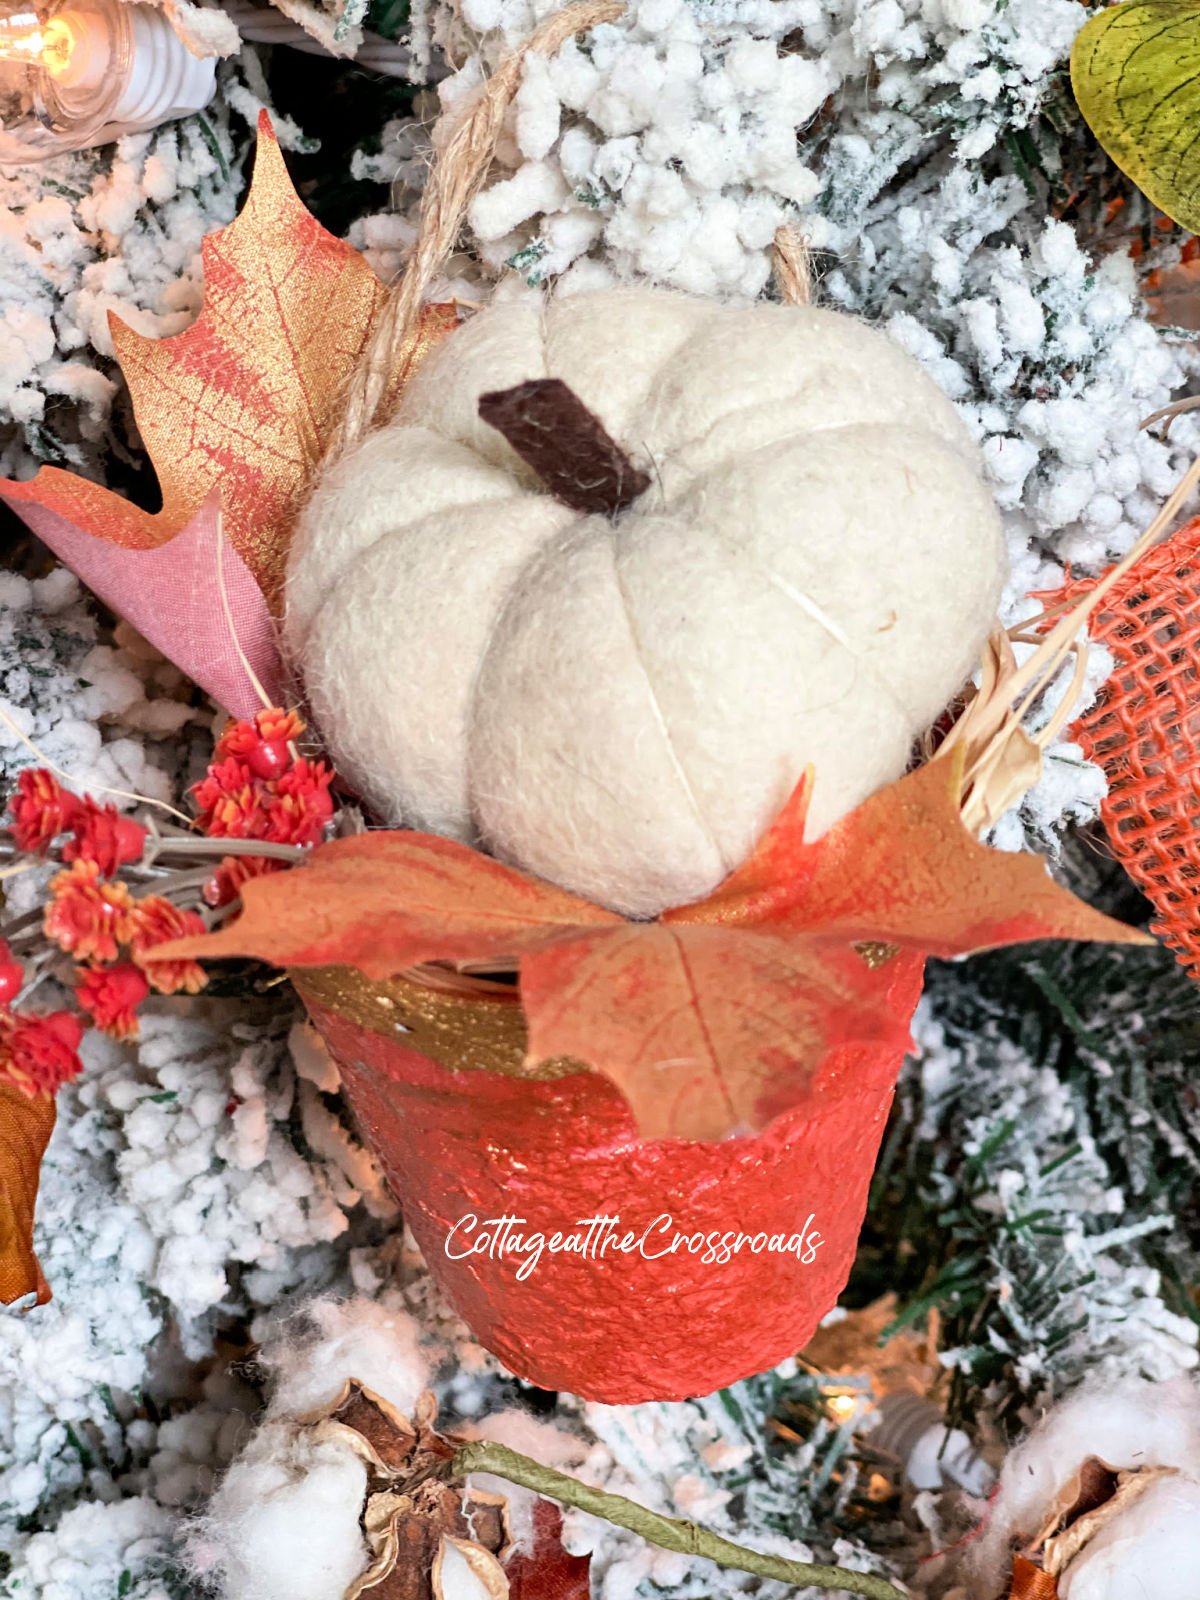
    White wool pumpkin in a peat pot holder

    I will be sharing the tree soon but I wanted to show you one of the decorations I made for the tree.

    How to make peat pot pumpkin holders

    I actually used some peat pot ornaments that I made for my spring garden themed tree.
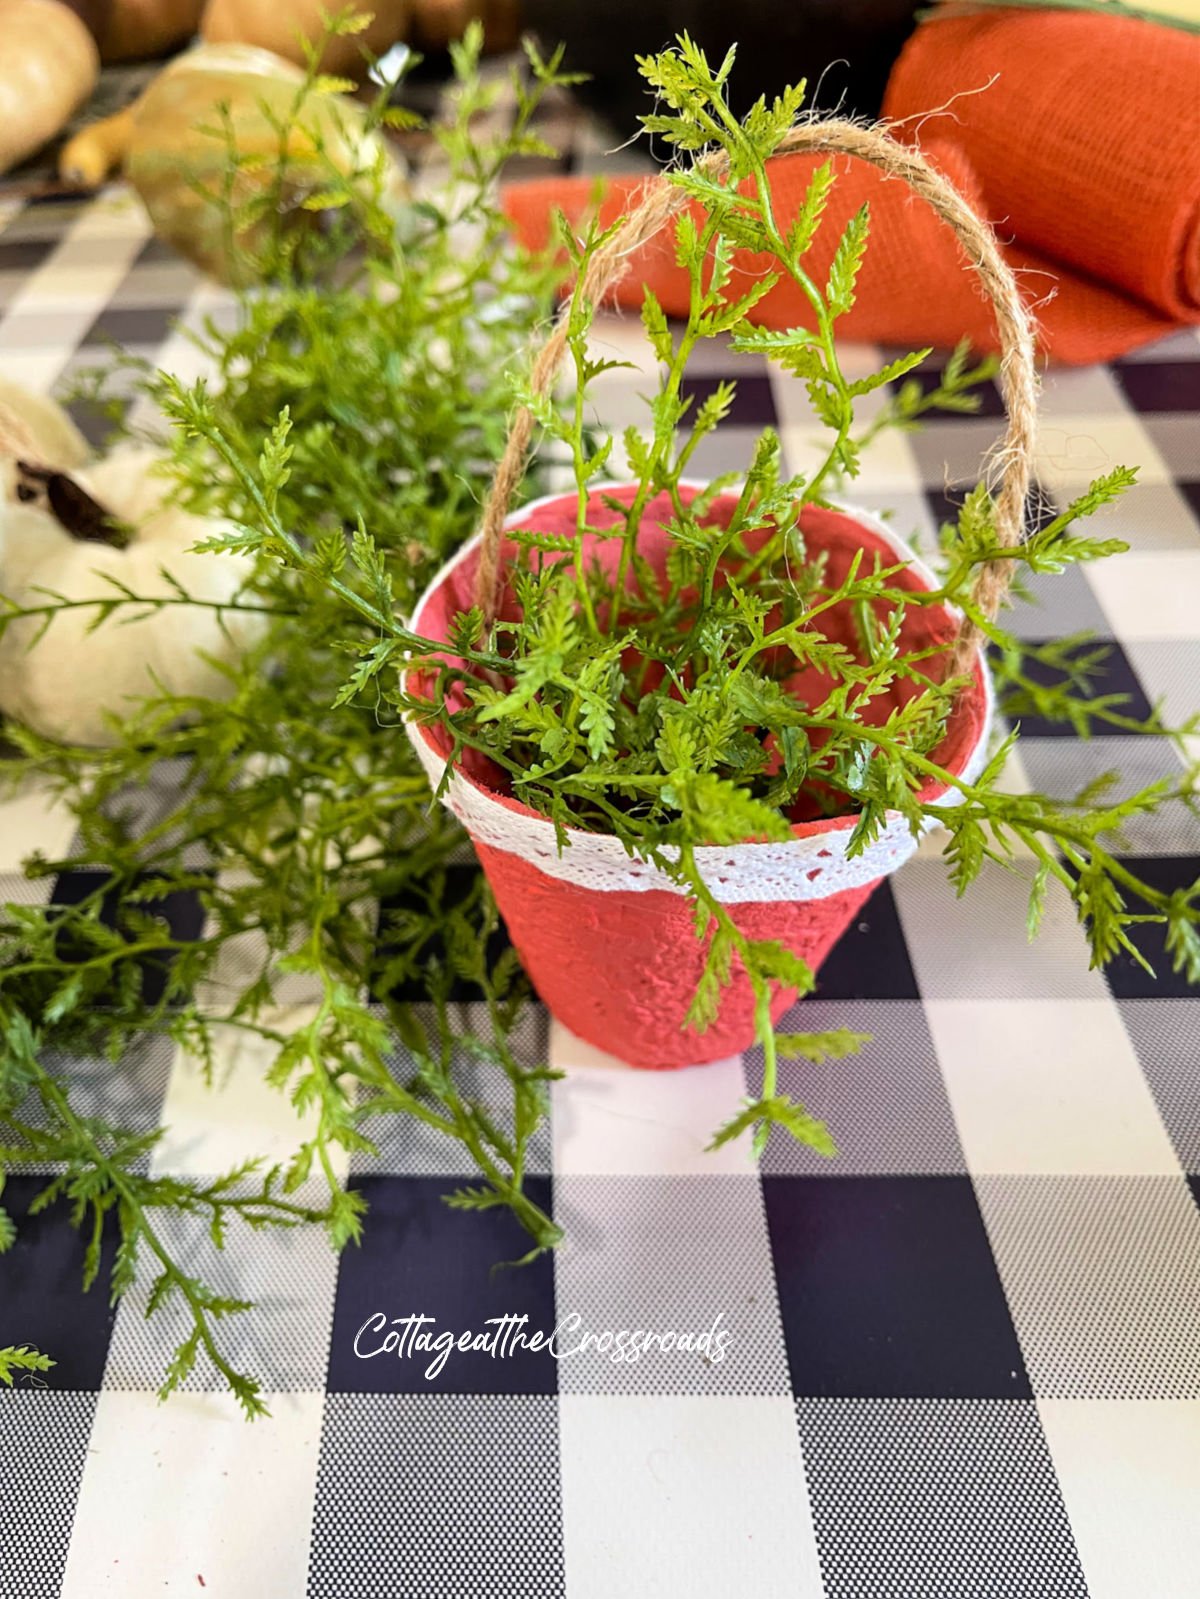
    Painted peat pot with faux greenery inside

    The pots were more coral than orange so I gave them a fresh coat of paint.
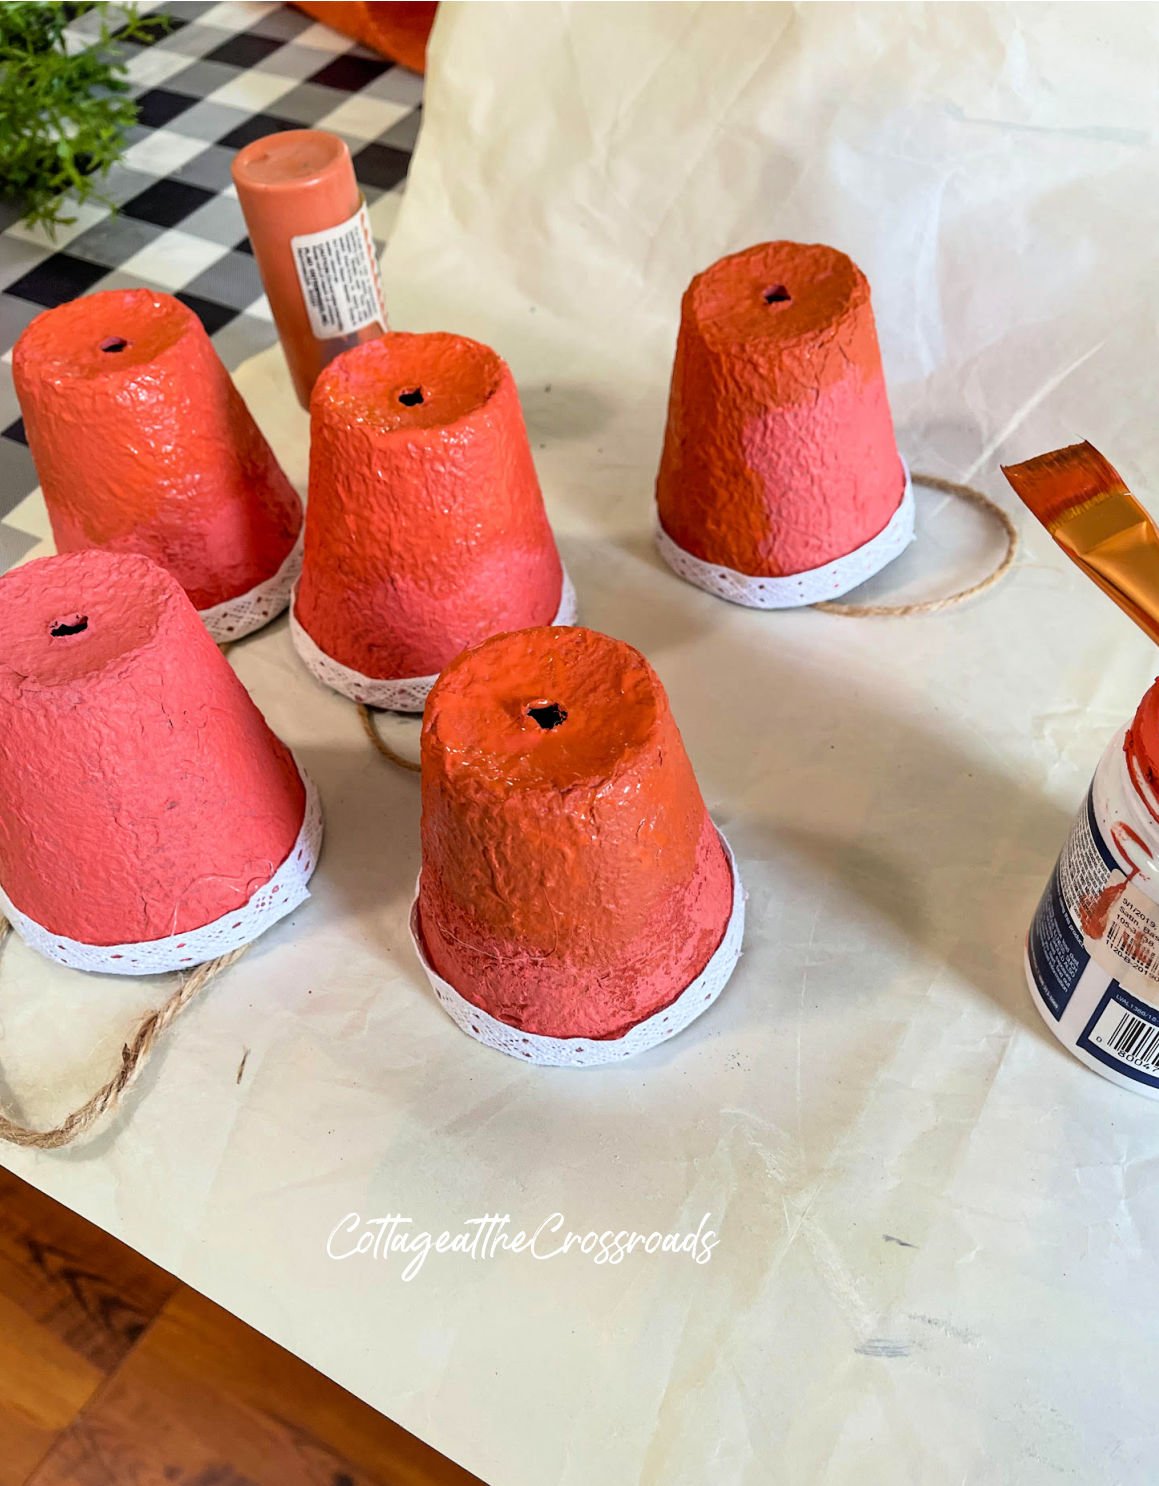
    Peat pots painted orange

    And I painted the trim around the top gold. After tucking in some raffia, leaves, and some wool pumpkins, they were ready to hang on my fall tree.
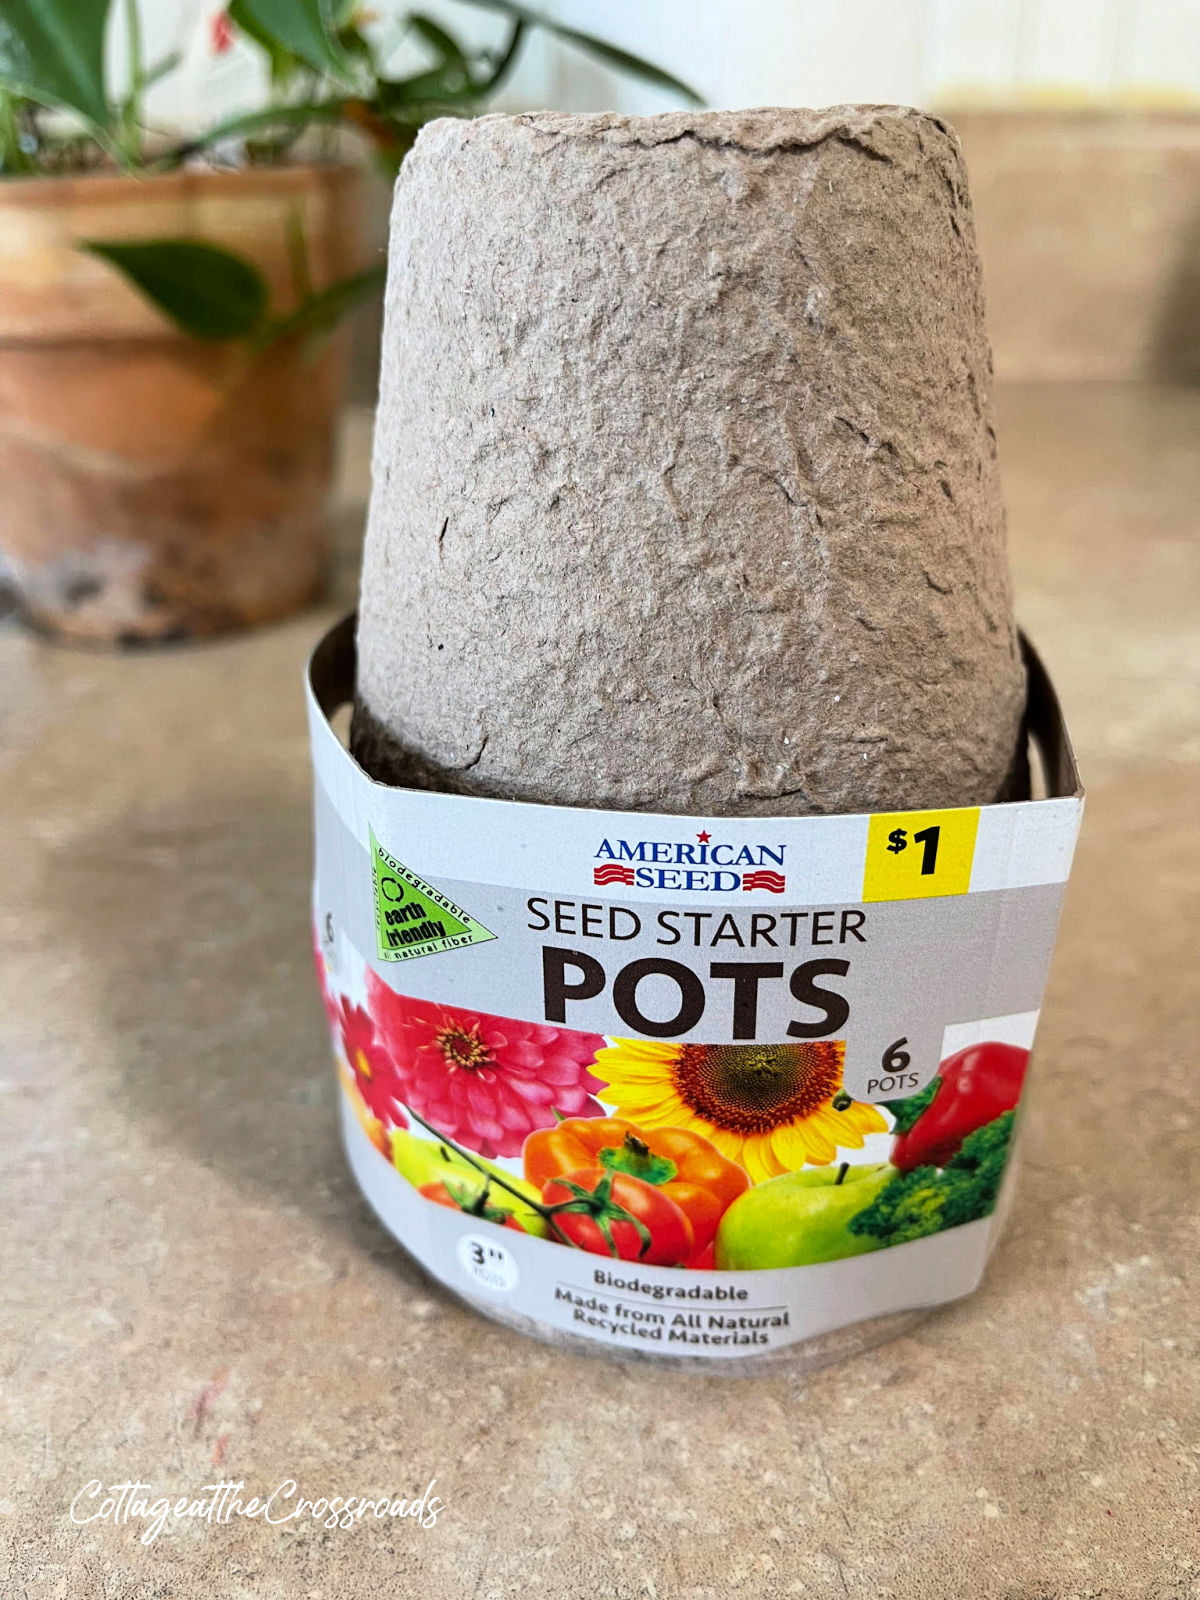
    Stack of seed starting pots from dollar general

    To make a tutorial for you, I decided to paint some more peat pots. As you can see, you can get a stack of 6 for $1.00 from Dollar General. Thrifty, huh?
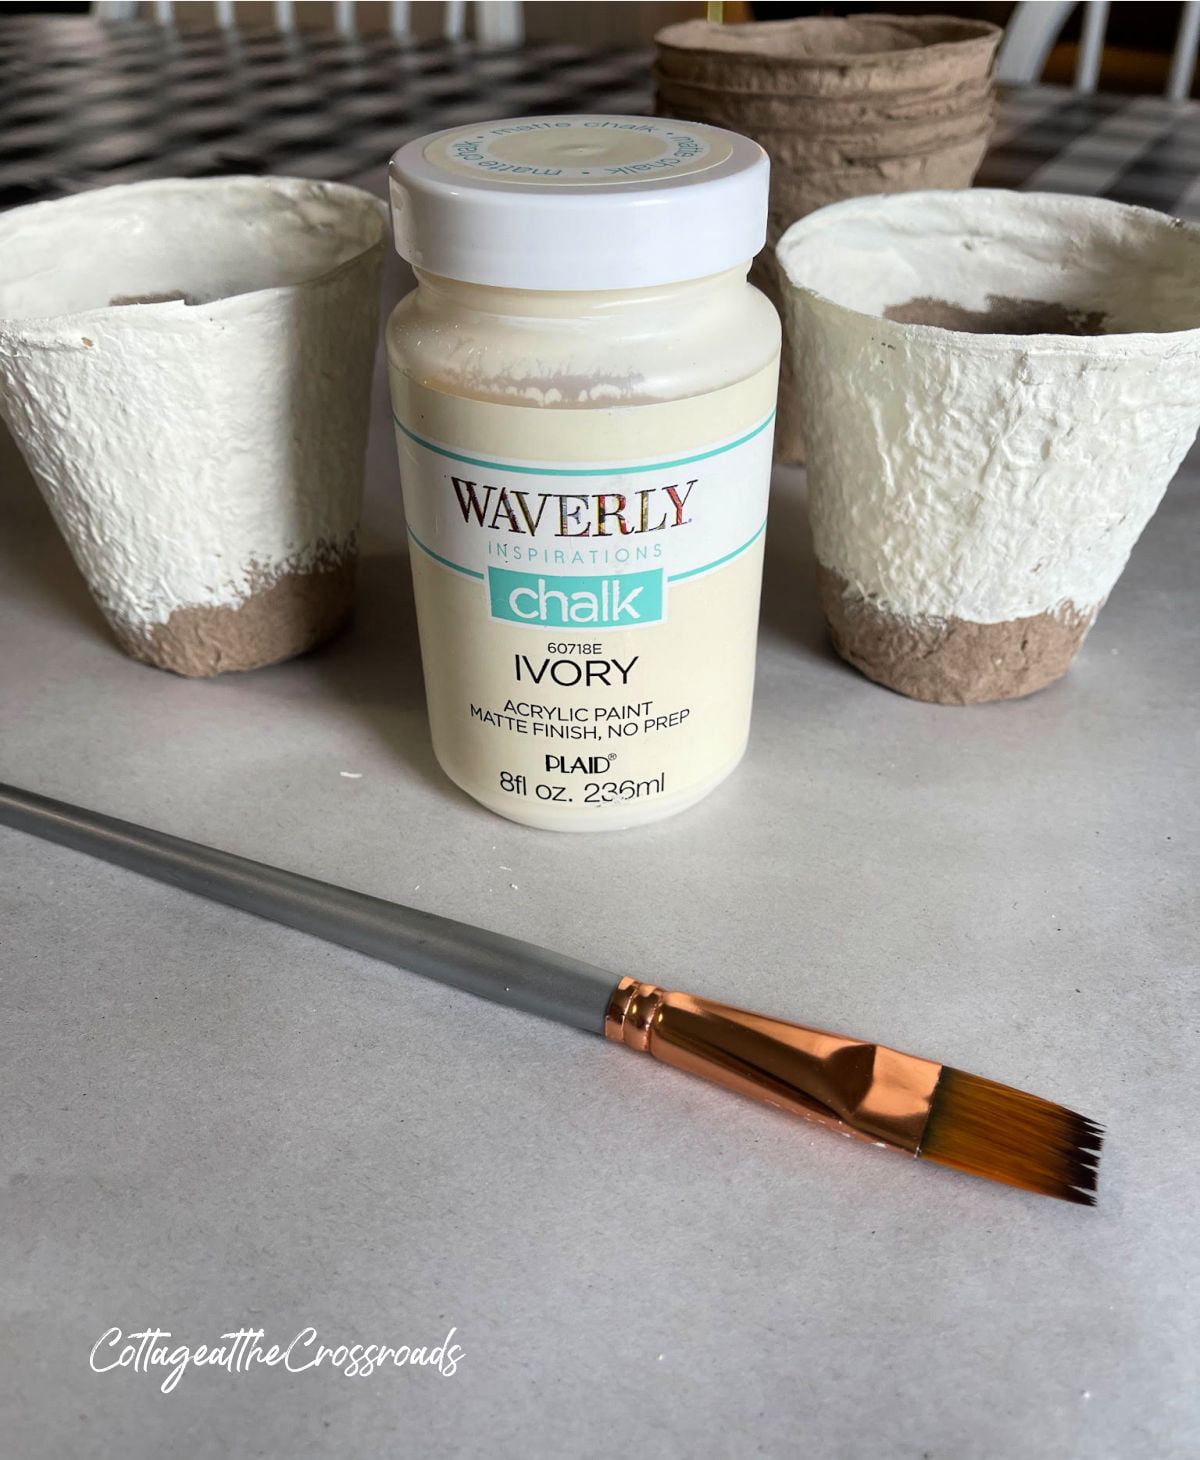
    Painted peat pots and a container of waverly chalk paint in ivory

    I painted 2 of them using Waverly chalk paint in Ivory but you could use any type of craft paint and any color to match your decor.
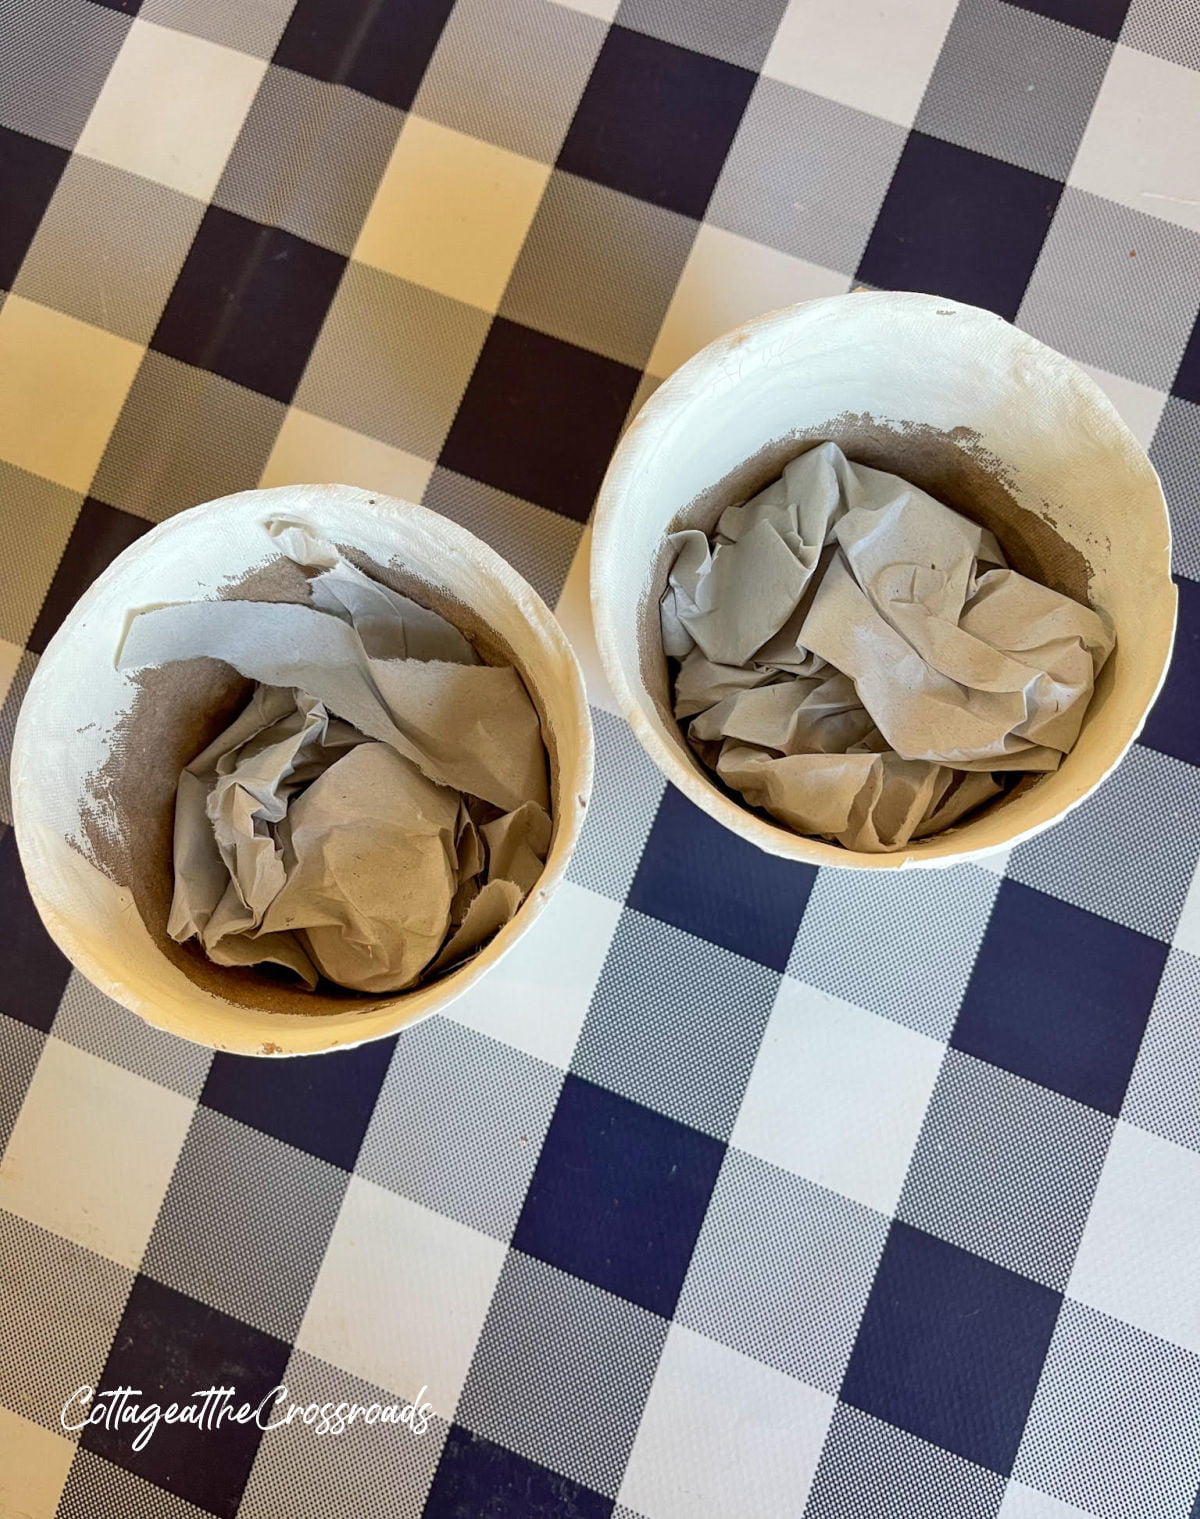
    Paper stuffed down inside 2 peat pots

    After the paint dried, I stuffed some crumpled paper into the peat pots.
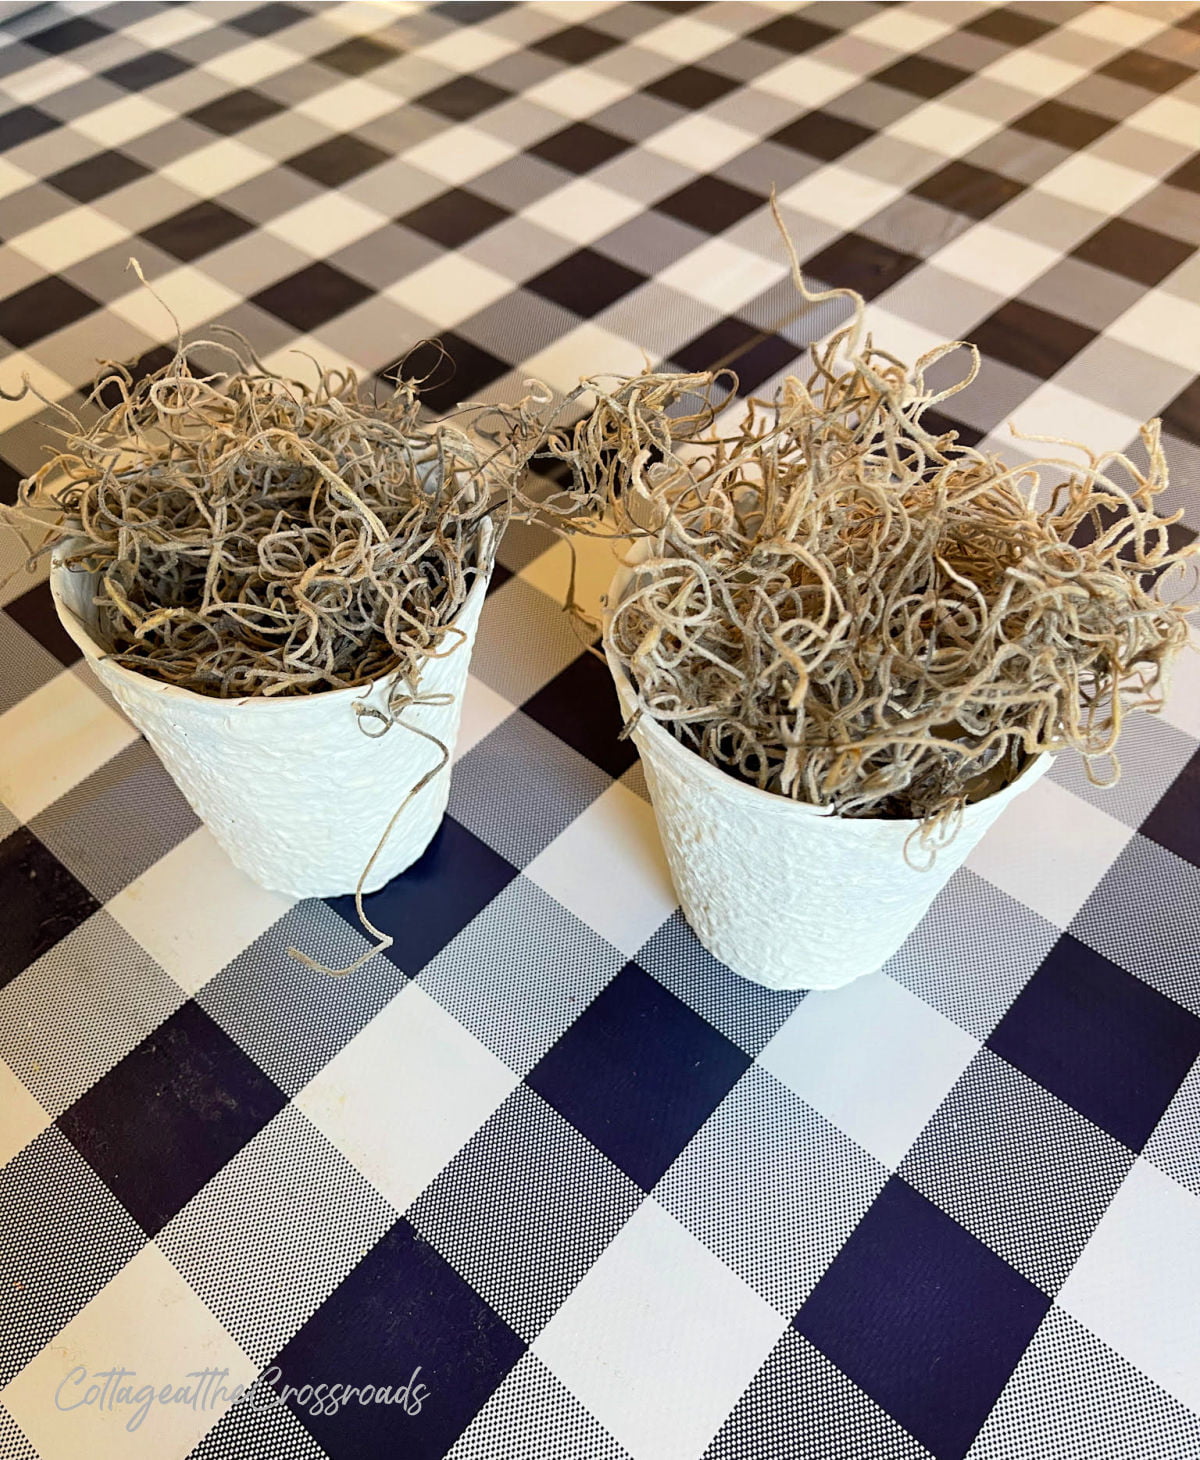
    Spanish moss inside 2 peat pots

    Next I tucked some Spanish moss down inside and then hot glued some orange checked ribbon around the top.
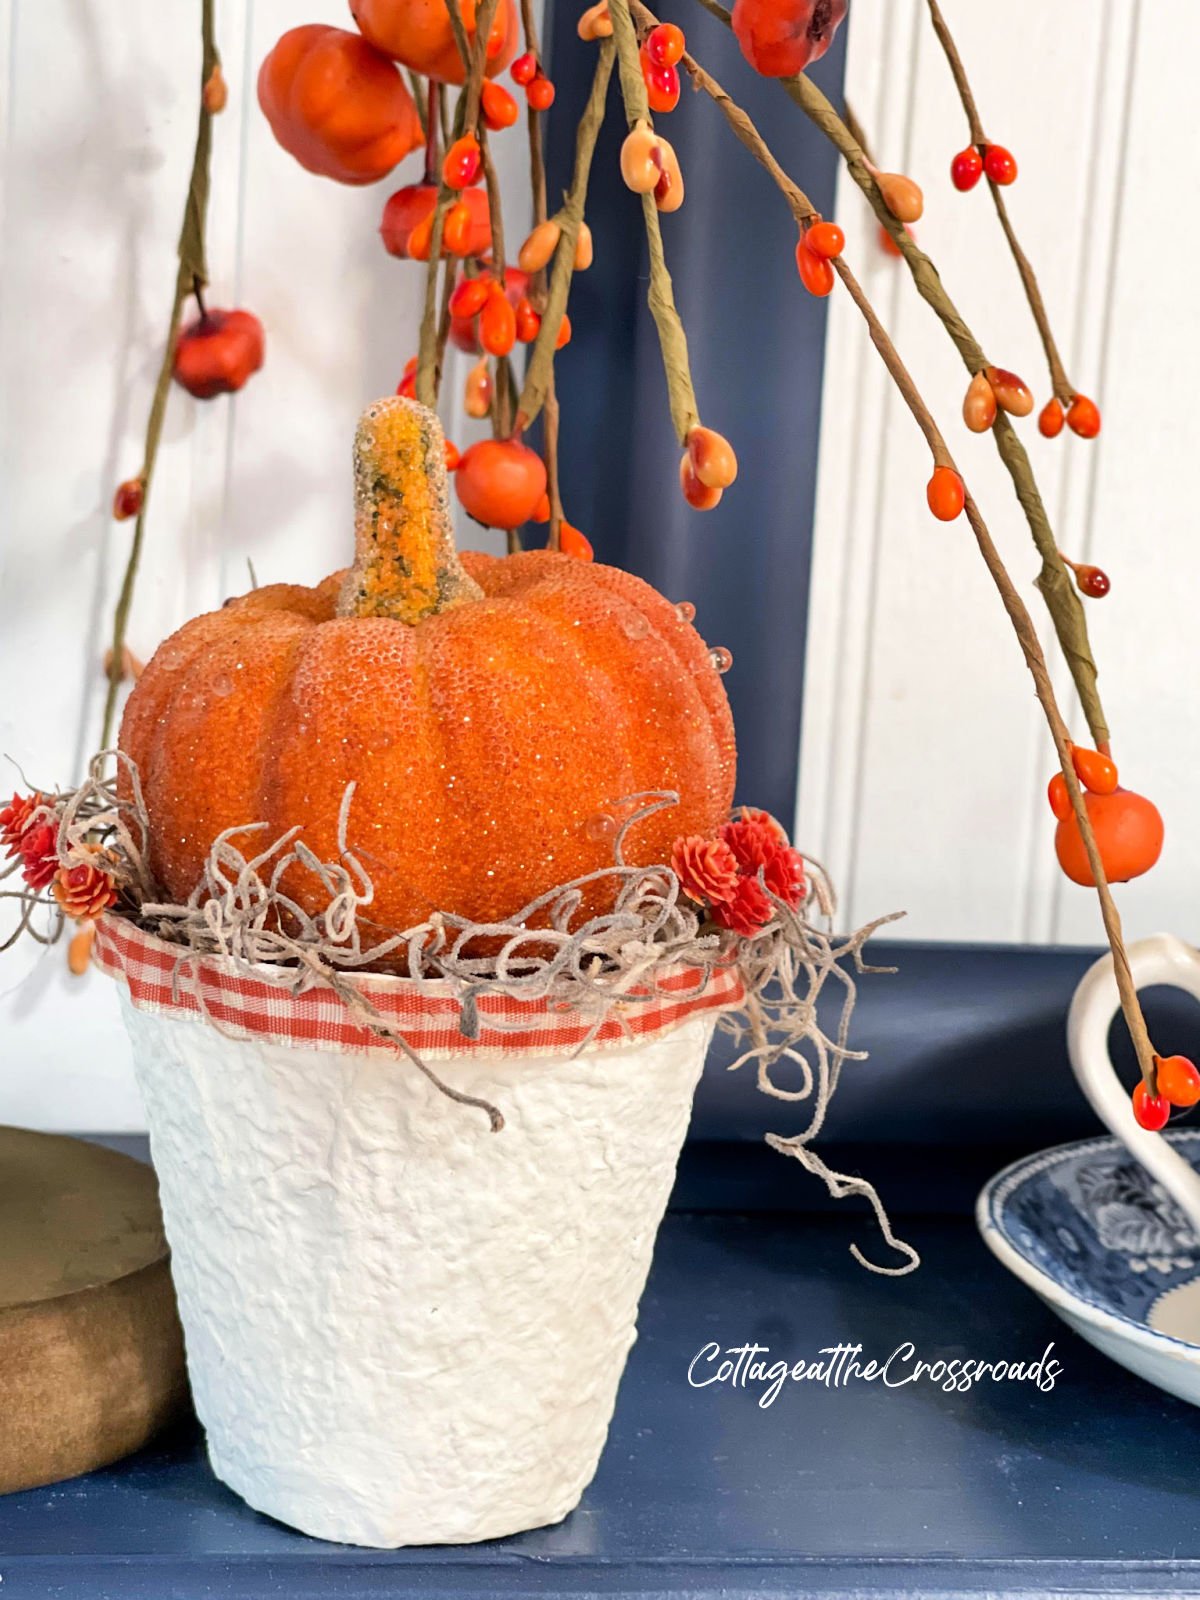
    Orange pumpkin in a peat pot holder

    I added a few little faux flowers down inside the moss and found an orange pumpkin to sit on top of the decorated peat pot. Isn't it cute?

    These would make pretty hanging ornaments if you decorated a fall tree, or they could added to fall vignettes or tiered trays.
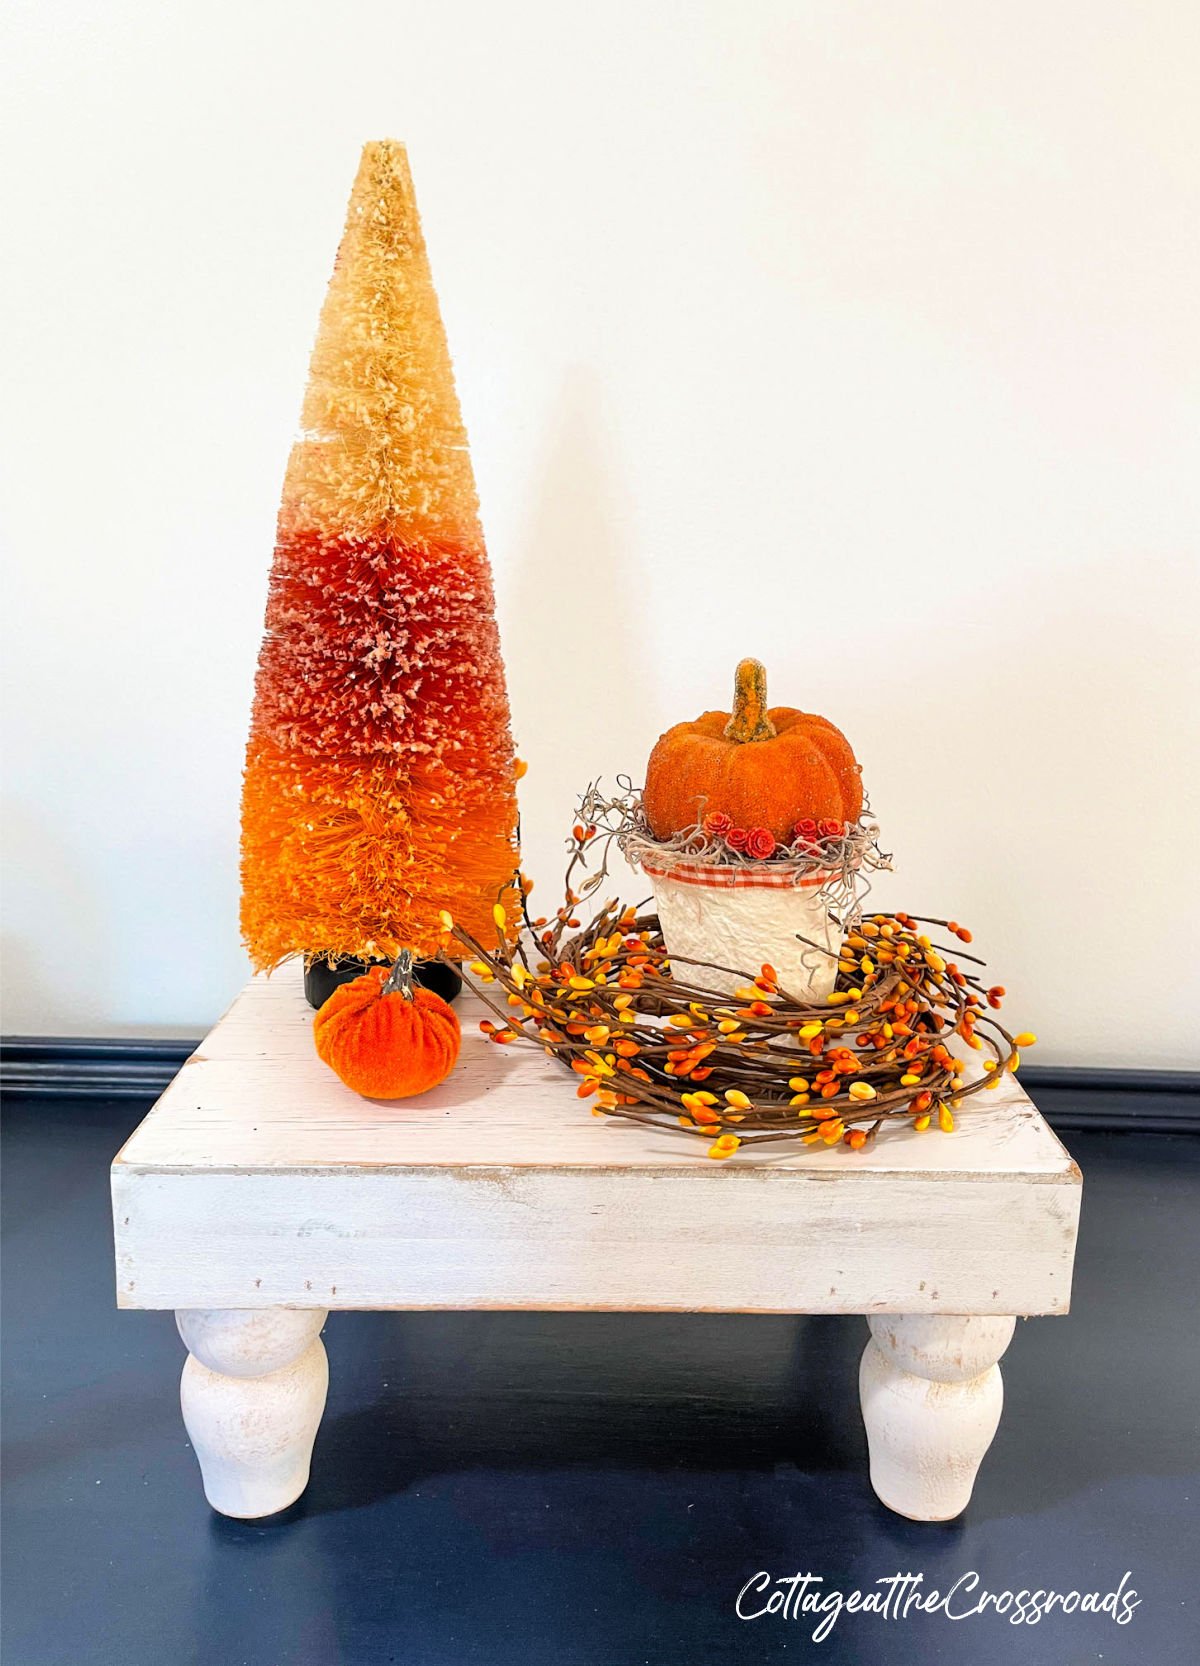
    Peat pot pumpkin holder and bottle brush tree on a white riser

    Here I used one of the peat pot pumpkin holders with some other fall decor on top of this riser. Super cute and super simple!
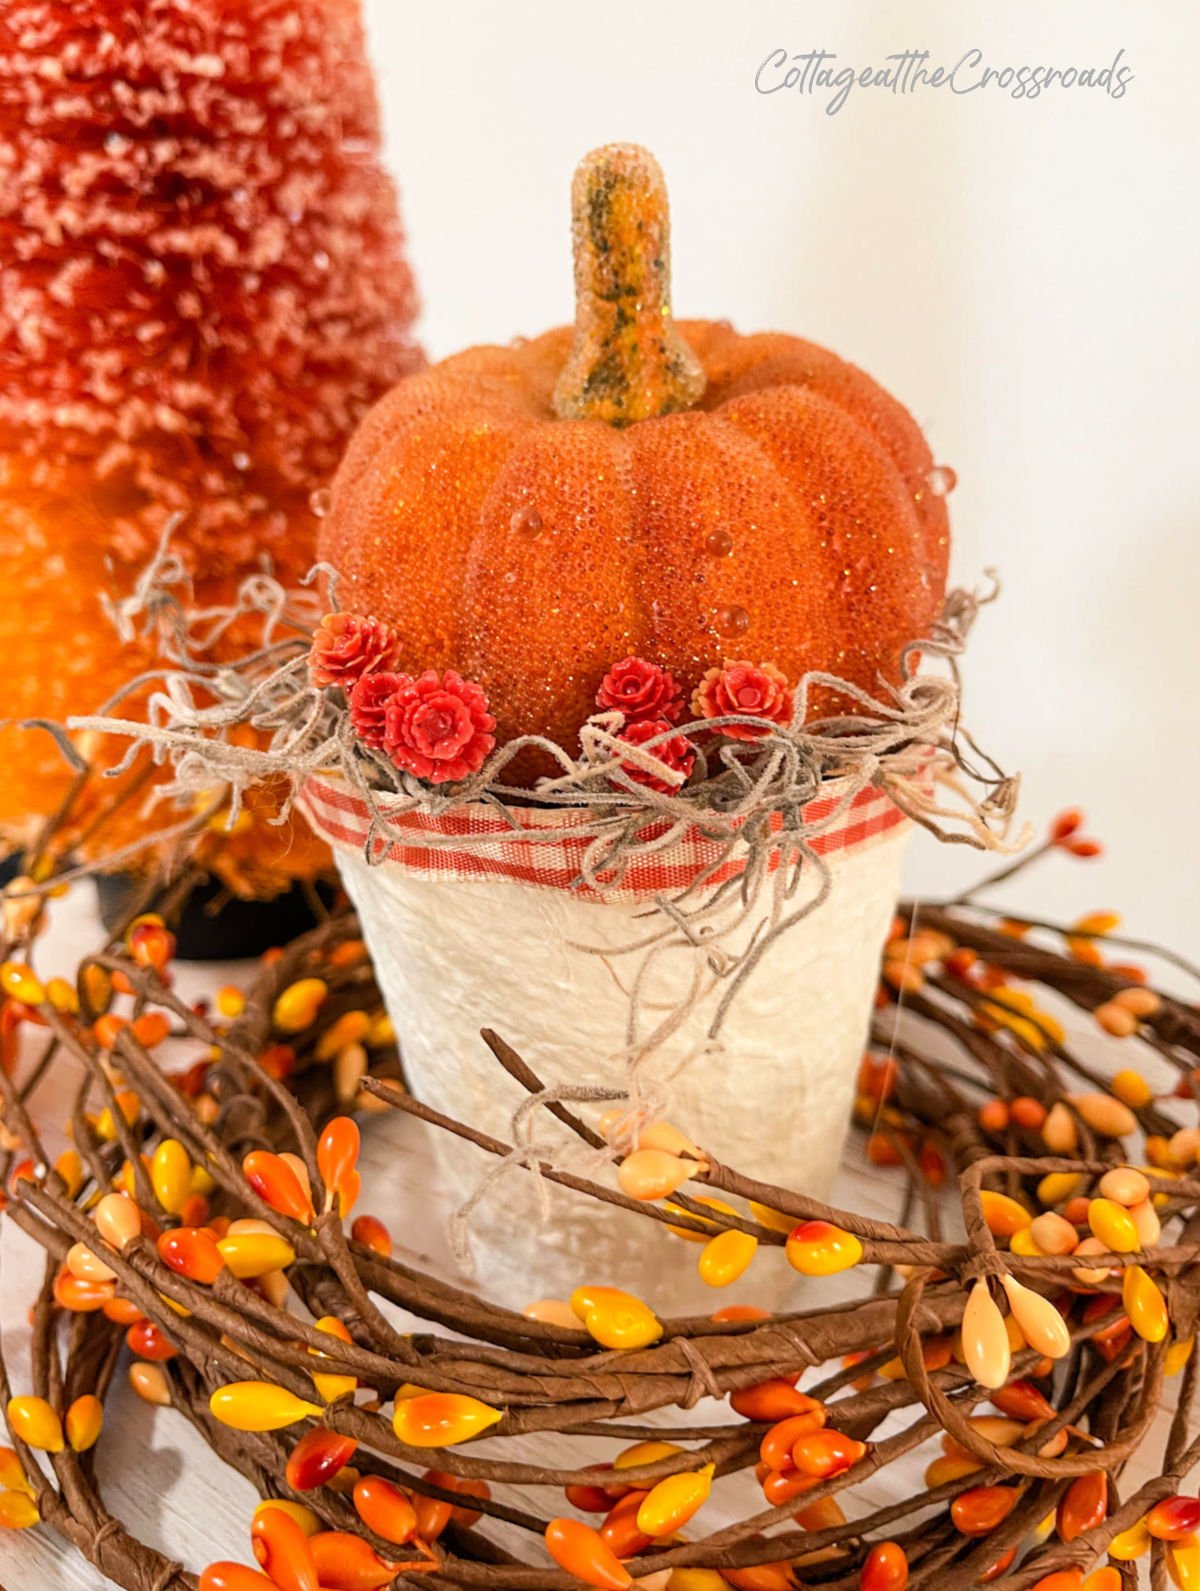
    Orange pumpkin on top of a painted peat pot

    If orange is not your color of choice, then I can see these being made in neutral colors.

    But no matter what combination you make, these easy and thrifty peat pot pumpkin holders would make a nice addition to your fall decor.

    More Holidays

    • Patriotic mantel 1 square
      Patriotic Decorations in the Craft Studio
    • Patriotic mini easel place card 2
      Patriotic Mini Easel Place Cards
    • Full garden tree 1
      Garden Theme Christmas Tree in our Entry
    • Tobacco basket beside easter tree 1
      DIY Easter Tree with Egg Lights

    Sharing is caring!

    Reader Interactions

    Comments

      Leave a Reply Cancel reply

      Your email address will not be published. Required fields are marked *

      This site uses Akismet to reduce spam. Learn how your comment data is processed.

    1. Michelle James

      August 23, 2021 at 7:51 pm

      What a creative and fun decorating idea for fall. I love the colors you used and that bottle brush tree is adorable!

      Reply
    2. Kristi Dominguez

      August 19, 2021 at 12:34 pm

      Jane, these turned out so CUTE! Now, I know what I'll be styling my fall buffet with...such a clever idea. xoxo, Kristi

      Reply
    3. Laura L WALKER

      August 19, 2021 at 10:56 am

      Such a cute project. xo Laura

      Reply
    4. Kelly Radcliff

      August 19, 2021 at 12:52 am

      Jane these turned out so cute! I love the fall vibe and this gets me excited to decorate now!

      Reply
    5. Laurie @ Vinyet Etc

      August 17, 2021 at 12:23 pm

      Oh, I adore how those peat pots look when painted, it really brings out all of that yummy texture!

      Reply
    6. Angie @ Postcards from the Ridge

      August 16, 2021 at 11:00 am

      This is an adorable little project, Jane. I love the texture of the pot. I would have never thought to use one of those but it's perfect.

      Reply
    7. Jennifer Howard

      August 16, 2021 at 7:56 am

      Super cute idea!! I'm getting ready for Fall too!!

      Reply
    8. Mary Beth

      August 15, 2021 at 8:55 pm

      Oh my goodness, these are absolutely adorable!!! Thank you so much for sharing, Jane.

      Reply
    9. Chas - Chas' Crazy Creations

      August 15, 2021 at 12:56 pm

      What a great idea, and I love pumpkin anything. Thanks for sharing

      Reply
    10. Julie

      August 14, 2021 at 1:34 pm

      This is so clever & darling for fall, Jane!

      Reply
    11. Susan

      August 14, 2021 at 12:03 pm

      Jane those are just adorable and make the pumpkins so much more special ☺️

      Reply
    12. Vicki and Jenn 2 Bees in a Pod

      August 14, 2021 at 11:34 am

      Jane - this is a fantastic thrifty project. Can't wait to see your Fall tree. We may need to find some peat pots for ourselves!

      Reply
    13. Meegan

      August 14, 2021 at 5:54 am

      What a fun Fall craft, Jane. Your peat pot pumpkin holders would be darling on any Fall table with any style. I just love your creativity!

      Reply
    14. Lora Bloomquist

      August 13, 2021 at 1:19 pm

      Never would have thought of painting them; I've always loved their rustic texture. Great idea!

      Reply
    15. Cindy

      August 13, 2021 at 12:34 pm

      These are so adorable Jane! What a fun project for Fall!

      Reply
    16. [email protected]

      August 13, 2021 at 9:04 am

      I love this project so much! Seeing it is putting me in the mood to start making fall crafts.

      Reply
    17. Kathleen

      August 13, 2021 at 8:59 am

      Thank you for your most excellent FALL REVIEW. The tiny homemade flower posts are so pretty. What a cute idea. I like the white wooden stand too. It will be easy ti make. Blessings.

      Reply

    Primary Sidebar

    Jane @ Cottage at the Crossroads

    We're Jane and Leo!

    Thanks for stopping by! We're renovating and preserving our family's 100 year old home place where we garden, complete a few DIY projects, and do some cooking. Please leave us a comment so that we'll know that you were here.

    about →

    Reader Favorites

    • Setting up a gardening journal
      How to Set Up a Garden Journal
    • Wooden garden obelisks
      DIY Wooden Garden Obelisk
    • Sweet cucumber relish featured
      Sweet Cucumber Relish
    • Cucumbers in raised beds
      Growing Cucumbers in Raised Beds

    Gardening How-tos

    • Best way to remove weeds from large area
      Best Ways To Remove Weeds From a Large Area
    • Potting mix vs. Potting soil
      Potting Mix vs. Potting Soil
    • How to dry and store fresh garden herbs
      How To Dry Herbs
    • 1
      Instant Pot Canning Basics

    Growing Vegetables

    • Fall decor 063
      Our Fall Vegetable Garden
    • Garden and yard may 2013 132
      Evolution of a Garden
    • Celebrity tomatoes in cages
      How to Grow Your Own Tomatoes
    • Growing lettuce in containers 030
      Growing Lettuce in Containers

    Footer

    As an Amazon Associate I earn from qualifying purchases.

    © 2021 Cottage at the Crossroads · All Rights Reserved

    Contact Us · Privacy

    47 shares