Air drying is an inexpensive and great way to help herbs last longer and make sure that they maintain their wonderful, delicate flavor. You can easily do the air-drying at home within a matter of weeks, and once you have the know-how, it will become second nature every time you need to dry any leftover herbs.
It is always a pleasure to grow our own food, and herbs are no exception.
Herbs are added to dishes to contribute extra flavor and bring a pleasant scent to the home.
While it is always best to use herbs at their freshest, for example, it is not always possible when you have a bumper crop of herbs. The only option is to dry and preserve your herbs.
Most of the time, there are more than we need within each season, and while this can prove bothersome, drying them is a good answer to this common annoyance.
This handy article will take you through the process with an easy-to-follow step-by-step guide. So, let us begin!
Why Air Dry Herbs?
Even though it may seem a little old-fashioned to air dry herbs, it has several benefits compared to using a gadget to do the same job, though they do both have the same advantage of making sure herbs stay usable for a number of years.
Air drying herbs is a fantastic way to make sure you get the most use out of a herb plant without losing the flavor, especially when you have leftover unused herbs that may just get thrown away or composted - though we prefer the latter if we had to choose.
Not only is air-drying a much cheaper route to take, but it is also really easy to do. It is a skill you can pass on to others, as many people who grow herbs will want to know how to keep their herbs from waste.
The Best Herbs to Air Dry
It might sound obvious, but air drying works much better on herbs that do not have high moisture content, such as rosemary, dill, thyme, oregano, bay, and marjoram. Not only will they air dry best, but the low moisture content means that air drying them or using a food dehydrator will help retain the herbs' natural flavor.
Check out herb growing tips and you'll have more herbs than you can imagine.
Avoiding Shortcuts
While you can use an oven or a microwave on a low setting to dry herbs, it is a shortcut that should be avoided. The reason is if you choose this shortcut method, it actually cooks the herbs slightly rather than dries them. Doing so will cause you to lose most of the flavor and any oil within the herbs.
If you do not like the idea of drying herbs, especially if it has high moisture content and you do not have a dehydrator, then placing them in the freezer will be the best way to keep herbs from becoming unusable.
Herbs such as mint, chives, basil, and tarragon have a higher moisture content.
Make Sure Herbs Are Ready for Harvesting
While it is tempting to keep a herb plant nearby ready to be snipped whenever you need it, there are tips and tricks to help you make the most of the full flavor of the herbs.
Most people harvest herbs throughout the season from a singular plant, but this can cause the plant to not flower. Even so, it will still decline once fall comes round, meaning it is the perfect time to start harvesting the herbs.
Harvesting the herbs before flowering means they are at their tastiest, so this is why it is important to do it before they have had a chance to start developing flowers.
Always harvest mid-morning when the dew has dried and before they start to get droopy in the afternoon sunshine.
Because timing is the most important thing when harvesting due to each herb plant growing at a different rate, to make this process easier, only harvest one plant at a time and make sure it is ready.
Lastly, never cut back an entire plant. The only time to do this is if you are planning to replace it with a new herb plant. Instead, at the most, cut back around two-thirds or one-third of the plant's branches.
Drying the Herbs
Prepping the Herbs
Using the pruners, remove branches that contain the herbs you wish to dry. Once you have them, shake them to remove any unwanted debris or insects. Due to the fact you will not be washing the herbs, you will need to do this step thoroughly to remove anything unwanted.
However, if you have to rinse the herbs with water, only do so if absolutely necessary. Once done, pat dry with a paper towel and leave to air dry where the herb will get plenty of air circulation to speed up the process.
Removing Unwanted Leaves
Now that you have your herb cuttings, it is time to remove lower leaves around an inch from the bottom of the stem. Any leaves that are yellow or diseased should be discarded. These will not have any flavor and will not need to be dried.
Tying the Herbs Together
If it is easier, using a rubber band or a piece of string, tie a bunch of six together nearer the bottom of the stems. While the herbs dry, they will shrink, so you will need to keep checking on the herbs as they may slip through the rubber band during the drying stage.
Hanging the Herbs
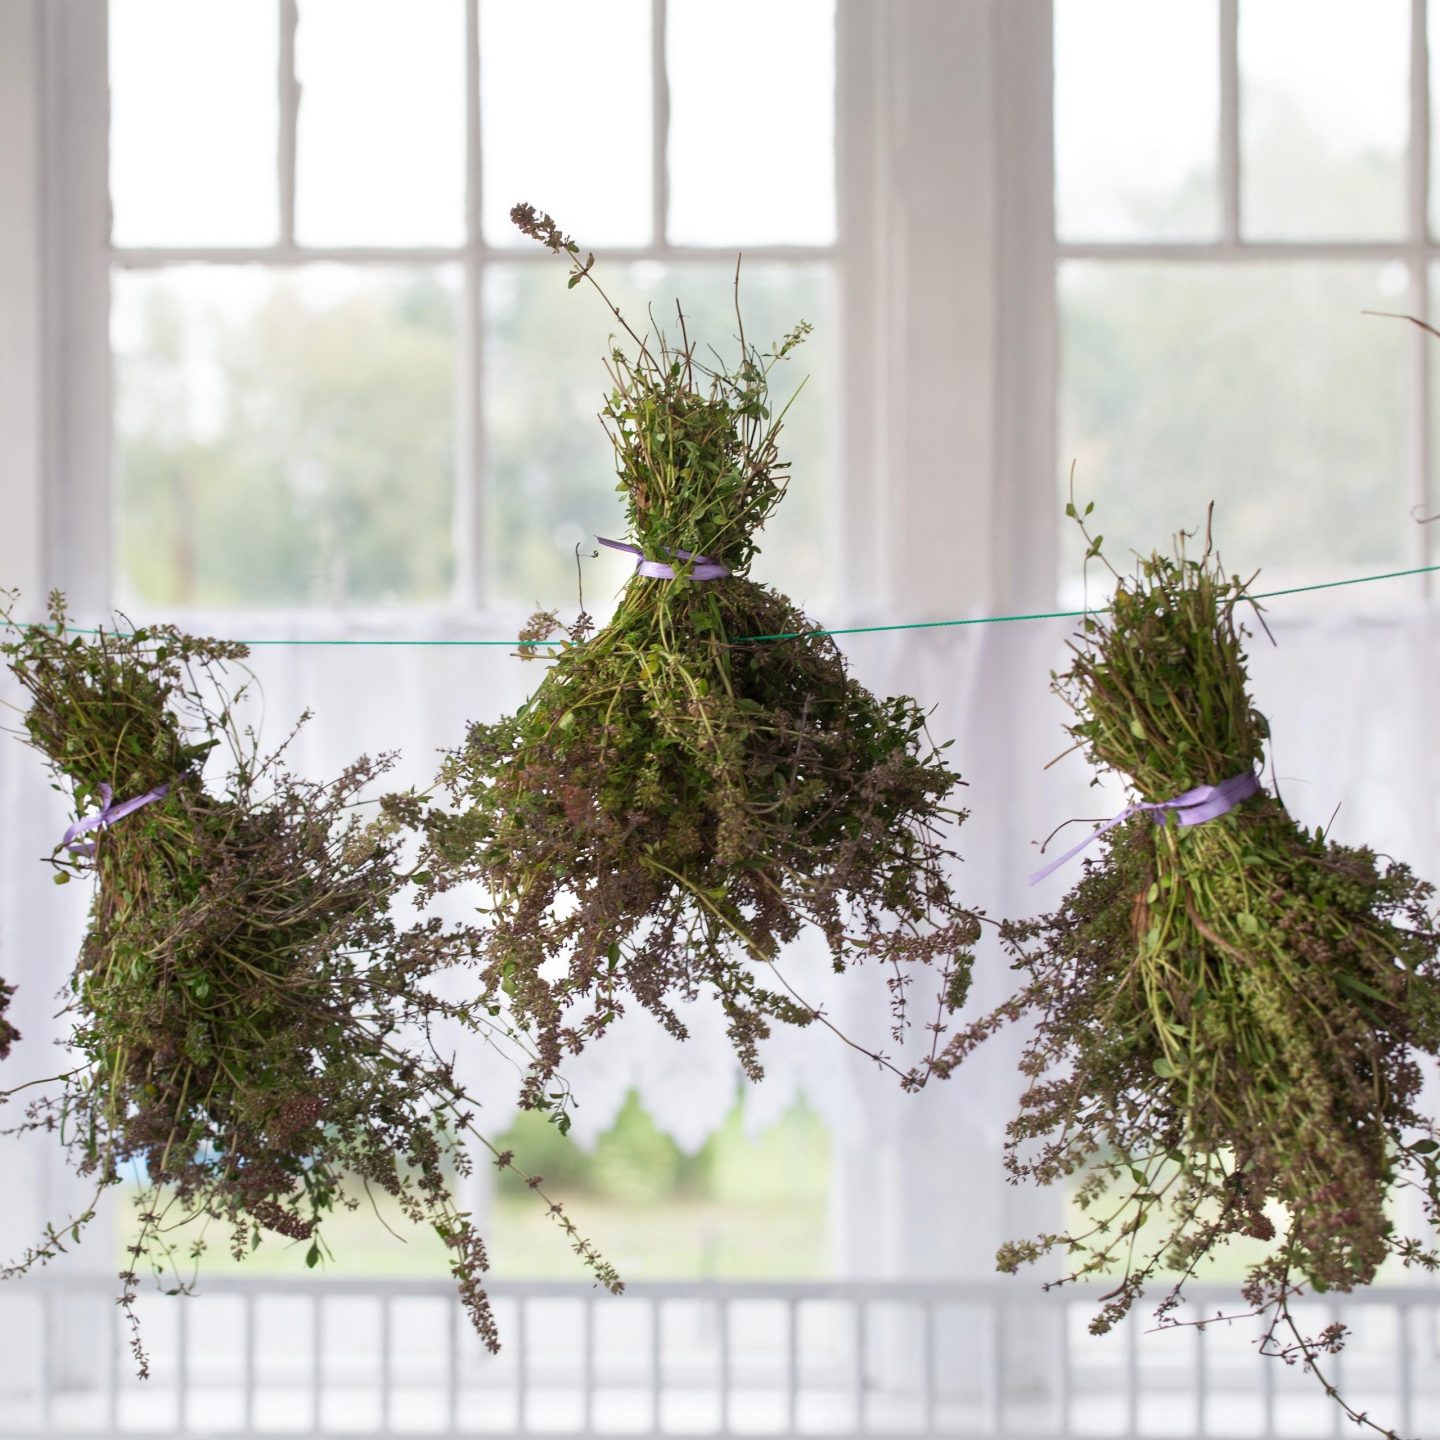
Once you have tied the herbs together, the next step is to hang the herbs upside down in an airy room. This should take around a couple of weeks.
Storing the Herbs
Now that you have dry herbs, how do you store them? Firstly, make sure none of the air-dried herbs are moldy. You do not want to eat it, and it will only spread to the other herbs making them all unusable!
There are many ways to store herbs, from jars and airtight containers to zippered bags. While crushing them is a good idea when using them, it is best to keep them whole until it is time to add them to food. Doing it this way will mean the herb will retain its flavor better.
Do not forget to label what the herbs are using sticky labels, and always keep the herbs away from direct sunlight and in a cool but dry place, for example, a cupboard.
Recipes Featuring Garden Herbs
Thanks to my cottage garden, I have an abundance of fresh and dried herbs. If you follow my recipes, you'll see I use herbs in everything.
Frequently Asked Questions
What are the best dried herbs?
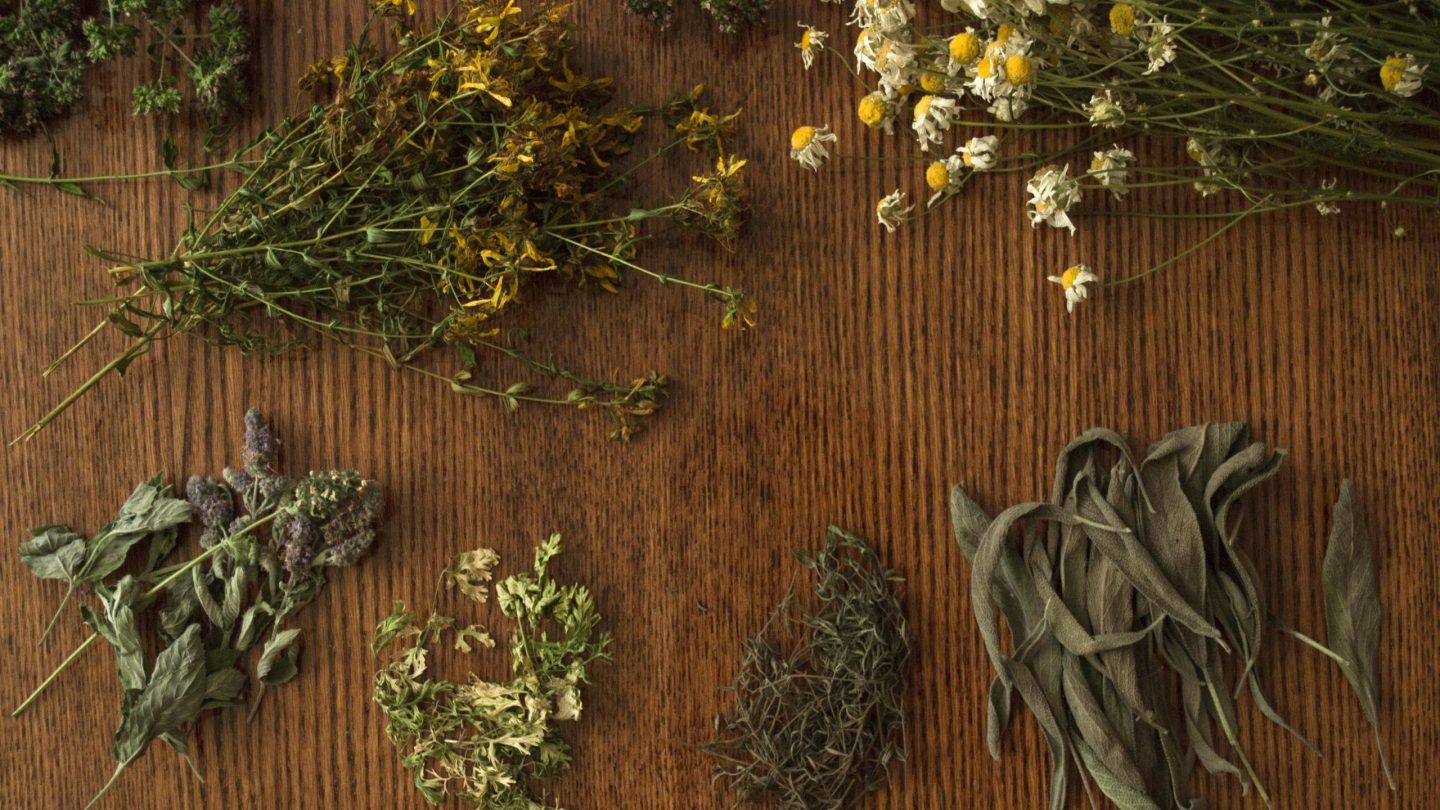
The best DRIED herbs include:
1. Rosemary - fragrant, roasts, stews, meat
2. Thyme - roasts, steaks, and even eggs
3. Oregano - Italian classic
4. Sage - savory, roasts, stews
5. Basil - pastas, bruschetta
6. Mint - fresh, roasts, teas
7. Dill - salmon, poultry, light
8. Marjoram - warm, lemony flavor
My personal favorites are rosemary, thyme, and dill. I use one of these every other day and they are easy to grow and plentiful in my garden.
How do you dry herbs without losing their flavor?
Air-drying is the best and only method for drying herbs and retaining their full flavor, better aromatics, and natural color. Dehydrators offer similar benefits, however the rapid process results in loss of flavor, aromatics and even color.
Tip: Better color and flavor retention usually results from air-drying indoors.
How long do herbs need to dry?
Air-dried herbs take on average 5-10 days depending on their hardiness. Herbs are done when they crumble easily between your fingers. Also the stem should break when bent and the leaves should fall from the stems.
Growing Herbs
Interested in growing herbs? Check out tips, how-tos, and more.
Final Words
Growing your own herb plants is a beneficial way to add flavor to meals without relying on store-bought ingredients. While it can be daunting to use the herbs, drying them could not be any easier.
Not only does it retain the flavor, but it also helps the herbs to last much longer than if it was kept on the plant. Air drying is an inexpensive and simple method for those who want to dry out their herbs for future use.




Comments
No Comments