Do you love cottage or farmhouse decor? Then you're gonna love making these adorable no sew ruffled tea towels!
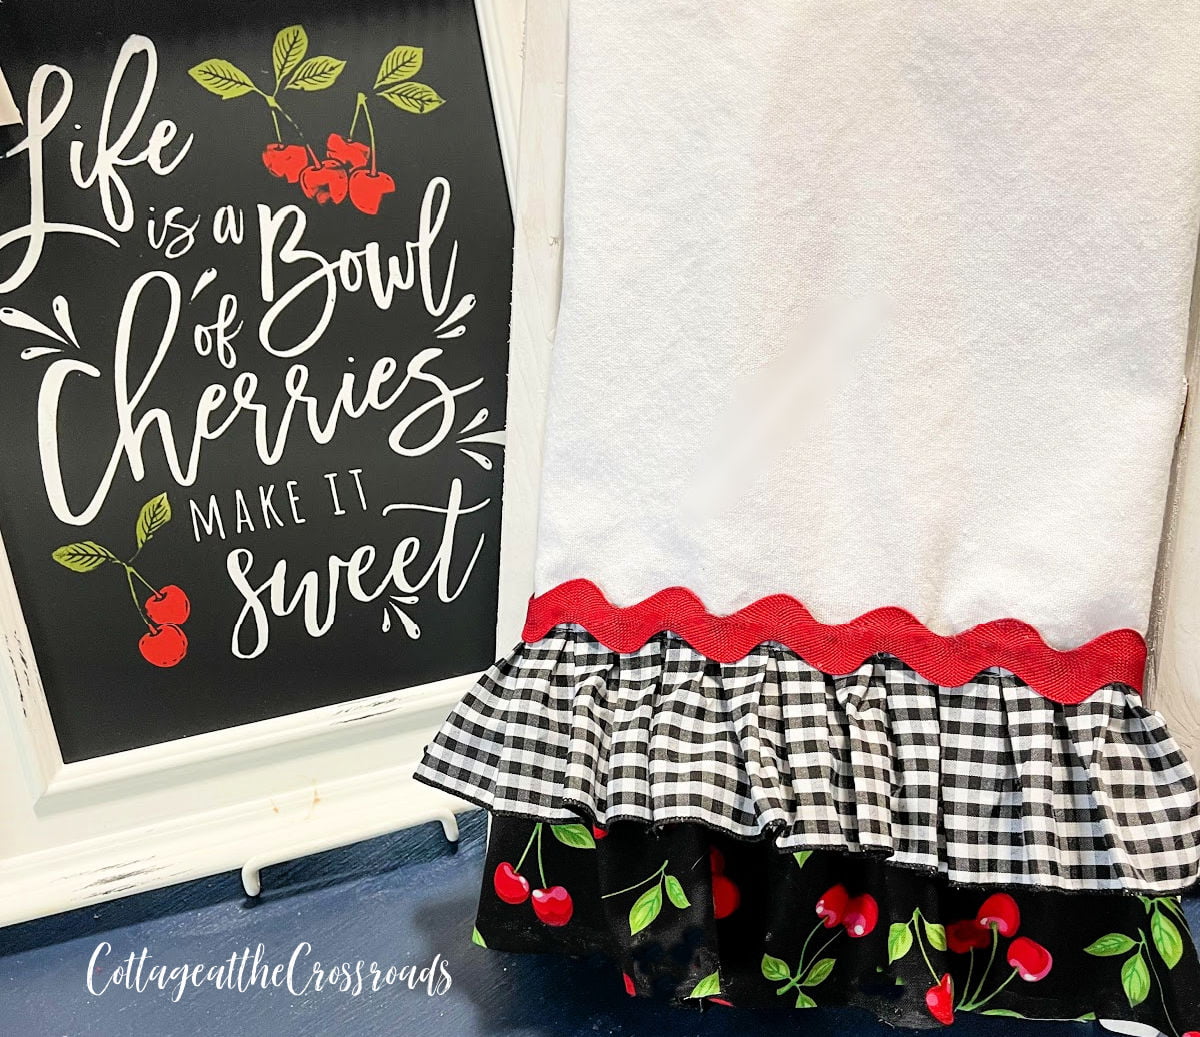
Hey friends! I have to put a qualifier in here! These tea towels are almost no sew because you will need a needle and thread to create those cute ruffles! But that part is super easy to do even if you haven't sewn anything in your life!
Or, you can purchase trim that is already ruffled and totally skip any sewing!
Of course, if you have a sewing machine, you can use it. Which is exactly what I've been doing lately. I've been sewing up a bunch of these tea towels.
But I thought I'd help out my friends who don't have a sewing machine by creating a tutorial for making these stinkin' cute tea towels!
Speaking of hostesses, don't you think that my ruffled tea towel would make the cutest hostess gift?!? You could coordinate the ruffles to the color of her decor or the season. The options are limitless!
supply list for making a ruffled tea towel
- a cotton tea towel or napkin (I used a plain white napkin that measured 18"x20")
- fabric: I used this cherry fabric from Amazon (affiliate link) CHERRIES QUILT FABRIC
- scissors
- straight pins
- needle and thread
- fabric glue: I used this kind from Amazon (affiliate link) ALEENES FABRIC FUSION
- black and white buffalo check pleated trim from Hobby Lobby (optional)
- rick rack or other trim: I used ⅝" wide red rick rack from Hobby Lobby but here is some that I found on Amazon (affiliate link) JUMBO RICK RACK
how to make a ruffled tea towel
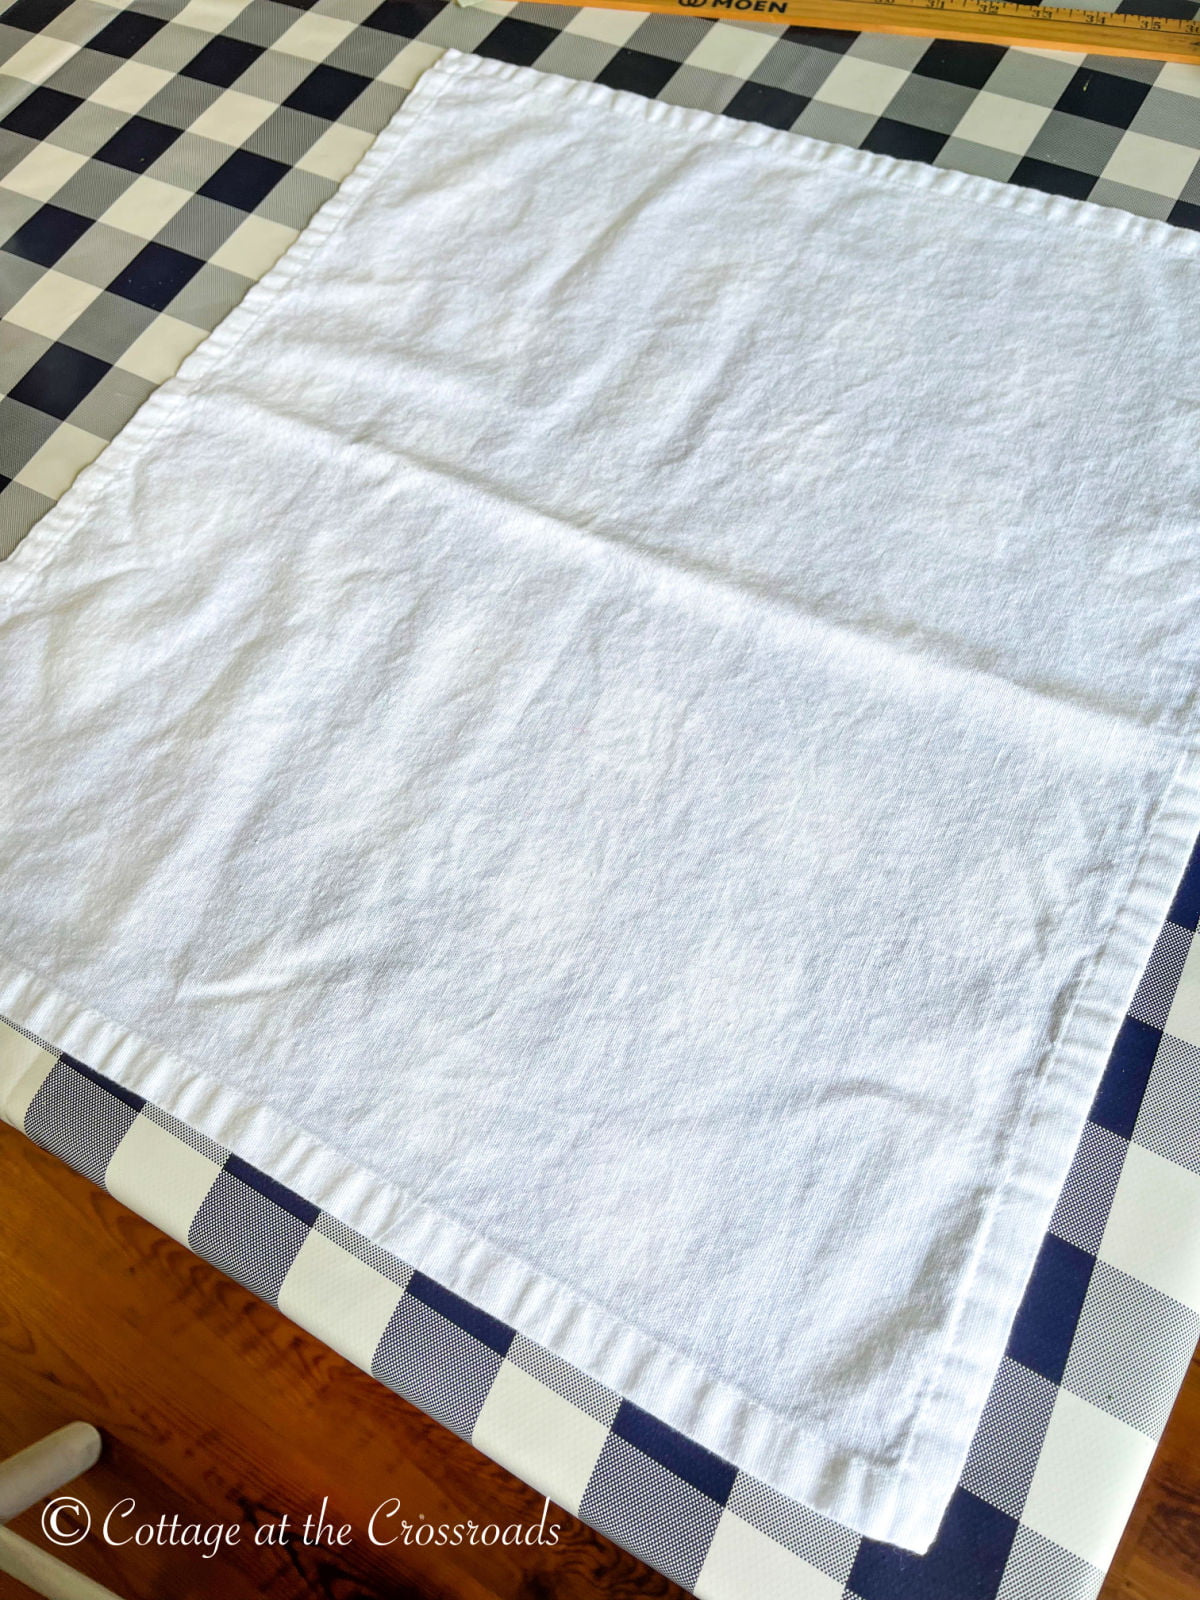
First, you will need a tea towel or a napkin. I used a plain white cotton napkin that I already had because it is shorter than most tea towels. Mine measured 18"x20". Iron the napkin to remove any wrinkles or creases.
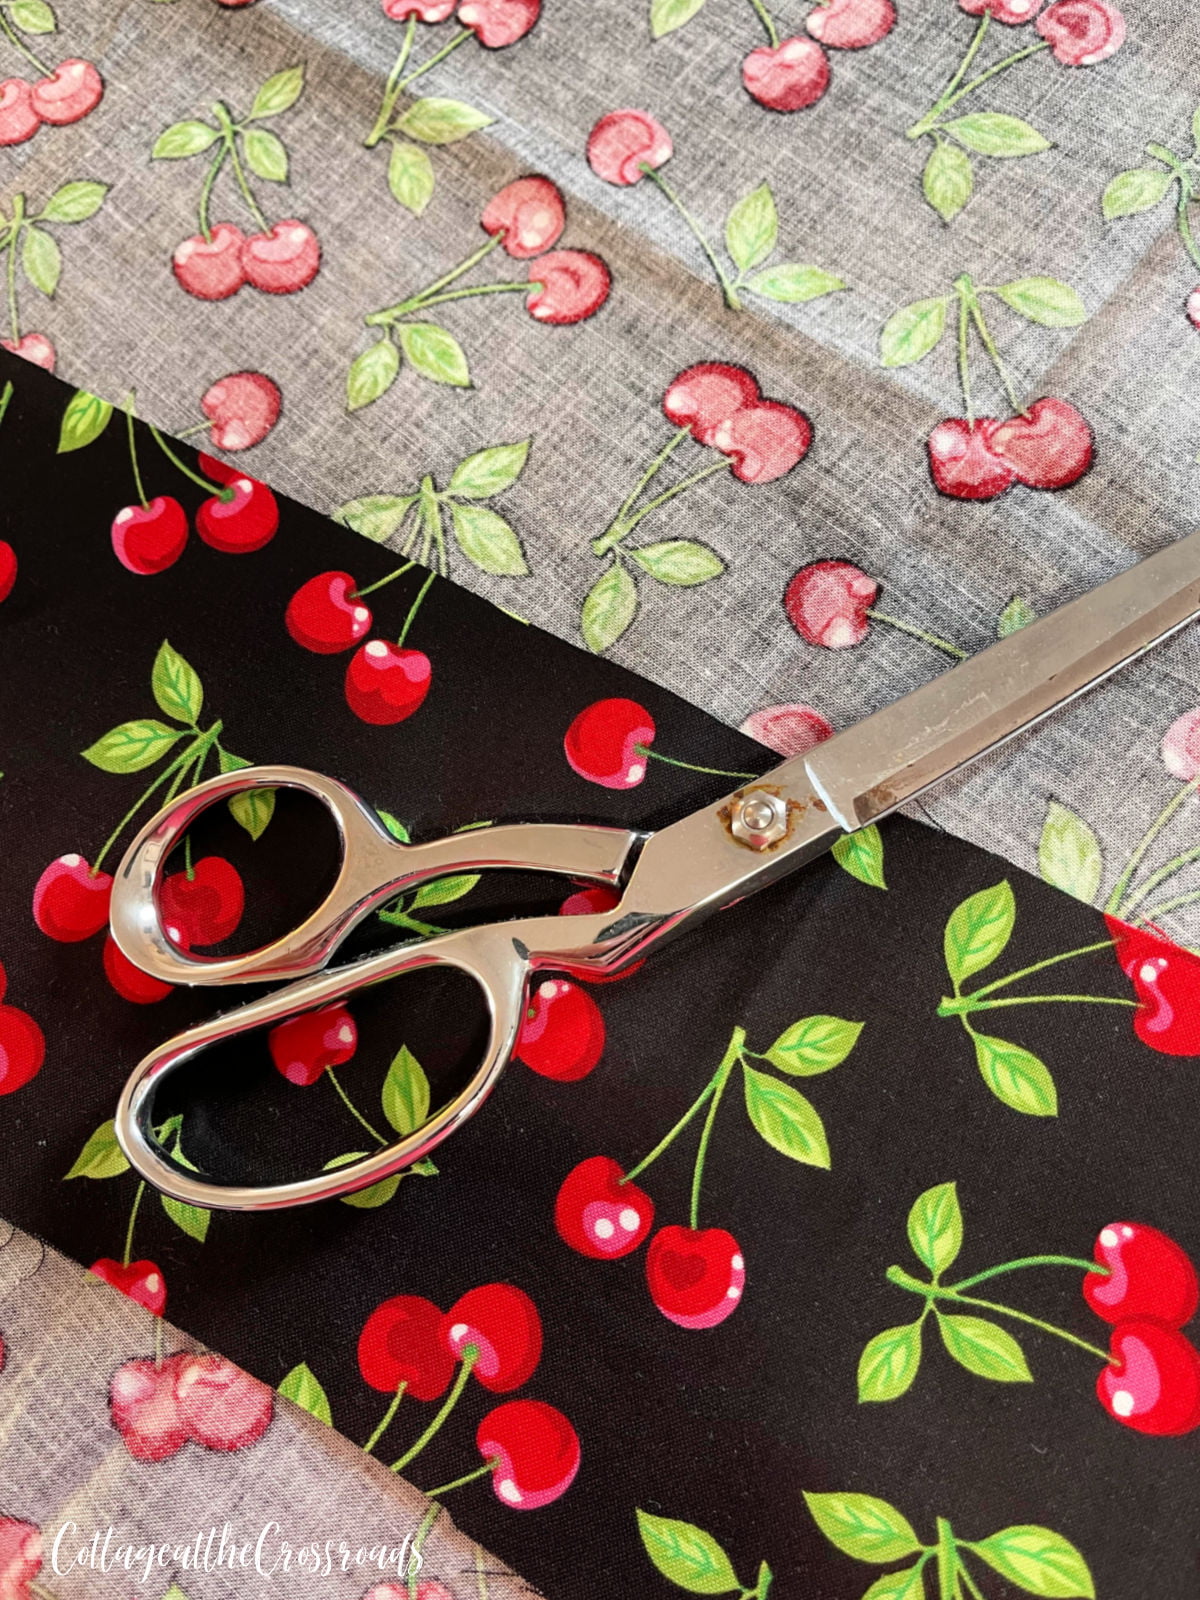
Next, lay your fabric that you are using to create a ruffle on a flat surface. Cut a strip that measures 5 inches by 38 inches (or whatever the width of your fabric is.)
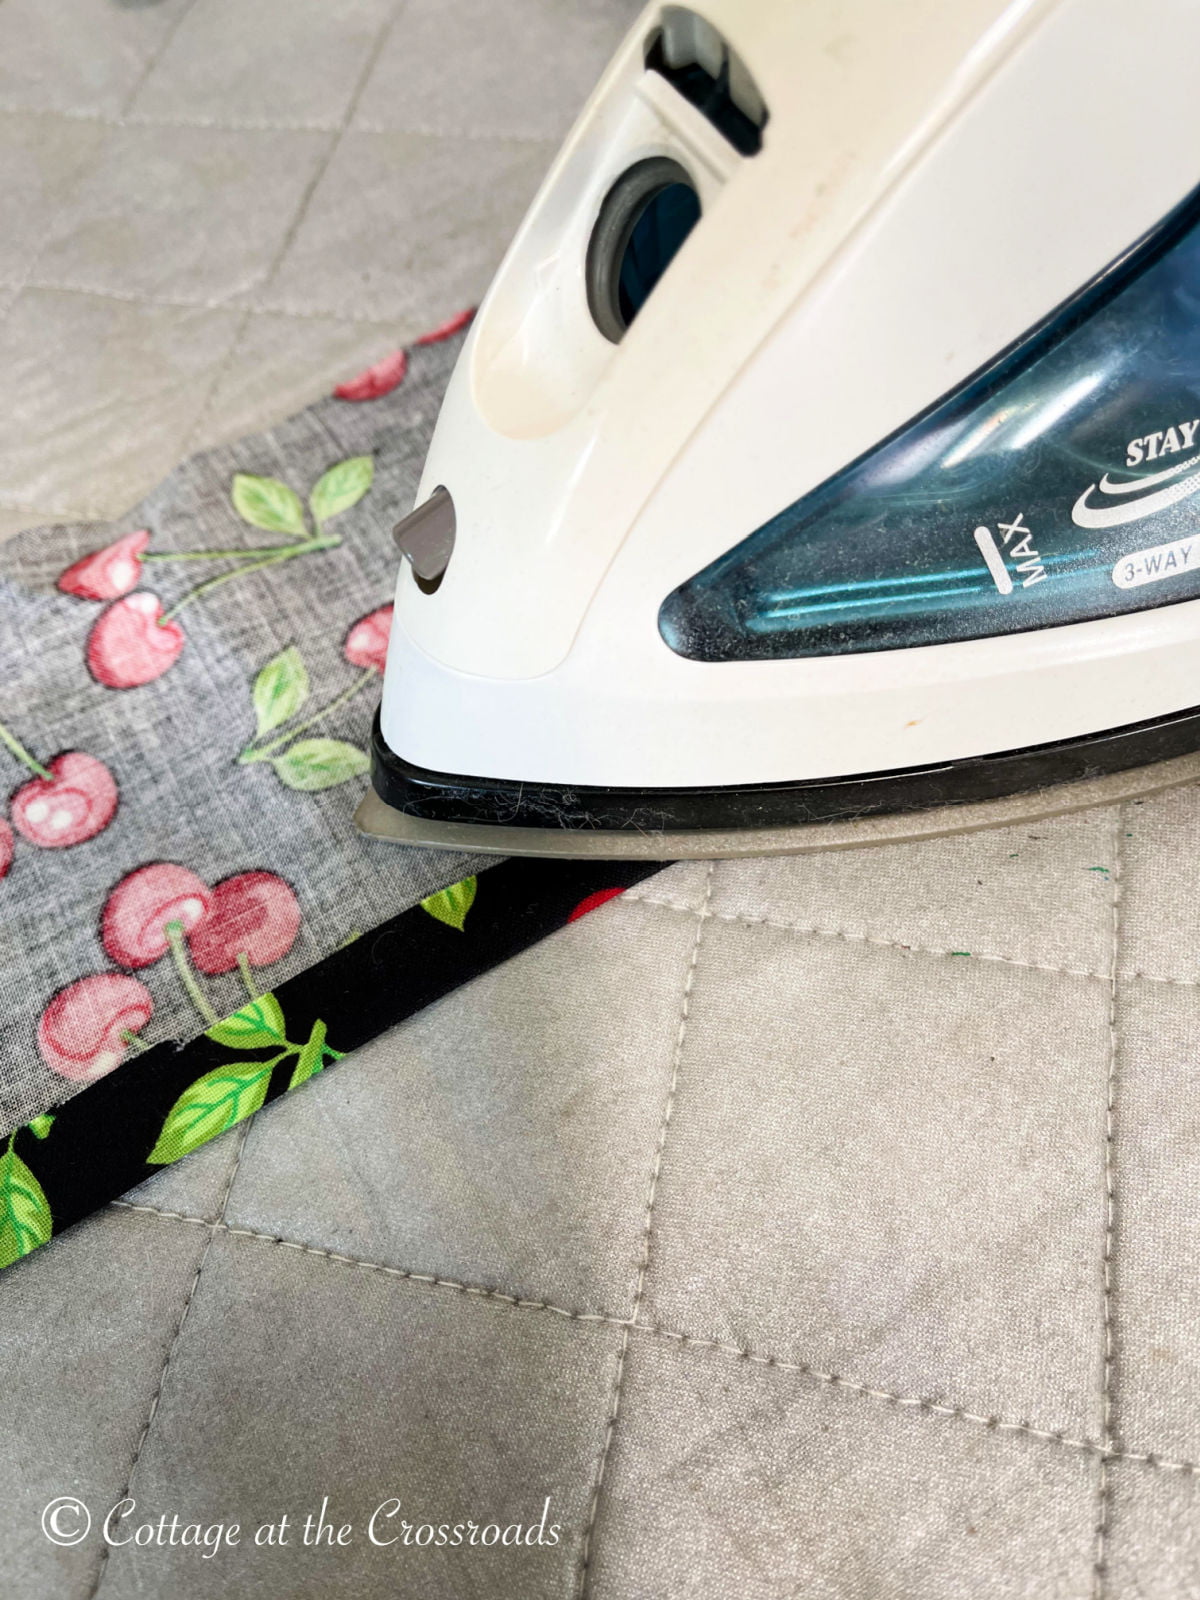
Turn over the strip of fabric and press a ½" hem.
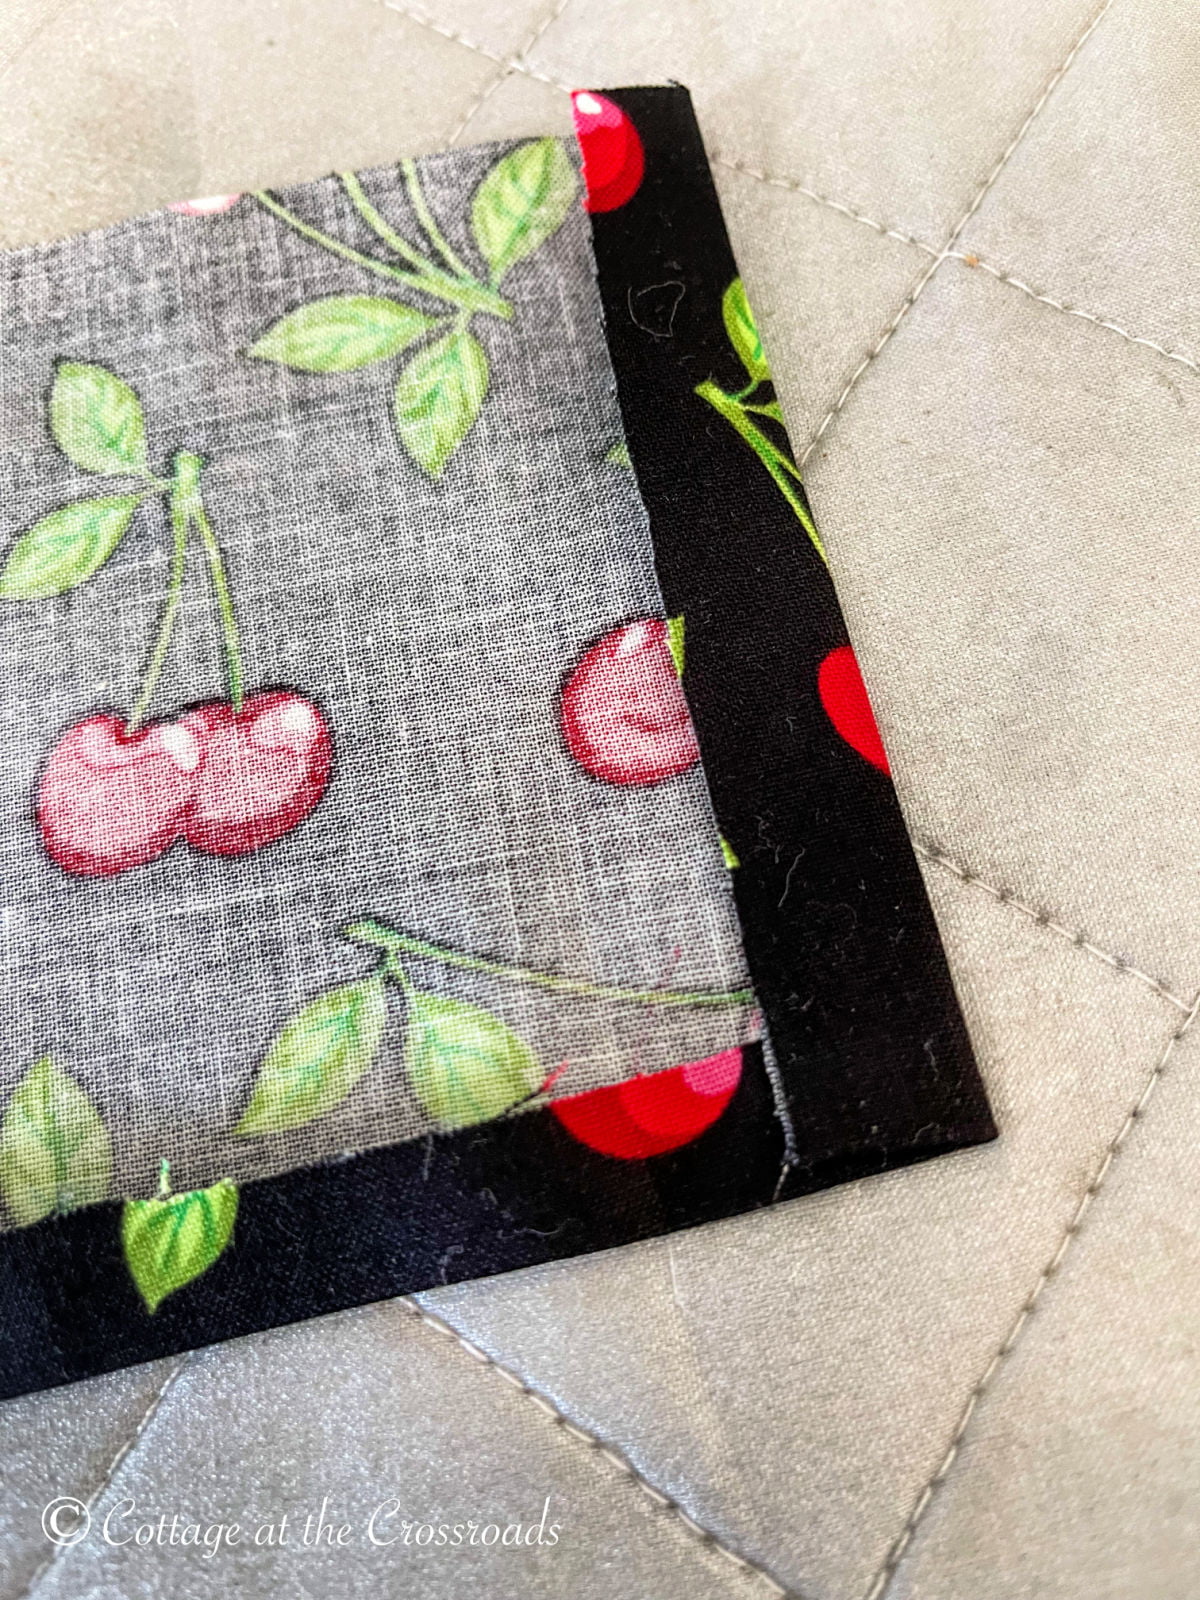
Press a hem onto the 2 sides as well.
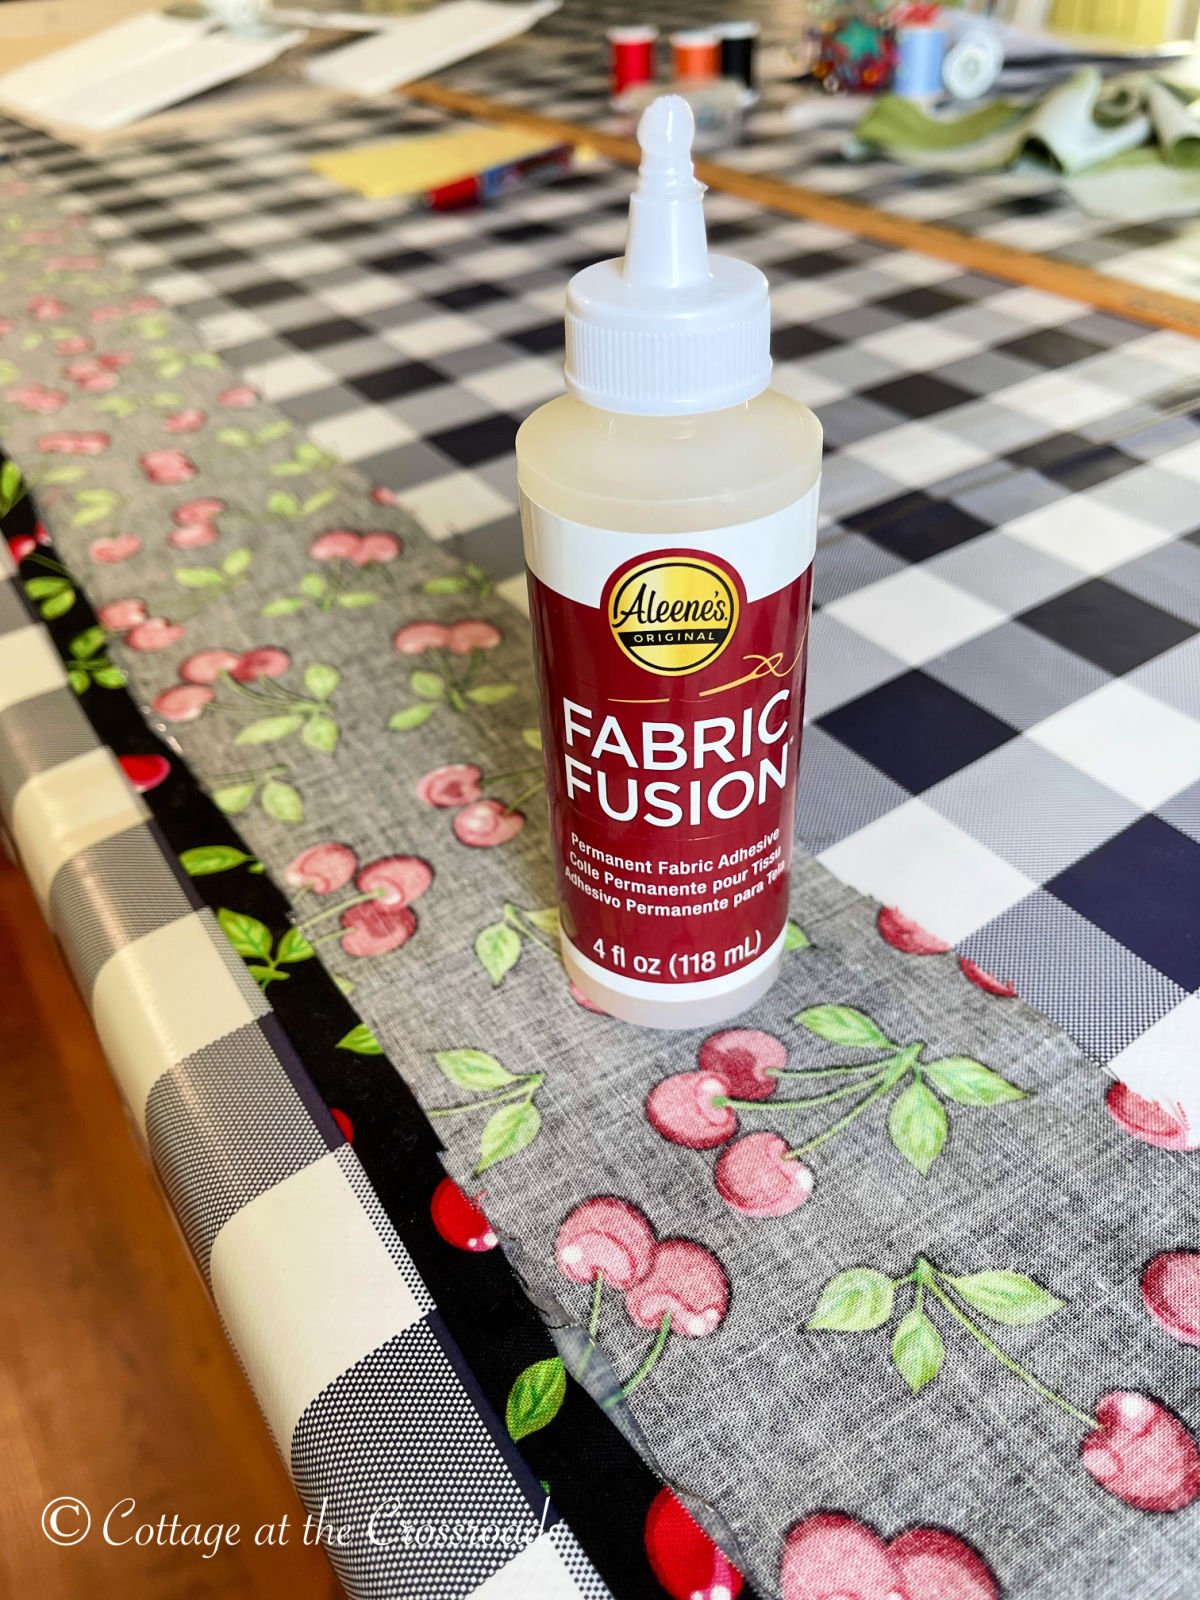
Apply a small amount of fabric glue inside the turned up hem. Allow to dry for an hour or so.
If you have a sewing machine, stitch the hems.
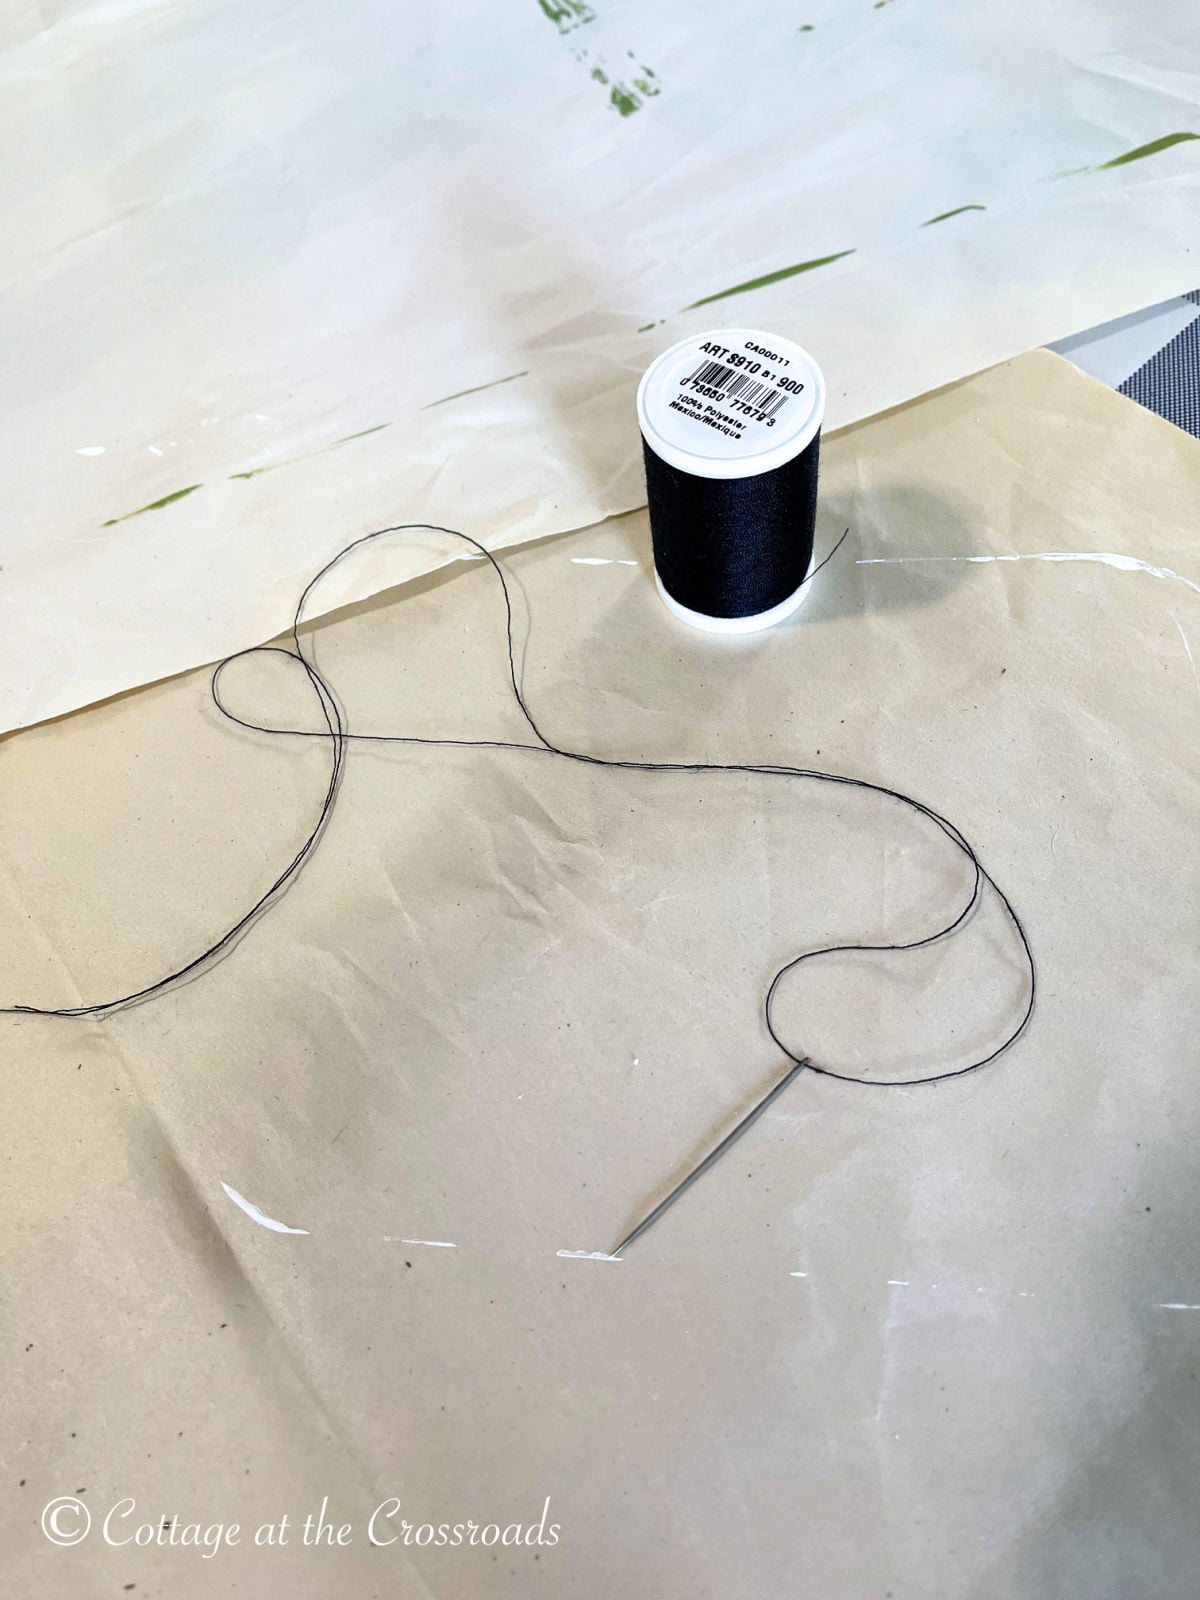
When the glue is dry, you are ready to create your ruffles. You could totally make this entirely NO SEW by pinching and gluing the top part of your strip of fabric. But to me, it is much easier to create ruffles by using a needle and thread.
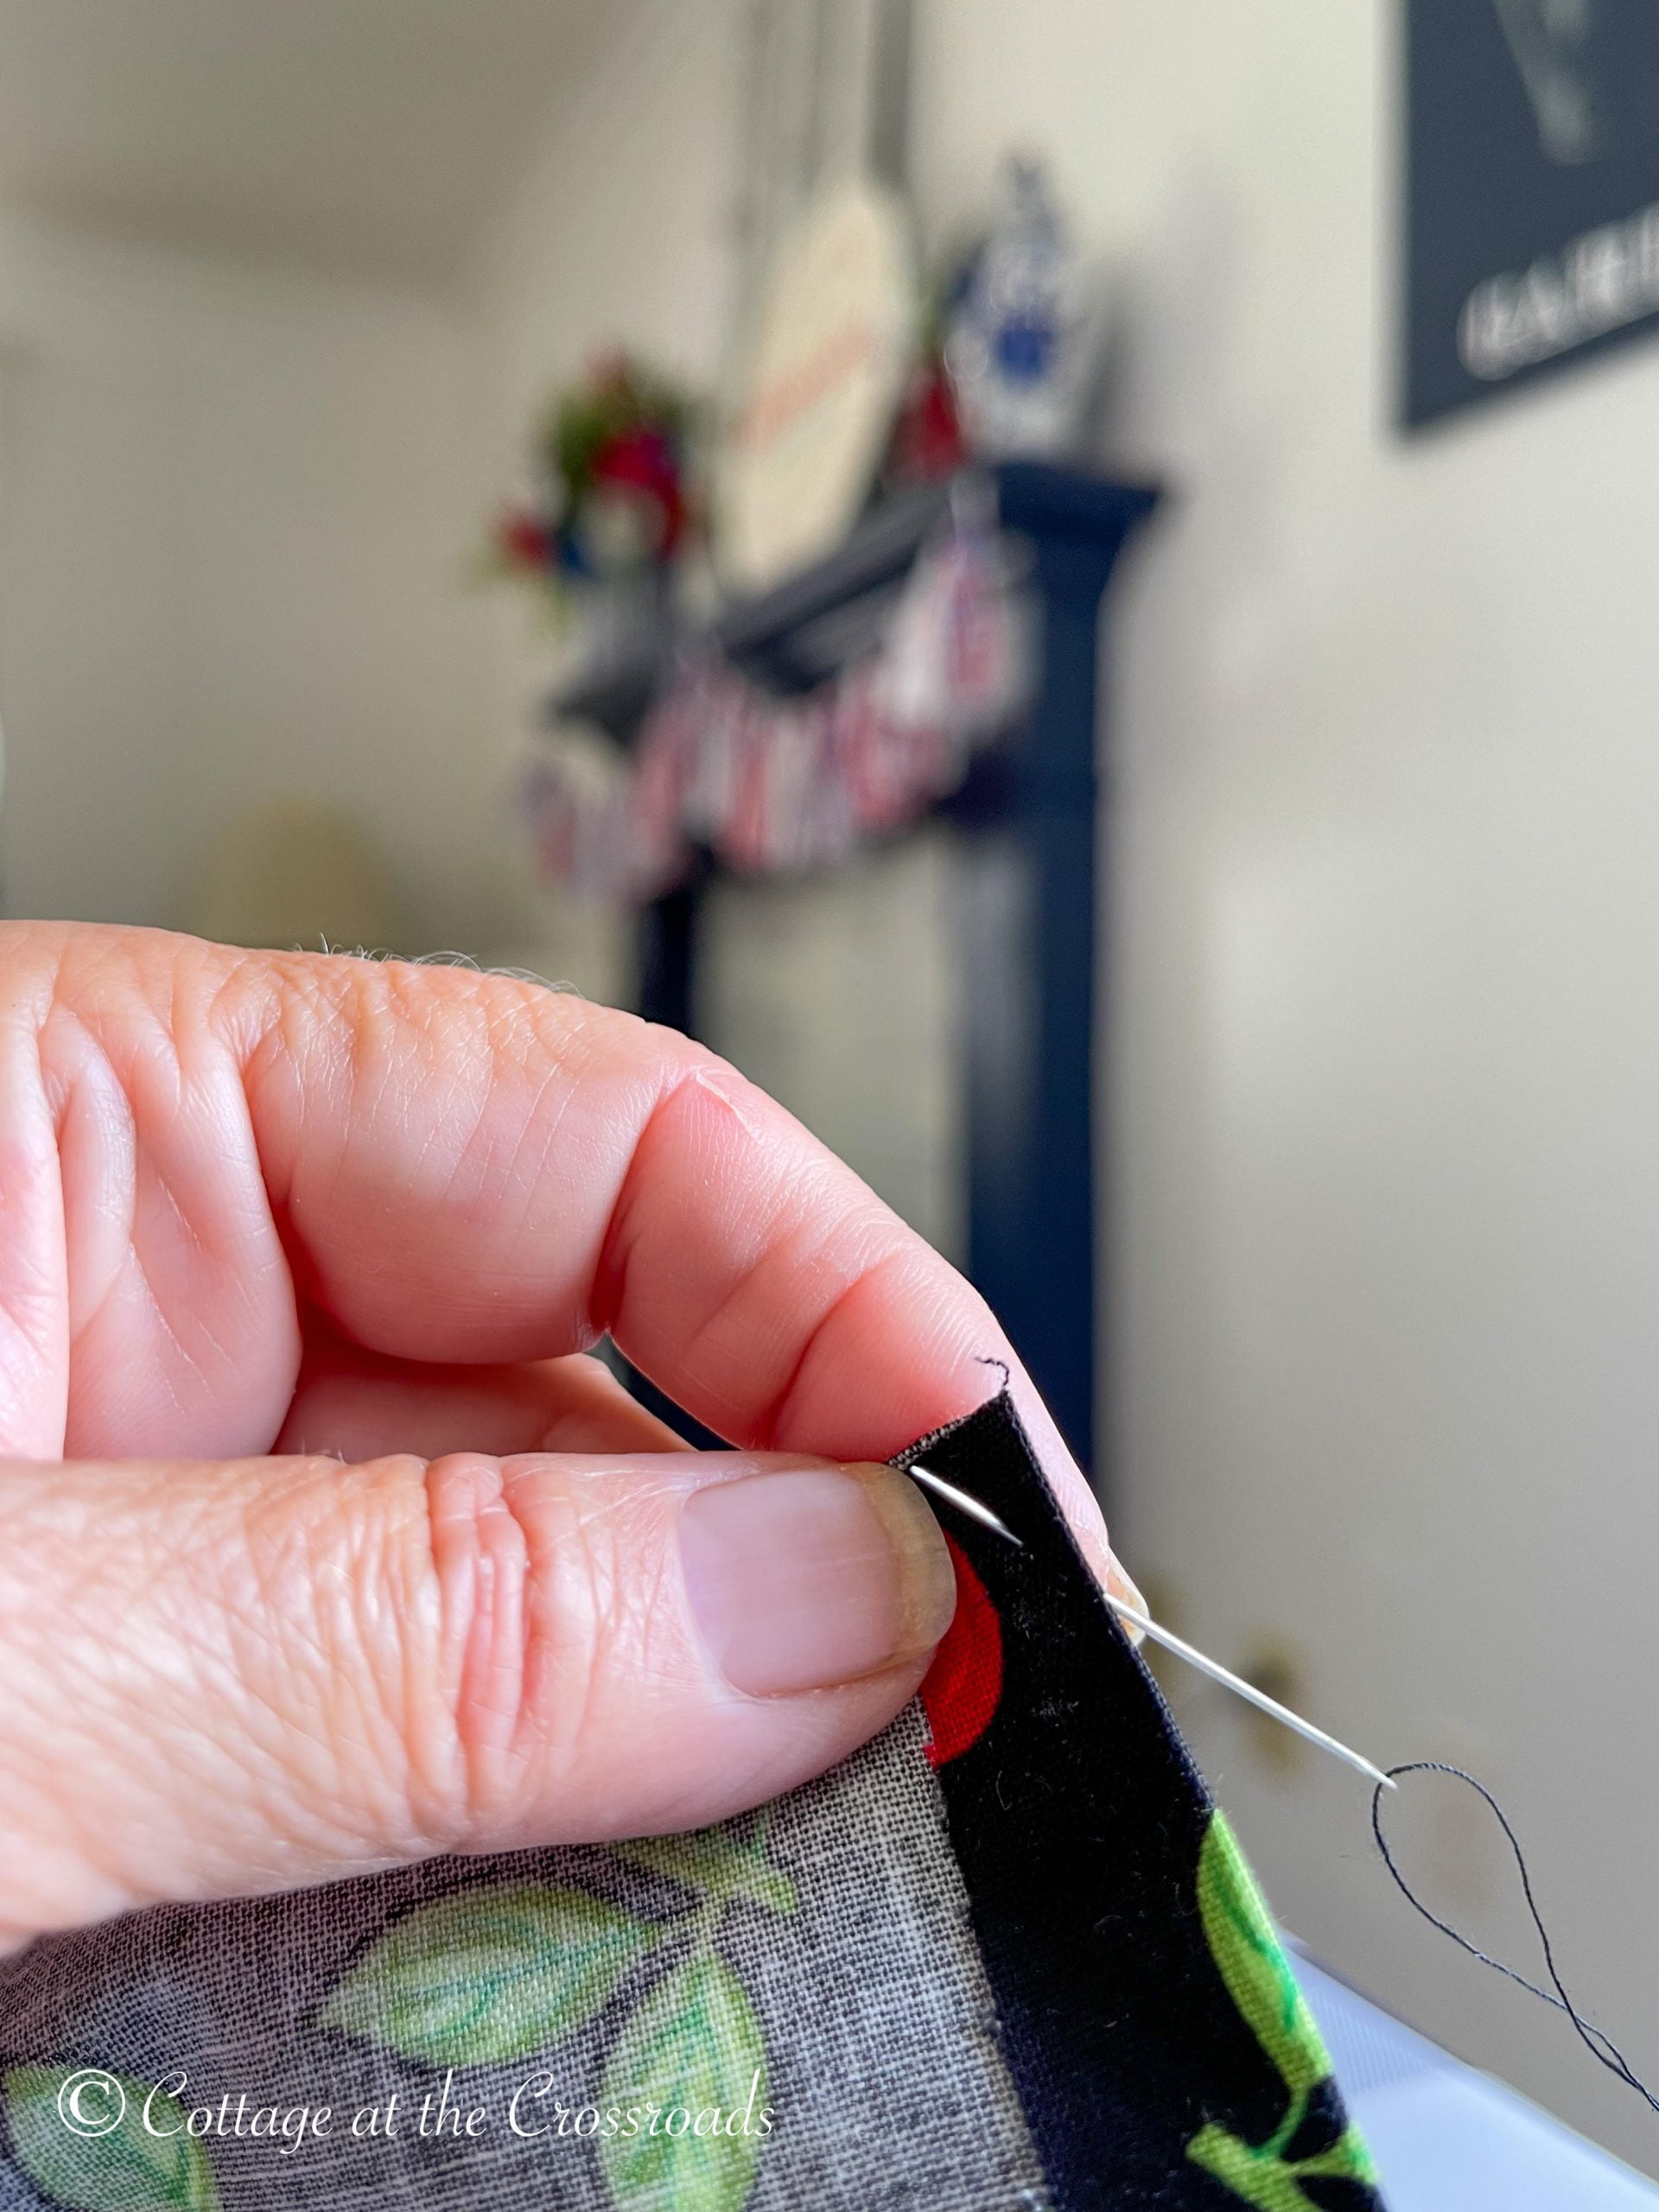
Thread a needle with a 30 inch piece of thread and knot the end.
Insert the needle into the end of the strip of fabric near the top.
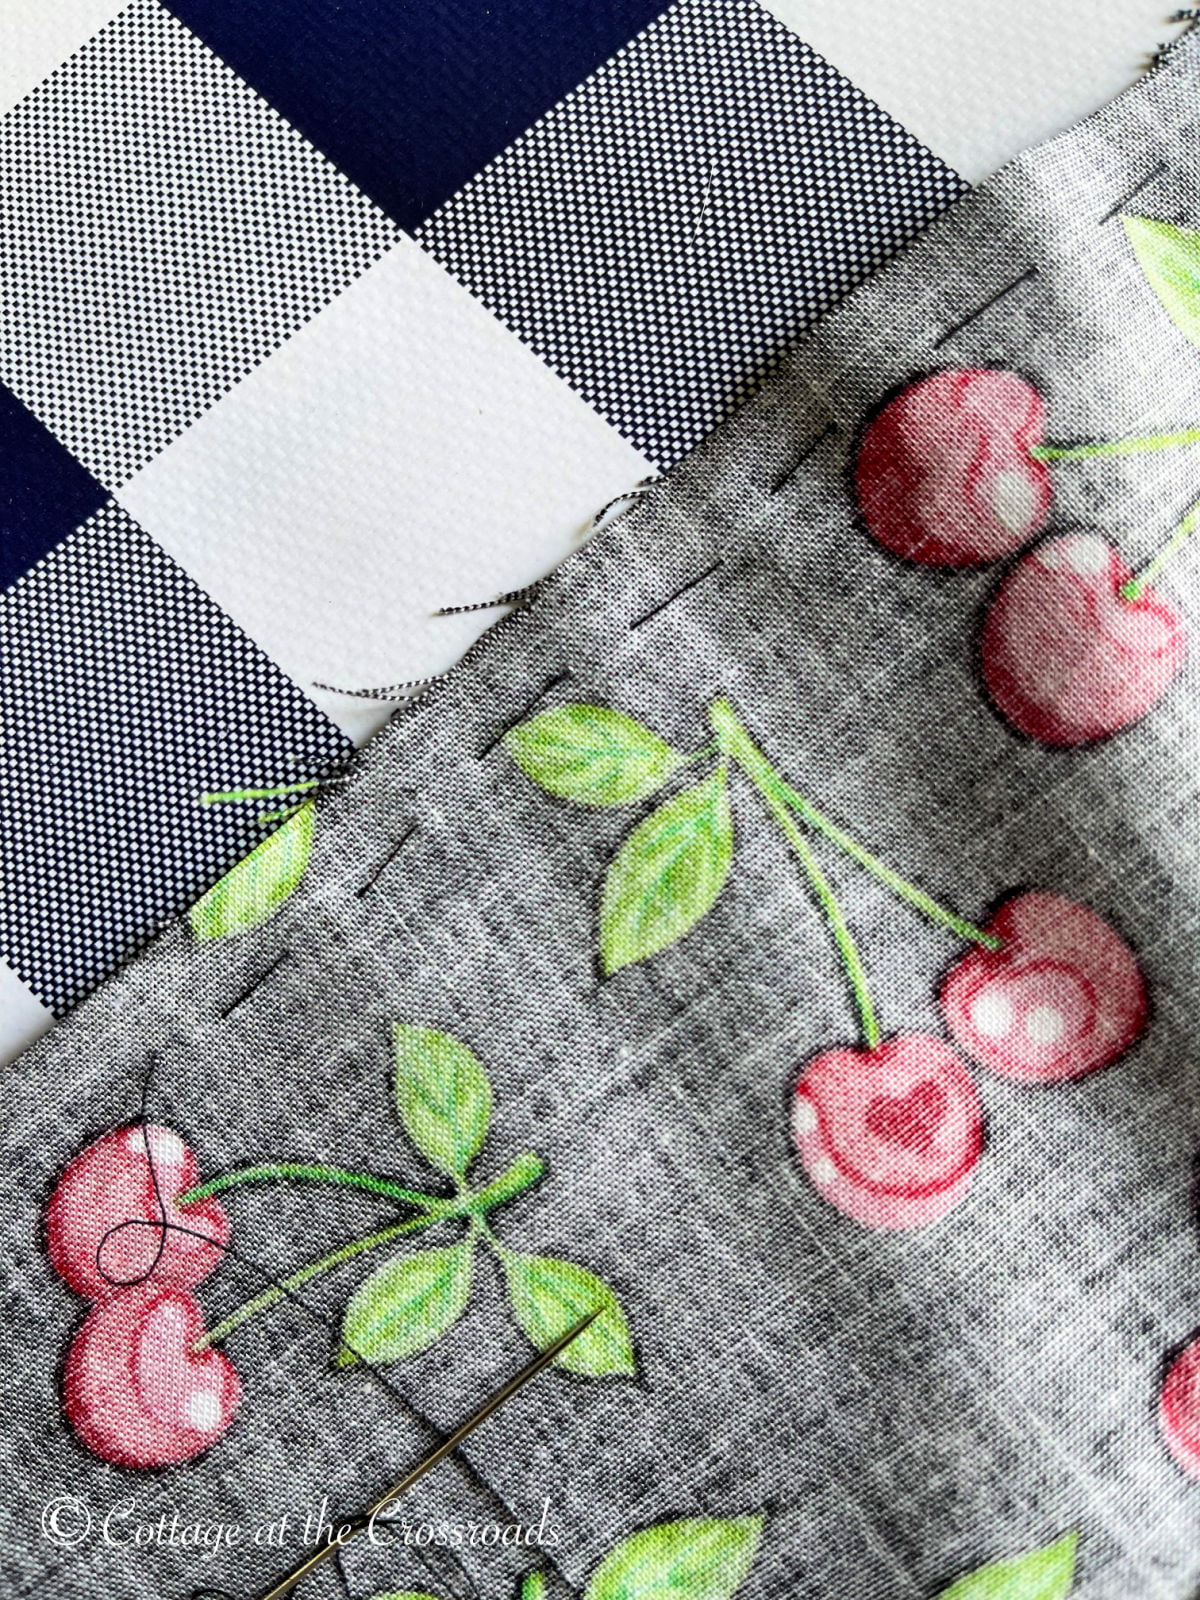
Make long, straight stitches called a basting stitch. After making stitches for about 5 inches, gently push the strip of fabric down the stitches, creating ruffles.
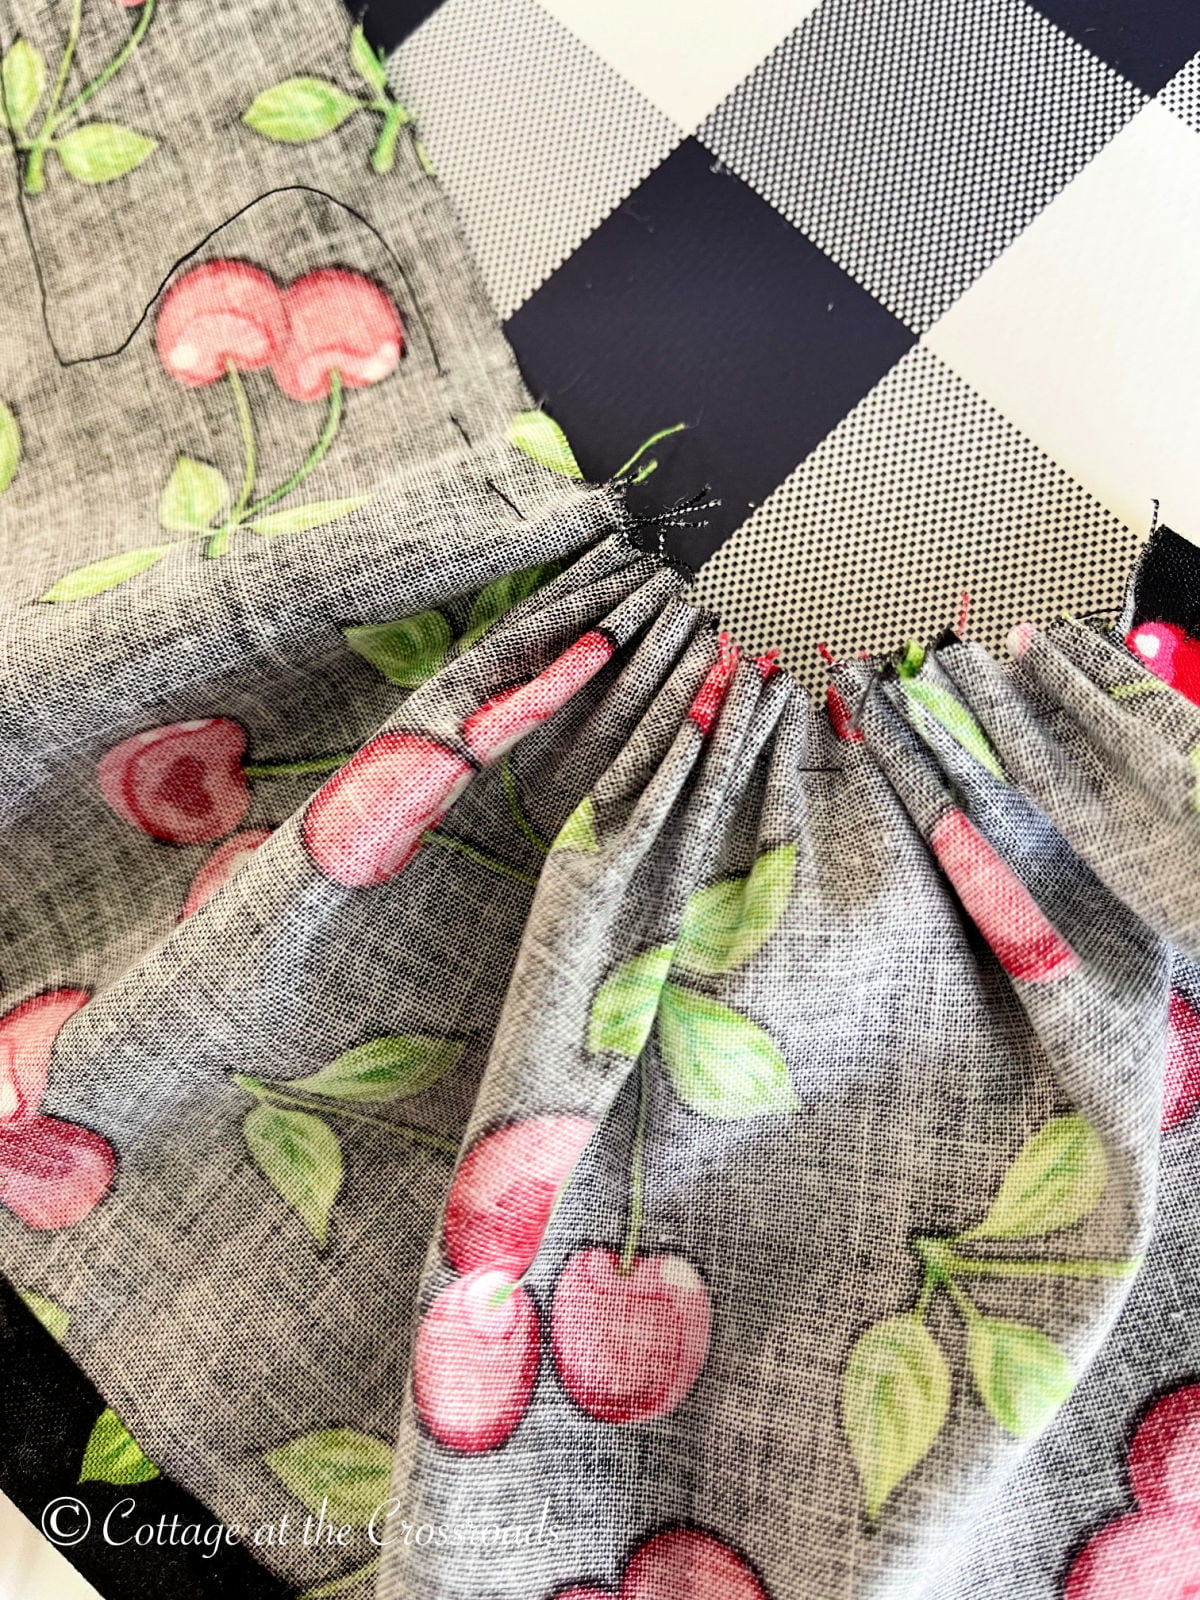
Continue making stitches and ruffles until you get to the end of your strip of fabric. Leave your thread and needle attached to the fabric.
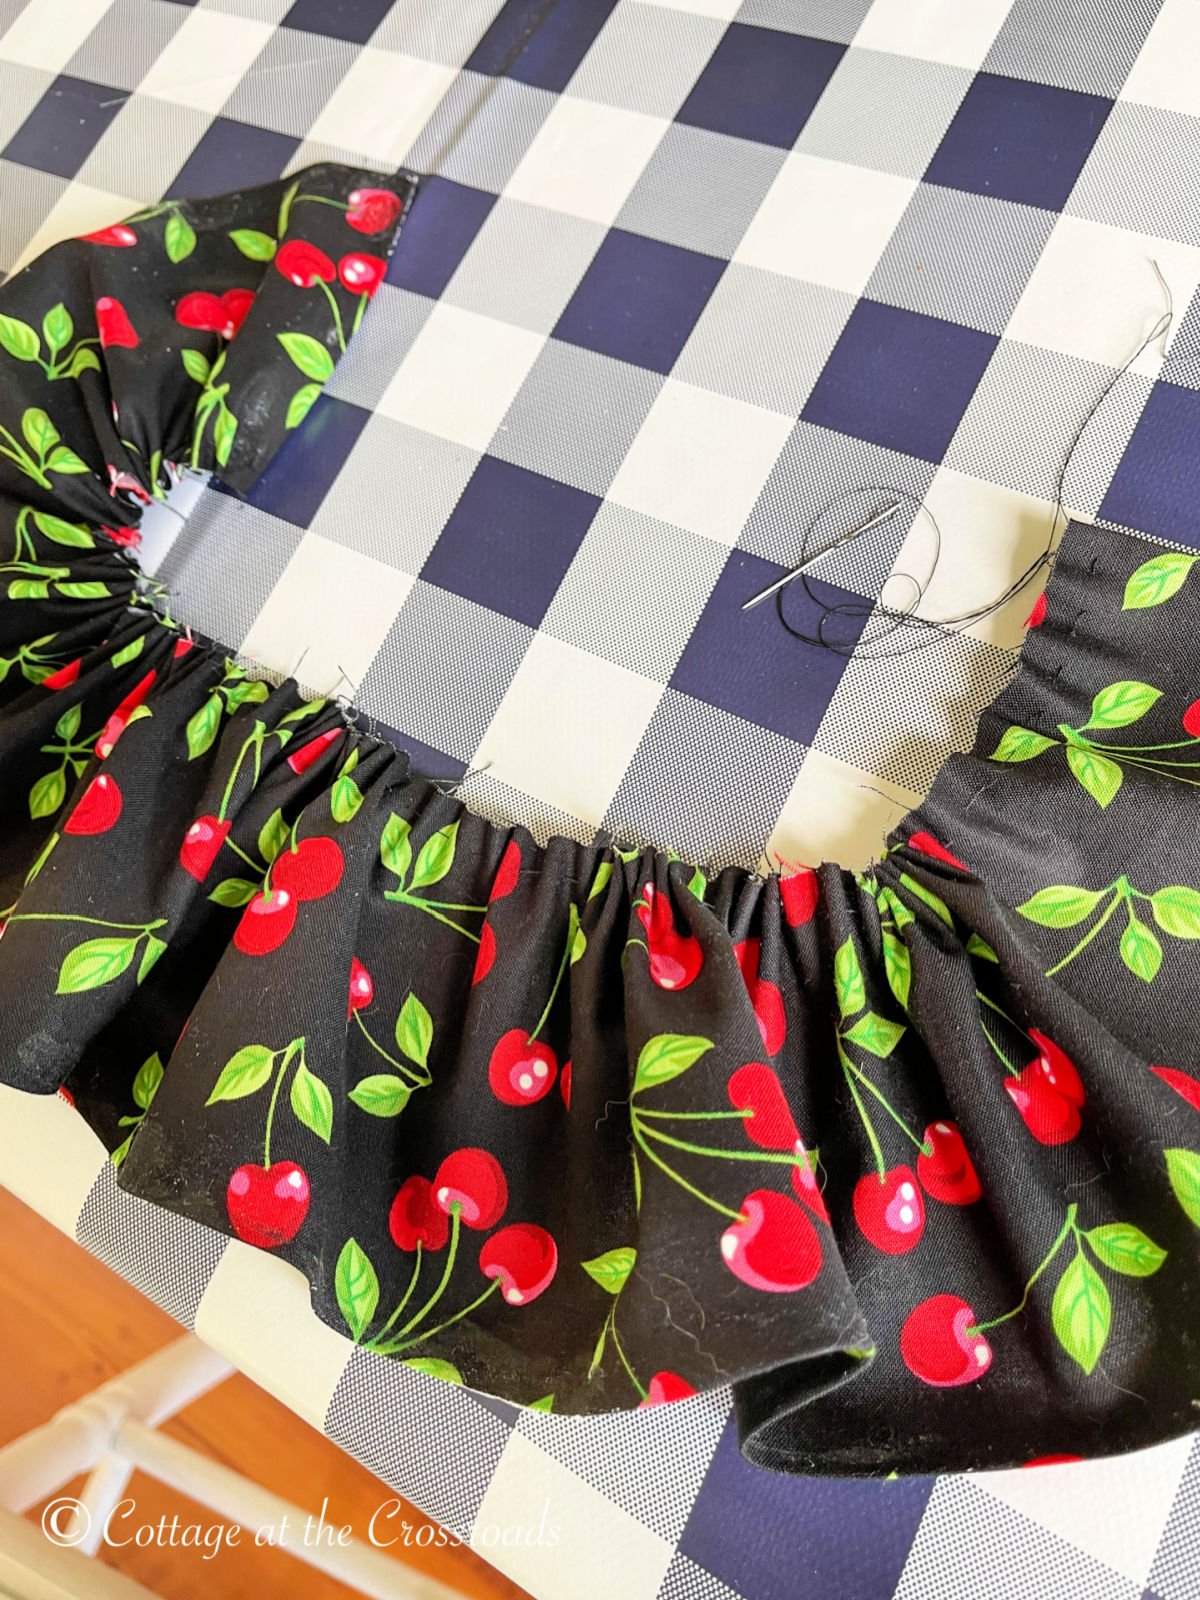
This is what your gathered strip of fabric will look like.
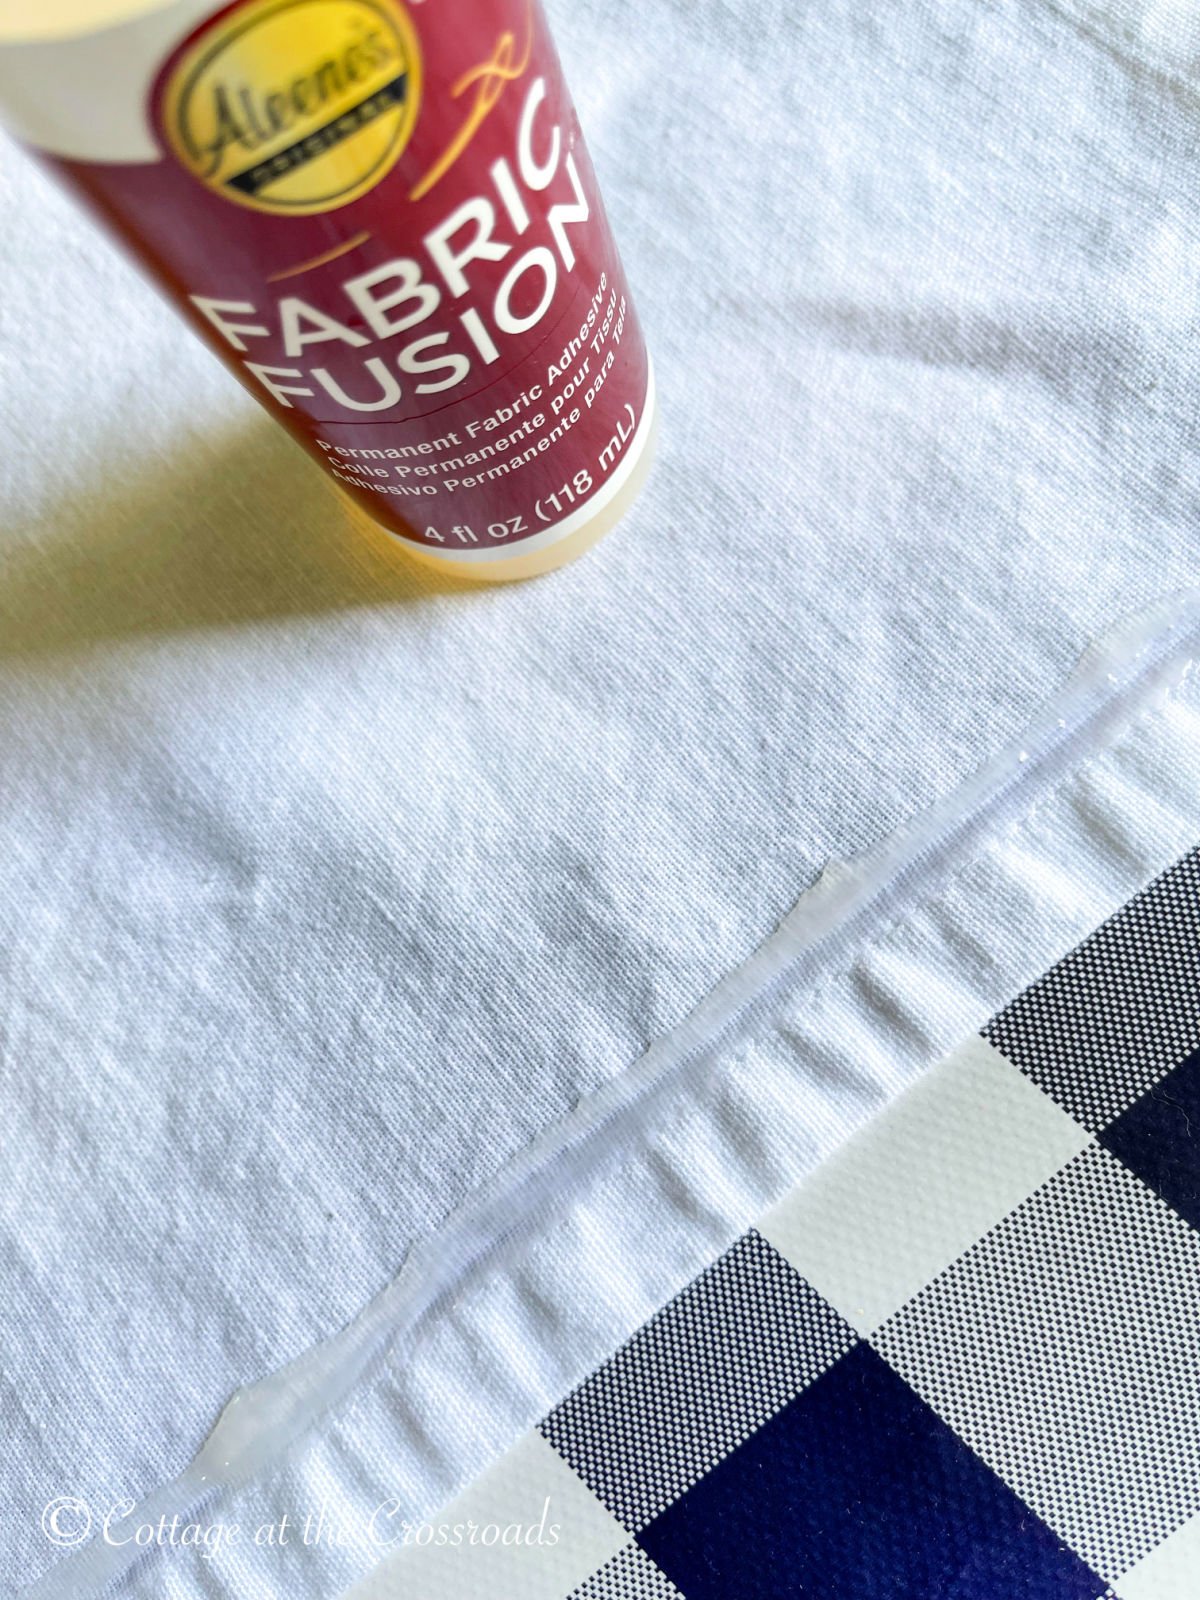
To attached the ruffle to the tea towel (or napkin,) lay the napkin right side up and apply a thin strip of fabric glue near the bottom hem.
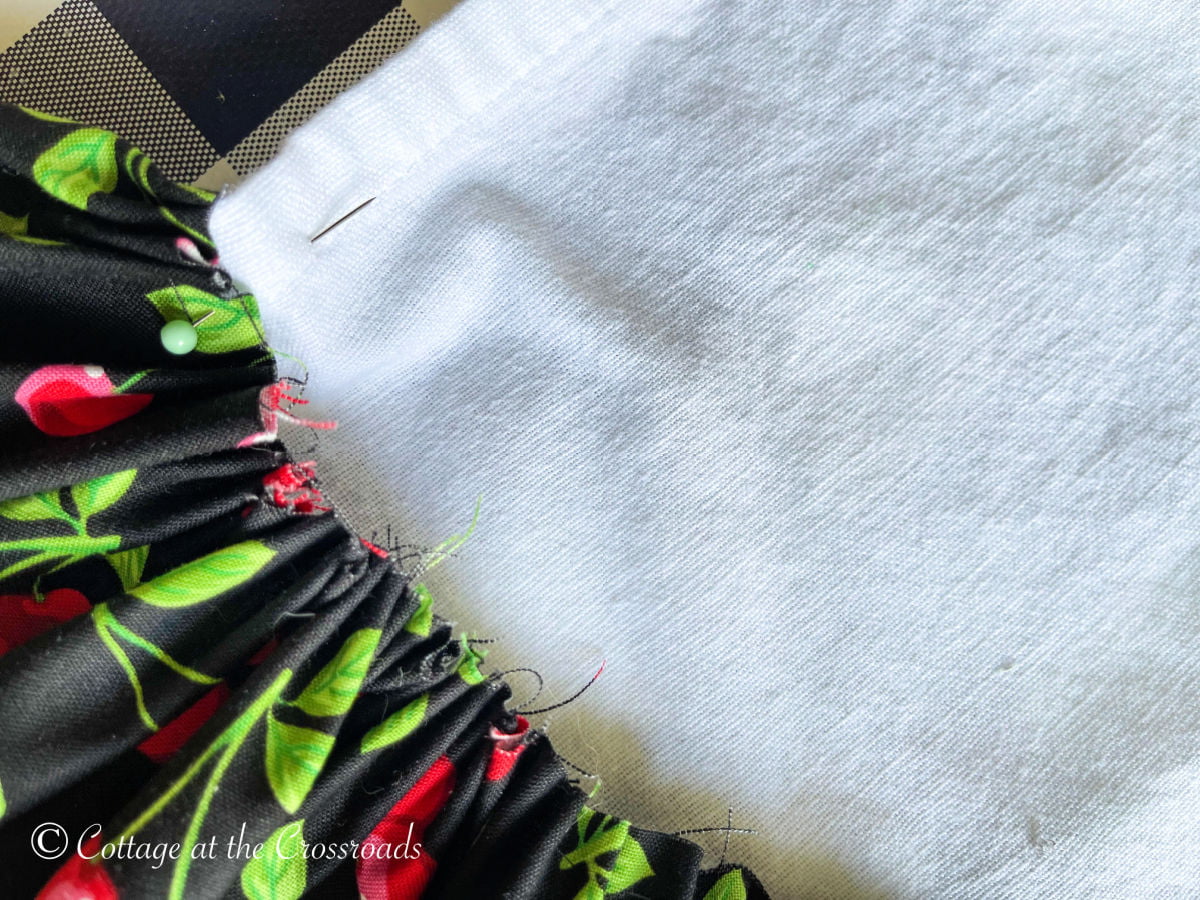
To attach the ruffle, pin the ruffle on the left side of the towel (napkin) allowing about a ½ inch turnback. Gently spread out the ruffles until the strip reaches the other side, allowing a turnback on the right side, too. Secure the end of the thread by creating a loop in the last stitch and pull the thread through to make a knot. Then cut your thread.
Press the top of the ruffle into the glue and pin to keep in place. Allow to dry.
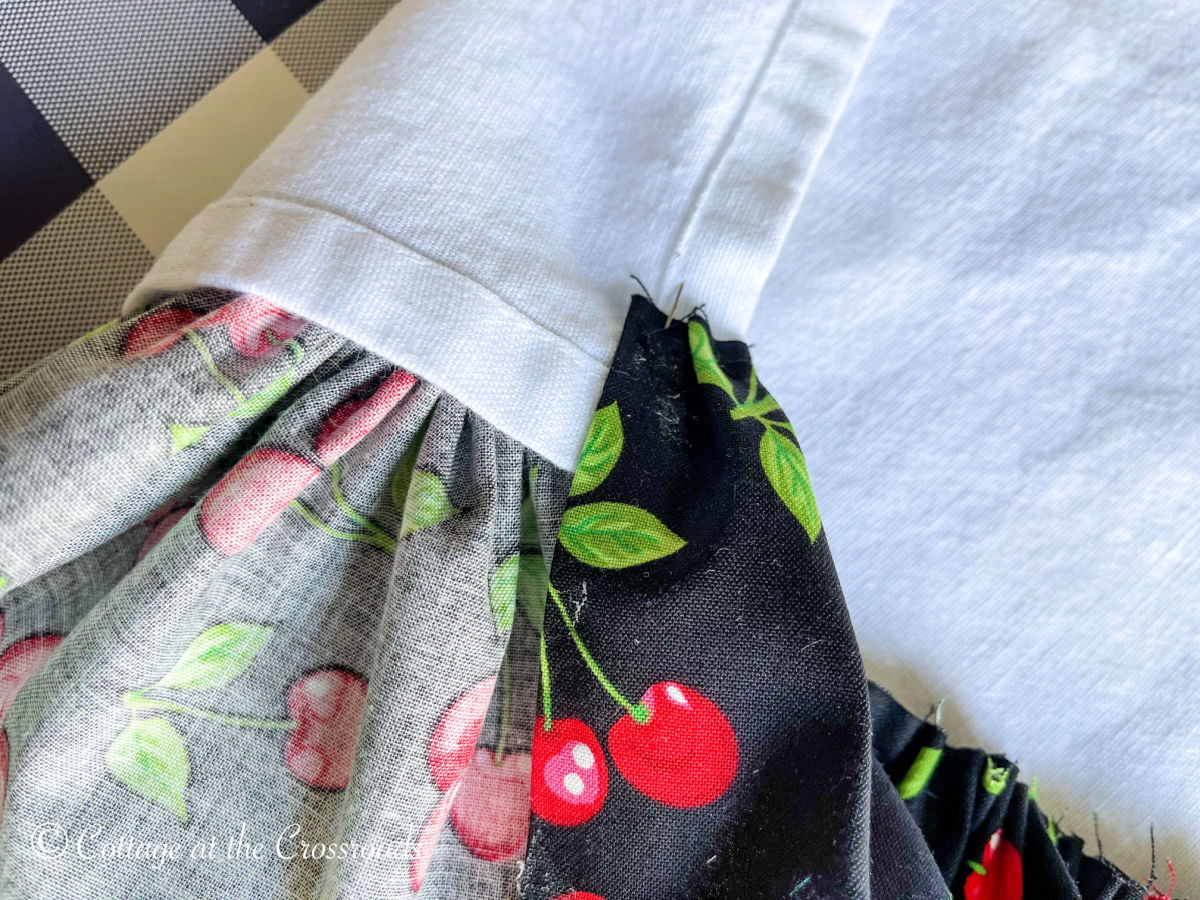
If you have a sewing machine, you would omit the glue and use your machine to attach the ruffle.
To make a second ruffle, repeat the above process but use a strip of fabric 3 ¼ inches wide.
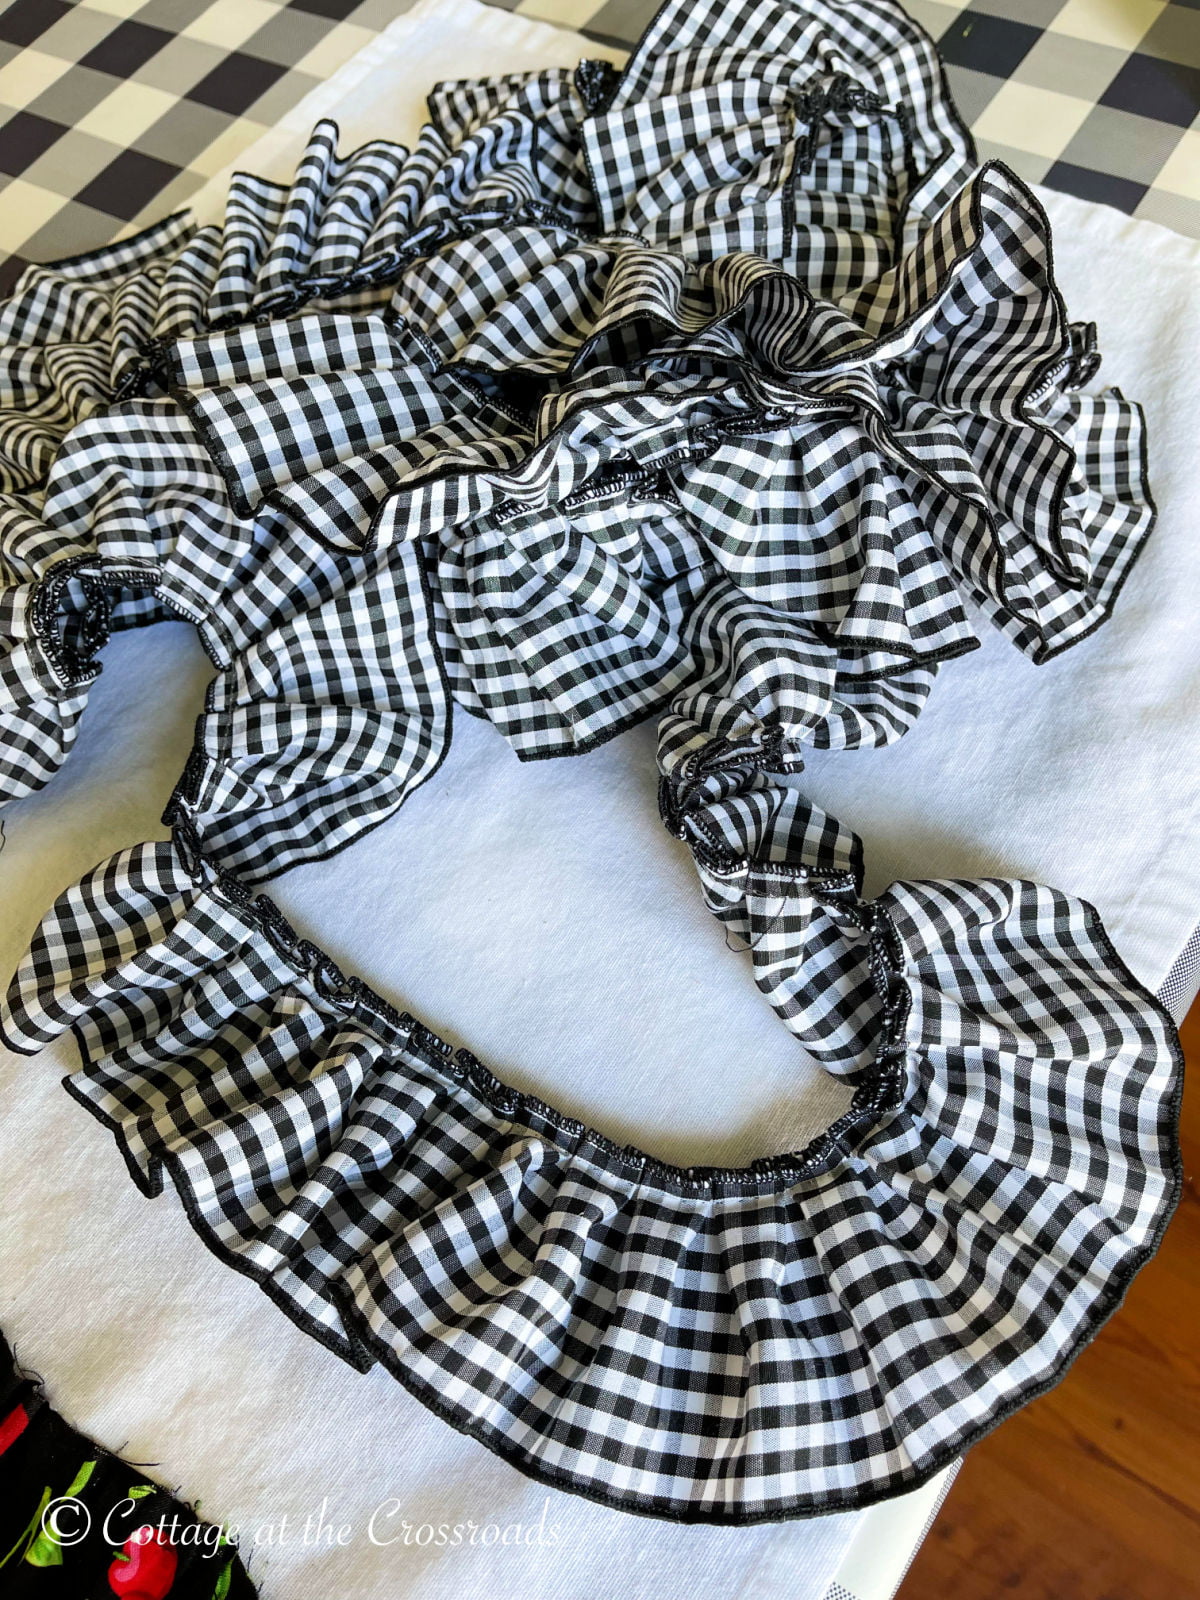
Since this is an almost no sew project, I decided to use this pre-pleated black and white gingham trim that I found on sale at Hobby Lobby.
Cut a strip slightly longer than your tea towel (or napkin.)
Apply fabric glue to the area above the first ruffle.
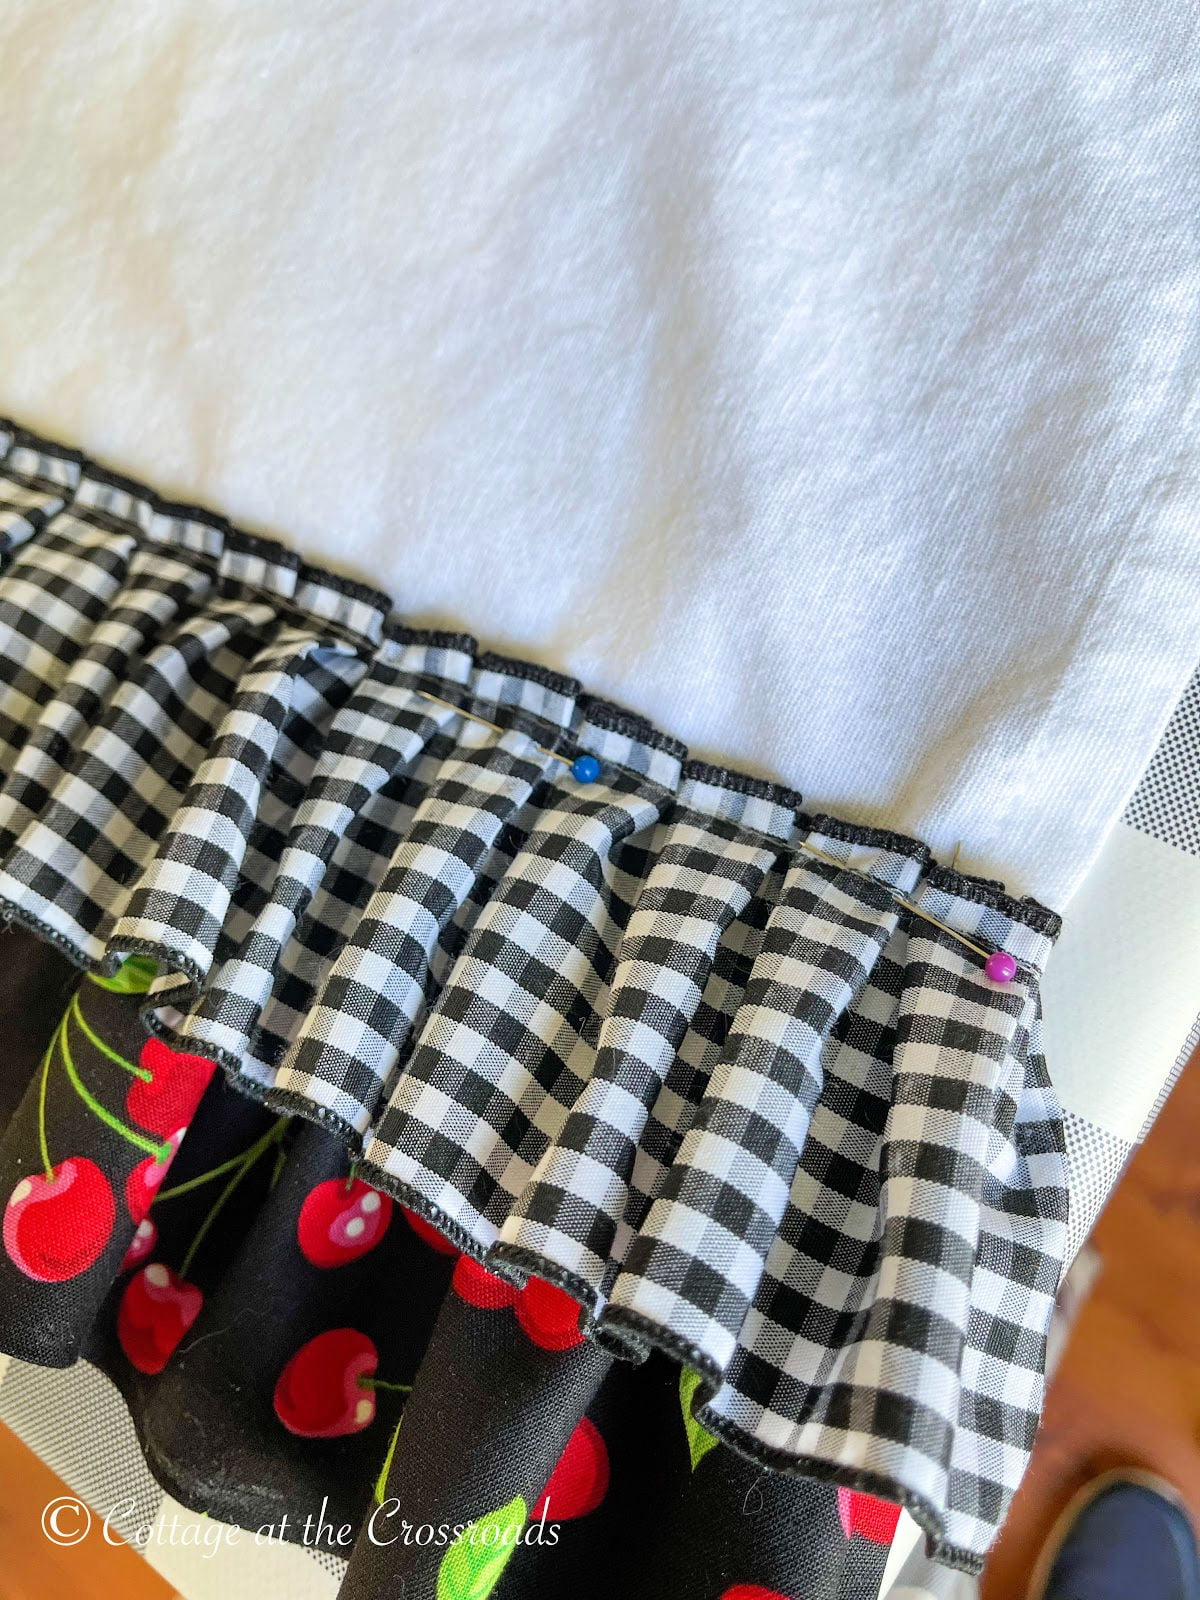
Press the trim down and pin in place until the glue dries.
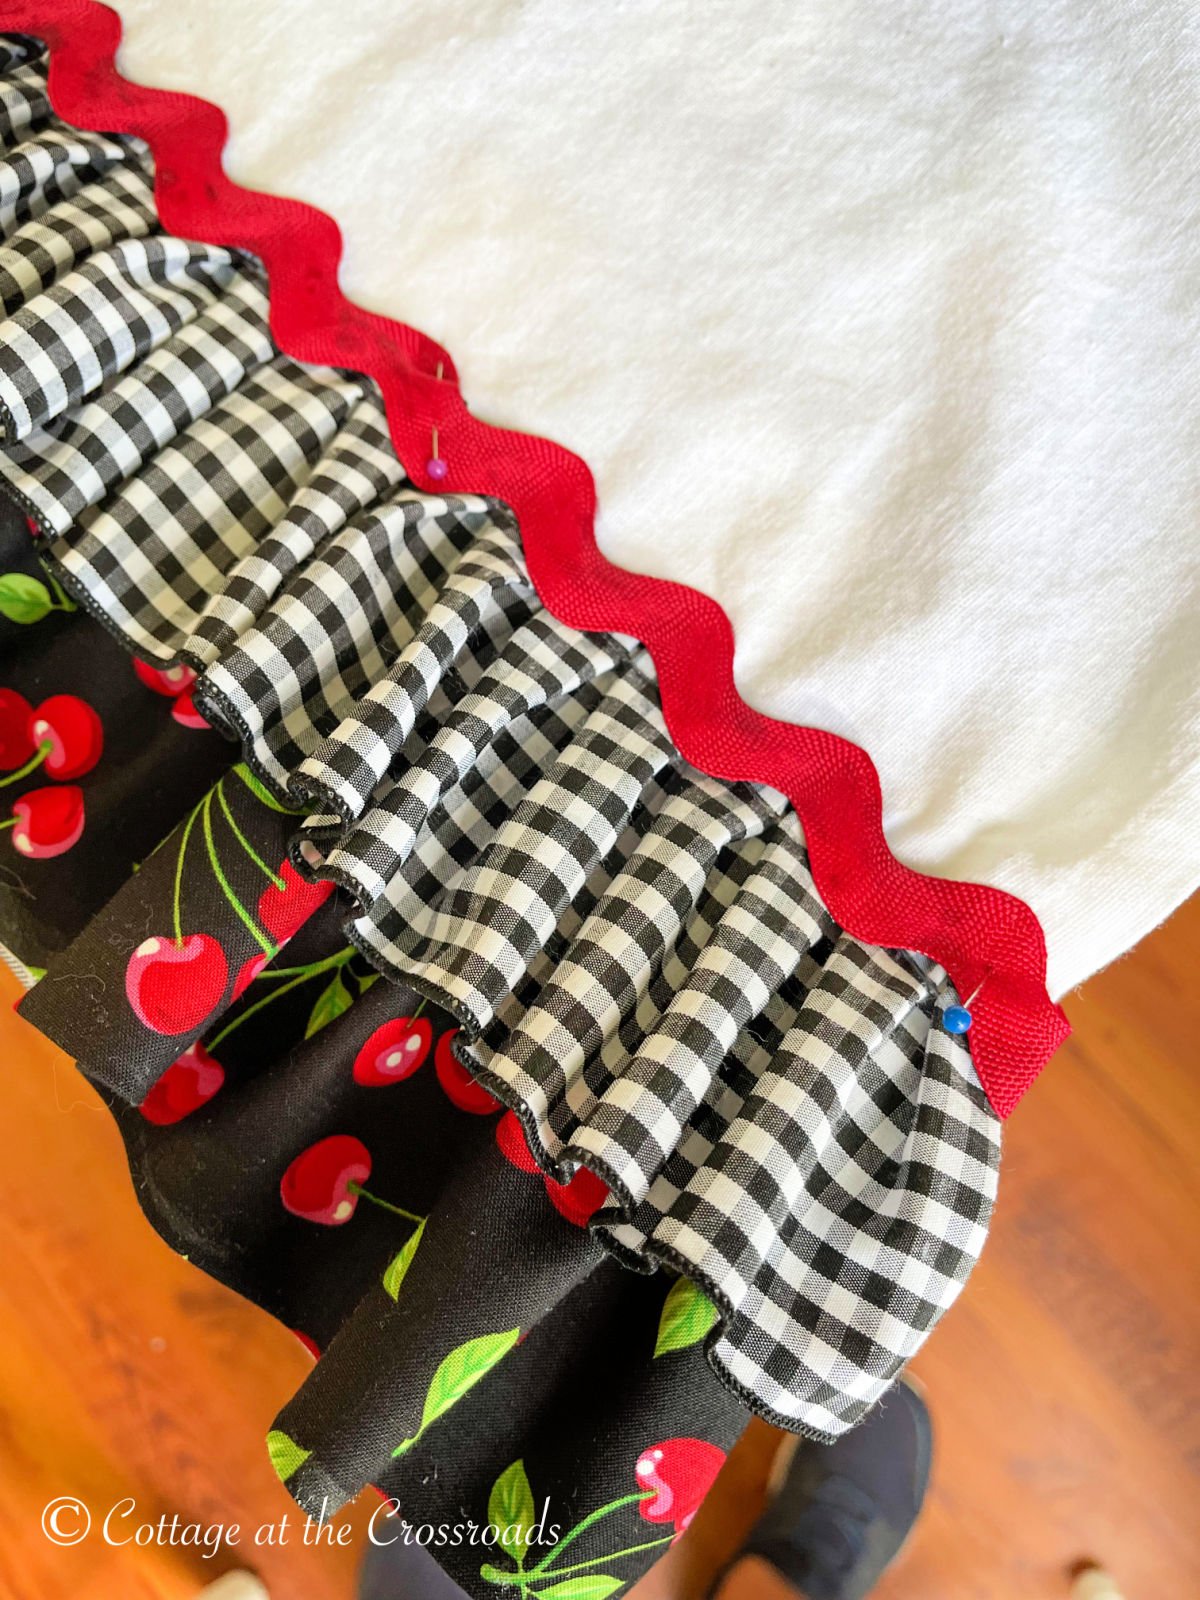
The last step is to glue a decorative piece of trim to hide the place where the top ruffle is attached to the tea towel (or napkin.) I used this ⅝" wide red rick rack that I purchased from Hobby Lobby but you can find it here on Amazon: (affiliate link) JUMBO RICK RACK
If you are using a sewing machine, you can stitch the rick rack onto the tea towel or hand stitch it, if you wish.
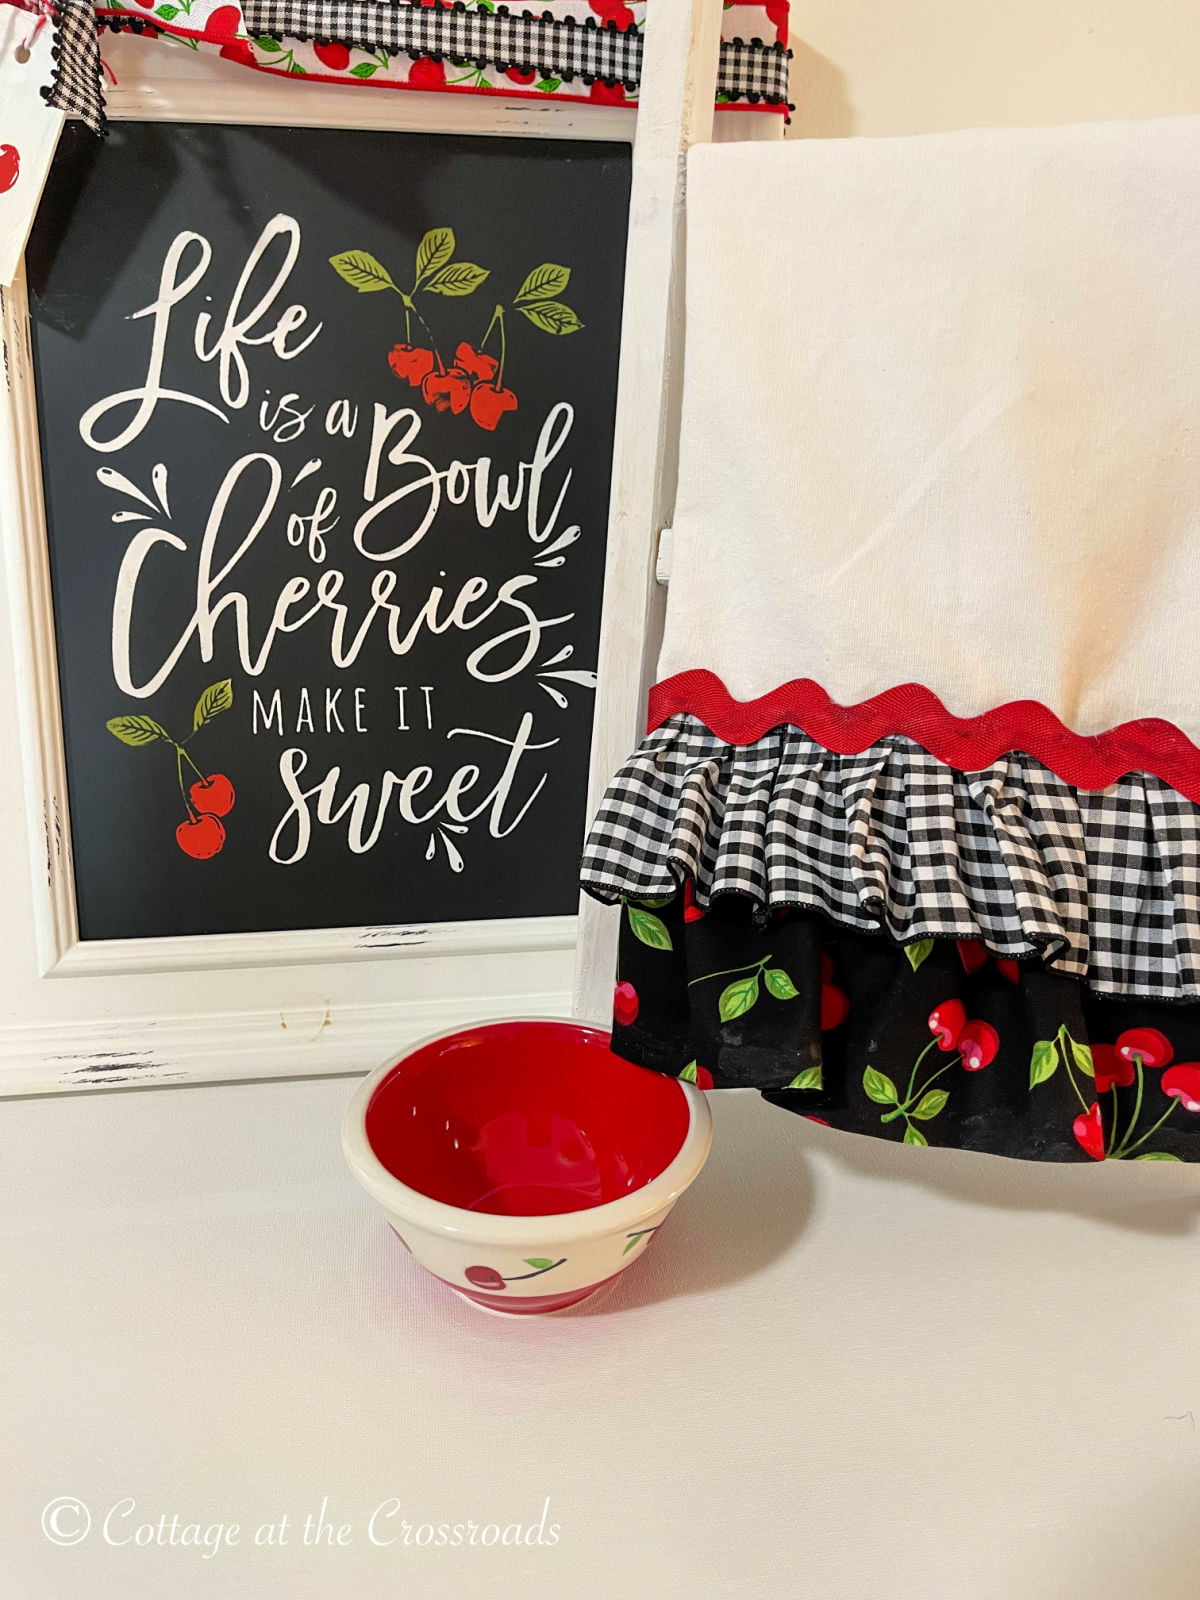
Look how cute the no sew ruffled tea towel looks beside the Chalk Couture sign that I made recently! Are you following Cottage at the Crossroads on Facebook? You can hop over there and watch the video of me making this sign. Or leave a comment below if you'd like more information about Chalk Couture.
I'm so excited about these tea towels. They are so darn cute beside tiered trays or as part of a themed grouping. I've already purchased some fall and Christmas fabric to make plenty of them.

Meegan
I love something simple with personality for my kitchen. These are the perfect answer. The cherries are as darling as can be! Thanks for sharing, Jane.
Cynthia
I had been looking at April Cornell adorable chicken salt & pepper shakers ($60+😮) and thought how cute it would be to make a coordinating towel like this one although for a less expensive shaker set. Thanks for posting.
Julie
We have been eating cherries like crazy up here. Michigan grows amazing cherries. This is so cute… I love the 2 patterns together! I actually had a bathing suit with that cherry pattern. Daphne wears it now!
Jennifer Howard
What a pretty project!! Your towel came out great!!
Chas Greener
Oh my gosh what a great idea, and I love how it turned out. Thank you so much for sharing and wonderful hopping with you!
Laurie @ Vinyet Etc
Oh my goodness this is the cutest thing ever, I love how vintage it looks. Adorable!!!
Vicki and Jenn 2 Bees in a Pod
Cute, cute, cute! This would make for great gifts too!
Cindy LONG
This tea towel turned out so cute Jane! I love the fabric choices you used! And that red rick rack trim just finished it perfectly 🥰
Michelle @ The Painted Hinge
This is so cute! I love all the detail and it being no-sew makes it a project anyone can do!
Paula@SweetPea
I love this idea! You've inspired me to sew bunches of these for Christmas gifts.
Mary Beth
I love the colors and patterns you chose, Jane! This is seriously the cutest.
Cindy
This is perfect for this no sewing girl. I think I can pull this off.
Pinned!
Cindy
Angie @ Postcards from the Ridge
Jane, this really is so stinkin' cute. I love the fabric choices. And even though I have a sewing machine I rarely use it so I love any no sew projects. Thanks for showing us how you made it!
Kris @ Junk Chic Cottage
Jane this is so cute and what a nice and pretty towel to make when most of us do not own sewing machines. Thank you for sharing this no sew. Happy Friday. Have a great weekend.
xoxo
Kris
Pat
Love this! Thanks so much for sharing. I can’t wait to try it!