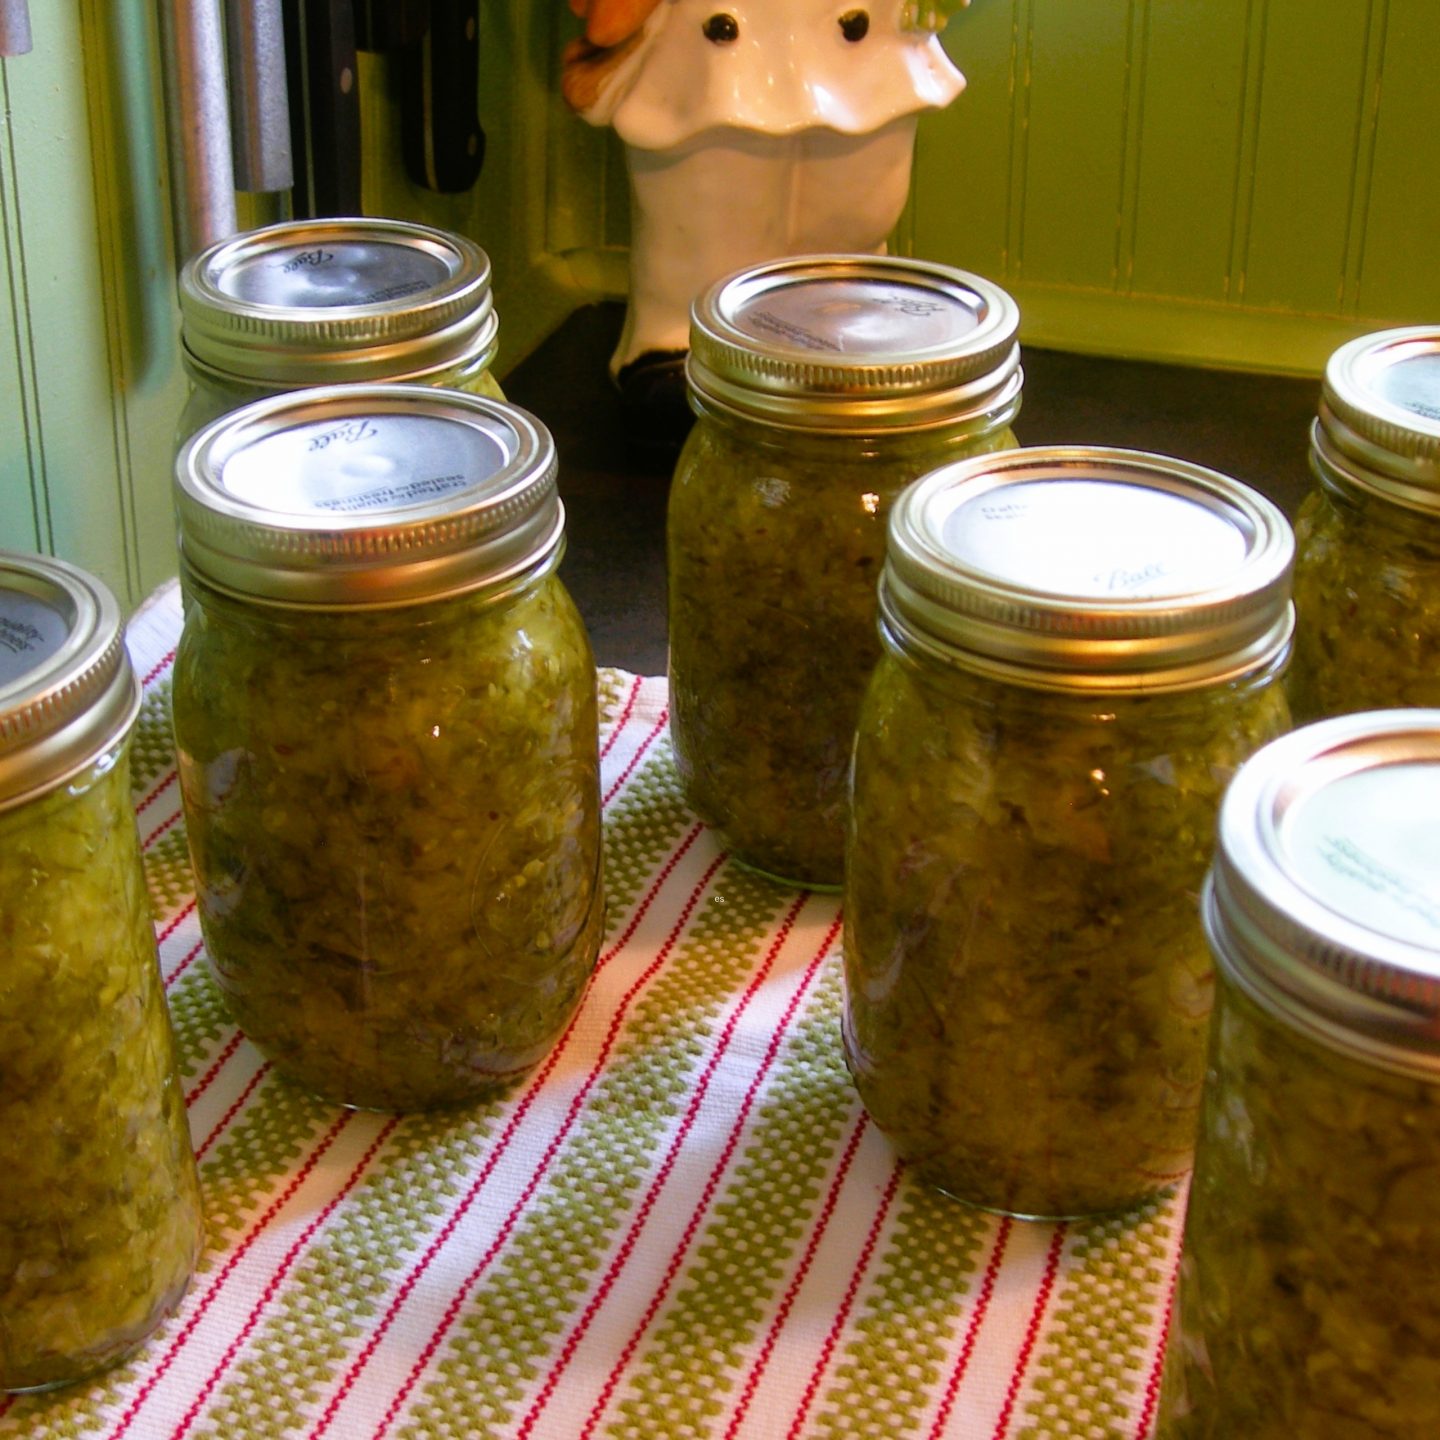
Make a delicious, tangy homemade dill relish that you can enjoy all year long with this easy canning method. Homemade dill pickle relish is the perfect condiment to add a zesty crunch to sandwiches, burgers, hotdogs, or even chicken salad. Our no-fuss recipe uses simple pantry ingredients to transform your cucumbers into a tasty and flavorful refrigerator staple.
Contents
🌟 Why this recipe works
I use dill seeds to season chopped cucumbers to produce a zesty homemade dill pickle relish that is the ideal accompaniment to serve at BBQs and add to sandwiches. Make it when you have an abundance of cucumbers, and you will have a fresh, flavorful condiment all year round that’s undoubtedly more affordable and delicious than anything shop-bought.
The canning recipe is perfect for beginners, using just a handful of essential store cupboard ingredients. We added a touch of turmeric to give the relish a delicious and aromatic savory flavor that compliments the dill and the cool crunch of the cucumbers. Unlike some dill pickle relish recipes that are overpowering with vinegar, this one has a mellow taste giving you a pleasing combination of sweet and tangy flavors.
To make your homemade relish, you’ll need a canner, suitable jars, and lids. When you have these ready to use, the recipe is so easy to follow. Just chop, combine the ingredients and boil.
The magic happens when all the elements are combined in the jars to create a flavorsome all-American condiment that you will always want to have in your pantry.
This recipe comes from the Ball Complete Book of Home Preserving, which I highly recommend for 2 reasons:
1. It has 400 recipes that have been carefully tested and are safe.
2. It has detailed instructions and explanations for a beginner.
🍽 Key Ingredients
The key to making the best dill pickle relish recipe is to use fresh ingredients for better flavor and brighter colors.
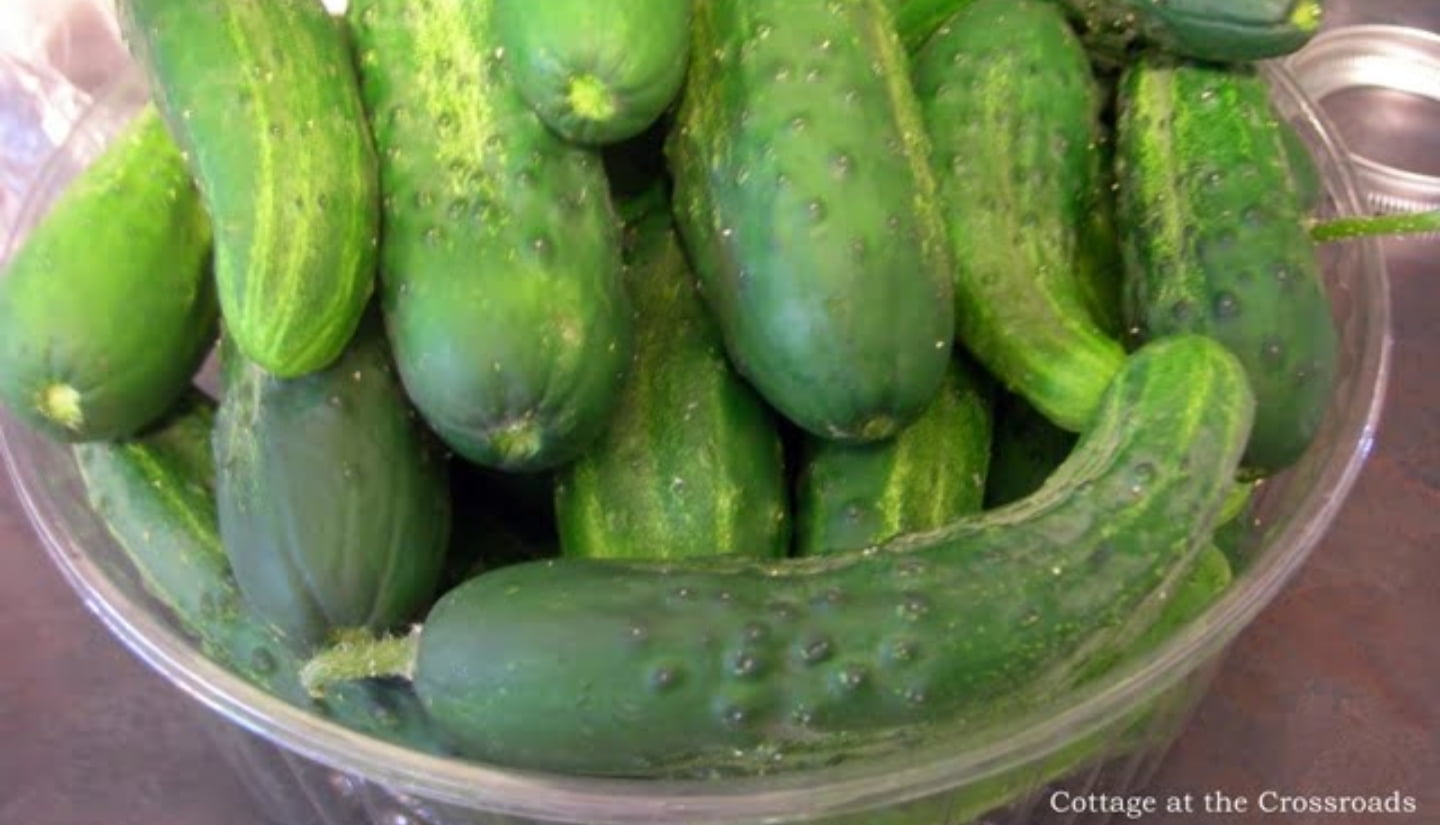
Pickling cucumbers - We grow our own, and our vines are producing so many cucumbers that I'll be canning all week! If you buy your cucumbers, buy from a farmer's market because most cucumbers in the grocery store have a wax coating that can interfere with the pickling process.
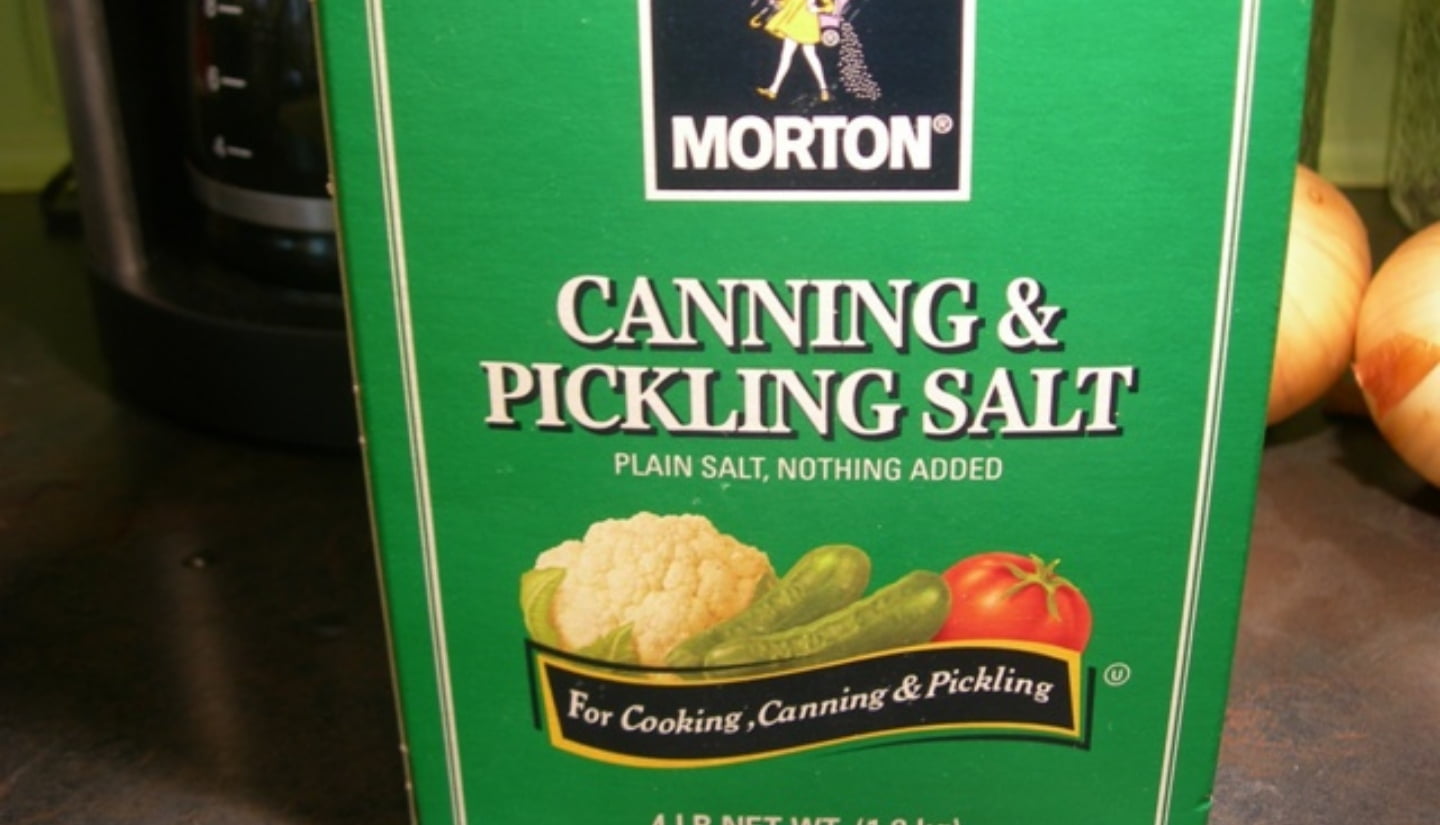
Pickling salt - Pickling salt dissolves easily in canning recipes and results in a clear liquid that shows the brightness of the green cucumber in the jar.
Spices - For flavoring, we're giving the dill relish an aromatic aroma with turmeric and dill seed. The dill seed works well in relish with its intense flavor - similar to anise and licorice, and the turmeric adds a nice warm yellow color with a peppery, ginger scent.
Vinegar - Buy white vinegar for canning. It's cheaper, preserves the color of the pickled ingredients, and keeps the liquid clear.
Onion - Use white onion for its strong aroma and flavor.
Substitutions
Pickling salt
If you can't find this in the grocery store, it is sometimes called canning salt or preserving salt. You can substitute it for kosher salt or pure sea salt; just check the labels to make sure there aren't any additives because these will make your relish liquid cloudy, and your cucumbers and onion will discolor.
🔪 How to make Homemade Dill Relish
Step 1
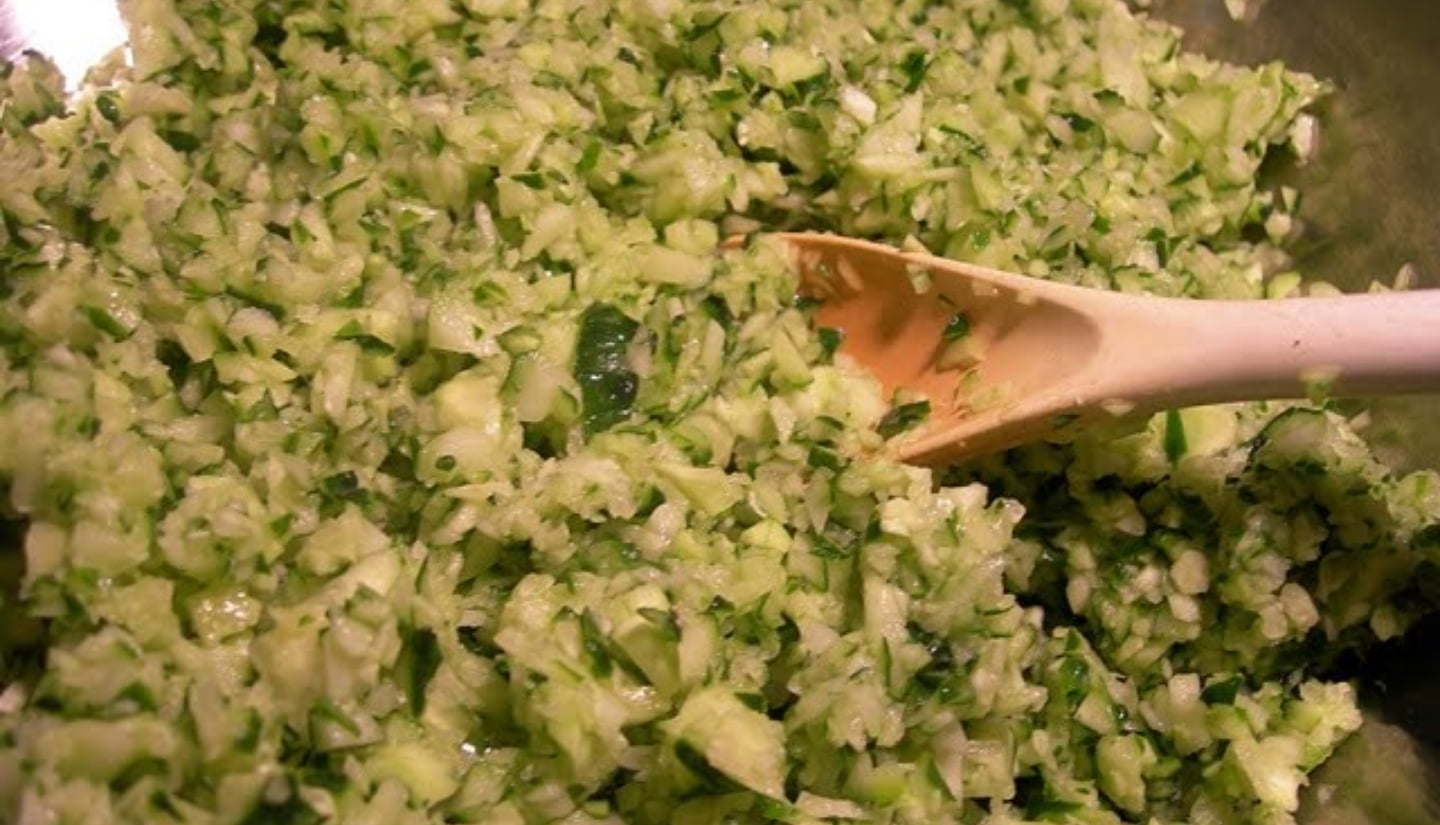
Wash your cucumbers and cut off the blossom and stem ends. Then slice each cucumber into smaller pieces and put them in the bowl of a food processor. Work in batches and finely chop the cucumbers. Don't overprocess, though!
Step 2
Sprinkle ½ cup of pickling salt and 2 teaspoons of ground turmeric over the chopped cucumbers. Add 4 cups water, cover, and let stand in a cool place for 2 hours.
Step 3
Transfer to a colander placed over a sink and drain thoroughly. Rinse with cool water and drain thoroughly again. Using your hands, squeeze out excess liquid.
Step 4
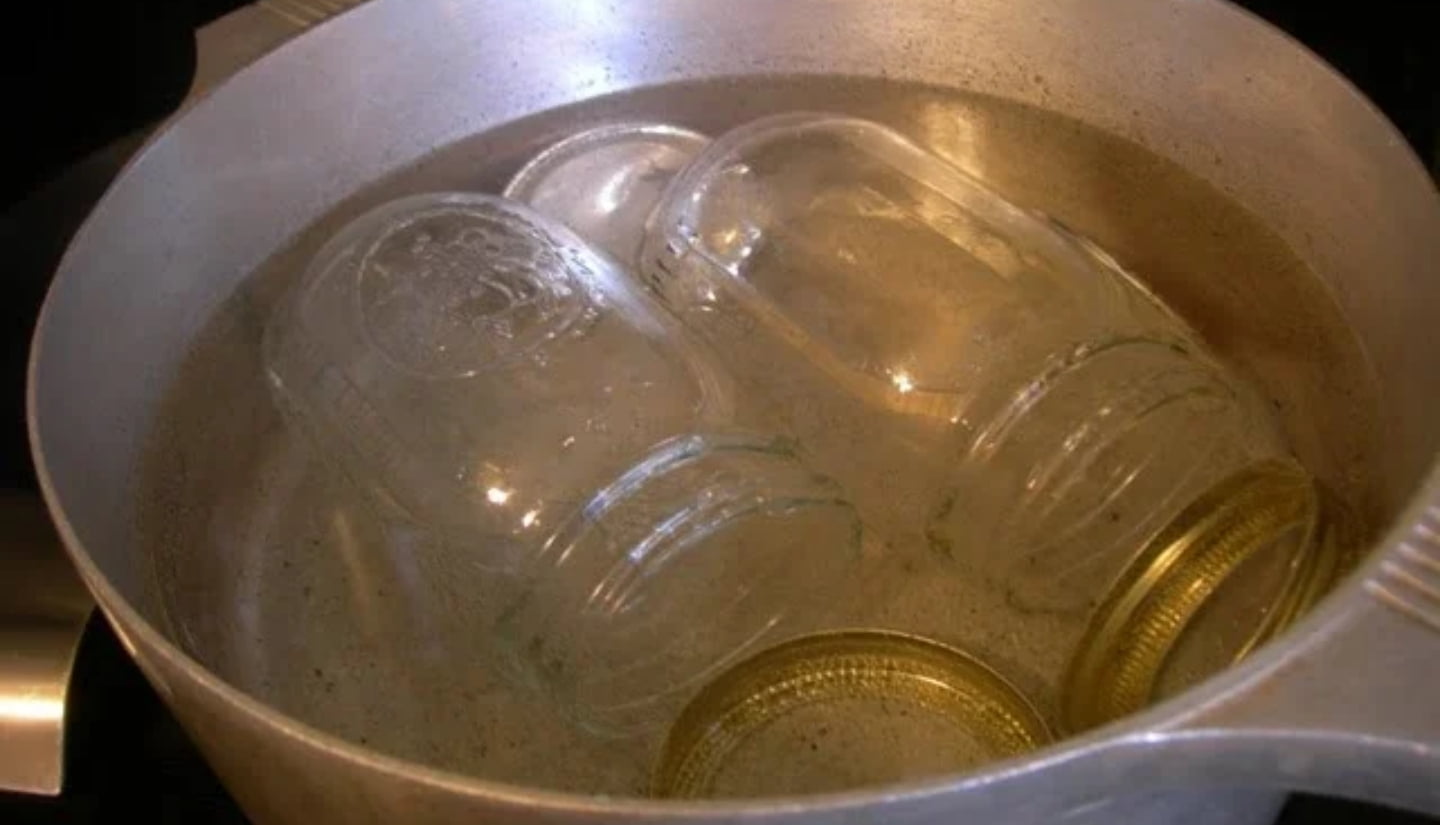
While you are heating the relish mixture, put your washed and sterilized jars and rims in hot, but not boiling water. New lids, though, just need to be in lukewarm water.
Step 5
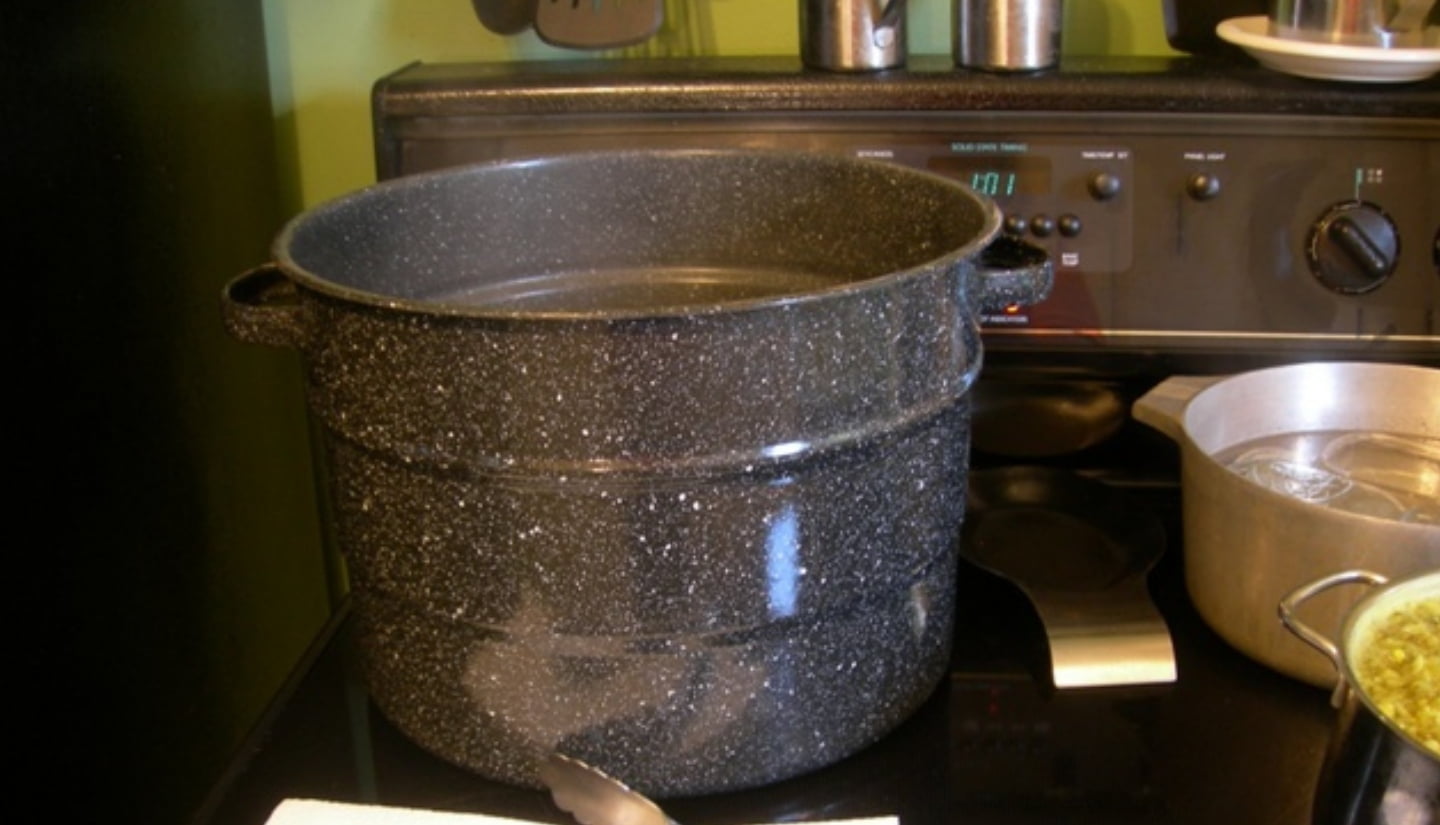
Fill a boiling-water canner about half full of water and heat on high.
Step 6
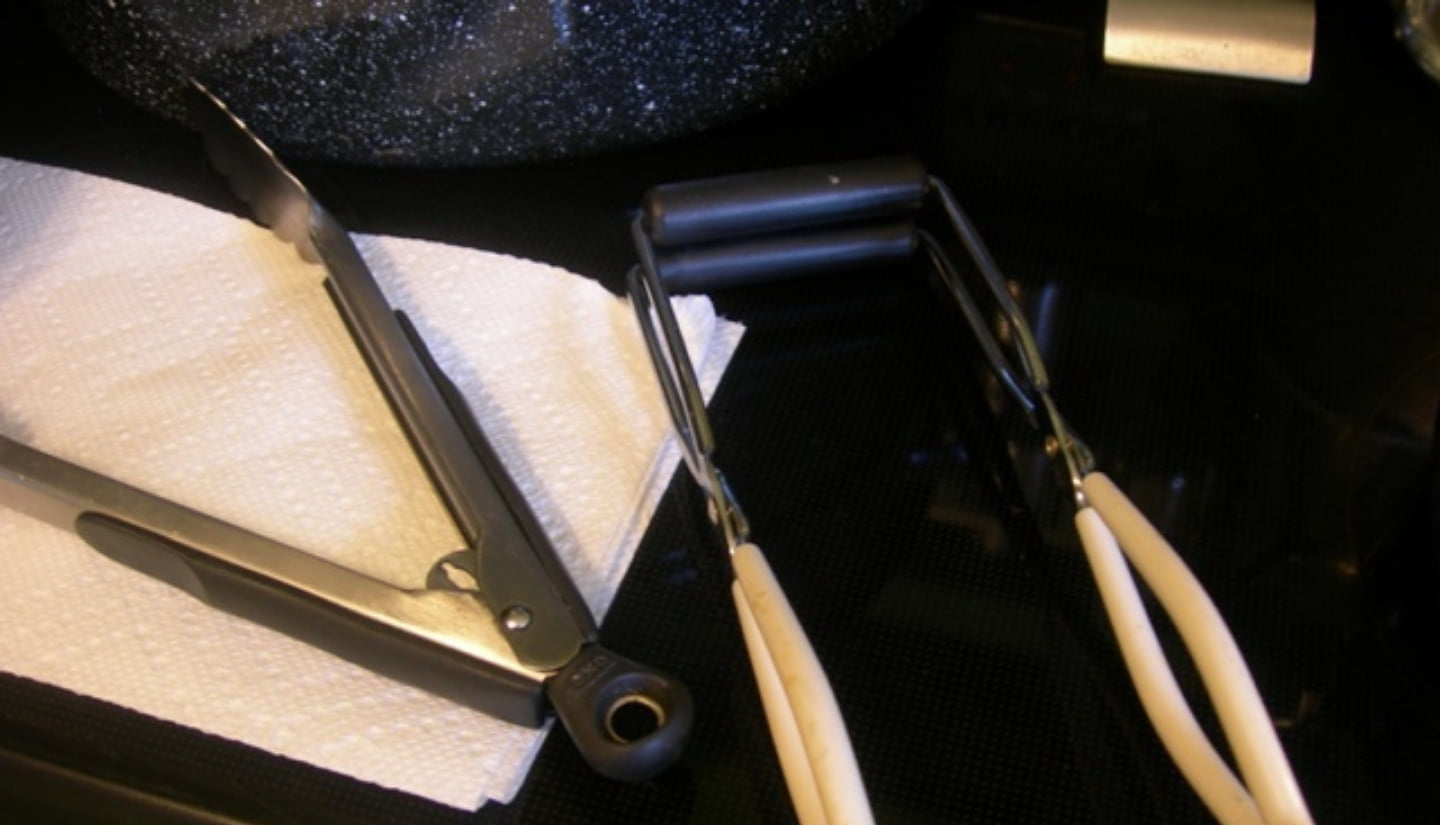
Gather all the other items you will need such as tongs, a jar lifter, a clean dishcloth, a ladle, and a wide-mouthed funnel.
Step 7
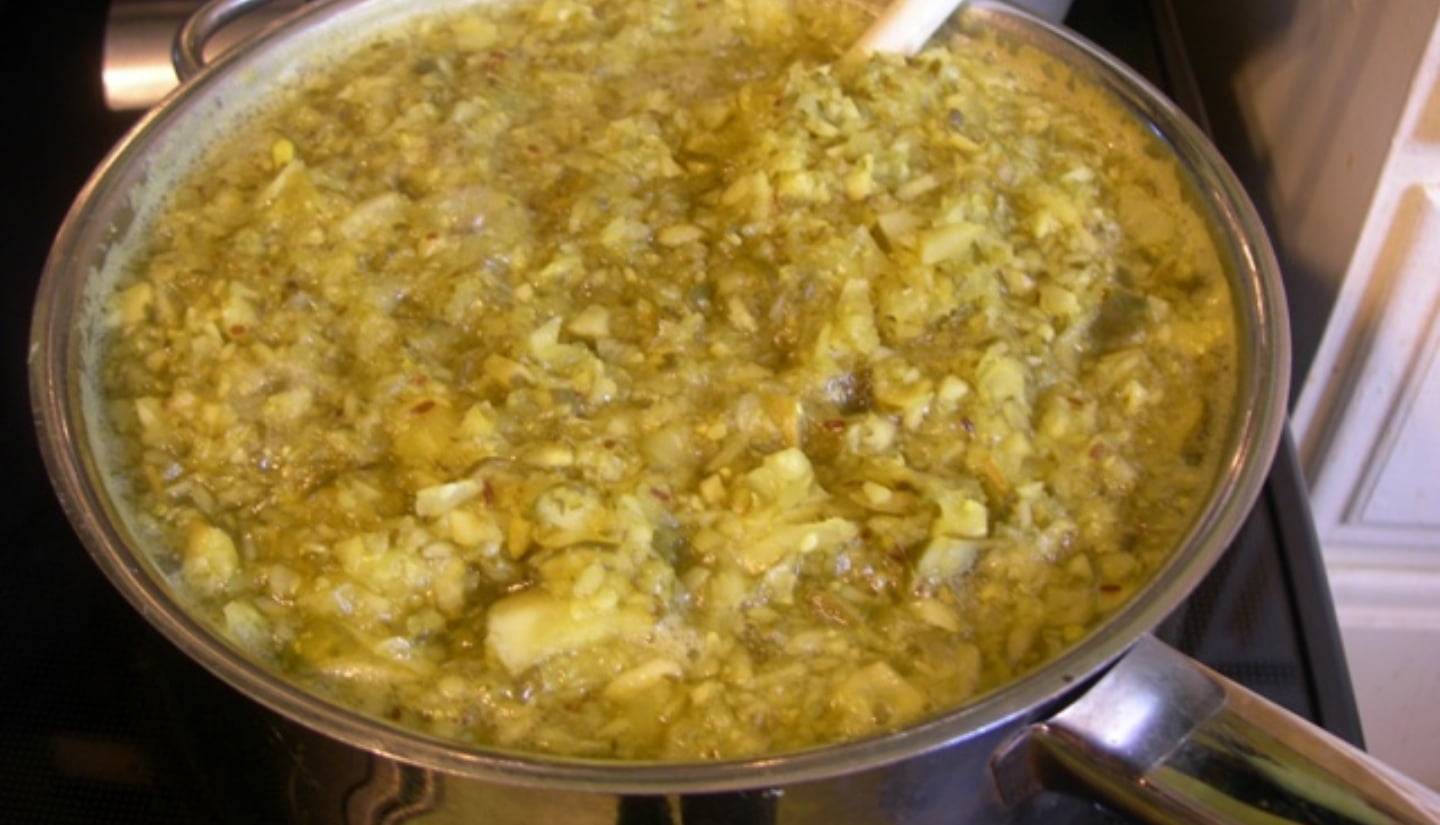
In a large stainless steel saucepan, combine drained cucumbers, 2 ½ cups finely chopped onions, ⅓ cup granulated sugar, 2 tablespoons dill seeds, and 4 cups white wine vinegar. Bring to a boil over medium-high heat. Reduce heat and boil gently stirring occasionally, until slightly thickened, and vegetables are heated through, about 10 minutes.
Step 8
When your mixture is ready, lift a jar from the hot water by inserting one side of the tongs into the jar and letting the water drain out. Put the wide mouth funnel in the jar and ladle the hot relish into the hot jar.
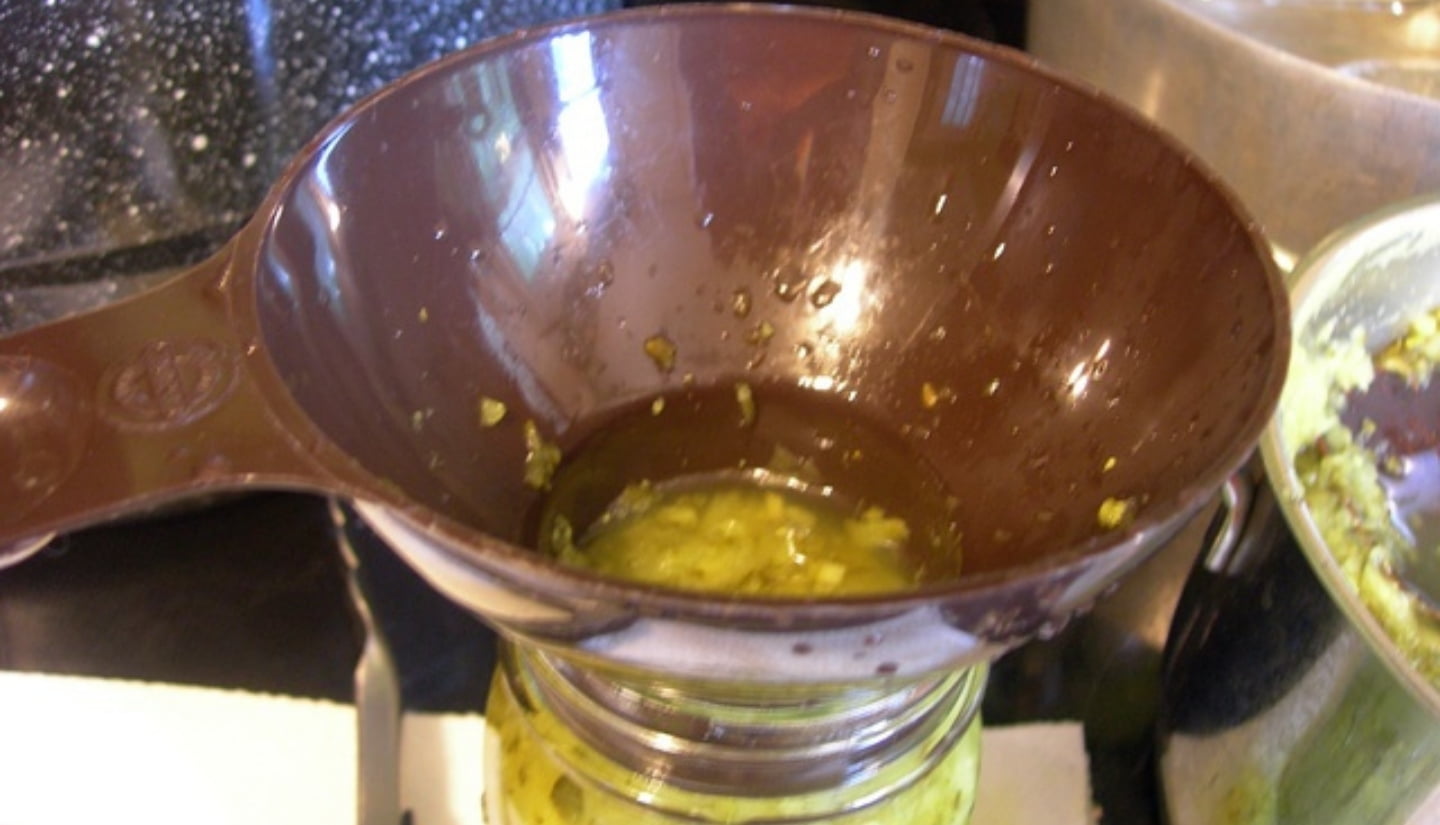
Step 9
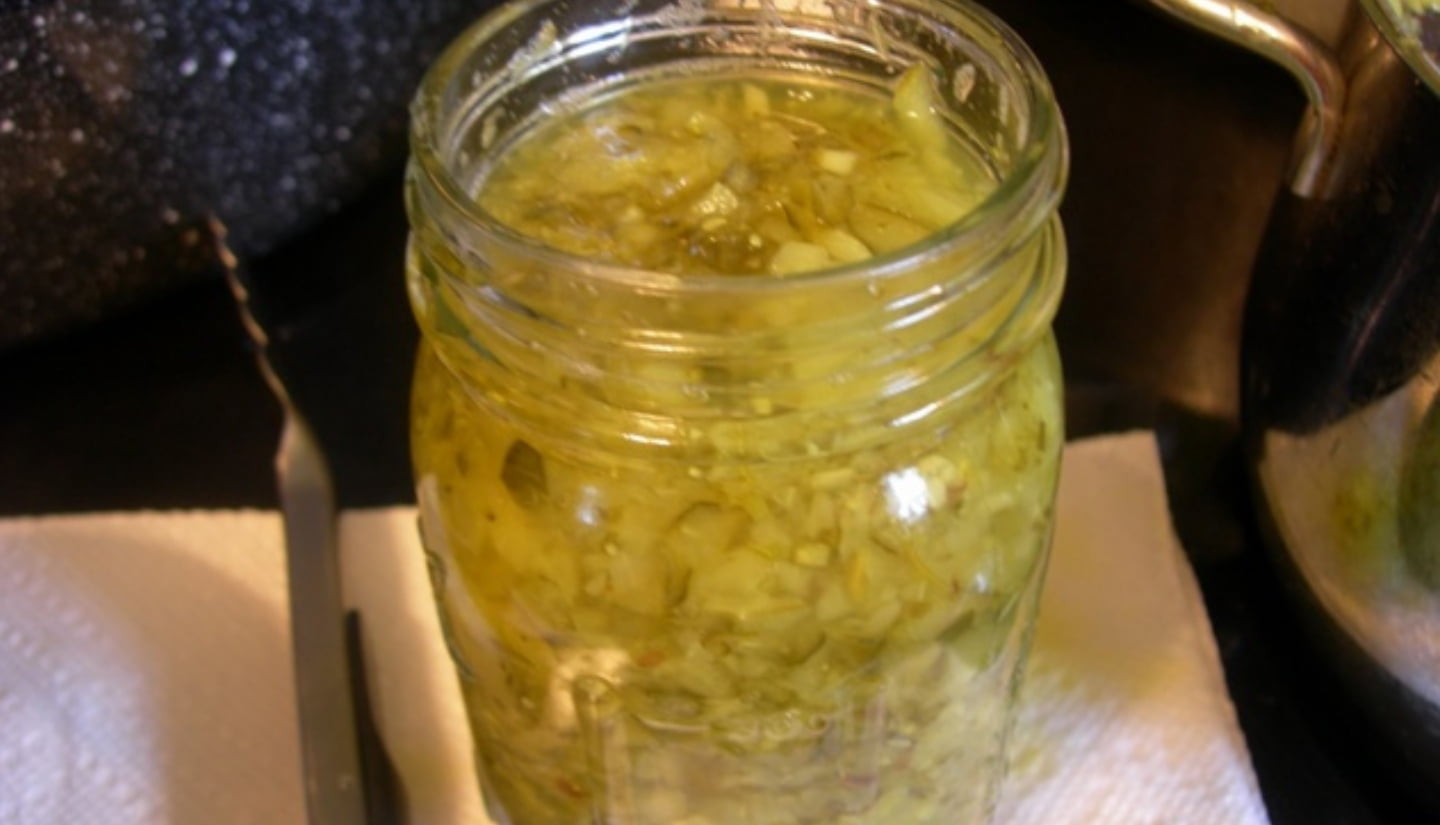
It's important to leave at least ½ inch of headspace at the top of the jar. Remove any air bubbles by inserting a thin spatula into the mixture. Wipe the rim with a clean dishcloth, remove a lid from the hot water and center on the jar. Screw a band down until resistance is met, and then tighten a little bit more.
Step 10
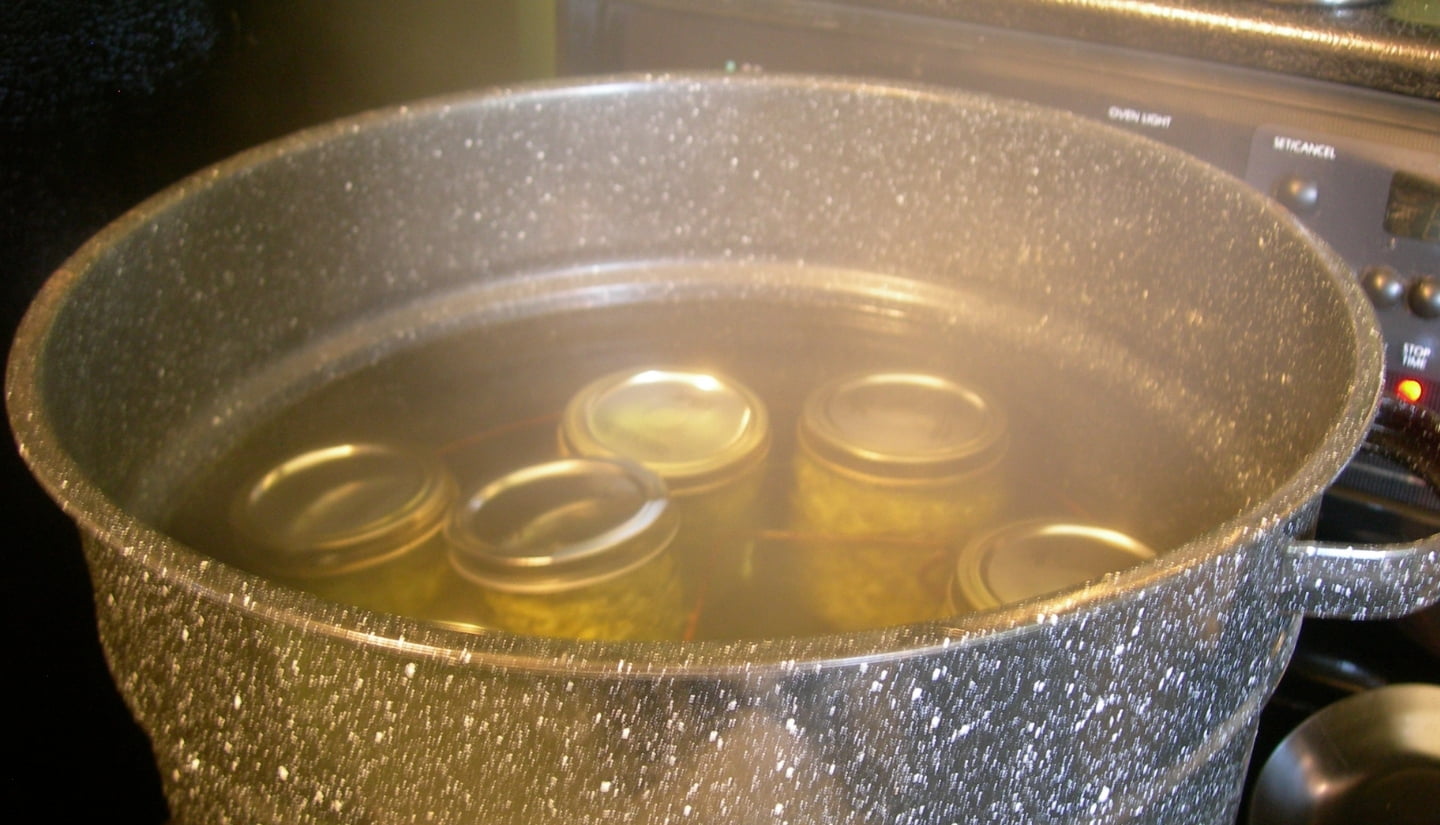
Use a jar lifter to place the jar into the canner. The water level will rise as you add each jar, but if the jars are not completely covered with water, ladle hot water from the pot where you sterilized the jars until they are covered by at least an inch of water. Bring the water to a boil, place the lid on the canner, and process for 15 minutes. Remove the lid, wait 5 minutes, and then remove the jars. Place on a thick dishcloth or a rack to cool.
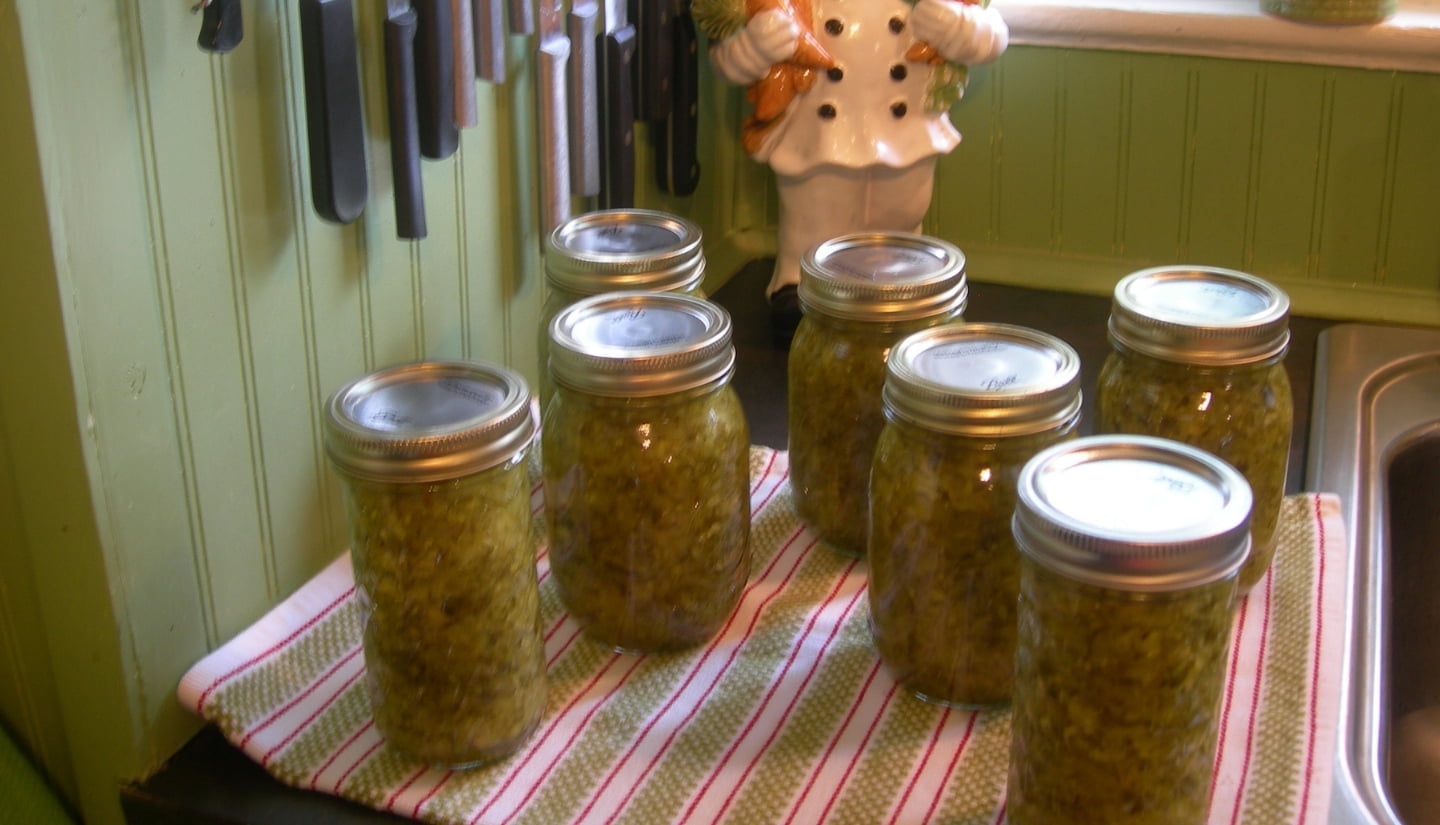
For best flavor, allow the jars to stand for 2 weeks before using so that all the flavors mellow. Enjoy!
💭 Expert canning tips
Don't skip the saltwater brine
Soaking the chopped cucumbers in saltwater extracts the excess water from the cucumbers, which prevents them from turning into a mushy pickle.
Keep the jars hot
Keeping the canning jars hot prevents the glass from breaking when you pour the hot dill relish into them. Remove the lids and bands from the jars before heating them for easier handling when tightening the sealed jars.
📖 Recipe Variations
Homemade dill relish is wonderfully versatile, depending on the ingredients you add. Try some of these tasty variations using the same base recipe.
Spicy dill relish
Give your dill pickle relish a spicy kick by boiling 1 or 2 jalapeno peppers with the cucumbers. You could use red pepper flakes or fresh chilis instead of jalapenos, but I recommend jalapenos as they are perfect for pickling.
Dill relish with bell peppers
Add some bright colors to your dill relish with 1 cup of green, red, and yellow bell pepper. Finely chop them and boil them with the cucumbers, spices, vinegar, and chopped onions.
Heinz dill relish
Finely chop the cucumbers, the head of 1 cabbage (3 cups), and 1 cup of red, yellow, and green bell pepper using the food processor and make a brine with the salt and turmeric.
After 2 to 3 hours, drain the vegetables, and boil them with the onion, sugar, vinegar, dill seed, plus 2 teaspoons of celery and mustard seed. Follow the canning instructions and enjoy.
Quick tartar sauce
Whip up a simple sauce to serve with fish and seafood, using your tasty relish as a base. Simply mix 1 cup of mayonnaise with 2 teaspoons of your dill relish, 1 teaspoon of yellow mustard, and 1 teaspoon of lemon juice. Combine all the ingredients in a bowl and spoon over your favorite fish dishes.
🥗 What to serve with
Homemade dill relish is the perfect condiment for all your savory favorites. Bring it out at BBQs for grilled burgers and hot dogs, add it to potato salad, pasta recipes, or spread on sandwiches. Try some of these delicious recipes to serve with your dill pickle relish.
Salad
This delicious tangy relish tastes amazing spooned into or served on top of tasty salads like this delicious warm potato salad with crispy bacon and herby orzo salad.
Burgers
This pulled pork sandwich recipe with homemade root beer BBQ sauce is a complete showstopper if you love pulled pork. The combination of mouth-watering slow-cooked meat, smoky-sweet BBQ sauce, and homemade dill relish is an absolute crowd-pleaser bursting with flavor.
🙋 Frequently Asked Questions
Does the jar size affect the processing time of my relish?
Yes, If you are using half-pints, follow the recipe's guideline timings. Typically, half-pint jars take 15 minutes to process in the canner and for larger jars, add 5 minutes extra to the processing time. It's always good to check the National Center for Home Food Preservation website with the exact size of your jar to be 100% sure.
Can I use any cucumber for dill relish?
The best ingredients for this relish recipe are pickling cucumbers, but if you can't find them, you can use English cucumbers. Make sure to remove the seeds and leave the skin intact before you chop them, or they will be too mushy.
🧊 Storage
As long as you have cleaned your jars thoroughly beforehand, you can store your dill relish at room temperature or in a fridge for a very long time.
Opened - Once you have opened a jar of dill pickle relish, the contents will stay fresh for around 9 months - 1 year, stored in the fridge with the jar sealed tightly.
Unopened - Your jars of unopened homemade dill pickle relish will last around 2 years if properly sealed and kept in the fridge, or for approximately 1 year if stored in a cupboard away from direct sunlight.
🍳 Related Canning Recipes
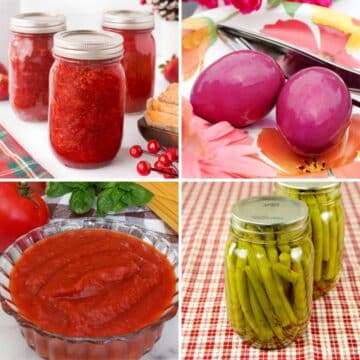
If you like my homemade dill relish recipe. Try one of my fantastic canning recipes for your next meal.
👪 Serving Size
This dill relish recipe will produce 6 half-pint jars, or you could scale this recipe. However, the number of jars you can process at one time will depend on the size of your canner.
Anyone can make homemade dill relish providing you have a canner and some cucumbers! The best thing is that your relish will taste fresh and tangy all year long to enjoy it on your favorite meals whenever you want. It's beginner-friendly and delicious. Let me know how your canning goes!
📋 Recipe
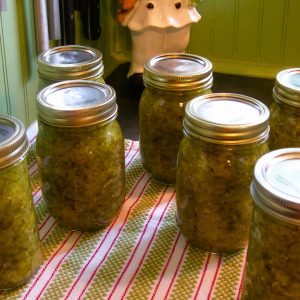
Homemade Dill Relish
Ingredients
- 8 pounds pickling cucumbers
- ½ cup pickling or canning salt
- 2 teaspoon ground turmeric
- 4 cups water
- 2 ½ cups onions finely chopped
- ⅓ cup granulated sugar
- 2 tablespoon dill seeds
- 4 cups white wine vinegar
Instructions
- In a food processor fitted with a metal blade, working in batches, finely chop cucumbers, transferring batches to a glass or stainless steel bowl as they are completed. Sprinkle wit picking salt and turmeric. Add water, cover, and let stand in a cool place for 2 hours. Transfer to a colander placed over a sink and drain thoroughly. Rinse with cool water and drain thoroughly again. Using your hands, squeeze out excess liquid.
- Meanwhile, prepare canner, jars, and lids
- In a large stainless steel saucepan, combine drained cucumbers, onions, sugar dill seeds and vinegar. Bring to a boil over medium-high heat. Reduce heat and boil gently, stirring occasionally, until slightly thickened and vegetables are heated through, about 10 minutes.
- Ladle hot relish into hot jars, leaving ½ head space. Remove air bubbles and adjust headspace, if necessary, by adding hot relish. Wipe rim. Center lid on jar. Screw band down until resistance is met, then increase to fingertip-tight.
- Place jars in canner, ensuring they are completely covered with water. Bring to a boil and process for 15 minutes. Remove canner lid. Wait 5 minutes, then remove jars, cool, and store.
Notes




Tamra
Could I add some fresh dill from the garden to this recipe? If so, which part of the plant? The green parts or the yellow flowered head or both? Thanks for your help. This recipe sounds delicious and I can't wait to try it out next year when we grow cucumbers again!
Jane
Tamra, absolutely add fresh dill! And yes, use the green parts of the fill plant.
Billy
Thank you for sharing your recipe! Its great to see a guide on how to tackle canning - it seemed so intimidating when I first looked into it! Can't wait to try your recipe at home.
Karleen
Hi. I tried this recipe last night with eight pounds of fresh Kirbys, and it turned out very dry - there wasn't enough liquid to bring the vegetable/vinegar mixture to a boil. Any thoughts on where I went wrong? I squeezed all the water out of the cucumbers as directed - should I have left them more moist?
Jane Windham
Karleen, I don't know what happened! Does the vinegar solution cover the relish in the jars that you canned? If not, you may need to open the jars, add some vinegar, and store the jars in the refrigerator. It will keep in the fridge for a month or so. So sorry that this did not work out for you!
Elsy C.
I love your recipe! Do you think I can skip the sugar part? Just use garlic, salt, dill and spices?!
Jane Windham
Elsy, you could reduce the amount of sugar but I wouldn't leave it out entirely. You would end up with a very tart relish!
Sharon Slusser
Made a dill relish very close to your recipe but my grand daughter says it doesn't have enough dill flavor for her. Is there anything I can do to get more of the dill flavor for her?
hauns
it sounds delicious. except for the onions. i am a food critic and i would give your work a 4/5 stars. that's for the onion which i am allergic to.
corum
i just finished a batch of pasta sauce with your recipe with a little twist of my own but it turned out great now i am on to the relish thank you for sharing your recipes i just started canning this year and i love it but i need all the help i can get
Kara=Mom
I'm planning to try your dill relish recipe, do I have to use the sugar?
Stephanie
Did you try it without the sugar? I am planning to but would like to know if you had success. Thanks! 🙂
Jane Windham
I have made it without sugar, Stephanie, and it's just as good.
P
why do you have to use onions in this recipe? i cannot find a dill relish recipe without onions. this sounds good except for that part.
Jane Windham
Just try it without the onions and see how it turns out!
linda
I cut sugar way low. Still too sweet for me.
Cindy Hartman
I made this yesterday and ended up with 15 half pints and a little extra. This is the only dill relish recipe I will ever use. Delicious!!!
Stephanie
Is this sweet relish?? Thanks!
Jane Windham
No, it's not very sweet at all but if you're looking for a sweet relish, I have a recipe for it as well.
Kendra
I made your Dill relish recipe this morning. It is in the water bath as we speak. I am excited to use it. There was a little left over I put in the fridge to take with us camping this weekend. Thank you so much for taking the time to post this recipe and the step by step instructions. Your pictures were fabulous.
Jane Lottie
I made a sweet relish beginning of week. Thought it was good. Made you're dill relish jut took out of bath. I love it!!! Thank you so much for posting this recipe pictures gave me the nerve to start pickling! YOU'RE the best.
craig
if you dont have the 8 pounds of cukes can you process them ahead of time ? or is it best to just keep them whole ?
wallace fetner
Jane, I enjoy making dill pickle for family and friend, last year I made so many qt. that I put up a five gallon jar of them. this is new a season, so I like to take the five gallon and turn them into pickle relish. Do you have any suggestion to turn them into relish sent they already are pickle. wallace
Michelle
Jane, I checked out your recipe because I planted Dill for the first time this year. I was hoping to use fresh dill. Would you know if it will work and how I should use it vs. the seeds? Thank you!! We love relish!!
Kim
You must have planted your cukes sooner than us. Ours are just starting to put out little baby cukes. I am so excited. I have never canned anything, but may have to learn real soon.
CAS
Oh wow, Jane, you are so ambitious! I think I got that love of canning (and I really did love to can & preserve things) out of my system many years ago. Now I'm content to eat what we can while it's fresh &/or give it away. We are keeping our kids well supplied, as well as a couple of neighbors.
Thanks so much for visiting my blog post "A Little Shabby Dress-Up." I just can't believe how much difference that made in my entry, & the space feels so much bigger. Amanda was so sweet about letting me use her photo to show my inspiration. Her blog is a "daily must" just for a dose of that cute & perky "Southern Charm." Enjoy your week!
CAS
anita
The relish looks so delish and that tomato... wow!!
Barbara F.
I would love to make a scaled down version of this for myself. I have never canned anything in my life, but I would like to try it. I want to make a low-sugar strawberry jam. I guess I can halve this recipe and make sure it is consumed within a month (I will give some jars to friends). That is one of the biggest tomatos I have seen! xo
Shirley@Housepitality Designs
I love dill relish!...So wonderful that you are able to make your very special homemade relish...Wow...what a tomato!!!...
Keeping it Cozy
This looks wonderful! I'll definitely be trying it this summer.
Olive
It amazing how cucumbers produce and produce. You are so smart to can. We have so many deer here I am afraid to plant veggies. they drink my bird seed almost daily. Your dill relish looks simply wonderful and so do you Jane:}
debbiedoos
Jane that looks super delish! That tomato is HUGE!