Hello Friends! Yes, you read that right! I made these topiaries that I used in decorating our Valentine's Day mantel using toilet plungers!
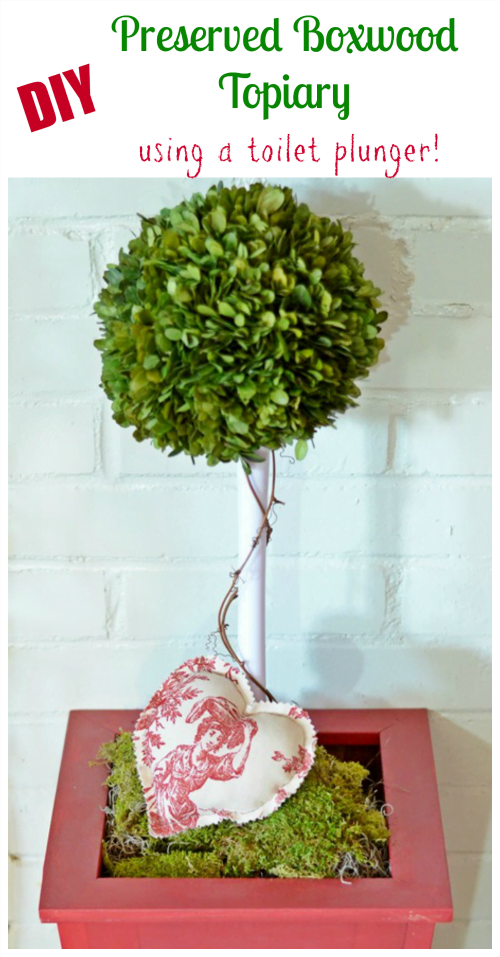
I have long been admiring preserved boxwood topiaries, but have you ever priced them? Ouch! But about a month ago, a friend of mine happened to mention that when she did some catering and decorating for events that she often made topiaries using toilet plungers! Of course I was intrigued and asked her how she did it. She explained that her husband put a little concrete into the pots that she put them in to stabilize them. But since this was my first attempt to do this, I didn't go that route.
I already had these red planters that I used in my Christmas decorating, but I needed some preserved boxwood balls to make this project. I scouted out some online sites, but they still cost more than I was willing to pay.
And it just so happened that I was in Tuesday Morning shortly after Christmas when I spied just what I needed and the price was reasonable. Each topiary ball was $14.99!
The next thing that I needed for my project was some plungers. I actually had trouble finding old-fashioned, wooden handled toilet plungers! All I could find were ones with plastic handles so I went with those .
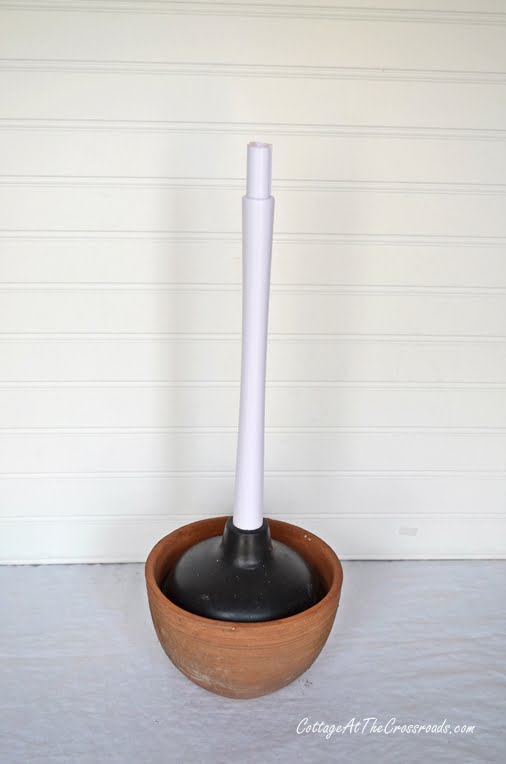
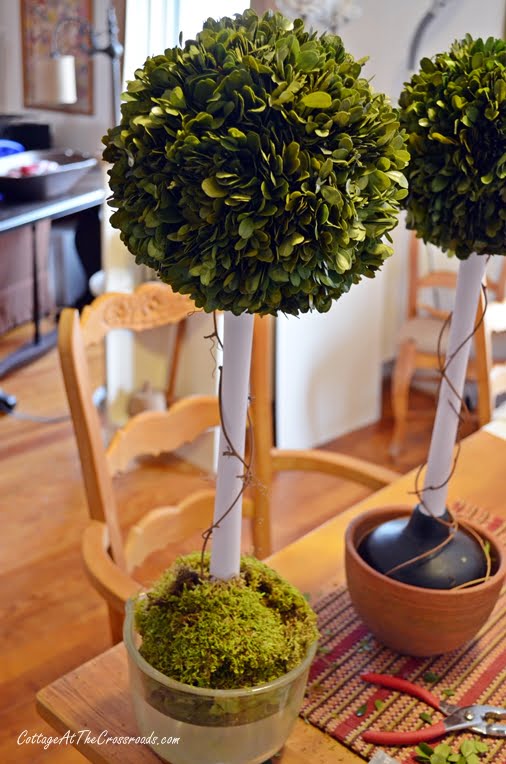
The next step was finding some containers that the rubber part of the plunger would fit down inside. Leo came to the rescue after he rummaged around our potting bench. This one fit perfectly and once I jammed the plunger down into the pot, it was nice and secure.
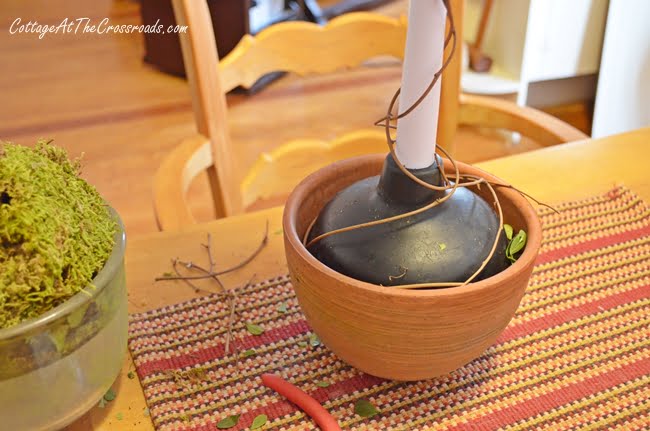
To camouflage the plastic handle, I wrapped some grapevine stems around it.
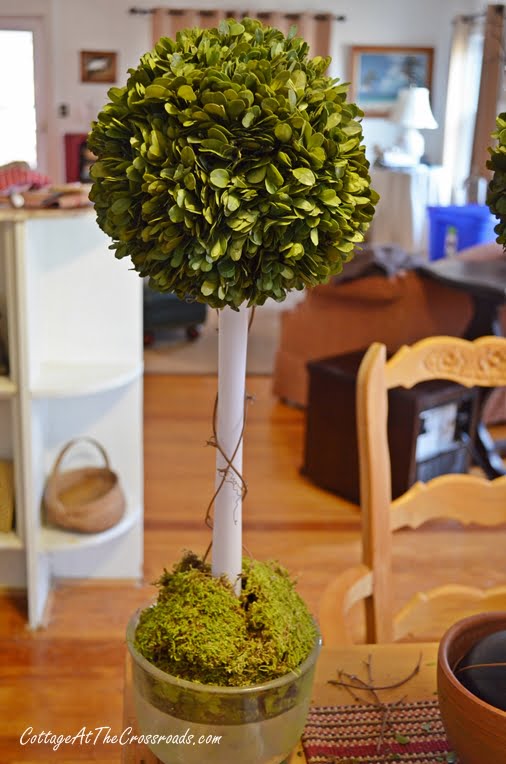
The other container I used was a glass bowl, and pieces of sheet moss that I already had were used to hide the base of the plunger.
You're probably wondering how I got the balls of preserved boxwood onto the top of the plungers, right? Well, I don't have a photo of that step, but I just inserted a knife into each ball, twisted and turned it until I had a deep enough hole to insert the top of the handle. After making sure the handle fit into the ball, I added some E6000 glue on the top of the handle, added the ball, and held it for a while until I felt like it was holding securely. (You do want to make sure you have the ball on straight before you glue it!)
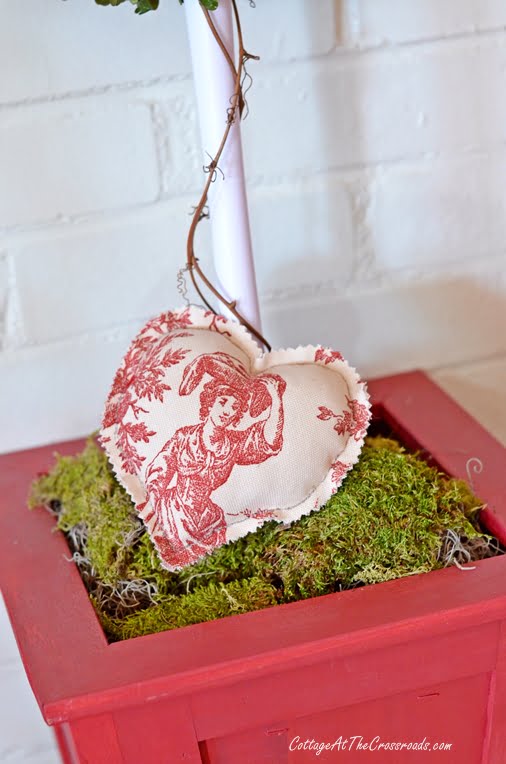
After a few hours passed, I was ready to place the topiaries into the wooden planters. I added more sheet moss to hide the containers and propped two of my fabric hearts since I was decorating for Valentine's Day.
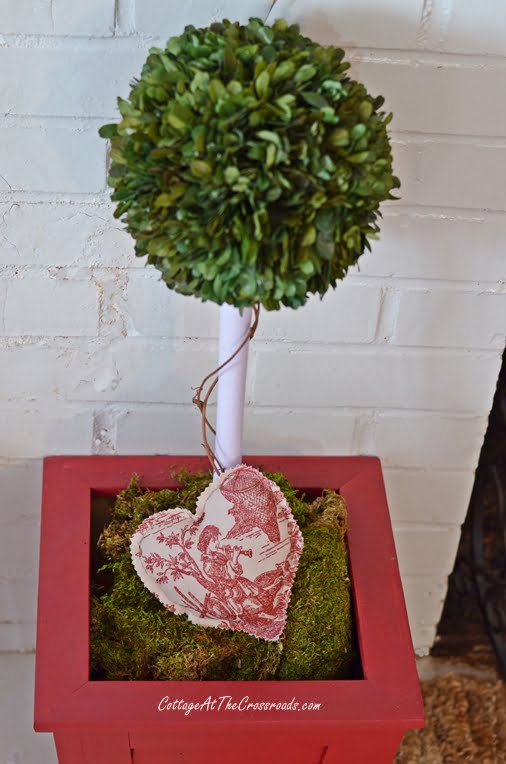
Ta-Da! You really wouldn't have known that the handle was plastic if I hadn't told you, would you? But I'm still going to be on the lookout for plungers with wooden handles because I may be making more of these.
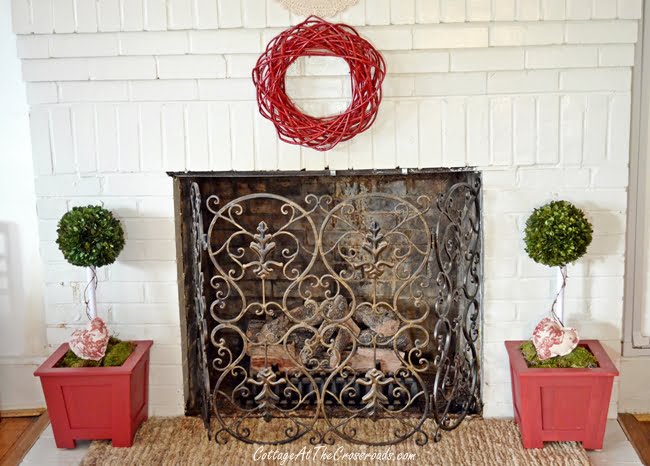
I think these topiaries are going to stay here for a while since I use red in this room. The hearts may get switched out with some shamrocks at some point.
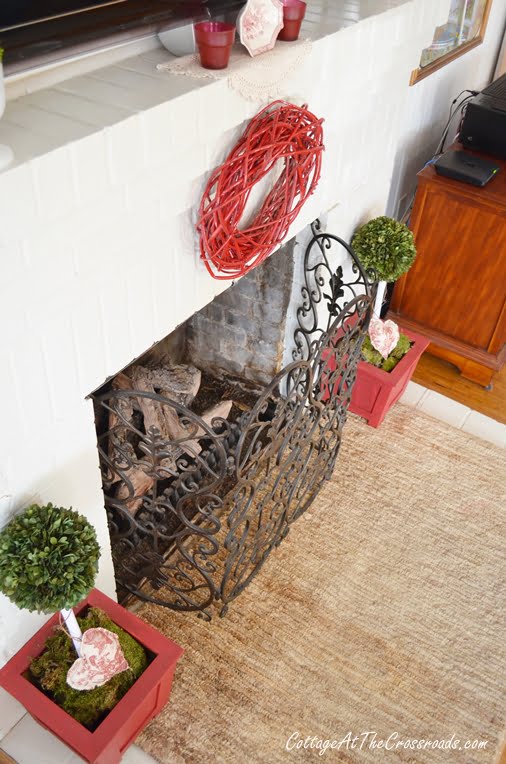
Here's an overhead shot. Can you tell that I really pleased with these DIY topiaries?
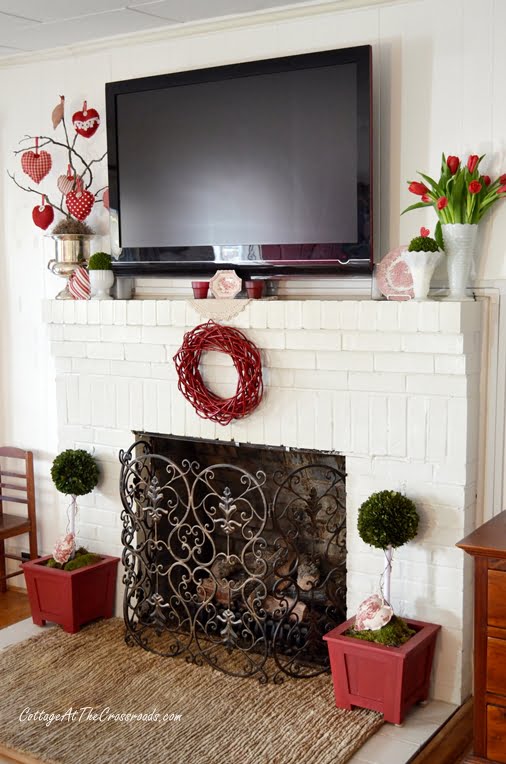
I want to thank my friend Anne Warr for her great idea! Just goes to prove that sometimes you have to "unclog your brain" instead of your drain!!!

Denise at Forest Manor
Hi Jane,
You did a great job on your boxwood topiaries! Your friend was very clever to come up with this idea. 🙂 I love the preserved boxwood too, and yes, it is expensive. I'm always on the lookout for some that is affordable.
I especially love your fabric hearts (I never get tired of toile), and your mantle looks great! Thanks for sharing with us.
Visiting from Met Monday -- have a great day!
Denise
Julie
I love your branches with the hearts! They are so sweet. And I really like the simplicity of the red grapevine wreath and it's placement on the fireplace.
Jean Windham
I did enjoy reading how you did this Jane. What a great idea and they look really pretty. Great job and the little heart tree is perfect to add with them on the mantle. Jean
Kathy
Love it!! Y'all rock!
Shirley@Housepitality Designs
You two are the cutest!…I can just envision Leo with plunger in hand looking for the right pot to take the plunge!…Love the topiary and I think it would look wonderful on my new "French Commode"…. 🙂
Barbara B
I'm laughing because, as crazy as the whole thing sounds, no one would ever guess what you used. They turned out great and the whole fireplace looks so pretty!
Pat Peele
Lovely topiaries! I always enjoy your posts especially when you mention people from Lamar. It seems like memories of one or more of them warm everyday!
I got plungers at the dollar tree with wooden handles. They might be more useful as stems than what they were intended.
SheilaG @ Plum Doodles
Much cuter than what those plungers are intended for! Pretty way to disguise the one in the bathroom, too. 🙂
Cheryle ATwater
I love them! I enjoy your blog and how you and your husband work as a team to make a beautiful home.
Sharon
so cute! and just wanted to say I enjoyed listening to crossroads radio this morning while painting in my kitchen.
Dawn
Brilliant idea Jane they look great 🙂 no one would ever guess a toilet plunger was involved in the making.
Jean
Jane, your topiaries are beautiful.