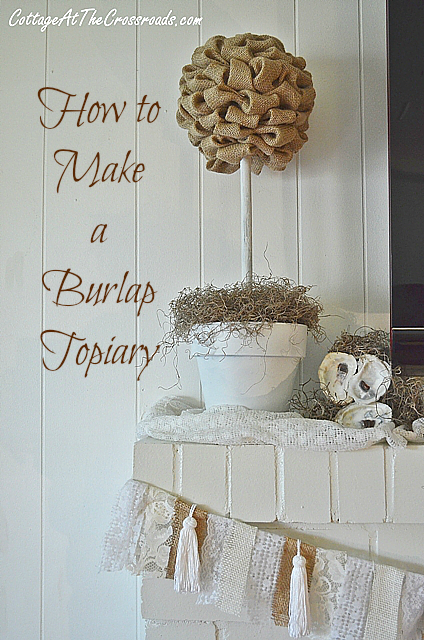
A few days ago, I made this very easy to make burlap topiary. And the great thing was I already had on hand all the materials that I needed to make it.
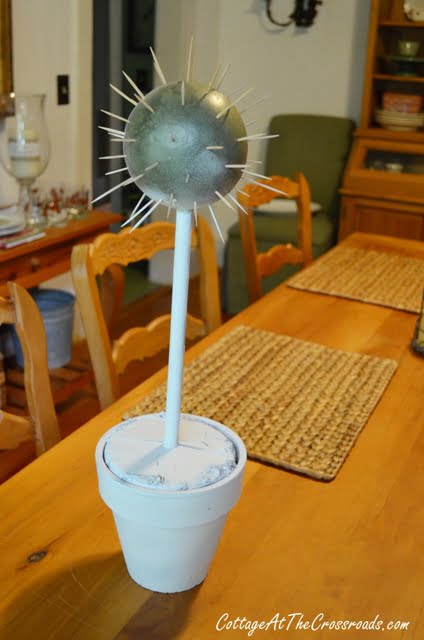
I had this styrofoam form left over from when I made a strawberry topiary a few years ago.
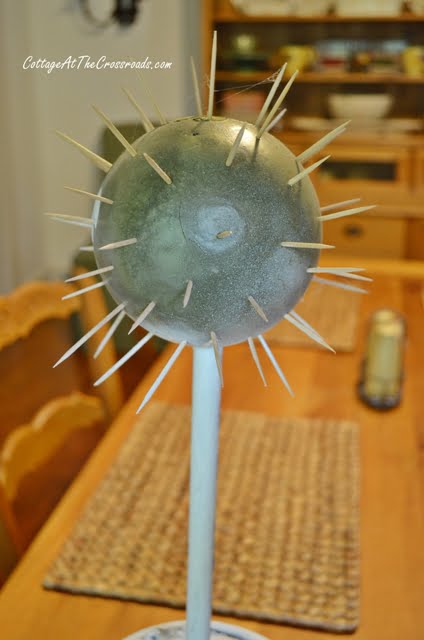
The ball still had the toothpicks that I had used to attach the strawberries.
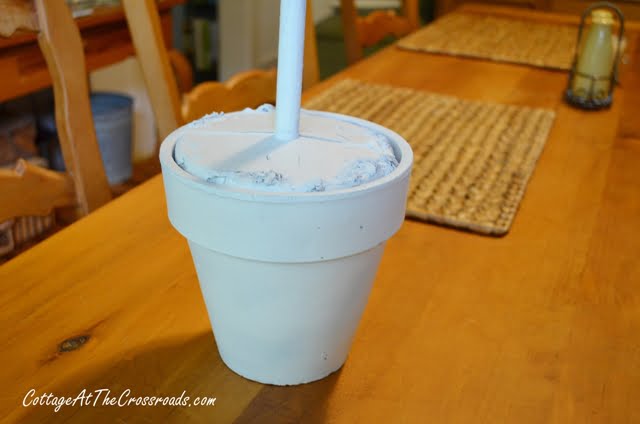
A few months ago, I had painted this clay pot and the styrofoam form white while I was spray painting some other things.
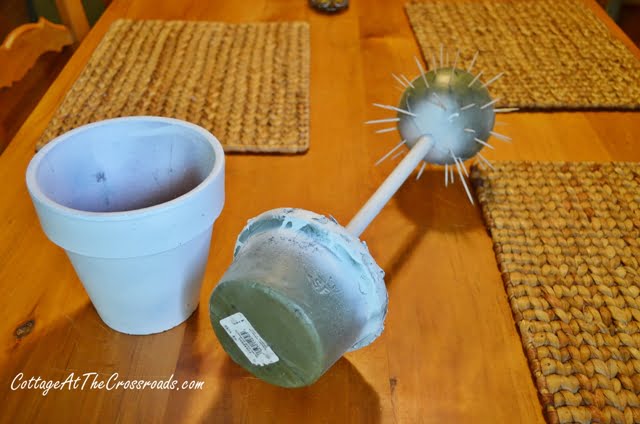
I purchased the styrofoam form at Hobby Lobby. It comes with the ball and the dowel already attached to the base. Just make sure the base will fit securely inside the pot that you plan to use.
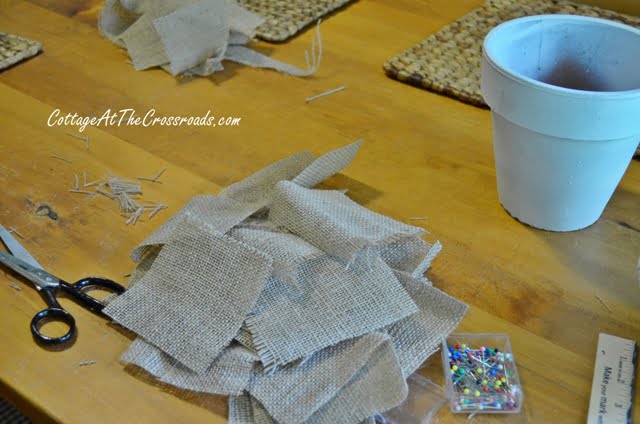
I'll have to admit that the idea of making this burlap topiary is not an original one. I had actually seen one on the blog Dining, Designing, and Diapers a few months ago. Taryn has some great instructions on how to make larger versions of this topiary. The first step is to cut lots of squares that measure 4 inches x 4 inches out of your burlap. I can't tell exactly how many I used because I would cut a whole stack of them and then when I ran out, I would cut some more.
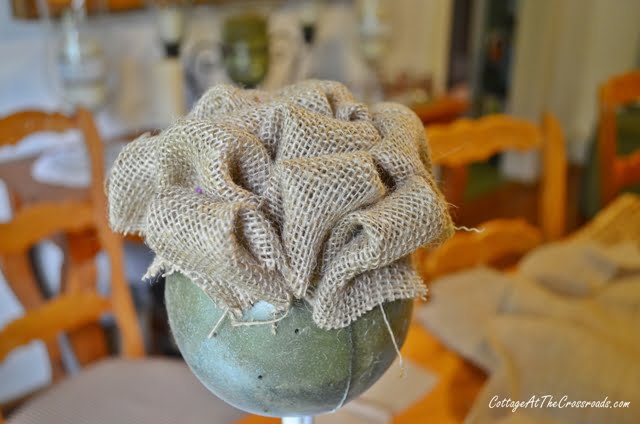
I followed Taryn's instructions on how to fold each square to form a "bubble" out of the fabric. Then I attached them to the styrofoam with a straight pin. You won't see any of the straight pins if you fit each "bubble" snuggly.
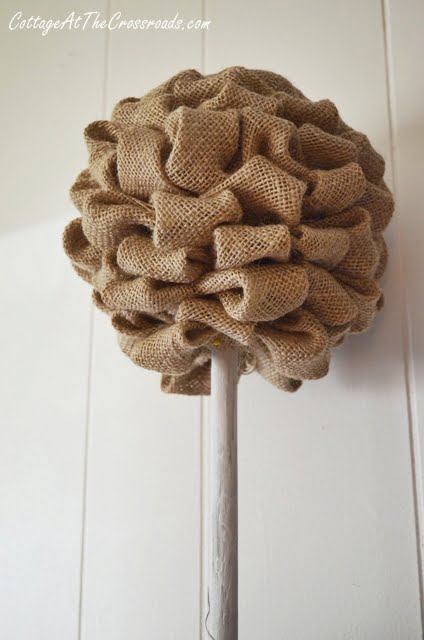
Before you know it, you will have it completed. That's how easy it is to make one of these!
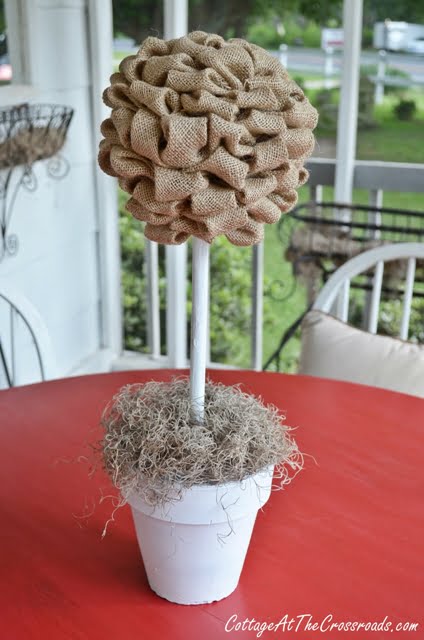
A little Spanish moss hides the base and dresses up the topiary. I brought it out onto the porch to photograph it, and I'm thinking how good it looks out there.
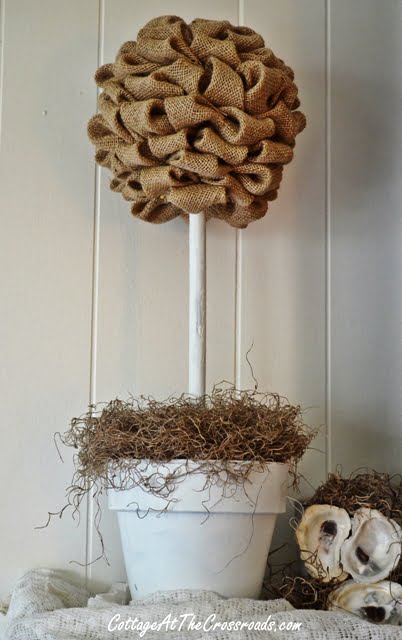
But that's not where it ended up. Right now it's sitting on our mantel as part of a late summer display. So easy, so cute, and didn't cost me a dime because I already had all the materials!


Cecilia
Me encantó!!!! Quiero hacerlo yaaaa!!!!
Patti
That is perfect for fall, and versatile enough to leave on display all year.
I'm drooling over that gorgeous garland with burlap and lace! It is to die for!!!! Did you cut lengths of various lace pieces to drape over the burlap? I LOVE it. Burlap and Lace - my two favorite things.
Blessings!!!
Linda Nelson
Your burlap topiary is really pretty. I particularly like its timeless and perennial look; hence, it can be displayed year round.
Heather - New House New Home
That's fantastic, Jane!!! Pinning!
SheilaG @ Plum Doodles
I love it, Jane!
Tammy
I love this so cute would love it if you came by and shared at One More Time
Ann @ Not Just Signs
How lovely and versatile for any time of year! Burlap is always a good idea! Thanks for sharing!
Andrea at Opulent Cottage
How adorable for fall! Now I know what to do with all of my burlap scraps. This is going on my fall to-do list 🙂
xoxo, Andrea
Susan in SC
Very nice!
Janelle
Too cute! I can see using this all through the fall and winter with just tweaking the accessories around it.
Mary
So cute Jane! Love the burlap!
Tammy
This is adorable....Love it!! Would love if you came by One More Time Events. and shared it.
erica
AWESOME!!! How did you know that this is exactly what I needed for my mantel?? 🙂 I'm pulling together a late summer display full of sunflowers this will go swimmingly! Thank you so much for sharing ~ i'll be sure to mention you and your wonderful blog when I attempt to mimic your burlap sensational topiary!!
Jenna
I love this, so cute, lots of possibilities! Pinning!
Karena
Jane I love it! IT is a topiary that looks darling! Bravo!
xoxo
Karena
2013 Designer Series
Ann
I love this! I only recently began to work with burlap. Even though it has it's difficulties, everything always turns out so nicely. Your topiary is awesome!
Kathy
So cute! I think I might need two of these for my mantel. Thanks for the inspiration!
Shirley@Housepitality Designs
This is too darn cute!!!....See you two soon!!!
Cynthia
Hi Jane, I think this is great and love it with burlap. Fantastic job!
Cynthia
JoAnn @ SweetPepperRose
Hi Jane! looks great, and I like the Spanish moss filler... looks like I'll be making two of these to match my own oyster colored Burlap Bubble Wreath 😉
Donnamae
Really darling and relatively simple...thanks for showing us! 😉
Betty
It is so cute an alot easier than I thought it would be to make. Thanks for sharing.
Taryn @ Design, Dining + Diapers
Yours turned out beautiful!!!!! Love your tutorial on this.
priscilla
Love this ! Thanks so much for the tutorial !
Poppy
Oh how cute! I love it on your mantle, adds beautiful texture.....the colors are so soft and subtle, perfect for summer decor:) Thanks for sharing the tutorial! Have a lovely week!Hugs,Poppy