Welcome to the very first Dollar Store Challenge! Each month on the 4th Thursday there will be a different challenge using dollar store items. This month we used glass candleholders.
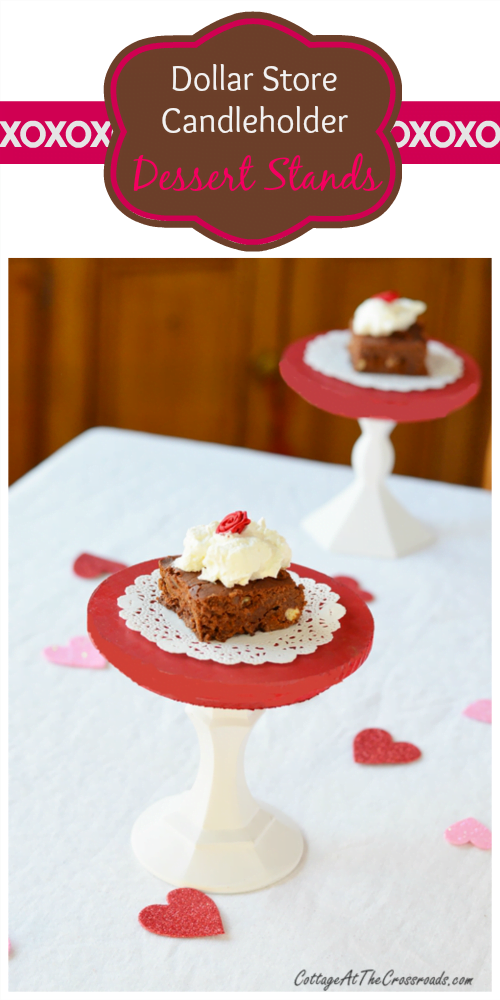
When Barb first issued the challenge to create something with a glass candleholder from a dollar store, I was stumped. But off I went to the Dollar Tree to pick up my supplies without a clear idea in my head until this popped into my head!
These little dessert stands take an ordinary dessert up a notch or two, don't you think? And they are so easy and inexpensive to make. Here's how I did it.
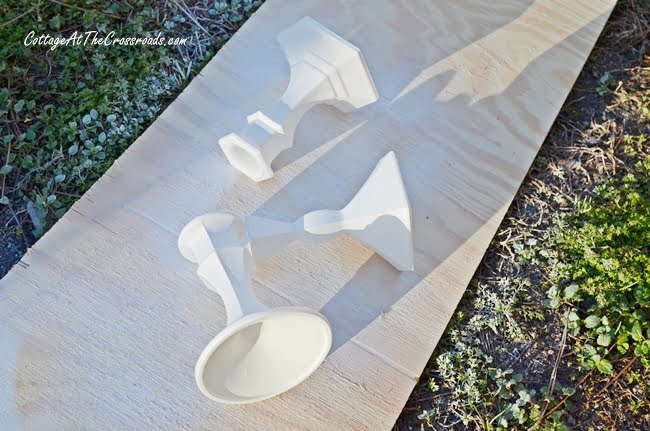
First, I sprayed my glass candle holders with spray paint. I used a flat white paint that I already had on hand.
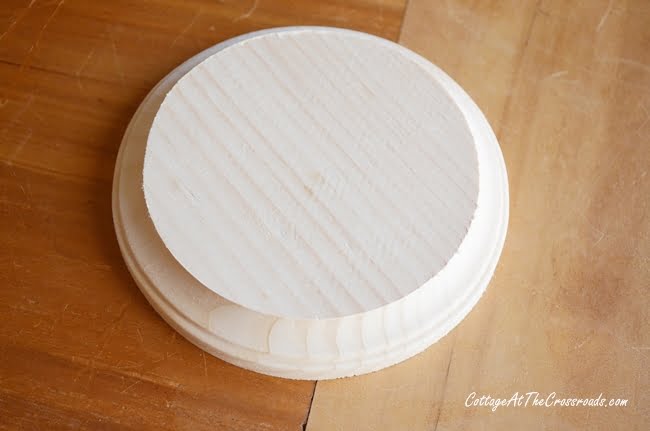
I decided that I was going to use wooden disks for the top of my dessert stands, so I purchased 2 disks from Hobby Lobby. They cost $1.33 each.
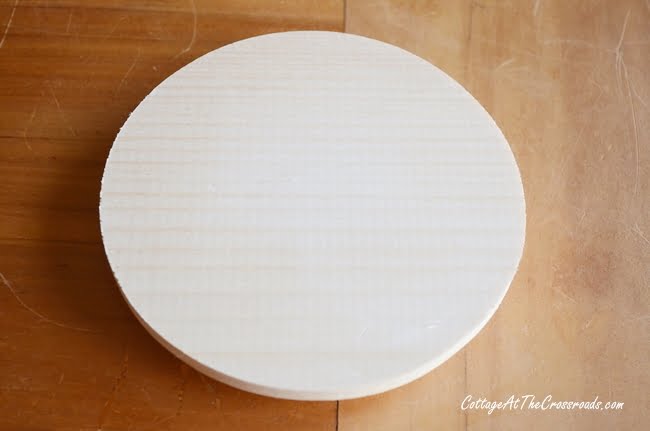
These disks are round on the top and have a nice beveled edge.
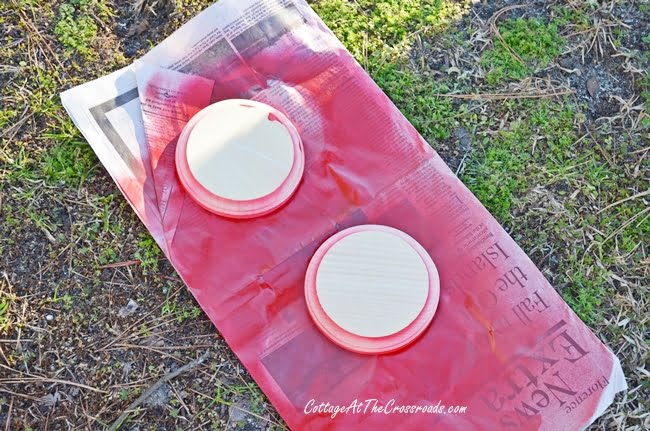
Because Valentine's Day is coming up, I decided to spray paint them red. I used the same Ruby Red that I used to paint magnolia leaves in December. Once they dried, I thought they were a little too red so I added another layer of a darker red that I had.
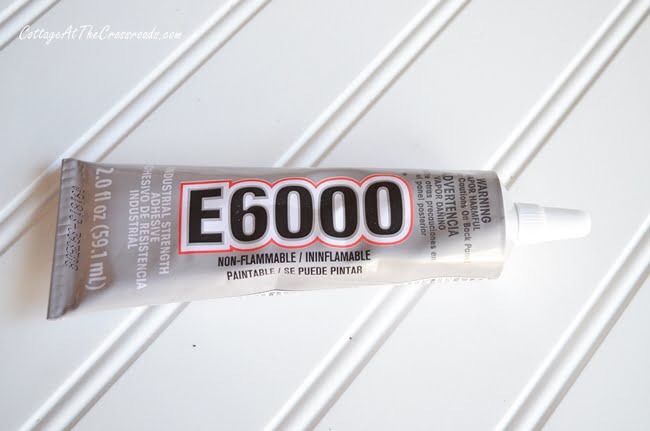
When the paint was dry, I attached the wooden disks to the glass candleholders with this glue and let it dry overnight.
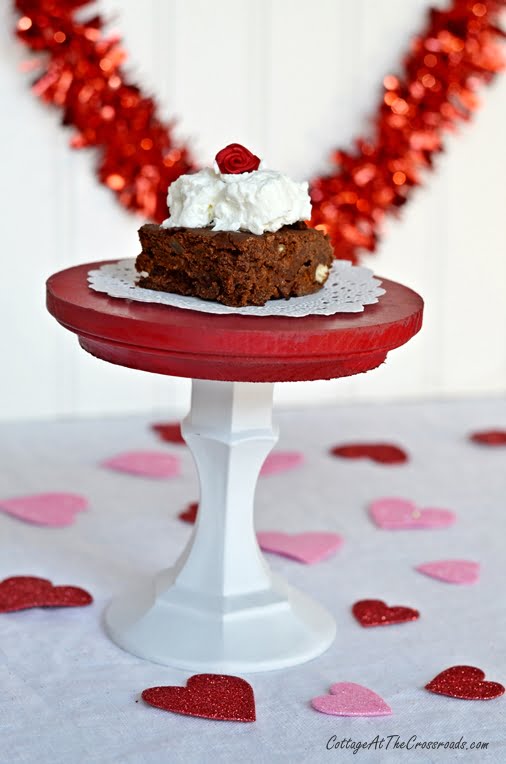
Can't wait to use these for a little sweet treat on Valentine's Day!
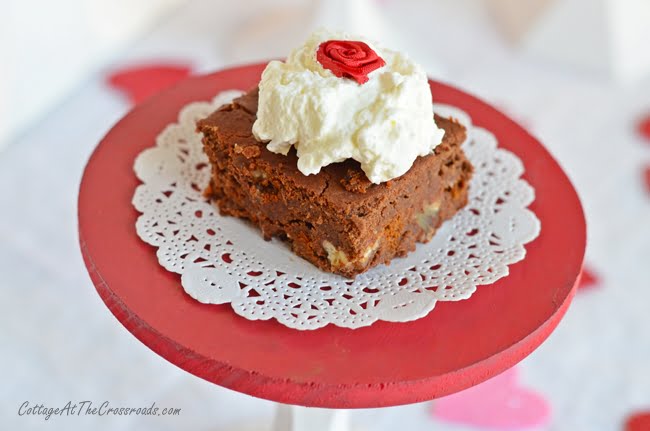
Be sure to use a paper doily or a cupcake liner when using these as dessert stands to make them safe for serving food.
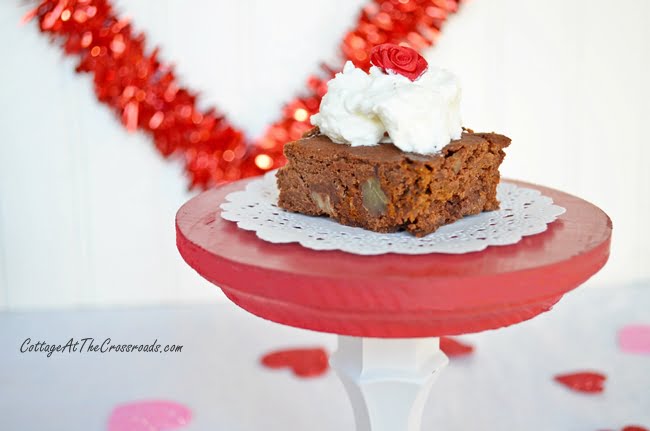
I suppose you're wondering about that brownie since I announced that we were on a low carb diet, aren't you? Well, this brownie is low carb with a secret ingredient. But I'm not quite ready to give you the recipe. It needs a little tweeking.
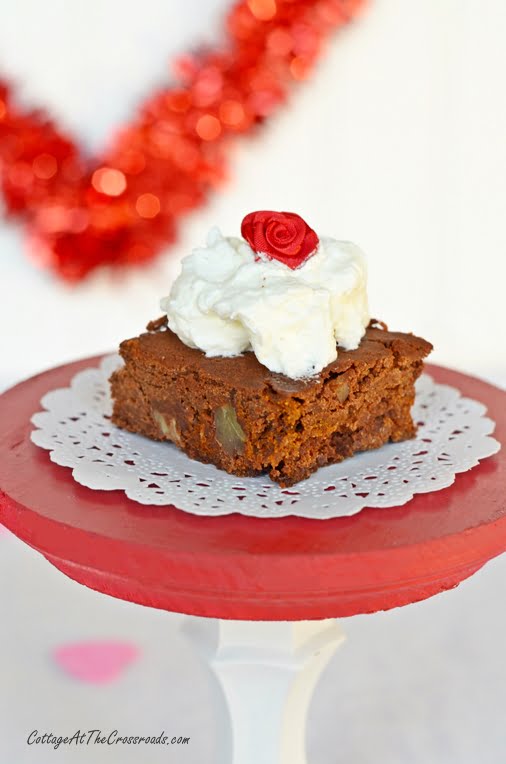
Sorry for the picture overload, but I got a new lens for my camera, and I'm tickled pink with the photos!
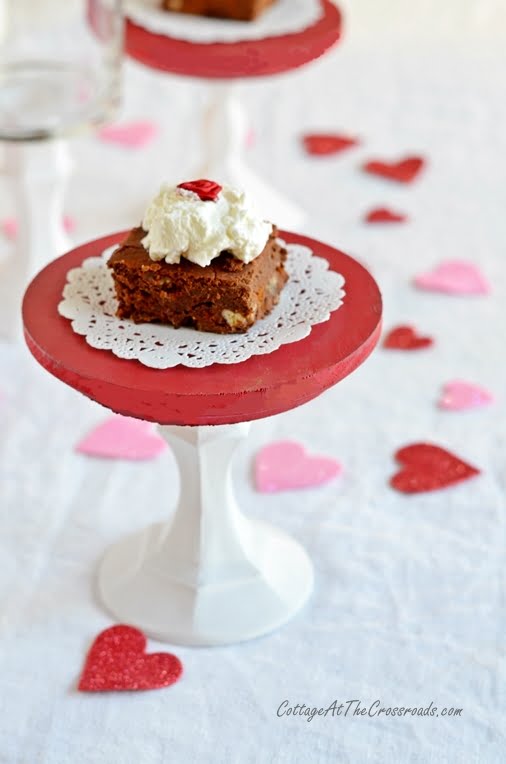
You're probably noticing 3 white candleholders in this photo, aren't you?
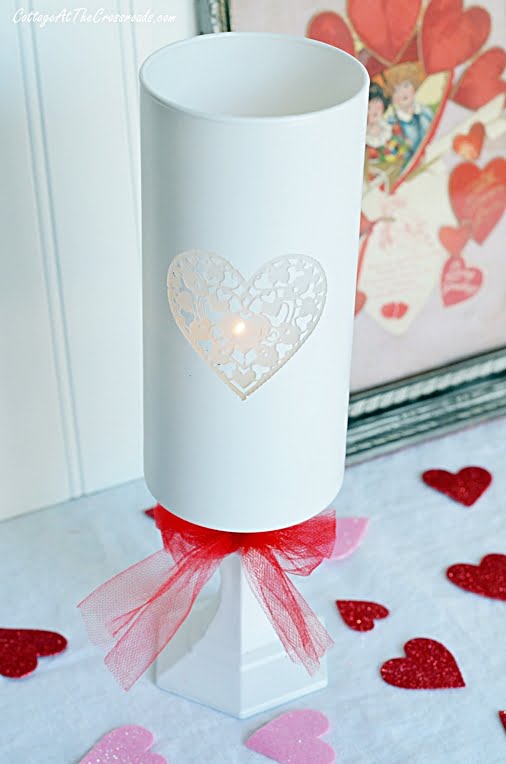
That's because I just couldn't help myself! A little candlelight is needed on Valentine's Day so I made this using a glass candleholder and a glass pillar candleholder. My friend Marti cut out the heart stencil with her Silhouette machine using contact paper. All I did was put it on the candleholder and then spray painted it. After the paint was dry, I removed the stencil. Thanks Marti!
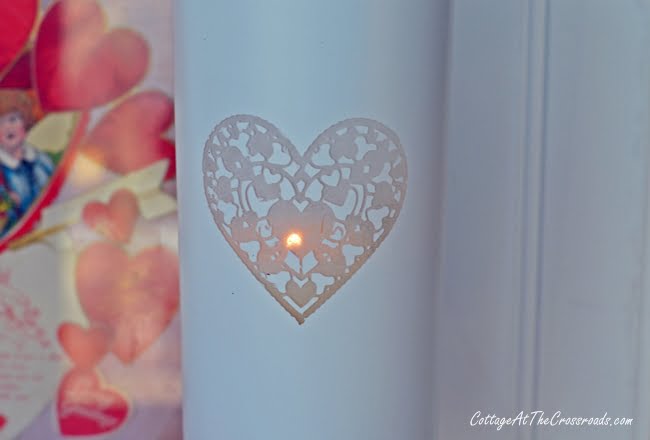
I love how you can see the candle burning through the heart!
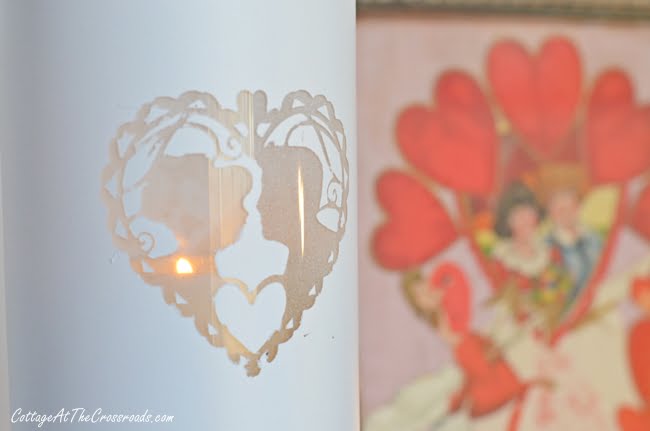
And on the back, I put a different heart. See the couple? So romantic, huh?
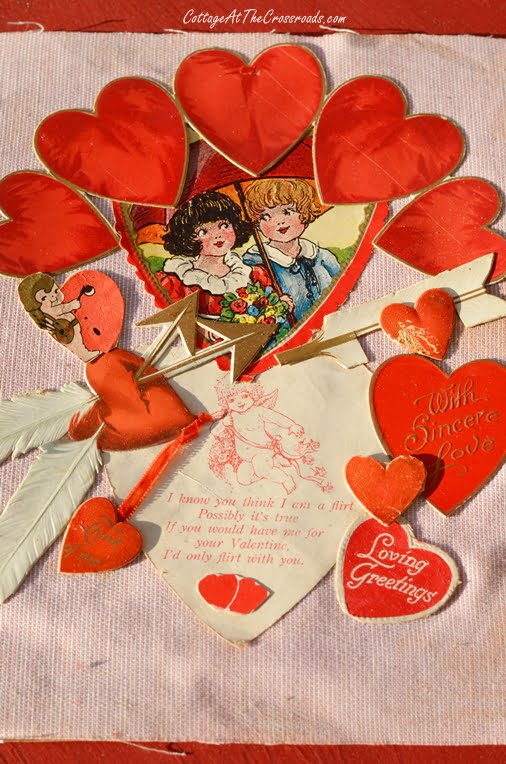
I thought I'd show you the vintage Valentine that was in the background, so I took it out of its frame.
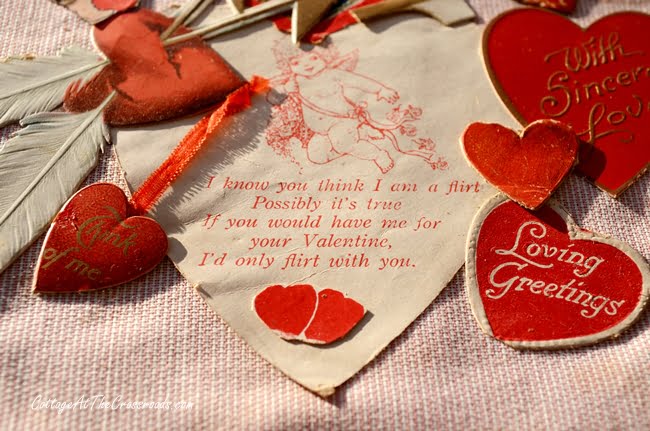
The recipient of this Valentine had treasured it enough to frame it and keep it for years. Don't you want to know that story?
Speaking of stories, I can't wait to see all the creative things that have been created with the dollar store candleholders, so let's get this party started

Joanie B
Love, love the Valentine's stands. Thank you for the inspiration.
Michele
Is it necessary to use spray paint? I have acrylic paints-- can I use that? I tried once and it was like a skin that came off. IS it because it was not completely dry or did I do something wrong?
Jane Windham
Michele, I would try some enamel acrylic craft paint that is designed to be used on glass if you don't want to use spray paint. Good luck with your project!
Debbie
Really cute!
Jean Windham
The dessert stand is so pretty. I do love the color of red you used and the doily is just the right touch to add. I think the treat on top looks extra special now and I bet it taste good too. Jean
Emily
I like both the light and the dessert stand. Not sure which one I like better! The dessert stand is a great photo prop though, something every blogger could make good use of!
Morena
I love all the details you included. Everything looks so beautiful!
Tammy...circa-1929
Jane,
Love both of your ideas. And the dessert - can I say - looks yummy.
tammy
debbiedoos
That is just darling Jane!
Lauren
What an adorable candle stick transformation! I love this sweet little dessert stand and that brownie looks so yummy too!!!
Kathy
Your project(s) turned out so pretty! Love the dessert stands AND the candle holder is gorgeous!! Beautifully photographed, too!!
SheilaG @ Plum Doodles
I don't know why I never thought of painting the candlesticks, especially when I tend to paint anything that isn't moving. Love both sweetheart projects, and your pics are beautiful. What lens did you buy? Will it make me a better photographer? One can only hope.... 🙂
Barb @ The Everyday Home
I just love your little dessert stand and honestly, I wanted to lick the screen those brownies look so good. I can't wait for the recipe. Thanks for being one of my first co-hosts and thx for joining in the 1st Great Dollar Store Challenge. I pinned it! Hope you join up next month, too. 🙂
xxoo, Barb
Atta Girl Amy
Jane - your craft is adorable, but I just have to tell you how amazing your photos and styling look. Great shot -- and my mouth is watering over that brownie. Can't wait until you share the recipe.
I'm so inspired by all these adorable candlestick crafts. I'm definitely joining the challenge next time around.
Cynthia
I am rally loving this and seeing everything that you are all coming up with. I can't wait to be in the new house to be creative again.
Cynthia
Leo@cottageatthecrossroads
Is Valentines Day coming up? Maybe I should get my sweetheart something. Let me think. Any suggestions?
Jane Windham
Leo, every day is s a sweet treat with you!
Leo@cottageatthecrossroads
Love you too Jane.
Dawn
How cute is that Jane, the dessert stands are just adorable. What a great way to give height to a table for such a small price.
Jenna
Really cute Jane!
JoAnn @ SweetPepperRose
Hi Jane this sounds really fun! Can't wait to link up tonight 😉
Melanie
Great job!
Christy @ Our Southern Home
Adorable idea! I'm blown away with the creativity! Fun partying with you! ~Chisty
laurie
That is so cute, Ms. Smarty! and I love your vintage V'tine card too. laurie
Linda
This is so perfect for Valentine's ... and the dessert looks luscious, too. Best wishes, Linda at Crafts a la mode
Elizabeth @ Southern Color
Great job! I can barely recognize the candlesticks when they're painted white. Very cute Valentines Day craft!