If you're into farmhouse style decorating, then I think you're going to like my DIY cotton seed bag that I made recently. It can totally be a no-sew creation or you can do just a bit of hand stitching to make the closure. Either way, the cotton seed bag will be a great addition to your farmhouse decor.
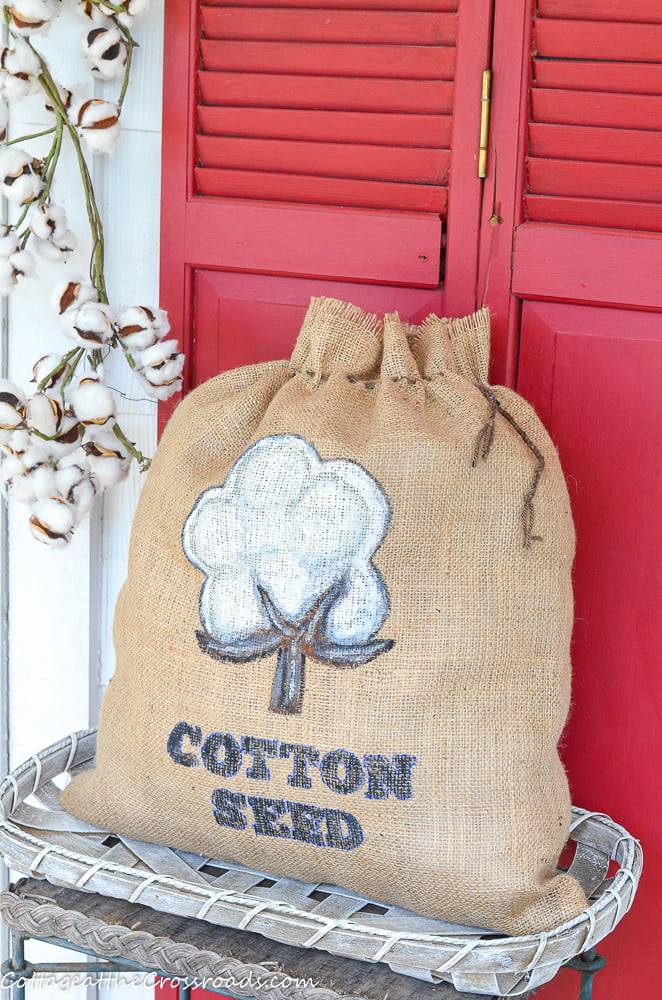
DIY COTTON SEED BAG
Hi friends! You may remember when I posted about updating the metal lanterns on our front porch that I said that I was going to decorate the porch with a cotton theme this fall. So one of the first things I made to add to the porch decor was this cotton seed bag.
I mean, how can one have cotton without seed???
So if you're planning to use any cotton in your fall decor, this DIY cotton seed bag will be a great addition.
What you need to Make a Cotton Seed Bag
- burlap fabric (I cut a piece that was 40 inches wide and 24 inches long)
- hot glue gun and glue
- pattern for large cotton boll
- stencil letters for the words "Cotton Seed"
- black Sharpie pen
- brown yarn
- hand embroidery needle with a large eye
- black, brown, white, gray, and tan acrylic craft paint
- inexpensive artist brushes and a sponge tipped pouncer
- outline of a cotton boll
How to make a Cotton Seed Bag
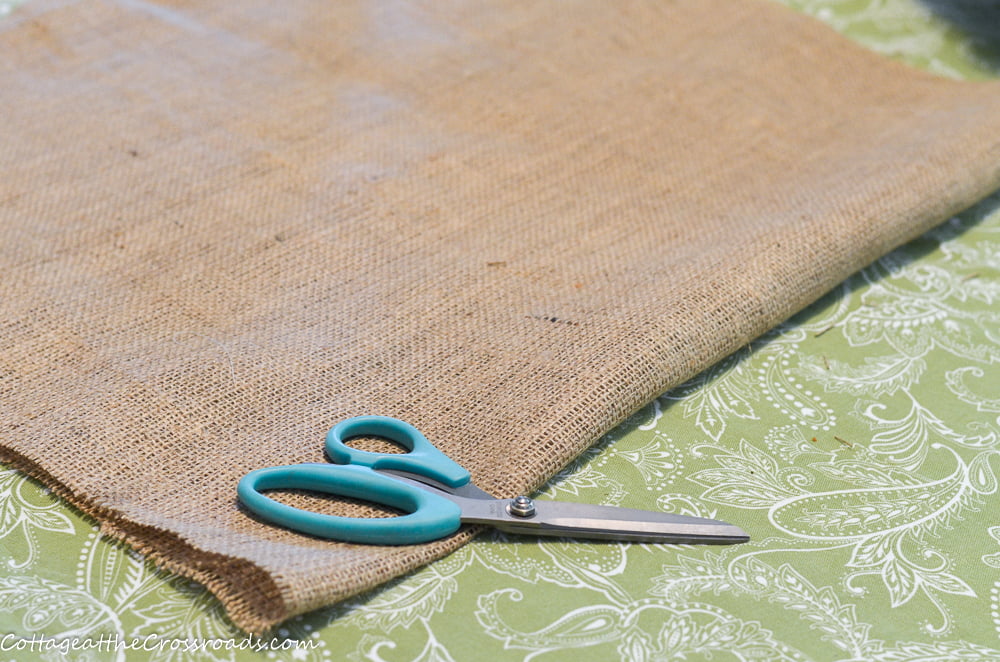
First, you will need some burlap fabric. I happened to already have some so I cut a piece that was 40 inches wide and 24 inches long. You could vary the size of the piece of fabric depending on the size you wanted the finished bag to have.
I had to iron my fabric because it had creases in it. Then I folded the piece of fabric in half.
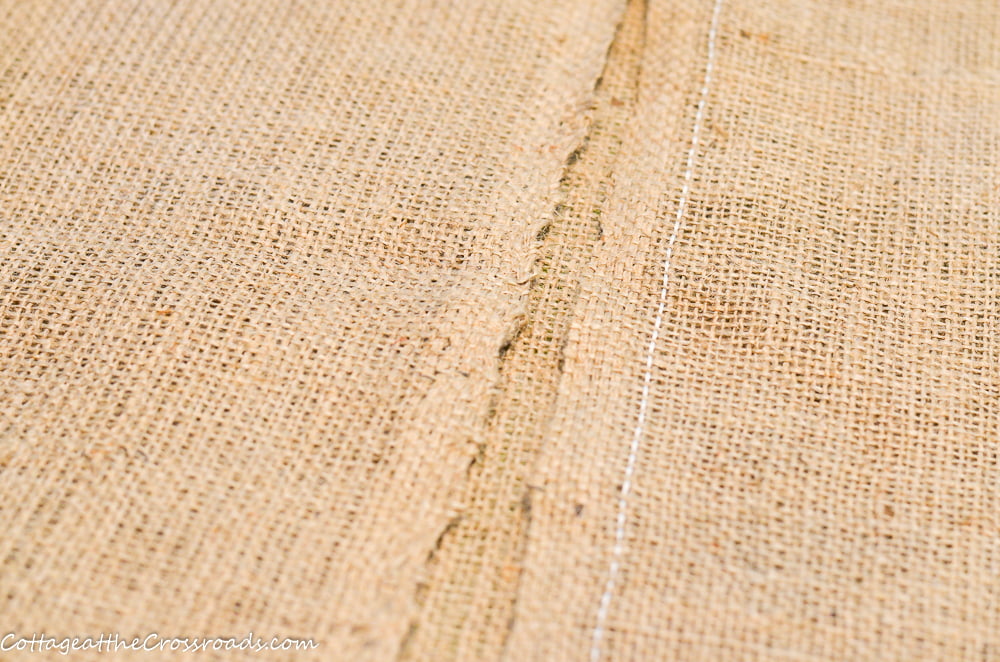
I brought the 2 selvage edges together and hot-glued them together. I arranged the fabric so that this seam was in the center of the back of the bag.
Next, I turned the bag inside out and hand stitched the bottom to create a seam, but I'm sure you could simply use hot-glue to do the same. Then I turned the bag right side out.
Be careful when you're using hot glue on burlap. It goes through the holes to the other side!
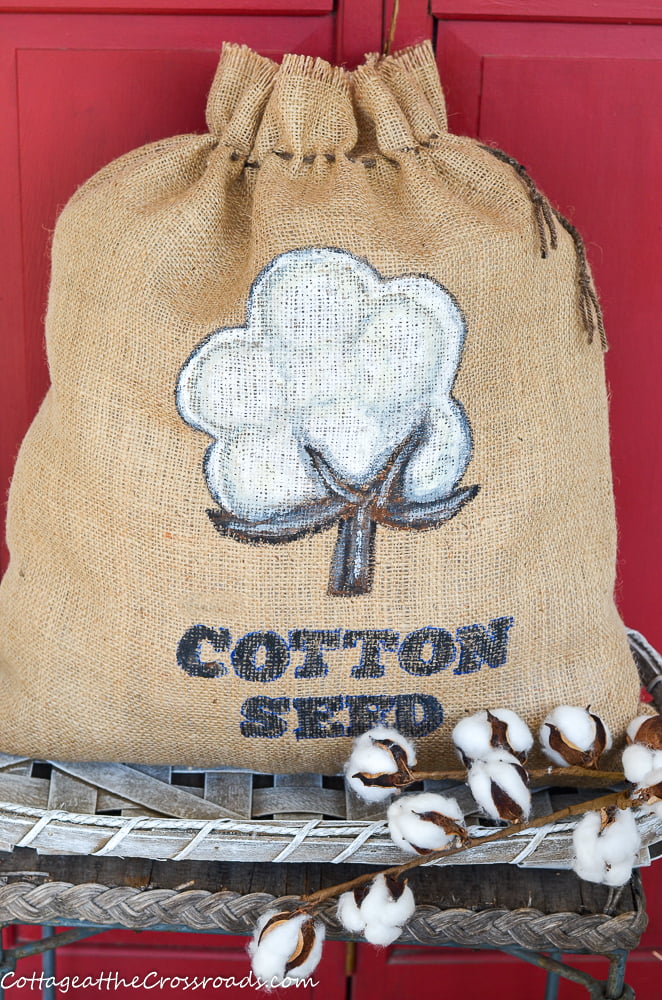
Using a pattern, I traced the outline of a cotton boll onto the front of the bag. I also stenciled the letters to make the words "Cotton Seed" underneath the cotton boll.
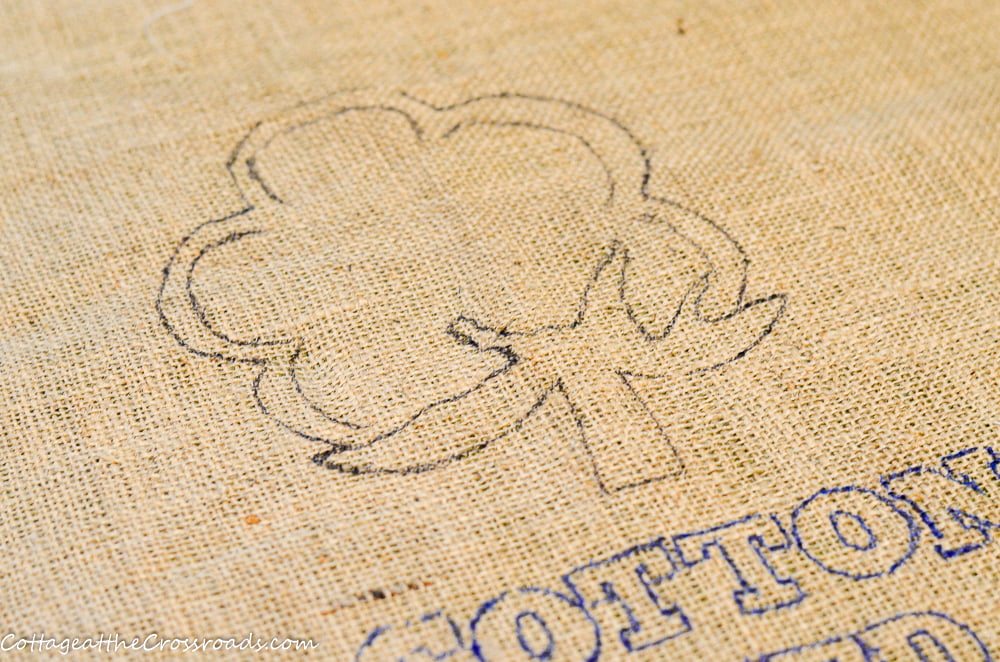
I used a black Sharpie pen to trace the cotton boll, but for some reason, I grabbed a blue Sharpie to do the words! No harm done, though!
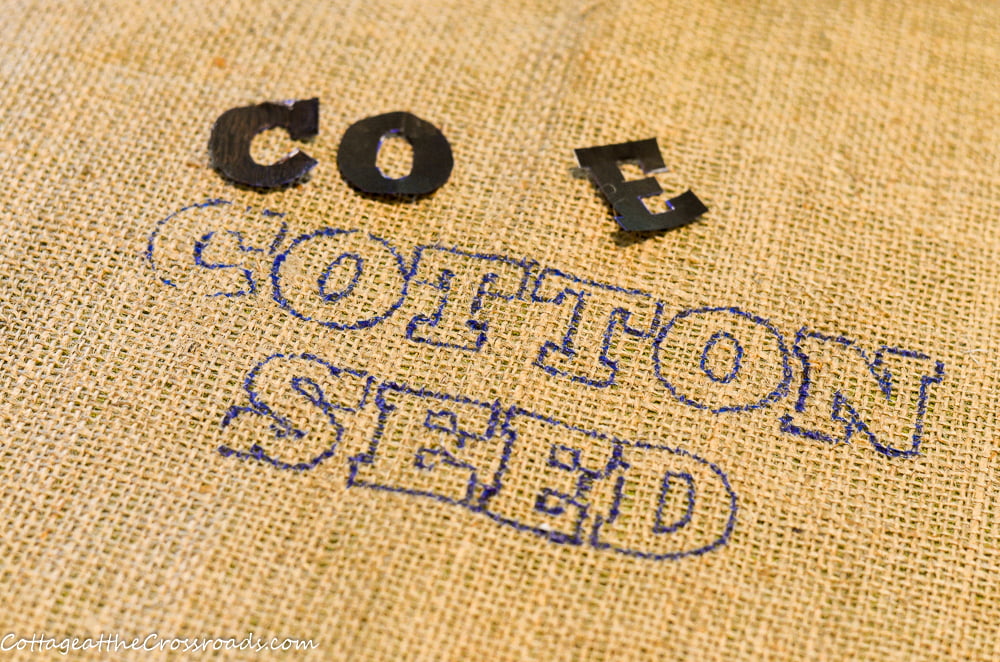
This part would have been so easier if I had some stencil letters to trace, but I didn't have any on hand so I created my own by printing out the words in a 400 pt font.
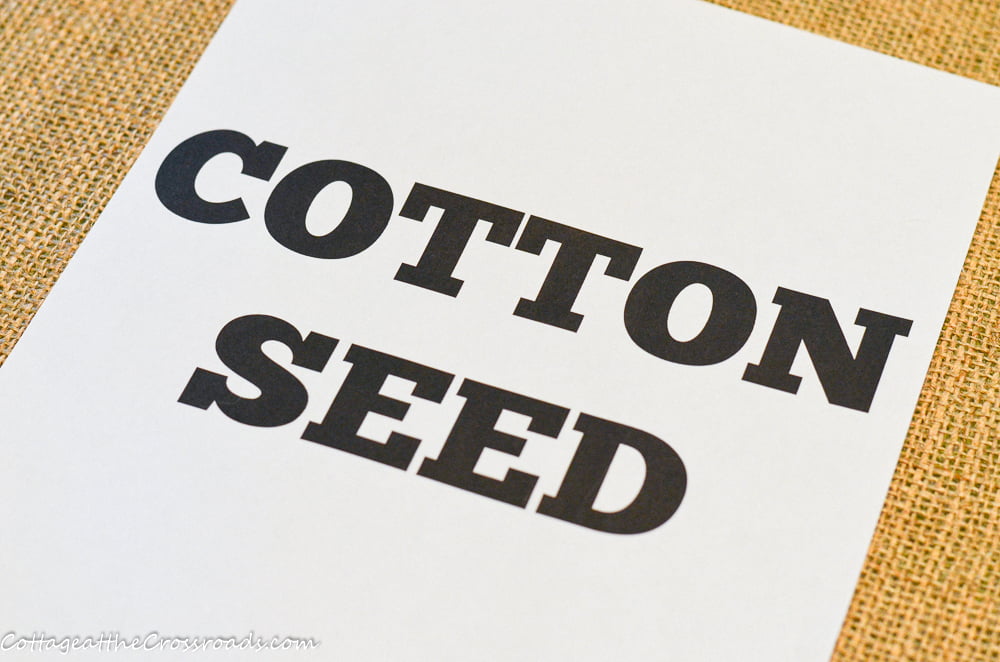
Yes, I cut out the letters and then traced them.
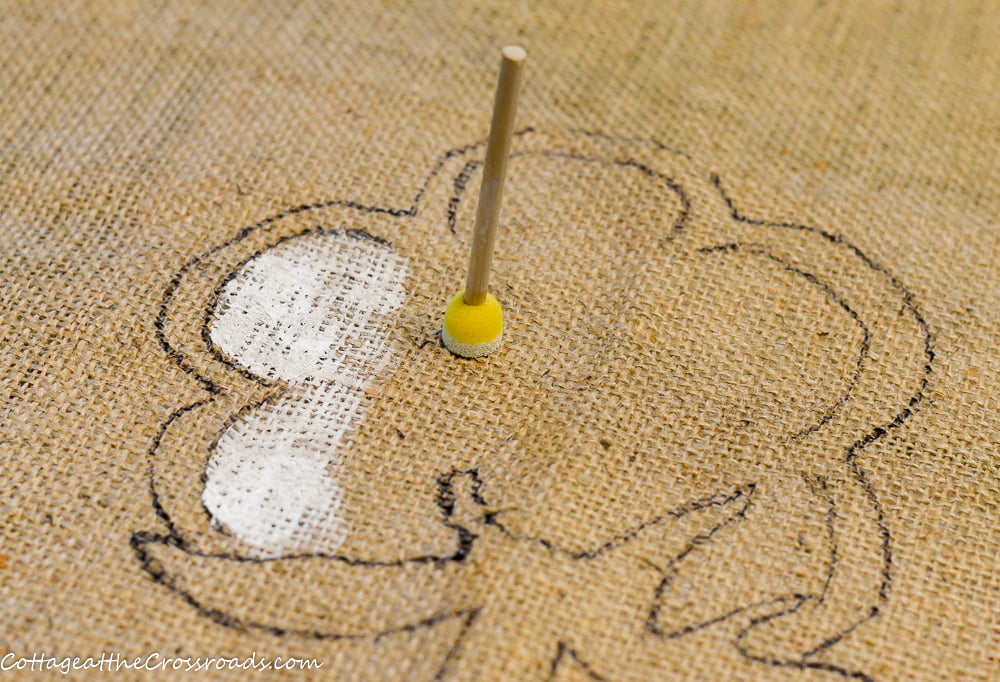
Before painting the cotton boll and letters, insert a piece of cardboard, paper towel, or folded newspaper inside the bag so that the paint will not go through.
I found that using a sponge tipped pouncer was the quickest way to paint the large sections of white and brown on the cotton boll.
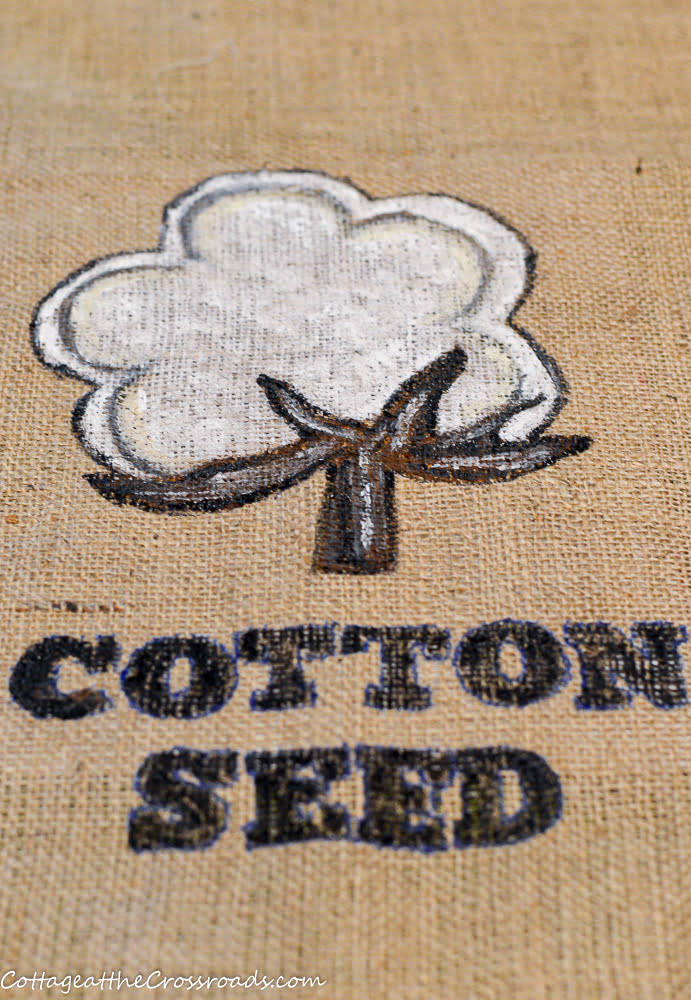
Then I used some artist brushes to add some shading and allowed the paint to dry.
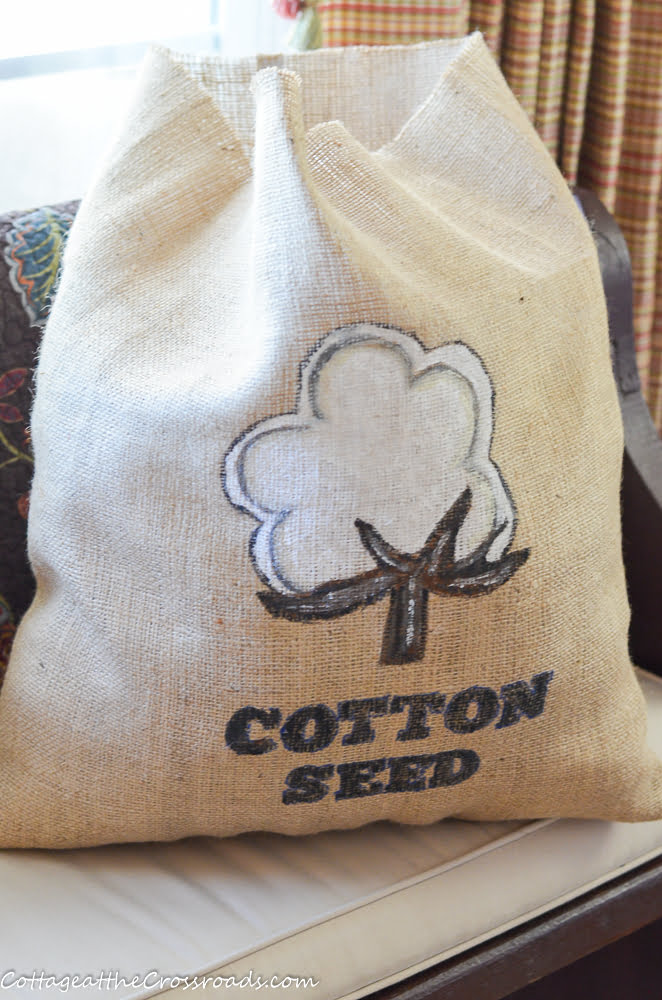
The next day, I stuffed the bag with polyester fiberfill about ¾ full. Then I decided to add a little more paint to the boll to soften up the edges. I can't leave anything alone!
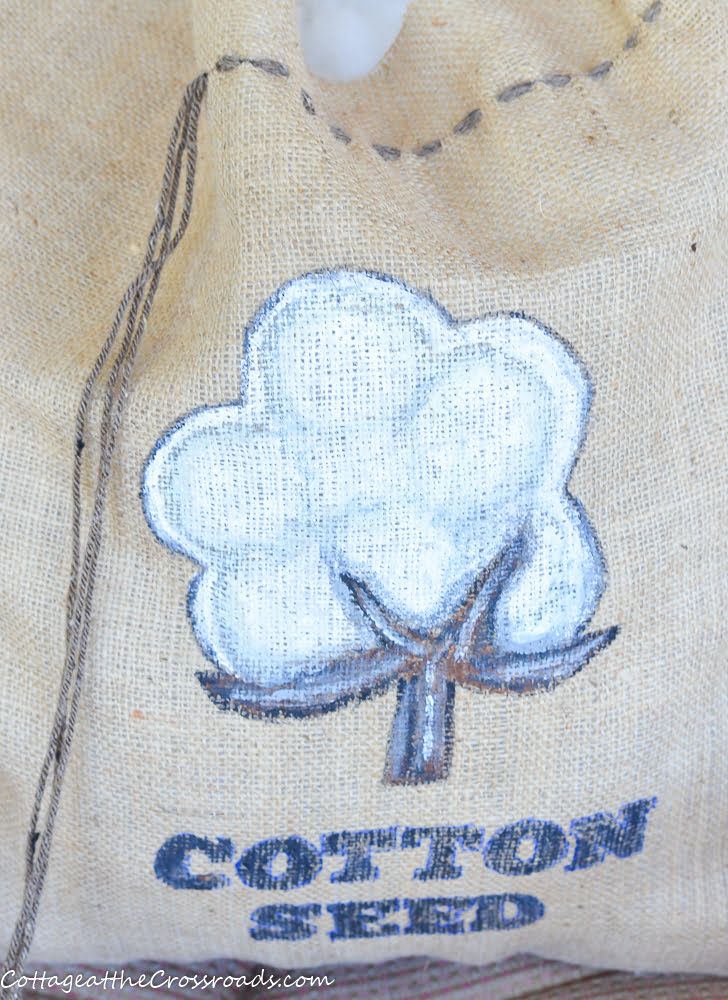
Once you get your bag stuffed, you could simply close it up by tying some twine, ribbon, or yarn at the top, but I decided to create a drawstring closure for mine.
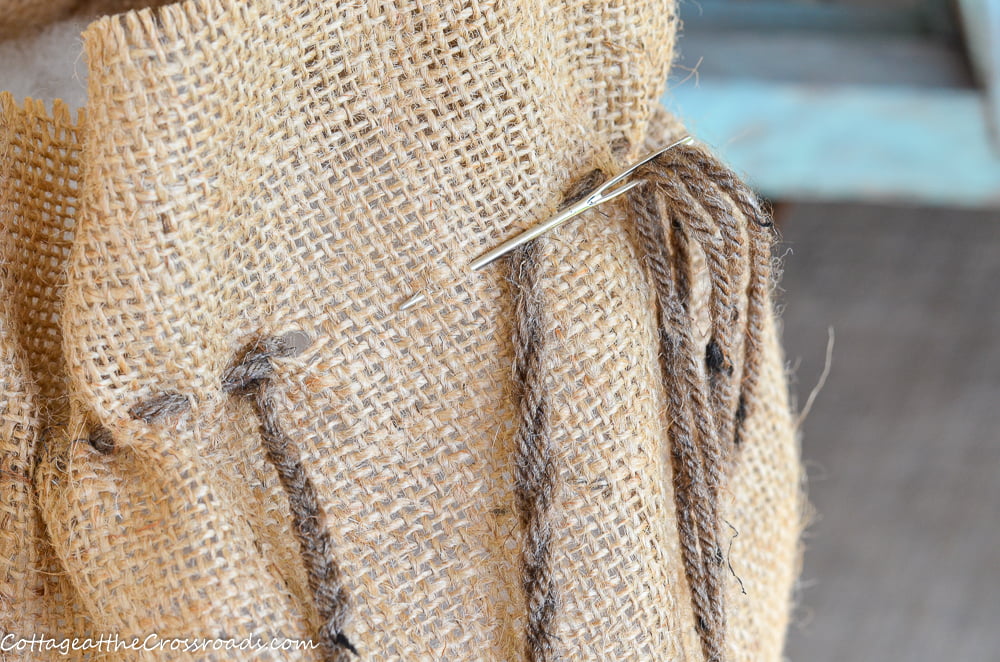
First, I had to find a needle with an opening large enough for some yarn to go through. I used a hand embroidery needle that I happened to have.
The yarn that I used was thin so I tripled it.
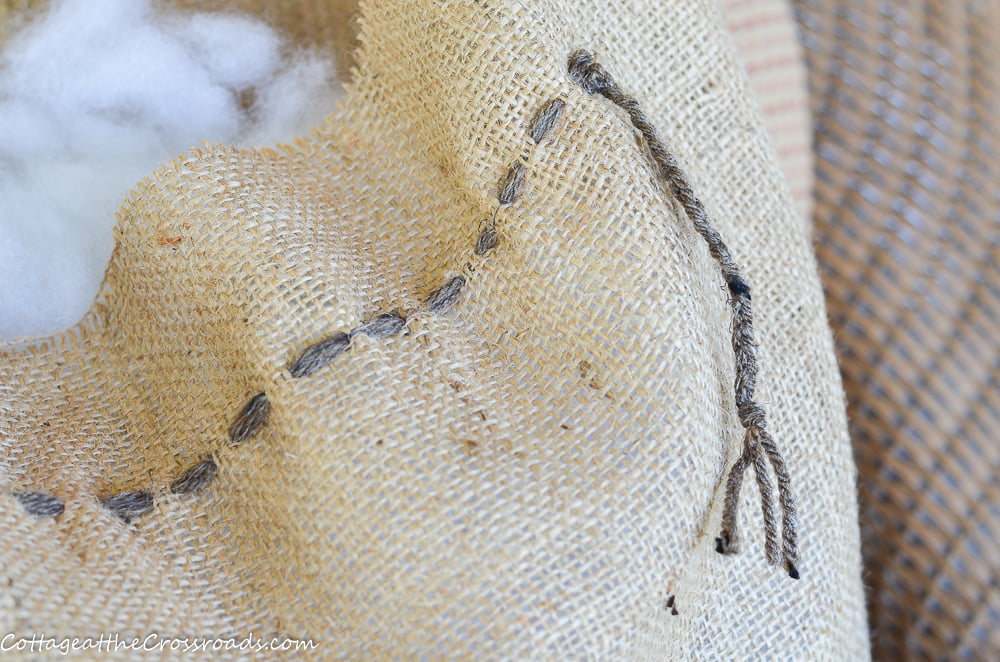
And I braided a short length of it before I started sewing to create a decorative beginning to hang down.
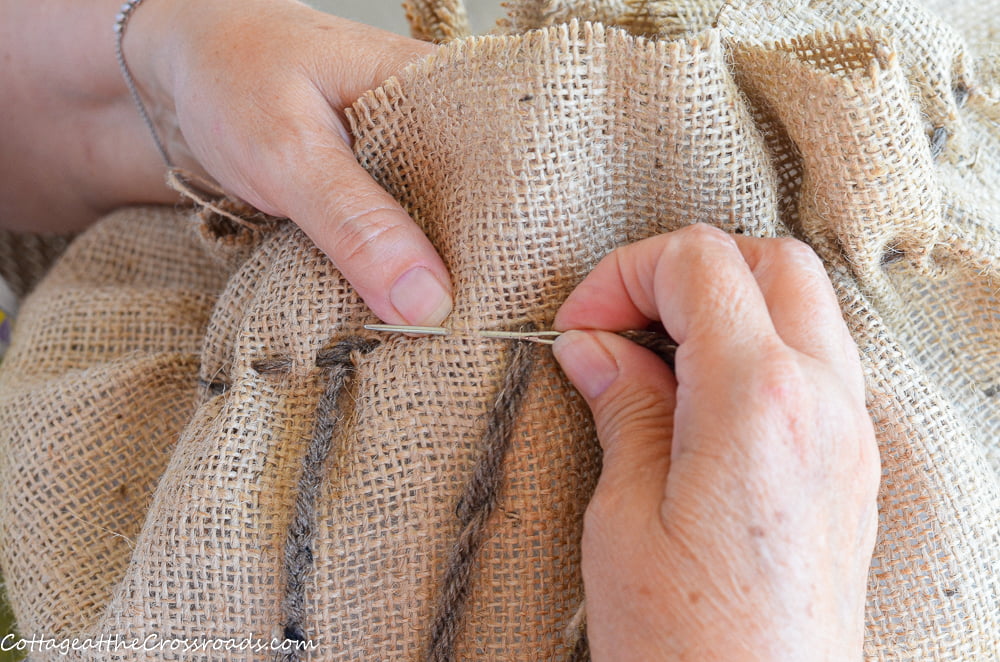
Then I took some large running stitches until I got back around to the beginning. Then I pulled the stitches to create the drawstring effect, secured the yarn, and braided the end.
PIN IT TO SAVE IT!
I can't wait to get my front porch decorations finished to that you can see the cotton seed bag on it.
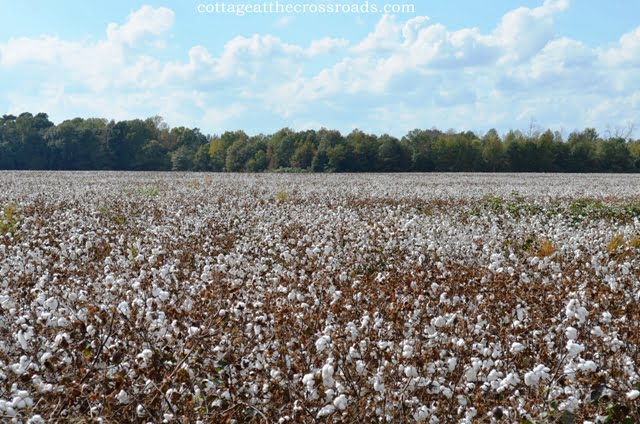
In the meantime, you can read more about cotton and why it's been an important part in my life in this post: It's Cotton Pickin' Time!

Robyn Henningsen
So cute! I love this idea!!!
Sandy
This is just adorable. I love the cotton fields. It won't be long until we see those blooms.