Hi there, everyone! Have you ever started what you thought was going to be a quick little project and it just drug on forever? Well, that's what happened with this chalk painted night stand that I recently completed.
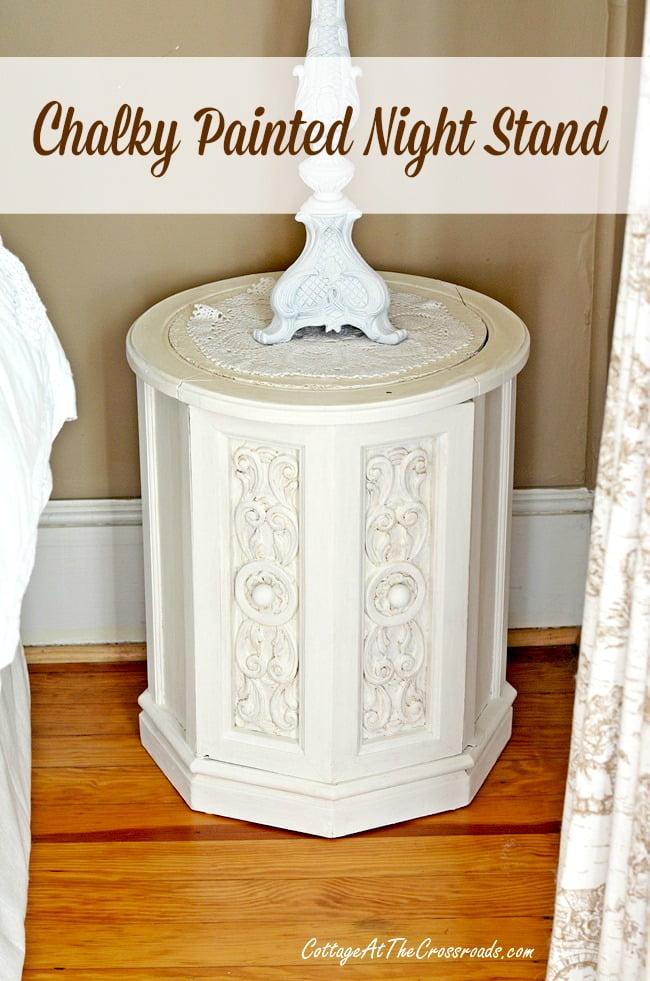
And although it's finished enough for me to photograph and show you, I'm already thinking that I need to do one more thing to it.
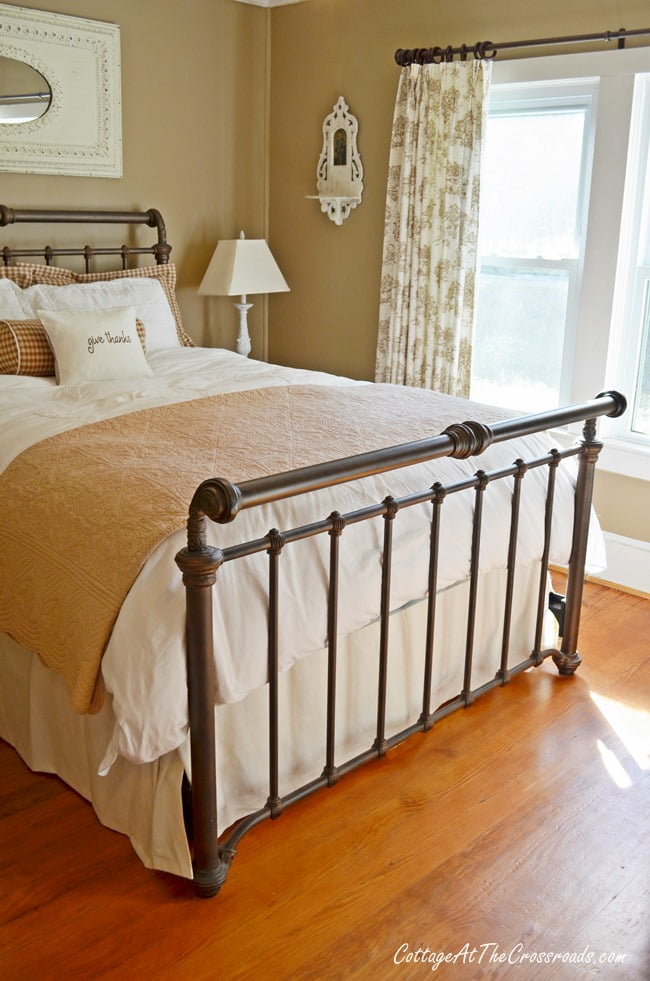
You see, I've been gradually redoing our guest room with a more neutral color scheme, and I wanted to replace the night stand on one side of the bed.
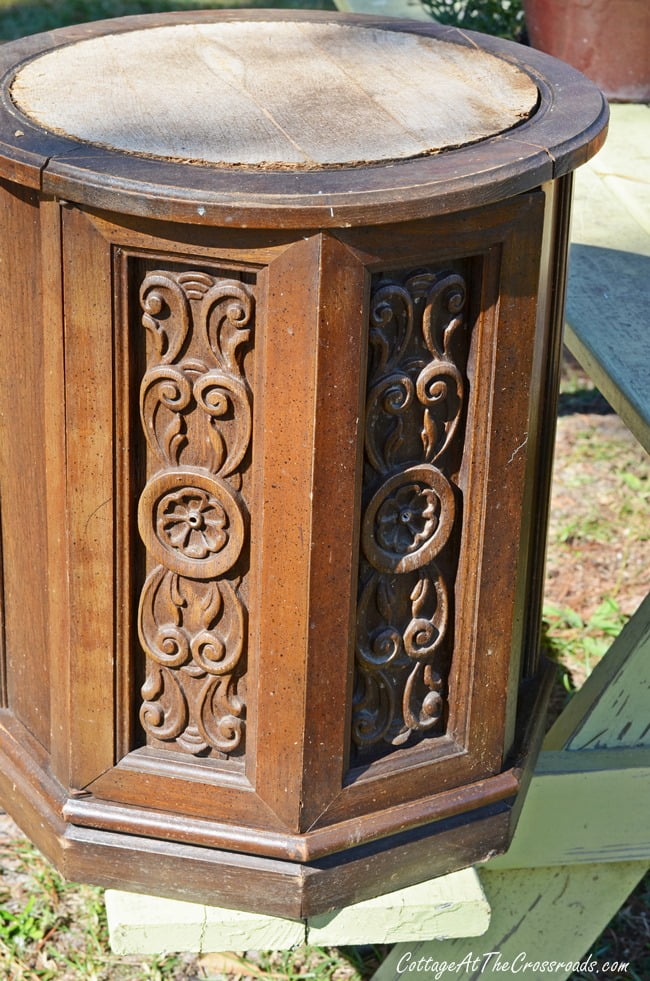
So I purchased this old end table/night stand at the auction over a year ago. What attracted me to it (other than what I paid for it-$5) was the carved detail on the door. I think that painting these pieces with carving like this really brings out the beauty. Plus, I liked that it had a little storage space and I'm always looking for storage anywhere I can find it since we live in a small home.
Now, I'll have to admit that this piece was in a little better shape when I originally got it. It had been sitting in the storage building until one day, about 2 months ago, I placed it on the deck, thinking that I would get started on it that day. But it sat outdoors overnight, and it came a shower and got wet.
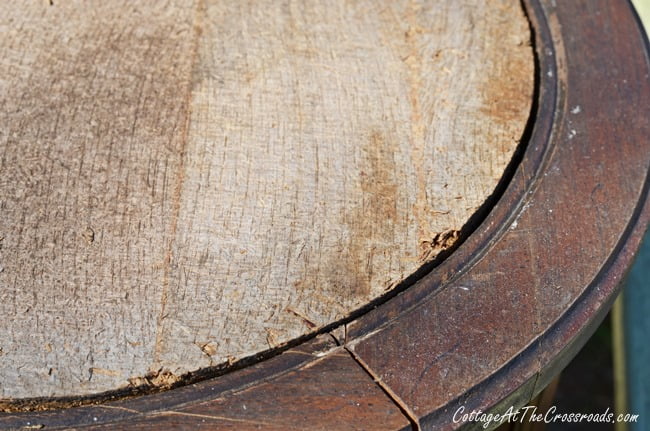
So the veneer on the top peeled off, leaving this rough wood. In the meantime, we got a new storage building, and while we were working on the interior, Leo used the night stand to prop some shelves on it, and the little night stand got rained upon a few more times. It was in pretty bad shape at this point and I even considered trashing it, but I just couldn't bring myself to do it.
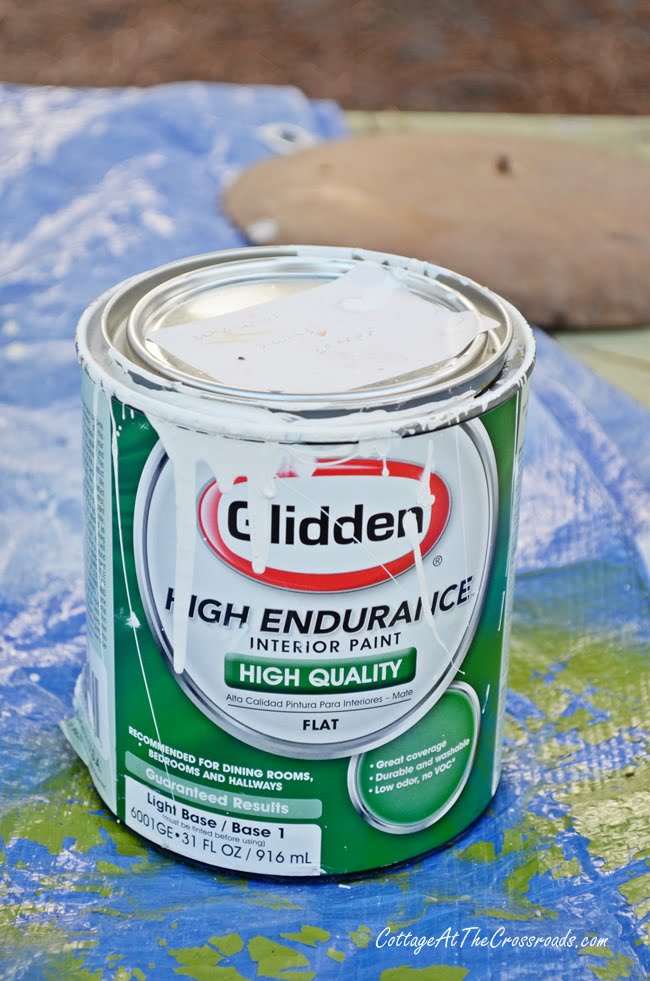
So a few weeks ago, I pulled out the paint (Glidden-Swiss Coffee) that I had even purchased a year ago, and mixed up my own homemade chalky finish paint. First, I put 5 tablespoons of plaster of Paris into an old container and mixed it with 3 tablespoons of HOT water and stirred, stirred, stirred until it was well blended. Then I poured in about 2 cups of the paint and thorough mixed it all together with a paint stick. Why do I mix my own chalky finish paint? Because it adheres very well and saves me from having to remove the previous finish as well as saving me a little money.
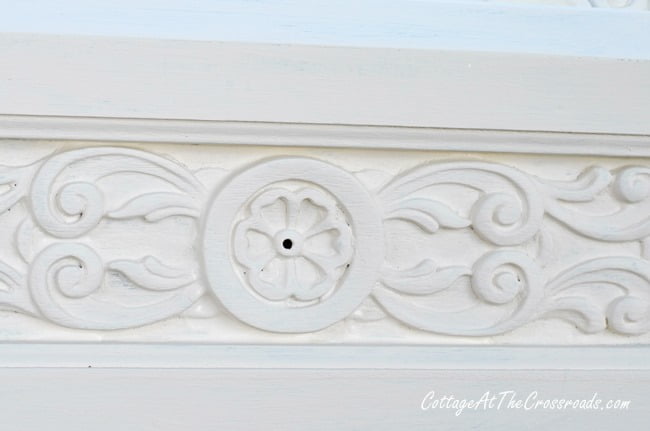
So here's what it looked like with 2 layers of the homemade chalky finish paint on it. I'll have to admit that I really loved the Swiss Coffee color which is a warm, vanilla white shade.
After the paint had thorough dried, I gave the piece a light sanding and then applied a layer of Annie Sloan clear wax. I absolutely love the durability that the clear wax gives a piece of furniture, and although the wax is a little pricey, it's well worth the money. A little of it goes a long way. I can testify to its endurance because I have a table on our front porch that I waxed almost 2 years ago. It gets rained upon and the hot sun from the west beats down upon it, but the finish still looks great.
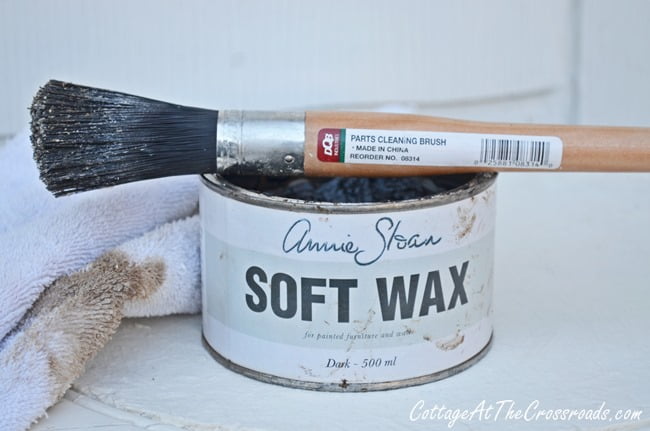
Then I brought out the Annie Sloan dark wax which I just love to add to my painted pieces of furniture because it helps to "age" a piece instantly. Just take note that if you're going to use the dark wax that you put on a layer of clear wax first or you will have a huge mess on your hands!
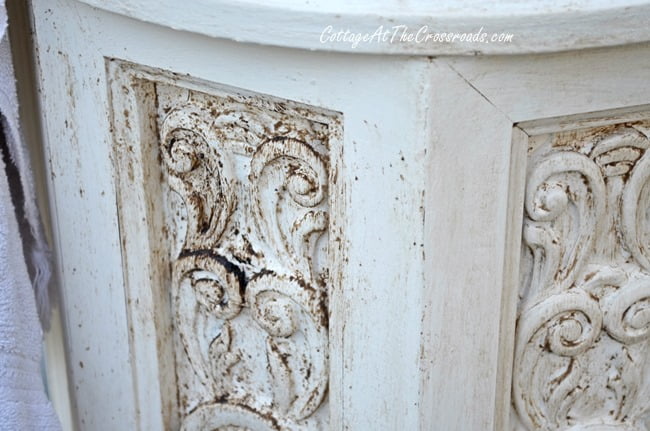
Now I normally use a soft cloth to apply the dark wax, but because I wanted to get the wax down into the carved areas, I used an inexpensive parts cleaning brush to push the wax into those little areas. Then I used a cloth to wipe away the excess. Then I applied the dark wax to the entire piece and let it dry overnight.
The next morning I buffed it with a clean cloth and let the piece sit for a few days because I was trying to decide if I liked the color. Well, after a few days, I decided that I didn't like the way the dark wax made the pretty paint look dirty! So I painted the entire piece again, leaving just a little of the dark wax in the indentations.
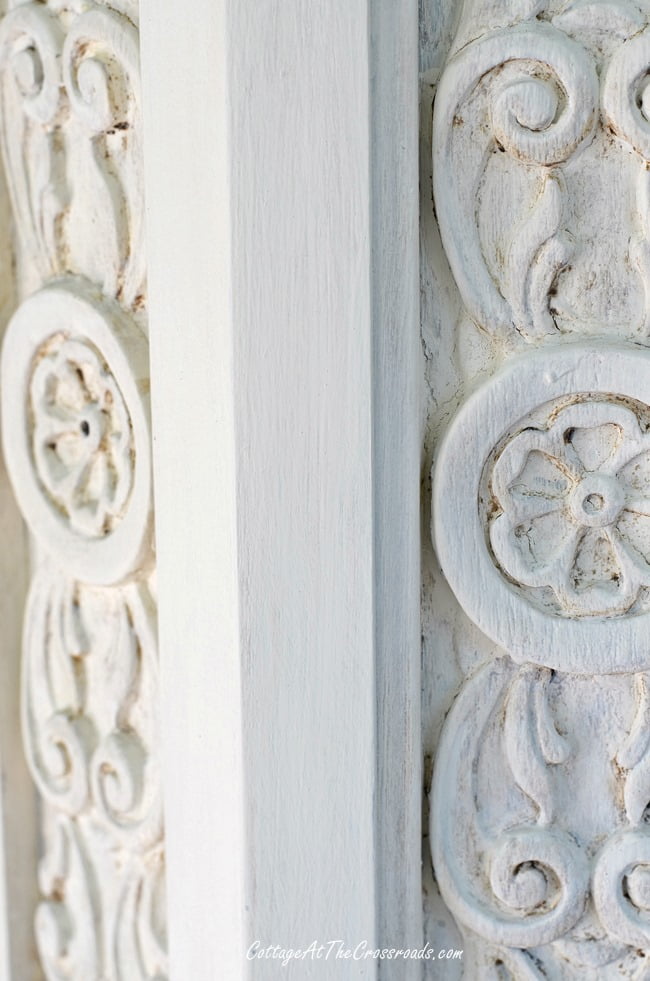
It looked much better to me! So the next step was to add some knobs to the door so off I went to our local Lowe's to purchase some.
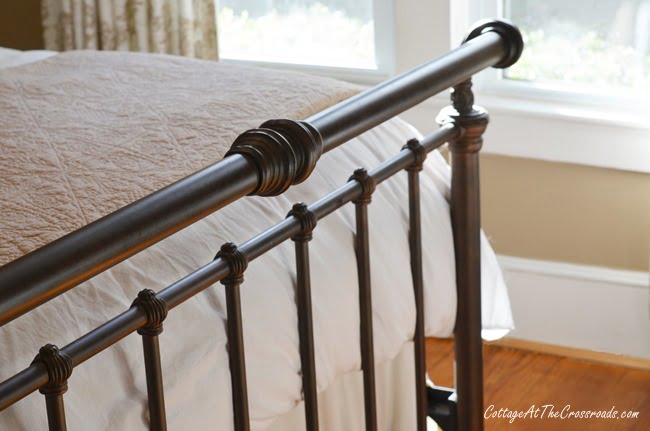
And I got some bronze ones to match the bed in the room where the night stand was going. Once I put the knobs on, I realized that I didn't like such a contrast in color. So the next day I went to Lowe's again (our closest Lowe's is about 14 miles from our house!) to get some small wooden knobs that I could paint.
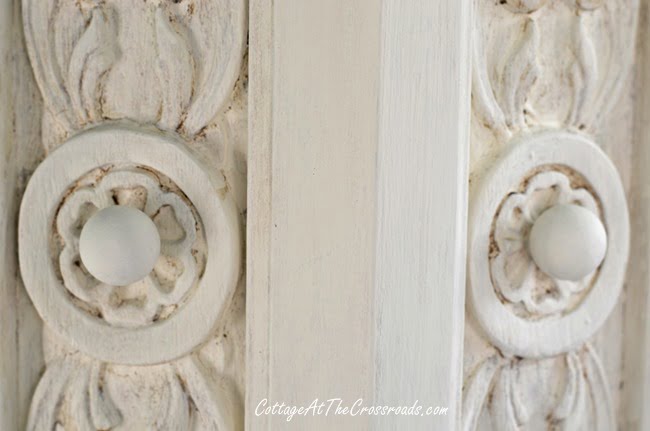
Perfect, don't you think? They look like they are part of the little flowers! I just love it when things finally come together!
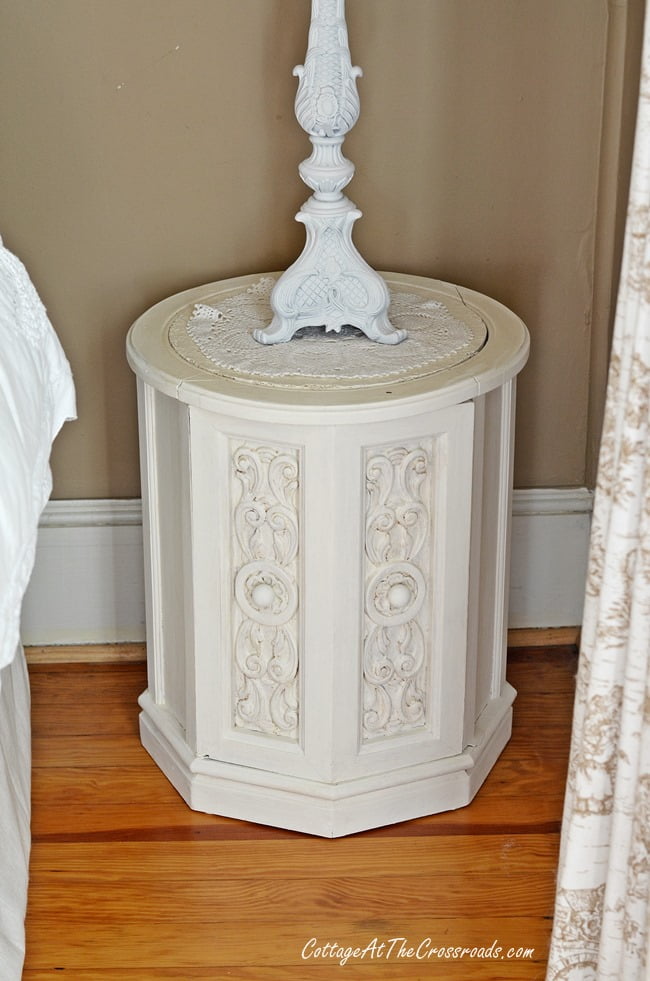
So then I was able to move the night stand into the guest room. And do you remember the rough top? I just threw a doily on the top of it for the time being, but I'm thinking of getting a piece of white marble cut to fit the top. Wouldn't that be the icing on top of the cake?

I'm giving thanks that most of my projects don't take this much time to complete!
This cute pillow came from my friend Ann's shop Sutton Place Designs. I don't think she has any of these left, but she has some gorgeous Christmas items in stock.

Mike
Hi Jane, I just found you and like your blog a lot if you ever want to try a different dark wax contact me I will send you a can free.
MaryJean Zajac
Jane, I'm a little late with reading my e-mail and your blog, busy with my own projects, but anyway I have to tell you that you gave me an idea for end tables that I have stored that were once in my living room. They are very similar to this one. They were from the 1970s and were dark wood, a little bigger and rounder than yours. I'm thinking now of painting mine, but I wanted to tell you that one of the end tables had a black marble inset so your idea of the marble top is a good one!
Shelia @ House of Highlands
Hi Jane!
You did a great job with your night stand! I made my own chalk paint and painted my daughter's night stand recently. My recipe is a little different than yours but the outcome looks very similar. I love the guest room - it's such an inviting room.
MariaElena
So pretty! What a huge difference. Enjoy your weekend! Maria
Dolly Sarrio
I really like what you did with that piece of furniture! It was fun to see the changes. Pretty...Your place looks so pretty and comfortable.
sandi
Thanks so much for the recipe for the paint. I have been wanting to try that for a long time. I have used Annie Sloan many times, but want to make my own. Your table turned out great. Did you know that you can buy a round top at Lowe's? Paint it and attach it and you're done! I LOVE your blog and it is one of my very best favorites. Oh, do you happen to know the color of your walls in the guest room? We are redoing our room to a more neutral, restful room and that is what we are looking for. Thanks, again.
Linda Kelly
Jane, sure was glad to see your comments about chalk paint and the finishing wax holding up so well. My husband and I are taking a class in Florence at an Annie Sloan stockist store after Christmas and then we are going to paint our kitchen cabinets with ASC paint. They are oak stained and we are going to a cream color. We chose chalk paint because we won't have to sand but it sure is expensive. Everything I read says a little goes a long way. Enjoy your blog and Leo's music.
SheilaG @ Plum Doodles
Your chalk painted night stand turned out great! The knobs are perfect. If you're not in a huge hurry, you might want to haunt thrift stores for a marble cake plate for the top (but then again, since I'm not sure of the size of your insert, a cake plate might be too small).
Marlene Stephenson
Great job,it doesn't even look the same. You made it into a swan. Thanks for sharing and have a great day.
Jayne
The nightstand turned out really well! You put a lot of hard work into it. I know what you mean about those trips to Lowe's. The closest one to us is also about 15 miles away. Just a few years ago the closest one was about 25 miles away. I'm giving thanks for a closer Lowe's!
Clydia@Three Mango Seeds
Jane it looks great! By the way I am in love with that bed frame...swoon!
Pamela @ FlowerPatchFarmhouse.com
I am with Connie, I would've walked right past that and now you really have turned it into a lovely piece. Your entire room is wonderful, the mixture of the checkered linens with the toile curtains is fabulous, a little pattern to keep it interesting without being too busy.
Denise
That turned out GORGE! I'm gonna use my Mom's old expression: you really turned a sow's ear into a silk purse!
Shirley@Housepitality Designs
The table is beautiful and love that you used your "homemade chalky paint recipe"....just jotted that recipe down!...Love the room and love the pillow...I was too late to get one of those beautiful pillows!...just ordered a Christmas one from Ann!...
Robin @ Redo It Yourself Inspirations
Hi Jane,
I just had to hop over after your kind comment and visit. You do have a matching end table to my coffee table! I love the paint job you did. So happy you accentuated the carvings. It looks fabulous in your lovely bedroom!
Connie
Your make-over is incredible. I would have walk right past it, in the before photo. I am always amazing at the ability of paint. Your turn it into a diamond. I love your little pillow, too . . . Sew Pretty 🙂
debbiedoos
You sure brought that piece back to life Jane! Love the entire room. Pretty bed too.
Jeanwindham
Jane I missed this post but sure am glad I was looking around on your web page and saw it. The new bedside table turned out so cute and looks as though it is the perfect height. Great job.
Moni ~ Zu Haus at Home
Jane, your painted nightstand turned out so pretty. What a lovely addition to the guest room!