OK, let's get started with part 2 of building a garden waterfall. If you'll remember, in part 1, we decided where to put the waterfall, dug our hole, and went and picked up our first load of fieldstone. So it was time to lay out our pond liner.
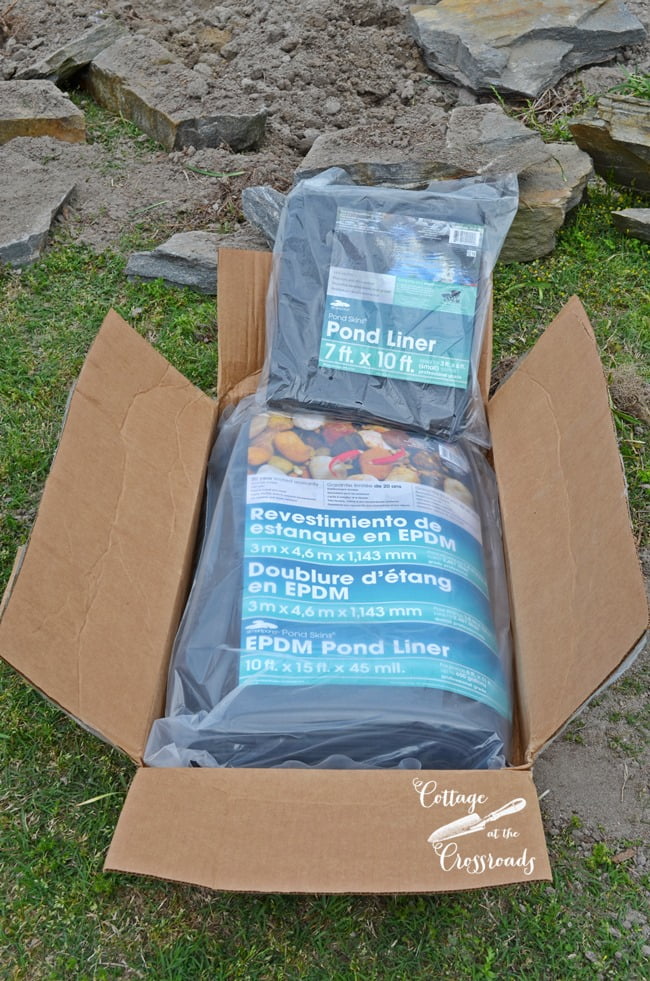
This is a good place to tell you that we received all of our supplies from Smartpond. And I really recommend that if you're even considering a water feature, that you visit Smartpond's website. You'll find step-by-step guides and even a list of supplies that you'll need for your water feature.

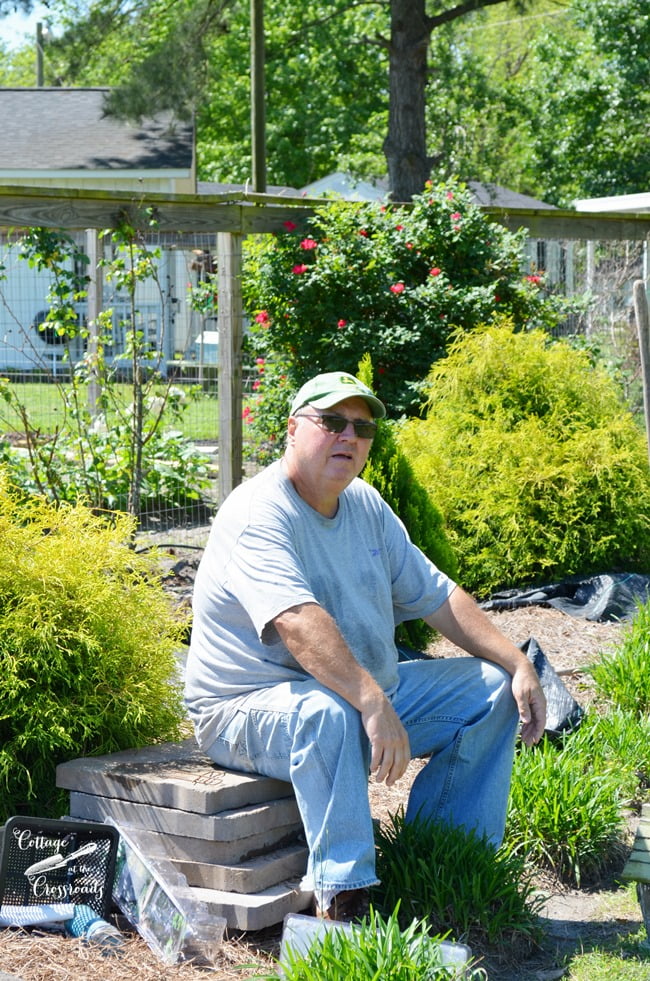
At this point, I figured that it was about time to start reading some directions. And it's a good thing that I did.
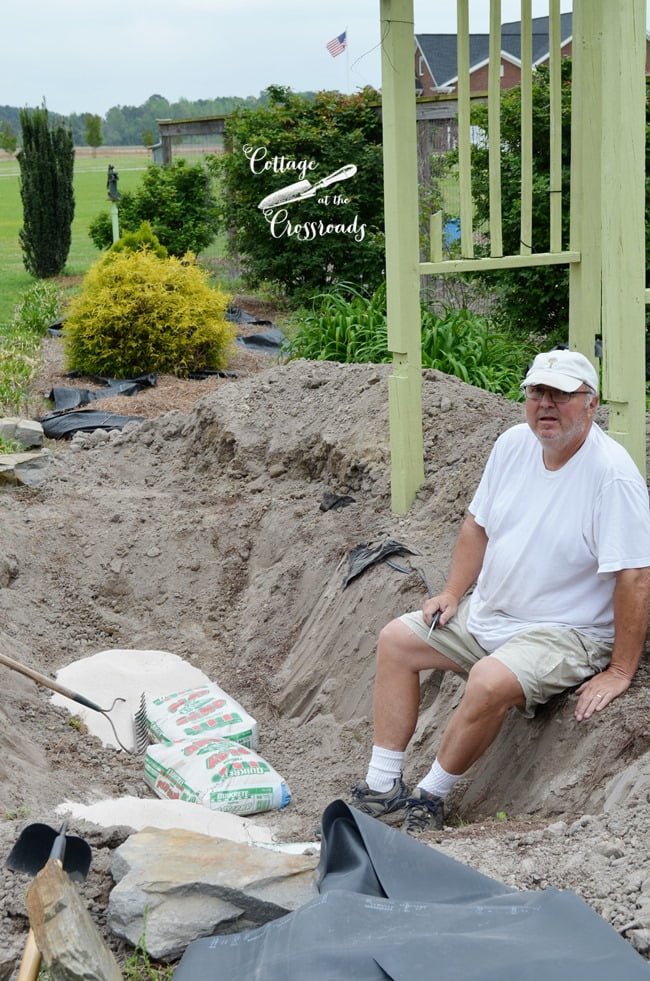
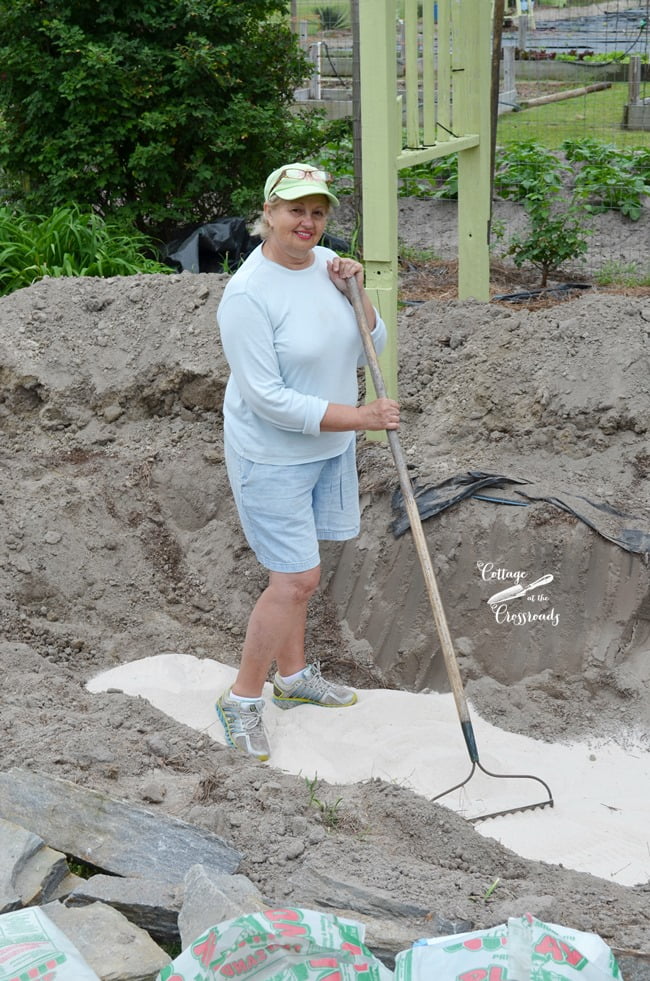
The directions recommended that I put 2 to 3 inches of sand in the bottom of the hole. By the way, this whole project is at least a 2 person job! Believe me, Jane can pull her weight.
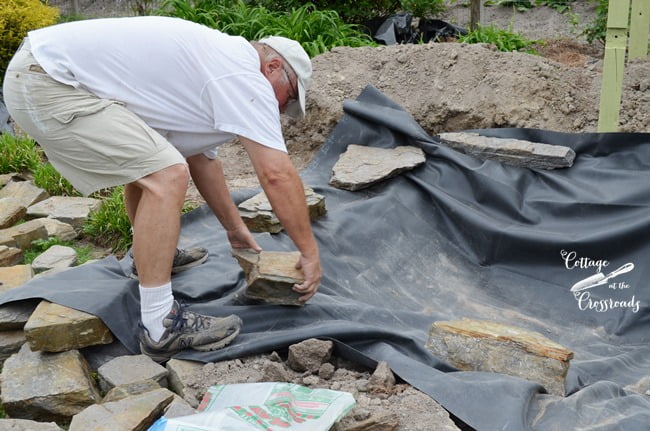
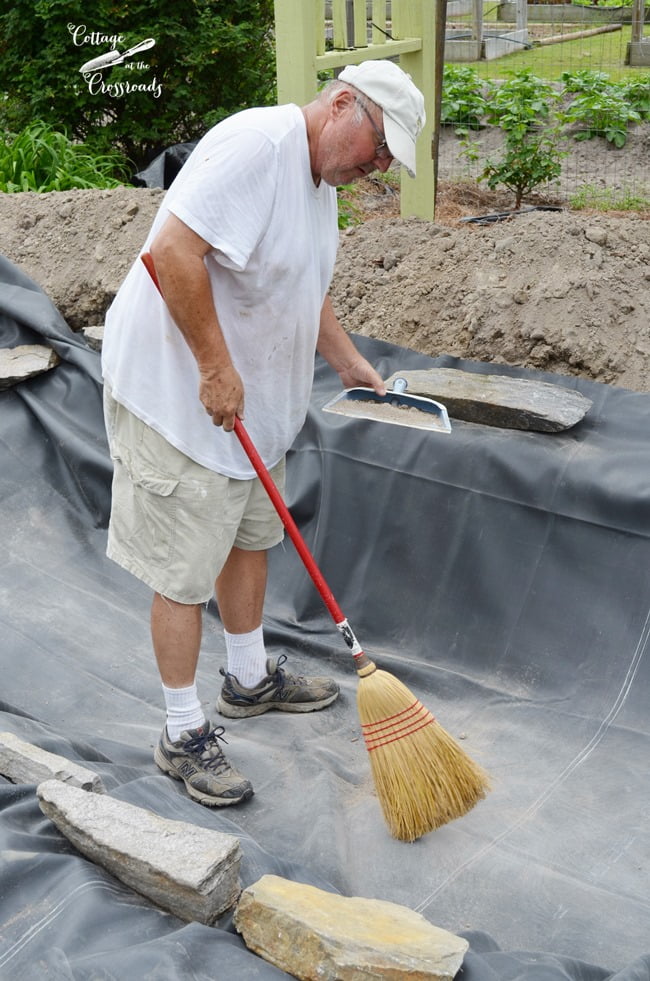
For our pond, we used a 10' by 15' pond liner. This would allow me at least 12 inches of overhang. I secured the liner by placing large stones around the whole perimeter. Some of the stones were dirty. Guess I should have rinsed them off before I used them.
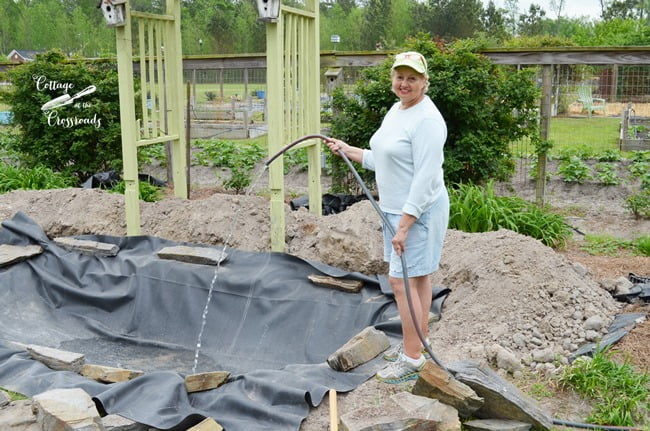
We added a little bit of water to the hole so that we could smooth out the wrinkles and tighten the liner.
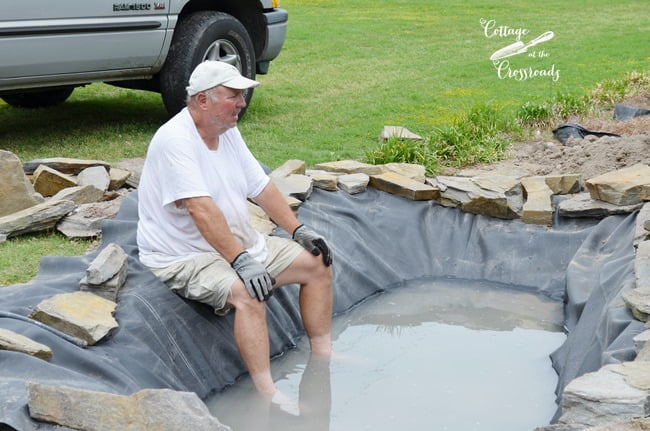
In order to stretch out the wrinkles, I had to get all down into that thang! I didn't mind because it was kinda refreshing!
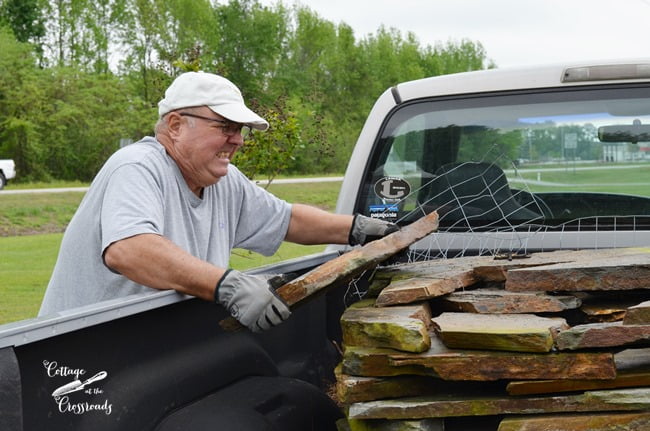
At each step along the way, we went to get more stones as we needed them. They got heavier with each load and this is pallet #2.
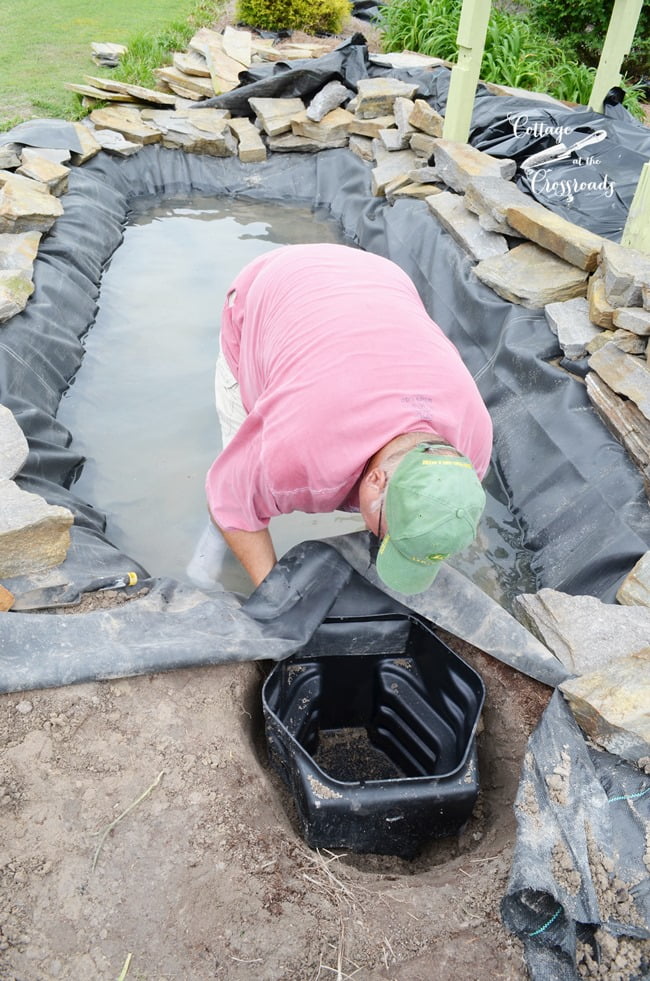
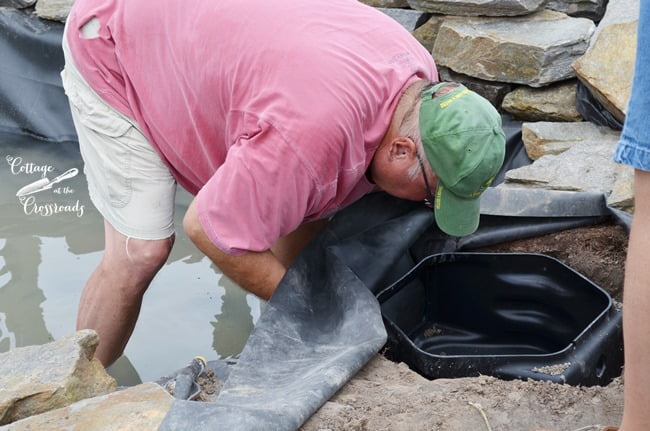
I remember when Fed EX brought the boxes from Smartpond, I had no idea what some of these things were! Thank goodness the skimmer came with instructions.
I actually had to dig an additional hole just for the skimmer. I was wondering if we really needed it, but after going to the trouble to install it, I'm glad I did.
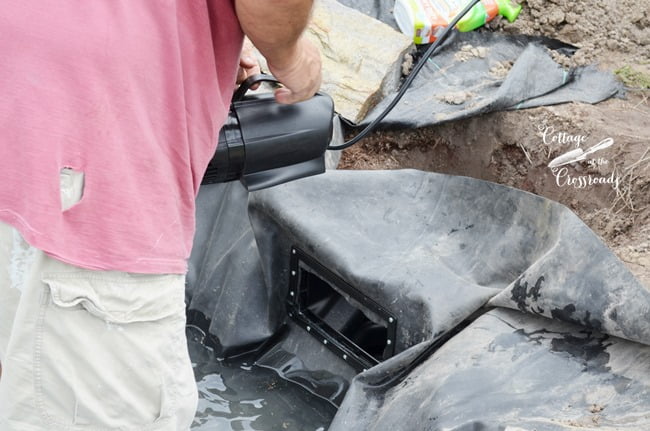
I know you all have seen a skimmer in a swimming pool. Its purpose is to skim debris (leaves, straw, etc.) from the surface of the pond.
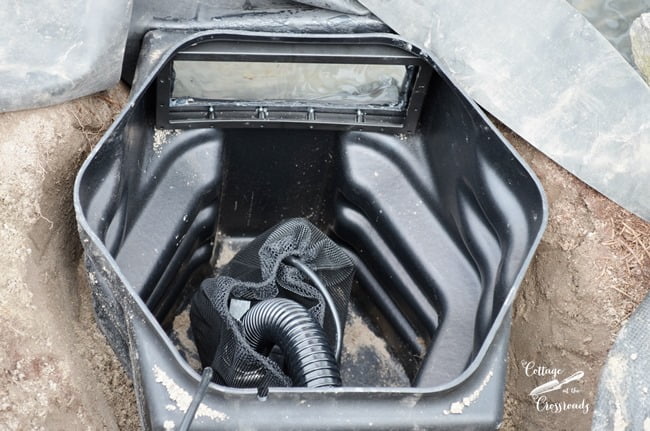
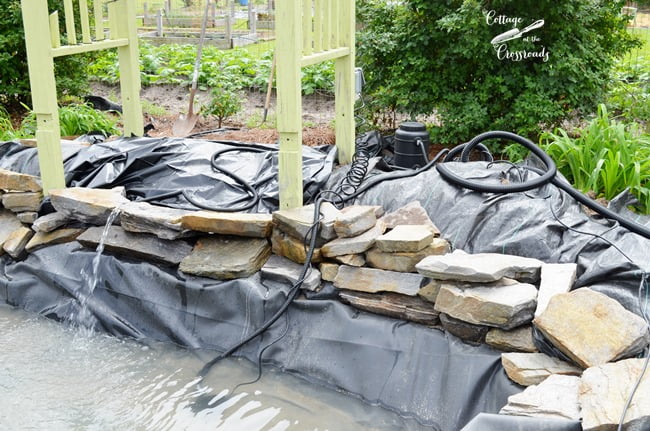
And guess what? This is where the main pump goes. Ah, now I get it! The water drains through the skimmer, and the pump cycles the water back up to the top of the waterfall, minus the trash and leaves. Per Smartpond's recommendations, we're using a 3600 gallons per hour waterfall pump and 1 ½ inch tubing. Now, that's a lot of water flow! We added enough water to cover the pump inside the skimmer so we could test the water flow.

So my brother Jim was a lot of help especially when we started stacking the stones to create the waterfall.
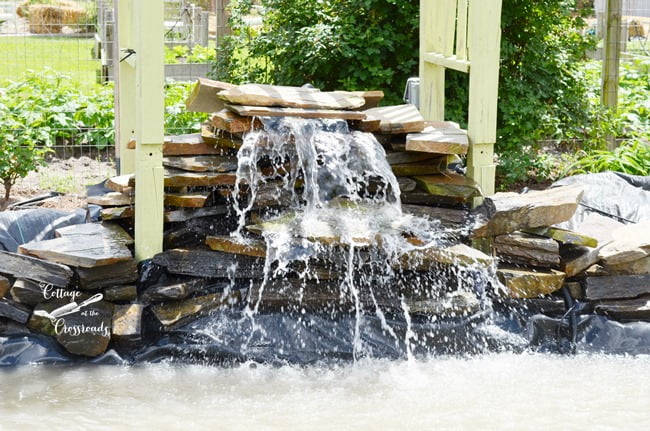
Take a look at this! We had to keep adjusting the water flow considerably until we got it like we wanted.
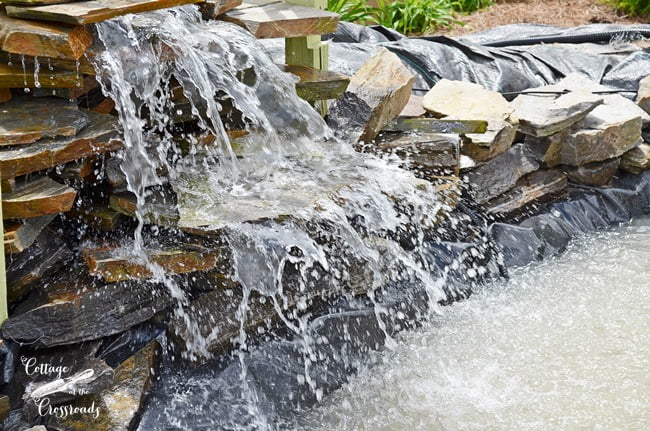
Can I tell you that this was starting to get good!
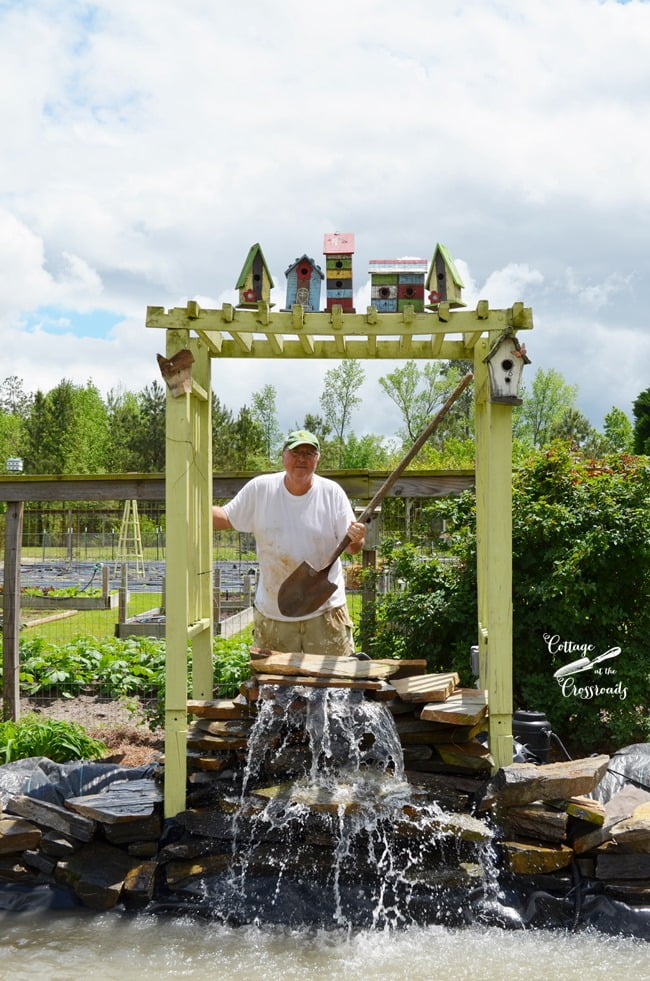
When this was all done, I felt like Neptune!
But wait! Stayed tuned for Building a Garden Waterfall Part 3 when Jane will offer her perspective of what else needed to be done.
We finished part 3 of our garden waterfall, keep reading to see how it turned out.

Debra Bartels
Hi Jane - I grew up in Hartsville now living in Las Vegas. I stopped in Oates this afternoon. Looked up and there was your lovely home. I've been following your blog for about a year and did not realize you were in SC.
Watching your progress with the water feature and there it was! The birdhouses were what let me know it was you. If you had been outside I would have walked over to say hello to you and Leo. What a small world!
Babs
Great project! It's really interesting to see how it progresses. Looking forward to the last episode. 🙂 Have a great Memorial Day.
Robyn
It's so pretty!....I think I'd have to go for a dip!!!! Can't wait to see Jane's finishing touches!! I bet you're worn out!!!
Dawn
Wow, what a fantastic project and it looks so refreshing, you two are a great team.
Jean Windham
This is so fun reading the first post, and now the second post the excitement continues. I love the expressions on Leo's face picking up the stones. Great job both of you. This is going to be the spot to relax and enjoy the waterfall and have a cool one. Thanks for all the information and pictures to get the pond completed. I am excited to see the third post. Jean
Peggy
You guys are champs! The waterfall has turned out wonderful! I couldn't wait to see the finish. Wow! The hard work is done. Now you can pull up a chair and have an ice tea.
Libby Wilkie
What a huge job!!! Can't imagine taking it on, but you have really done it perfectly! Can't wait to see more, and to see what Jane does with the planting...
Betty Baker
Leo you are the man and that lovely lady is a perfect partner. I just know it is going to be beautiful. Anxious to see the next part. Greetings from Betty in Ontario, Canada.
Kathleen G
Ohhh, waterfall is under the arbor! Love it! Now the pretties to accent it. Looking forward to the reveal, Kathleen in Az
Donnamae
Looking really good! What a project! Can't wait for more! 😉
Shirley@Housepitality Designs
Wow....I love it....what a true labor of love....it is spectacular...Maybe I can convince my hubby to build me one...and I will convince him that I will help.....Love the pics...and great job Mr. Neptune!
HARRIETT GRADY
Wow That is so neat
You two are so cute together ! Love seeing Leo working so hard , it just hurts
my bones to see all that work. I did not know he had another brother ! Thought it was Woody but I should have know Woody is too old for that kind of work LOL
Kris @ Junk Chic Cottage
Leo,
You are doing such a great job. That waterfall is looking so pretty. I cannot wait to see part 3. You and Jane are the dynamic duo!
Kris
Wendy Johnson
Oh, what a lot of work but looks great! Can't wait t see part 3
Dolores
Love your new pond! I, too, cannot wait to see part 3. Two summers ago I build a pond with a creek bed leading to it (started it at the top of a hill). I wish I had read about the skimmer as a nearby Crepe Myrtle tree turns the whole thing pink with pedals in the summer! I'm thinking of a re-do, maybe get rid of the creek bed altogether so maybe I can put a skimmer in. My only other problem has been hiding the plastic liner! I've bought stones, overhanging things etc etc but I have too much plastic showing. Any ideas? Thanks, Dolores
Jane Windham
Dolores, the creek bed leading to the pond with crepe myrtles sounds so lovely. We sent along your questions to one of the Smartpond experts and this is what he had to say.
Here are a few suggestions in hiding the liner:
If Delores is planning to do a complete rebuild,
Perhaps build a 6 inch wide shelf just roughly 8 inches below the surface around the inside perimeter of the pond.
This would you allow to place stones, potted plants, etc. to conceal the liner inside of the pond and also provide a natural appearance.
As a suggestion, keep the water level in your pond to 2 inches below the top of the liner. This will help prevent the pond from overflowing during heavy rainfall.
For liner outside of the pond; Perhaps try trim any excess liner and keep a 1 foot overlap around outside entire pond.
This will ensure containment and allow room for any shifting that may occur.
To hide the liner outside of the pond, here are some suggestions; flagstone, decorative gravel stone, smaller shrub, plants & flowers, statuary, furniture, etc.
Perhaps avoid using mulch close to the pond. If the mulch gets into the water, it may interfere with the filtration and create an unsightly appearance.
Hope this helps!
Best Regards
Dave Dower
Krys
Good Morning~ Thank you for sharing your pictures. The water fall is beautiful and the birds will also enjoy
it. It looked like a lot of work and it sure paid off. Blessings
Karen
Leo....what an AMAZING JOB!!!! Can't wait for part 3. LOVE your JOHN DEERE cap....the way you were resting and reading instructions, and looking tired but determined....reminds me so much of my own husband when projects are getting done. Again GREAT JOB!!!!! And to Jane....what a helper!!!!! Can't wait for your vision of the finished design! Karen
Dolly Sarrio
Looking Good!
Deborah
I LOVE IT. I was like a little kid waiting for the next part and I am excited to see the 3rd part.
I love water features, it really adds something to your yard.
Beautiful.