Building a garden waterfall is one of those projects that halfway through the process, I said to myself, "What was I thinking?" But when the project was completed, I said, " WOW, that was definitely worth it!"
In order for you to get a feel for what Jane and I did, let me take you back to the beginning.
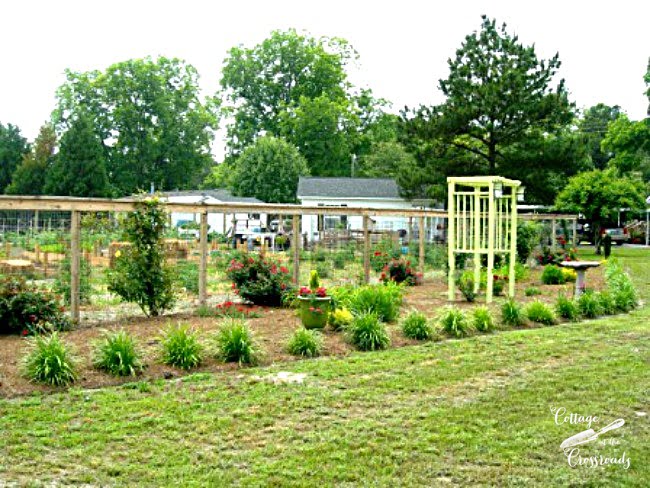
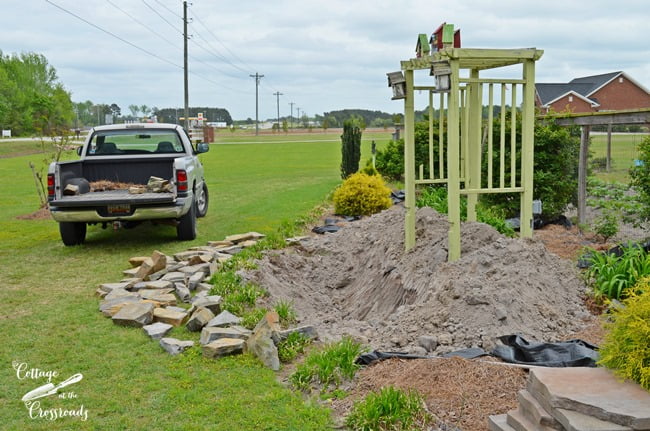
Here's the area that we had planned on improving this year. Back in the cold of winter( February), we were contacted by Smartpond, a company that sells supplies for water garden ponds featuring quality pond pumps, pond filters, pond liners, waterfall pumps, and I think you get the idea, right? The timing was perfect and we jumped at the opportunity.
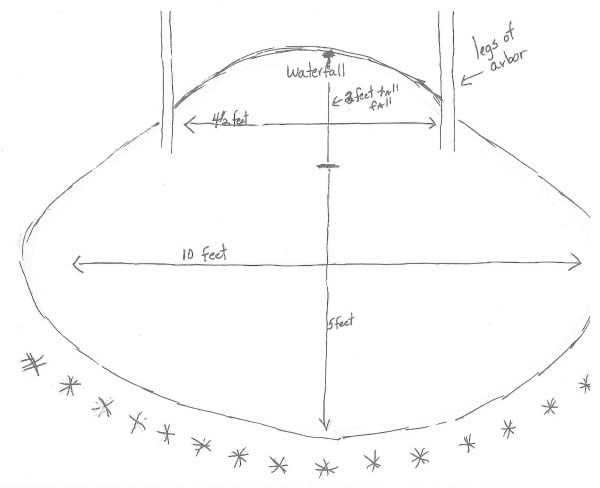
Smartpond suggested that we make a rough sketch of what we had in mind with all the dimensions. They made recommendations on what we needed, but for you, it's easy. They have a pond calculator on their website that will suggest what size liner and pump are best for your project. In fact, their website has a wealth of information for building any type or size of water feature.
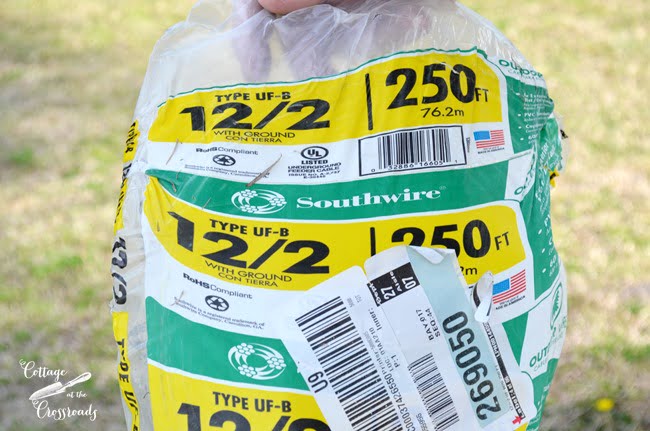
After deciding where we wanted the waterfall, I realized that I had no power in that area. NO POWER + NO PUMP = NO WATERFALL! Can't have that! So I needed to run 150 feet of electrical wire.
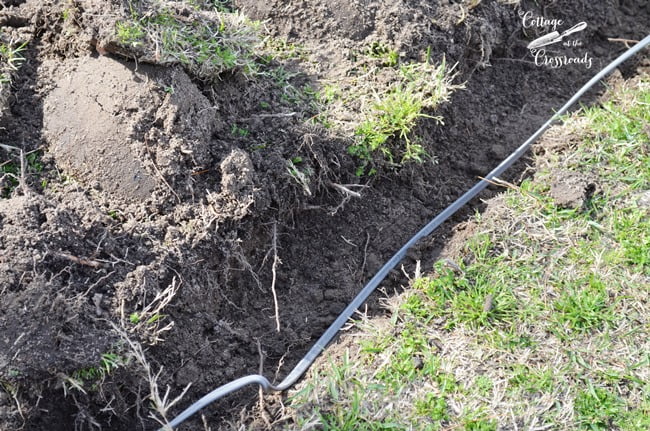
It took me a few hours to dig an 18" deep trench 150 feet long.
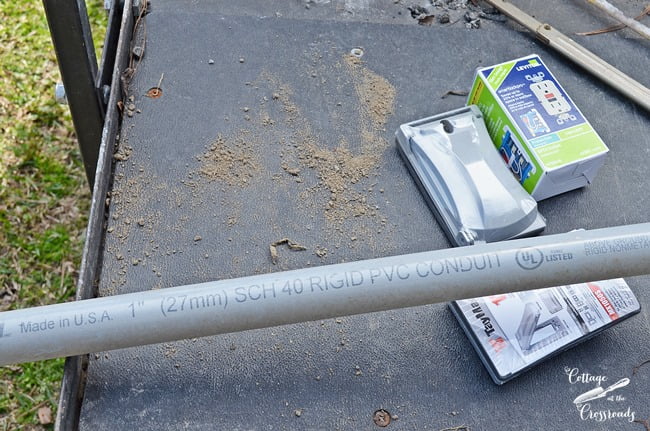
My brother Jim helped me connect the wiring. It took a little conduit and a GFI receptacle. And like magic, we had electricity!
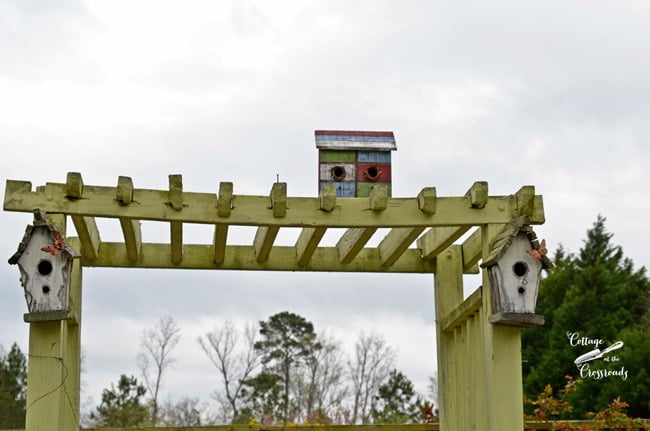
It was Jane's vision to incorporate our existing arbor with the new waterfall.
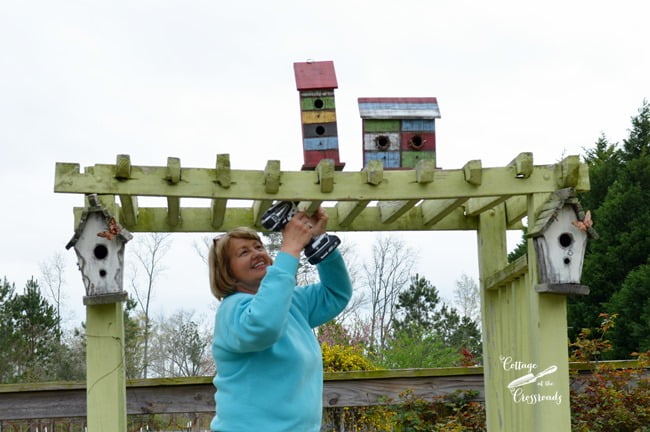
She added a few new birdhouses. We needed to do this before we started digging.
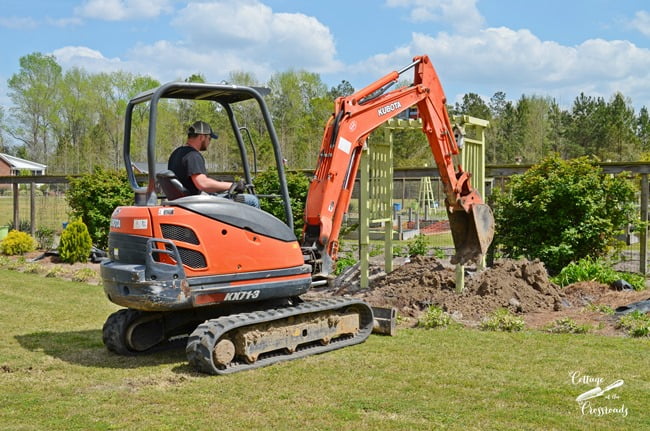
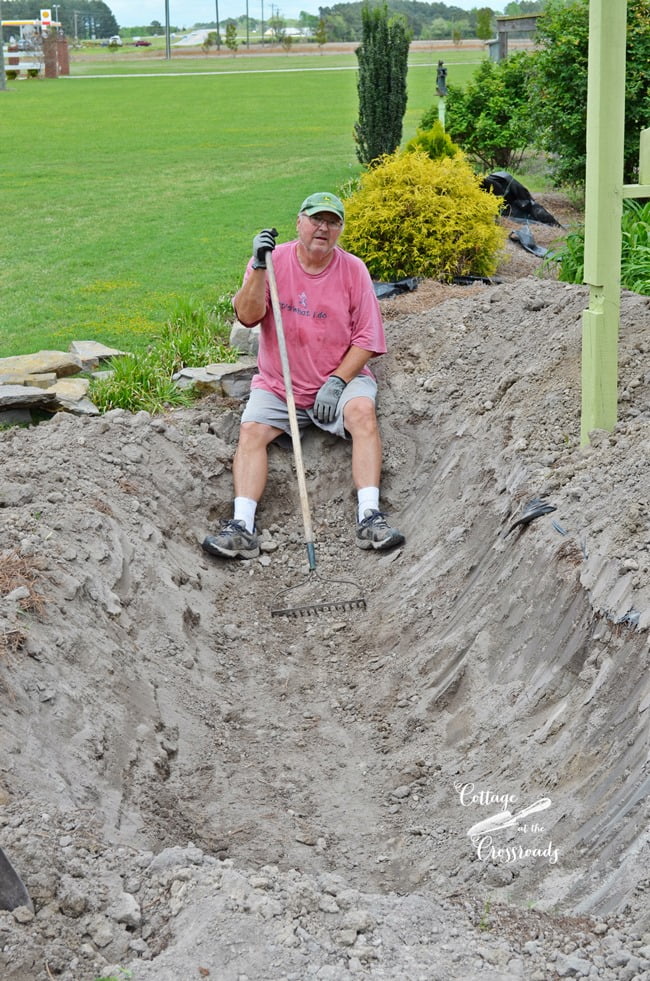
It was my lucky day! It just so happened that when I decided to start digging, I spotted this piece of equipment next door. You see, my other brother is in the process of building a new house so I asked the builder if he'd mind helping me dig a hole.
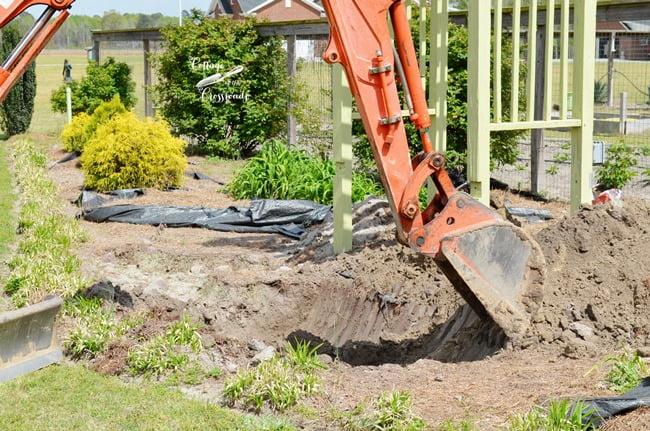
Man! This is easy! I had the operator to take the dirt from the hole and stack it under and around the arbor to create berms.
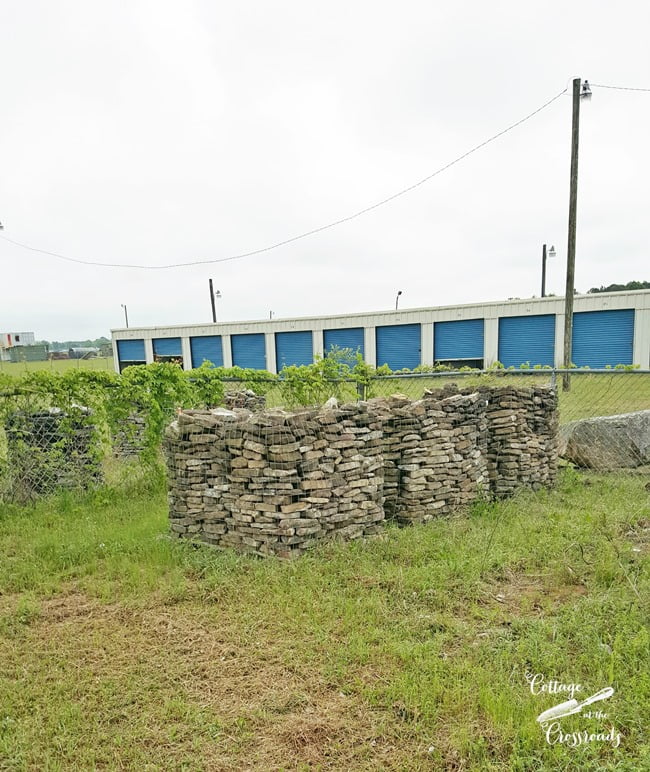
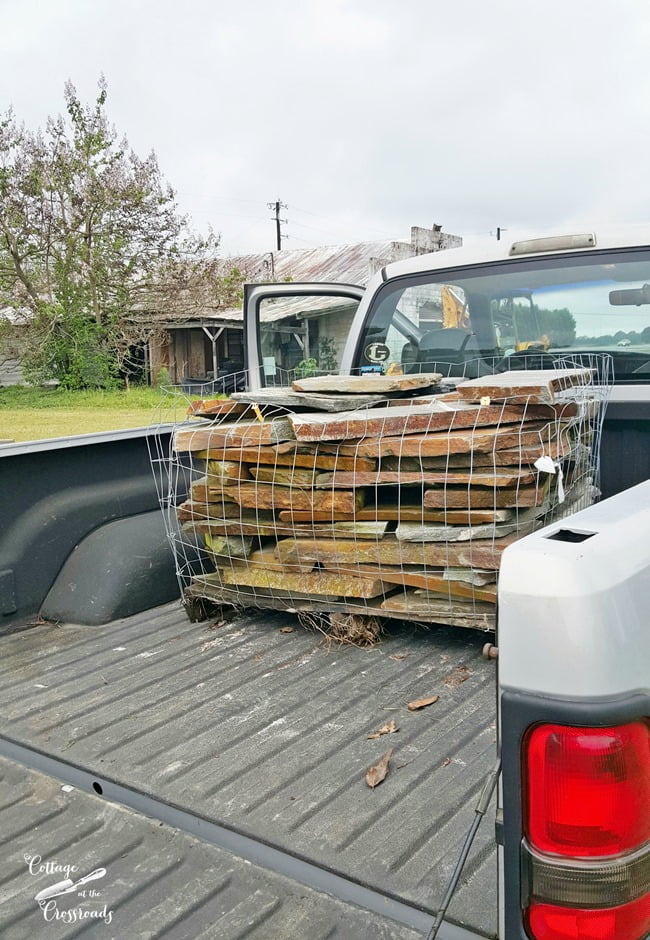
Jane and I took our time shopping for stones. To avoid a delivery fee and not knowing how many stones we needed, we brought home one (1 ton) pallet to get started.
Believe me, Jane and I had no trouble sleeping after unloading one ton of stones! Stay tuned for Part 2 when we'll tell you why we needed the stones before we installed the liner.
In the meantime, why don't you visit Smartpond or follow them on Facebook to find more DIY water feature inspiration.
We finished part 2 of our garden waterfall, keep reading to see how it turned out.

Sarah Vick
Jane, when I passed by your house a few weeks ago the waterfall caught my eye as we sped past. It looks great! Your hard work has really paid off. I am so glad I had the chance to see it in person!
Ann
Leo I have always been impressed with your gardening ability but now it's gone to a whole new level. Can't wait to see what's next!
Dawn
I panicked when I spotted Leo sitting at the edge of the hole, I had so hoped he didn't do all the digging by hand.....and glad to see that didn't happen. Anxiously awaiting part two 🙂
Pat @ Life At Lydias House
I can't wait to see this project come together! That looks like a lot of digging to me! You were certainly lucky to spot that piece of equipment next door!
Marlene Stephenson
Wow this seems very exciting,glad for all the pics can't wait for the rest.
Betty Baker
You two are absolutely fantastic. Anxious to see the end results. Betty from, Ontario Canada.
Dolly Sarrio
I can't wait to see it! So happy for you two!
Donnamae
Oh, this is exciting! I've always wanted a waterfall in my backyard...can't wait to see more! 😉
Libby Wilkie
You are amazing….I can't imagine even dreaming of doing such a large project! Can't wait to see more.
Kris @ Junk Chic Cottage
Hi Jane and Leo,
Oh boy this is a big job but I know it is going to look so awesome when you are done. I cannot wait to see more.
Kris
Kathleen G
This is exciting! And lucky you for the help of digging too! I bet you two were exhausted. Good old moving rocks, flagstone and etc. Been there, done that, but so worth it! Looking forward to the reveal, Kathleen in Az
Shirley@Housepitality Designs
Oh I have always wanted a water feature in my backyard...so I am going to pay close attention and refer the tutorials to the hubby!!!...and I will watch you two as you create a masterpiece!...P.S. Are you two headed to Haven this year?
Sandy
Can't wait to see more. I absolutely love your place. It is one of my all time favorites in the blogging world.
martina
Very exciting...I love water features!! Can't wait to see more!
Connie
Wow, When you do it, you do it big! It is going to be very interesting watching your progress. Thanks for taking the time to do this photo tutorial.
lynne@lynnesgiftsfromtheheart
Oh how exciting. I'm looking forward to seeing more. fondly ~lynne~