Making thrifty homemade candles is so easy and it's a fun way to repurpose thrift store containers. Bonus: they make great gifts!
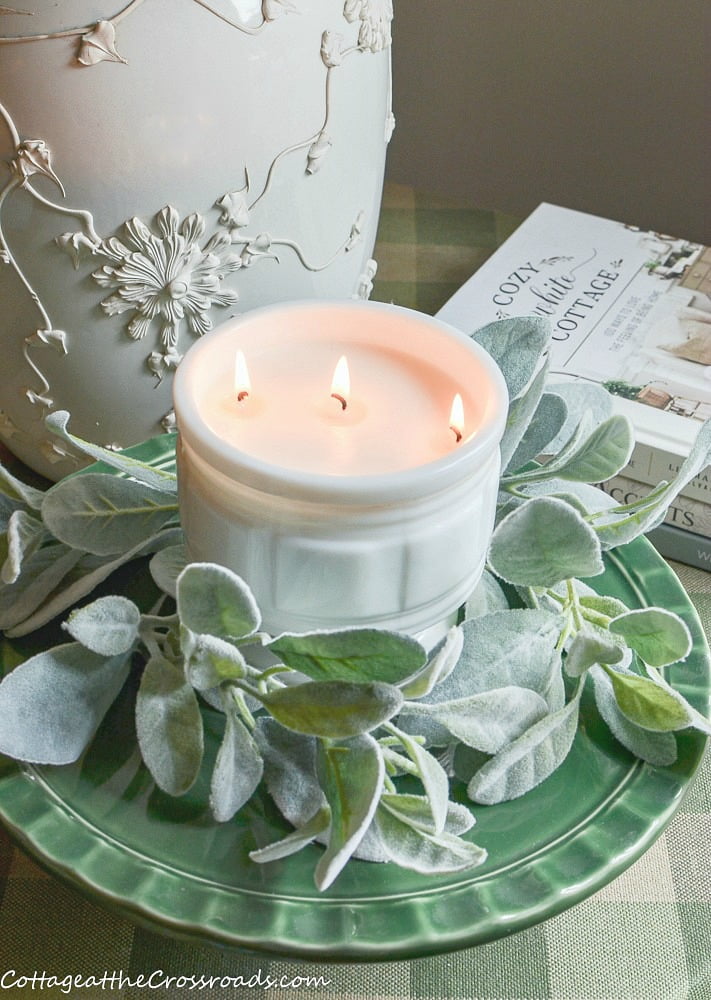
Y'all! If I had known how easy it was to make homemade candles, I would have been making them a long time ago. Giving it a try was on my list, but it was only recently that I gave it a go.
Today I'm sharing this thrifty way of repurposing vintage containers and making your own homemade candles as part of Thrifty Style Team day.
You'll find the links to everyone's projects listed below. And I want to give a big welcome to several new members who are joining us this month.

When the weather turns cooler and the days become shorter, I like to ramp up the coziness factor by lighting candles.
But candles can be so expensive, especially the soy ones that I prefer because they burn cleaner and longer.
Recently, I have discovered how easy they can be made at home. I just assumed that it was difficult, but it's not at all.
Not only can you save money by making your own candles, but they make great, inexpensive DIY gifts.
It's not too early to start making those handmade Christmas gifts. folks!
What you need to make thrifty homemade candles
- various containers made of glass or ceramic such as bowls, vintage tea cups, etc.
- soy candle wax (I purchased a 5 lb. bag from Amazon and used about ½ of the bag.)
- candle wicks with metal tabs
- fragrance oil (I ordered the gardenia scent but there are many others available.)
- melting and pouring pot (You could use a double boiler but this pot has a handle and a pour spout.)
- scissors
- wooden skewers or pencils
- hot glue and glue gun
How to make homemade candles
Learn how to make these thrifty homemade candles with my step-by-step instructions.
First, wash and dry your containers. I used a variety of containers I had on hand such as a milk glass container, vintage tea cup, small Mason jar, a blue and white pot, a vintage mug, and an oyster shell.
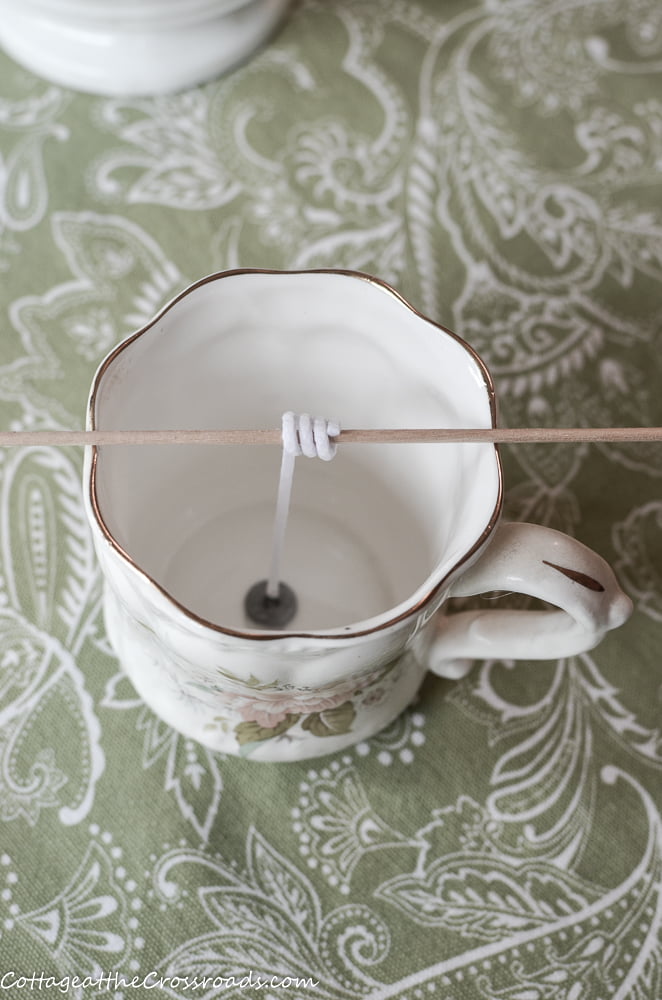
Next, use hot glue to adhere the metal tab on each candle wick to the bottom of each container. Try to center the tab while gluing. Use a pencil or wooden skewers to wrap the part of the wick that extends about the opening of each container.
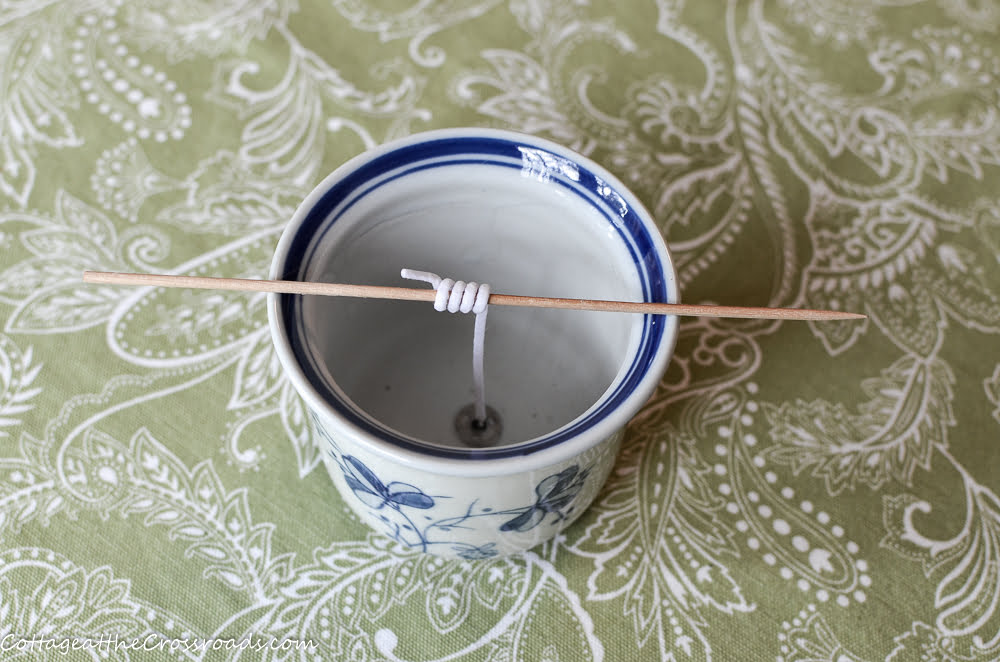
See what I mean? A picture is worth a thousand words, eh? This is a small blue and white pot that I already had.
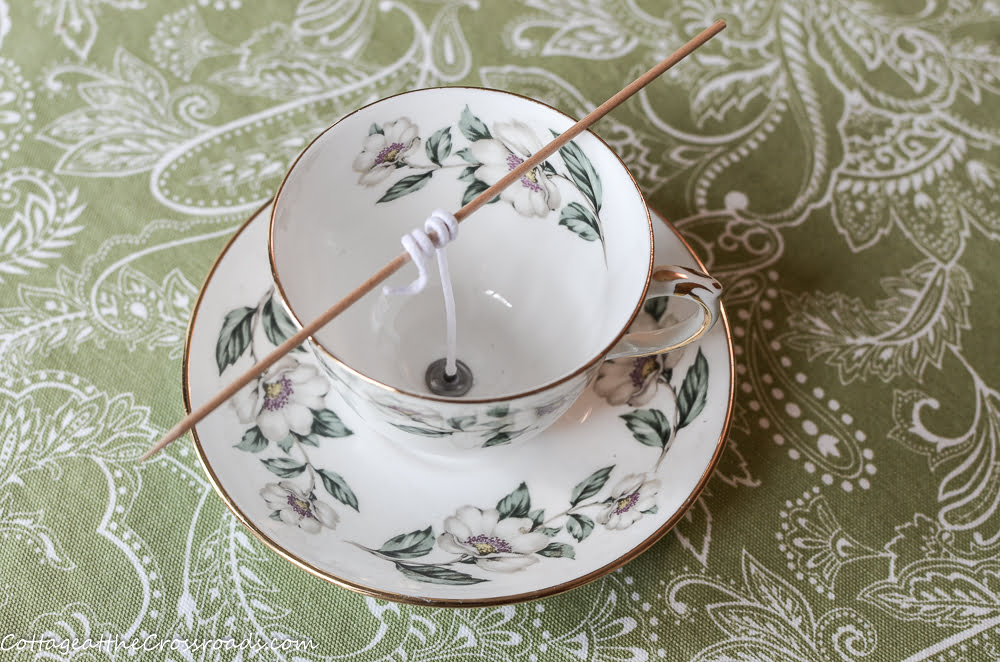
I used this vintage tea cup as one of my containers.
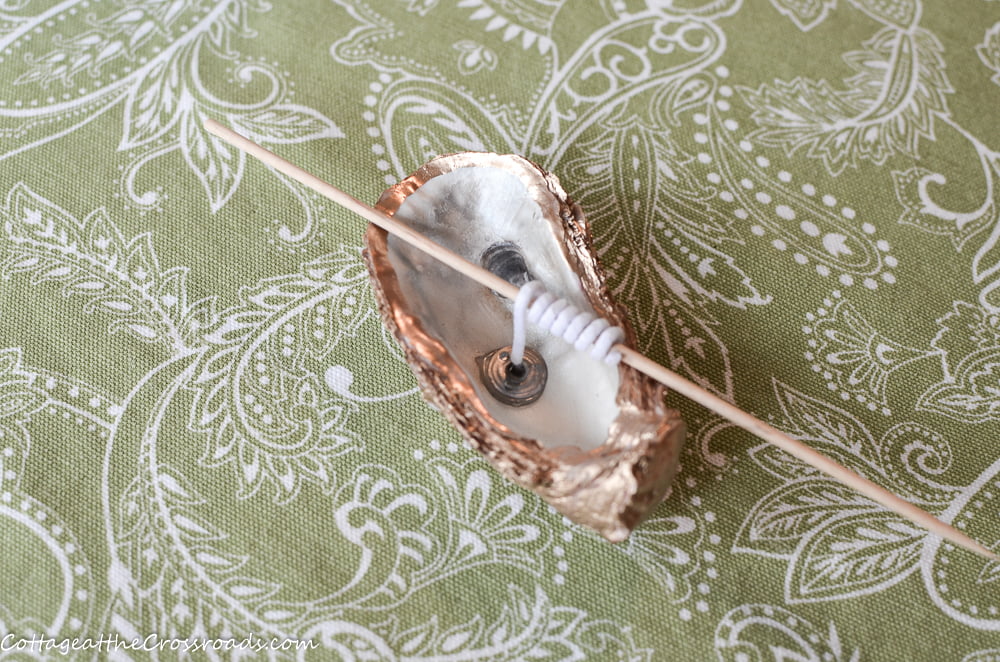
Recently I had been using oyster shells for another project so I thought I'd make one a candle holder.
A vintage mug that I used as a container. I probably got this one for next to nothing at the auction that I attend frequently.
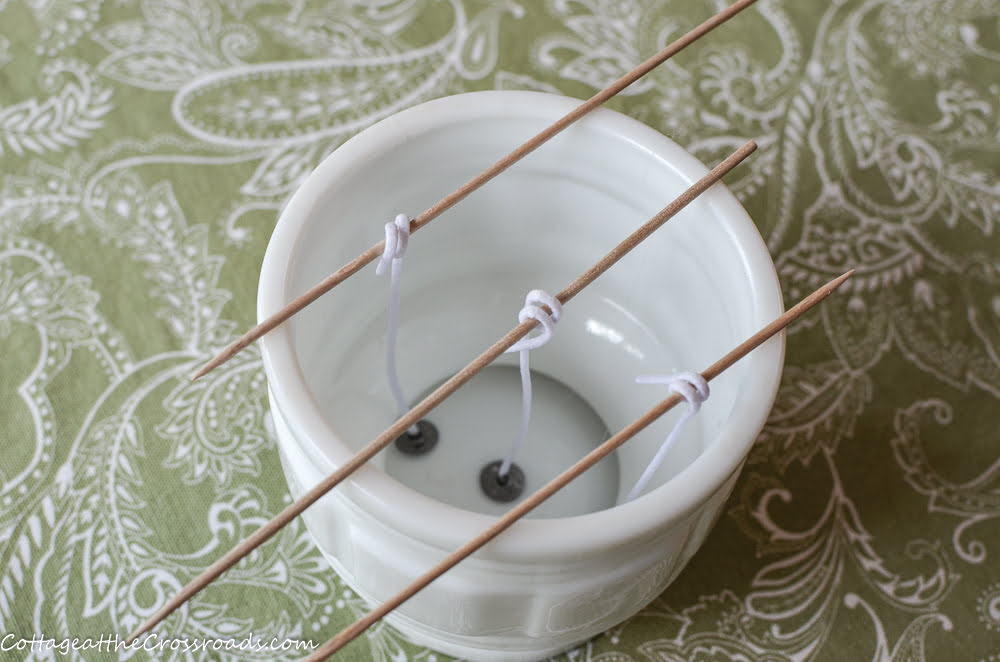
This is a vintage milk glass compote from my collection. It's funny how I never really liked it very much but it made an awesome candle holder!
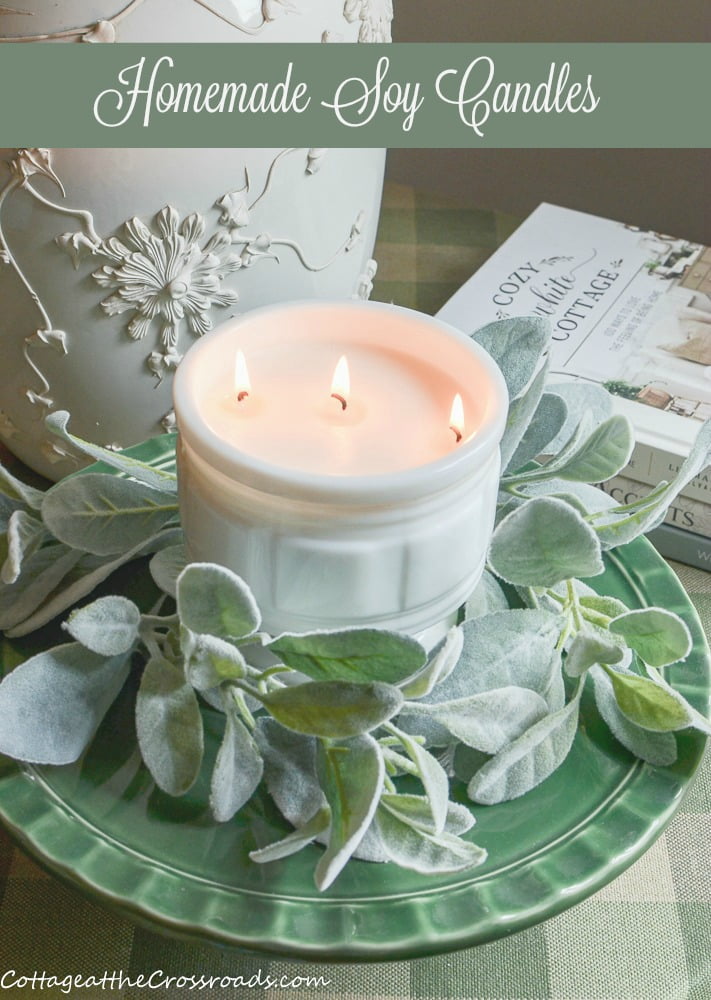
Since it was so large, I decided to put 3 wicks in the milk glass container.
Once your containers are ready, the next step is to melt the wax. To estimate the amount of wax that you will need, fill each container with wax and then double that amount.
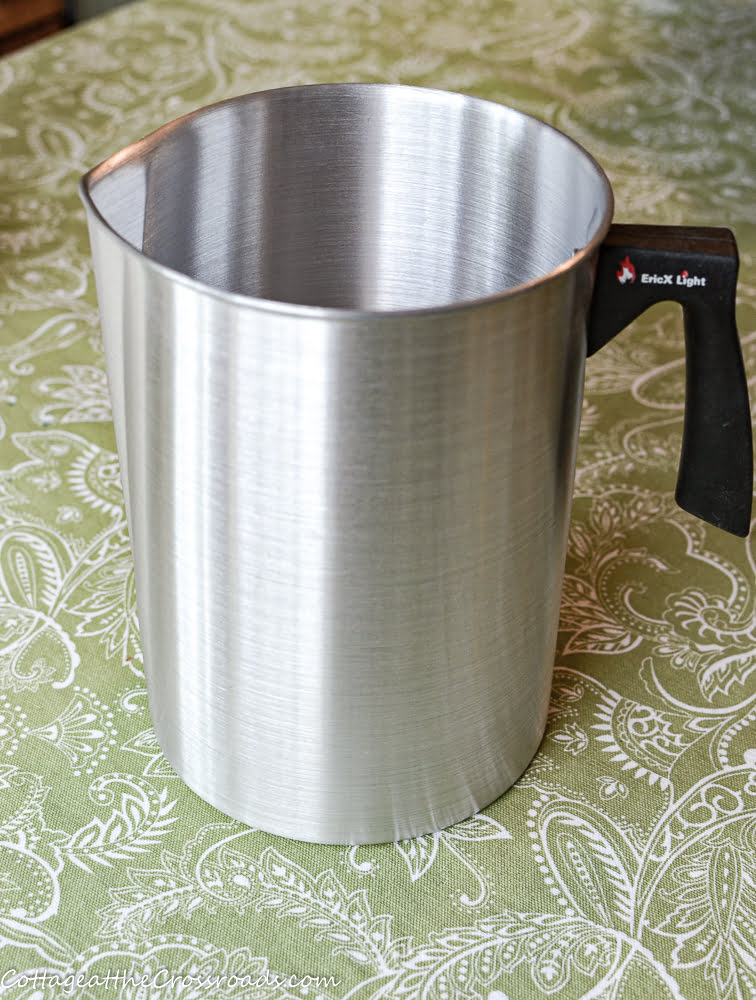
I used a melting pot with a handle and pour spout to melt my wax, but you could also use a double boiler. The bag of wax will tell you the temperature at which it melts. I put my melting pot on the stove and used low heat.
Caution! If you are making candles with older children, supervise or do this step for them!
Once the wax has melted, you can add color by using special candle dye or part of an old crayon at this point. I chose not to color my wax.
Remove the wax from the heat to allow it to cool just a bit. Then add the fragrance oil.
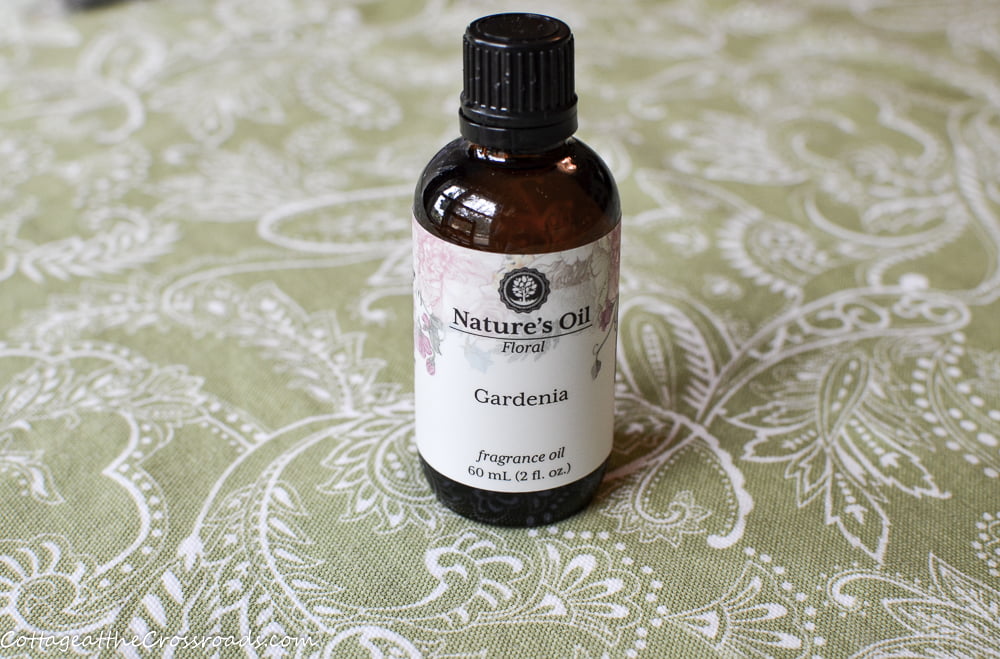
I used about 20 drops of this gardenia fragrance oil in mine. It smells heavenly!
You can find fragrance oils in the candle-making section of any craft store or you can order them from Amazon.
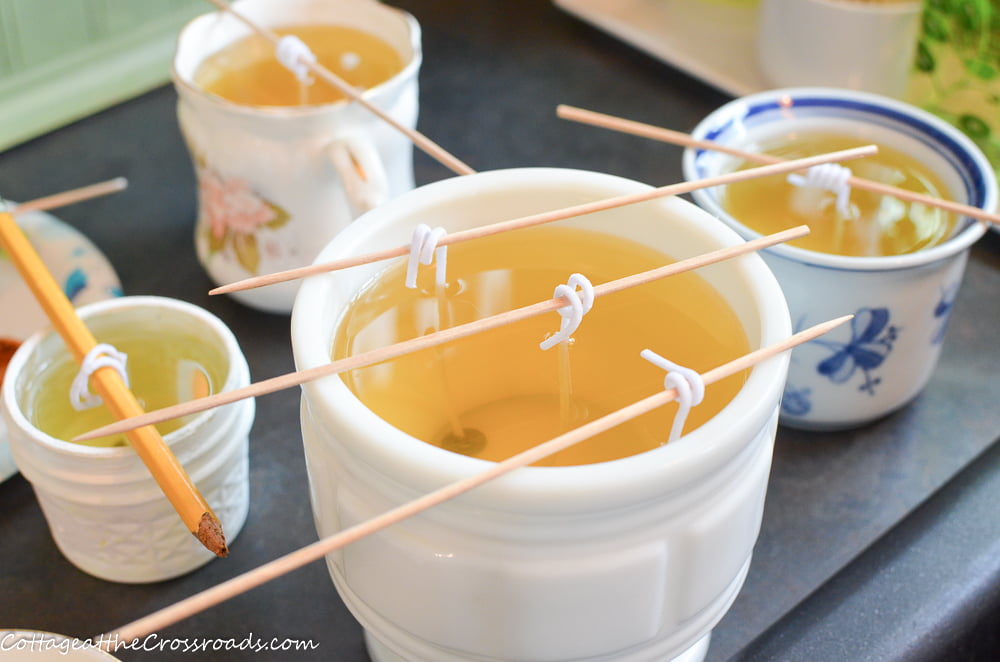
Pour the liquid wax into the containers leaving about ½ inch of wick above the wax.
Now this is the hardest part! Let the wax harden about 24 hours before trimming the wick with scissors.
That's it, folks! Didn't I tell you it was easy??? Why have I waited so long to do this?
Two of my candles did crack just a bit but in doing some research, I learned that the wax needs to cool to about 135-140 degrees to avoid cracks.
But I also learned that you can easily fix them by melting more wax and pouring it on the cracks.
Here are my finished homemade candles. I'm so proud of them.
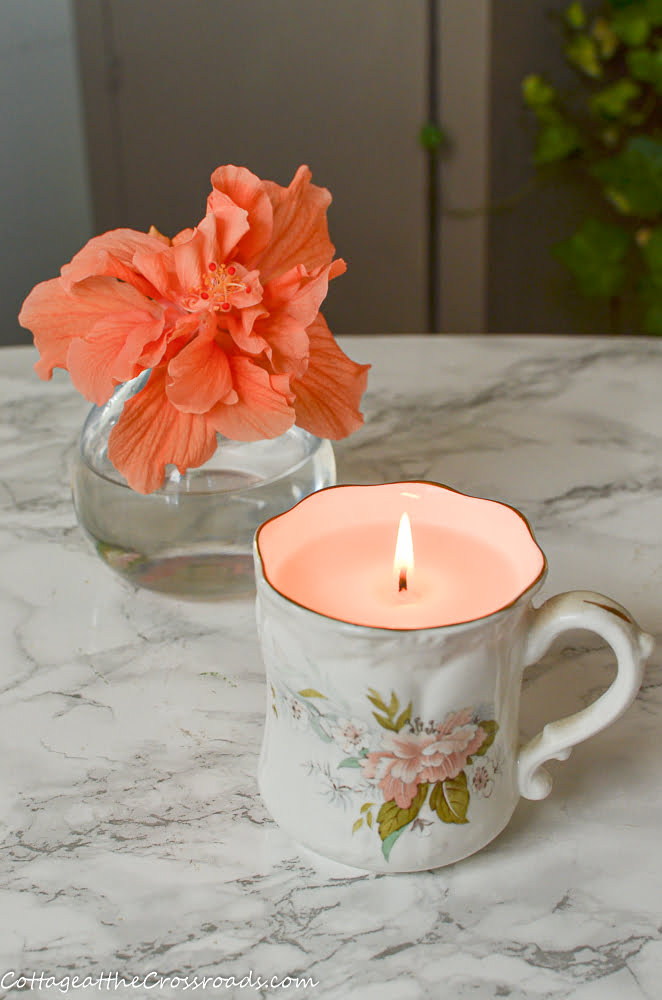
HOMEMADE CANDLE IN A VINTAGE MUG
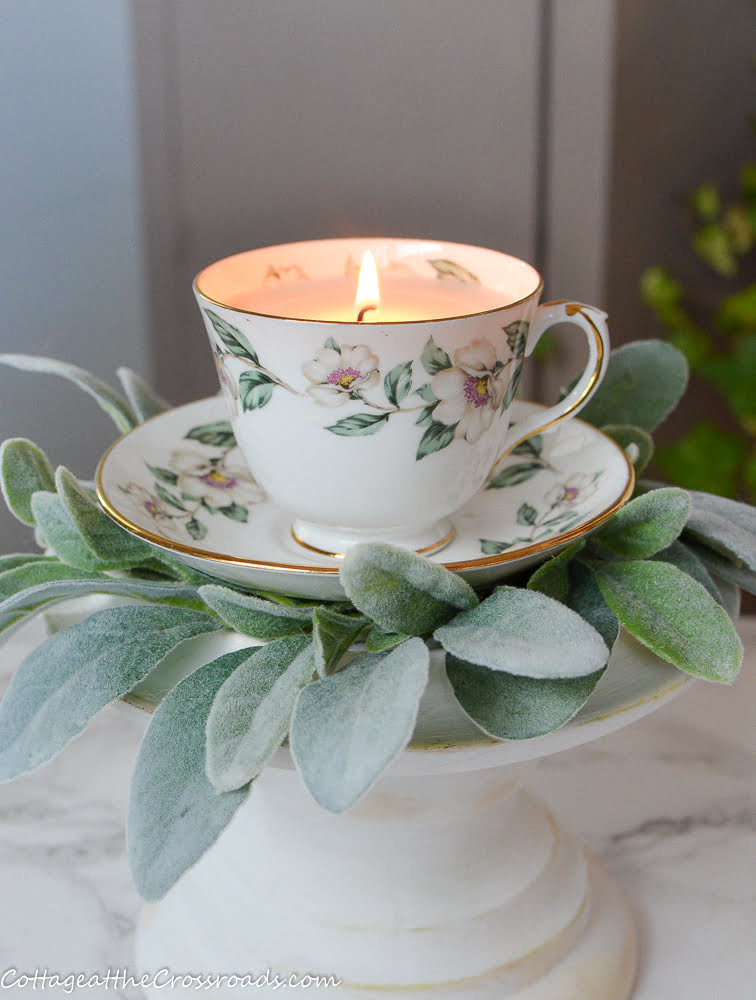
HOMEMADE CANDLE IN A VINTAGE TEA CUP
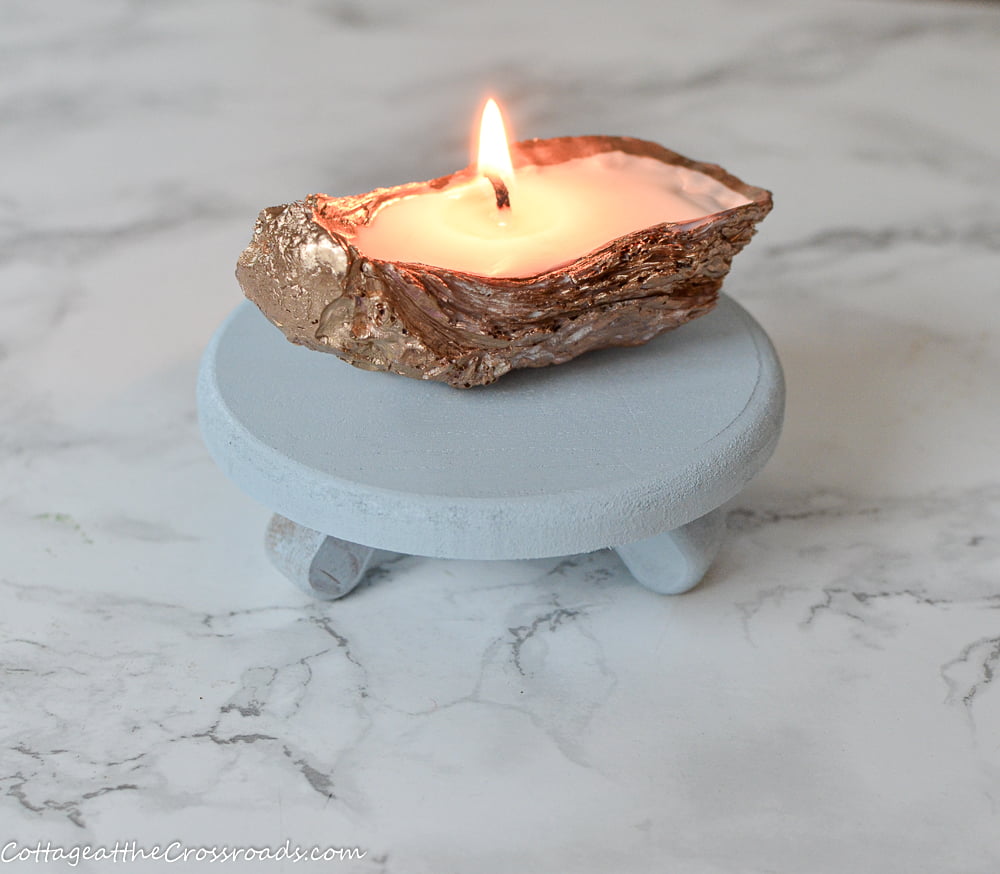
HOMEMADE CANDLE IN A GILDED OYSTER SHELL
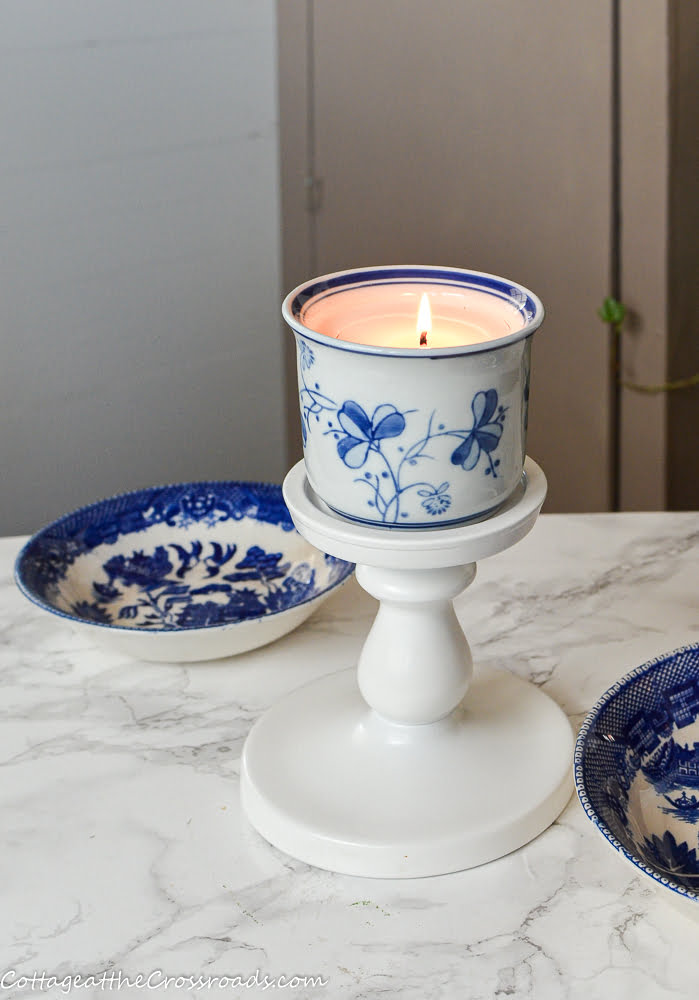
HOMEMADE CANDLE IN A BLUE AND WHITE POT
And this one in the vintage milk glass compote turned out the best!!! Don't forget to pin it to remind you to start collecting those milk glass containers.

I hope I've inspired you to think about making your own candles. It's not hard and almost anyone would appreciate a DIY candle gift.

Peggy Shealy
Very lovely, Jane! Thank you! You give such clear instructions & pictures are so helpful!
Kelly Radcliff
Jane I love how easy you make these sound! I’ve always wanted to try candles and now I just might. Thank you! And I love the gilded oyster one!! Pinned!
Stacey
This is such a great idea! My hubby and I love the scent of gardenia in the summer. There's really not a better smell! I'm curious about this project because you are right...candles can be expensive.
Pat
I love these! Thanks so much for sharing! I've waited forever too but you've shared wonderful details about the process so I must make some now. I'm a certified candleholic!
How did you decorate the oyster shells? Another great idea.
laura janning
Jane- your post is the push I need to do something that I have always wanted to do...make candles. I love how you used random items to contain them.
Kristi Dominguez
Oh my goodness! These are absolutely LOVELY...and I bet they smell divine! I want one of each, lol!
Meegan
I seriously can't decide which one is my favorite. The tea cups, the shell or the gardenia fragrance. Thanks for the tutorial, Jane. You make it look so easy.
Jane Windham
Thank you sweet Meegan! I love to smell gardenias so the frangrance oil is perfect!
Elena Bowling
Wonderful! Can’t wait to try!
Jane Windham
I think you'll really enjoy making them, Elena!
Julie
Just wow!!! I have always wanted to try it!!
Jane Windham
Me too, Julie! I don't know why I've waited so long!
Cindy Caretto
Thank you VERY much for an easy way to make candles!
Jane Windham
Thanks Cindy! I think a lot of people I know are going to be getting candles for Christmas!
Cindy Caretto
Could be! I have a number of fragranced oils already. Can they be used?
Jane Windham
You could always make some small candles to test them.