In this post, you will find a tutorial on how to make your own pine cone Christmas trees. This is a fun craft you can make with kids during the holidays.
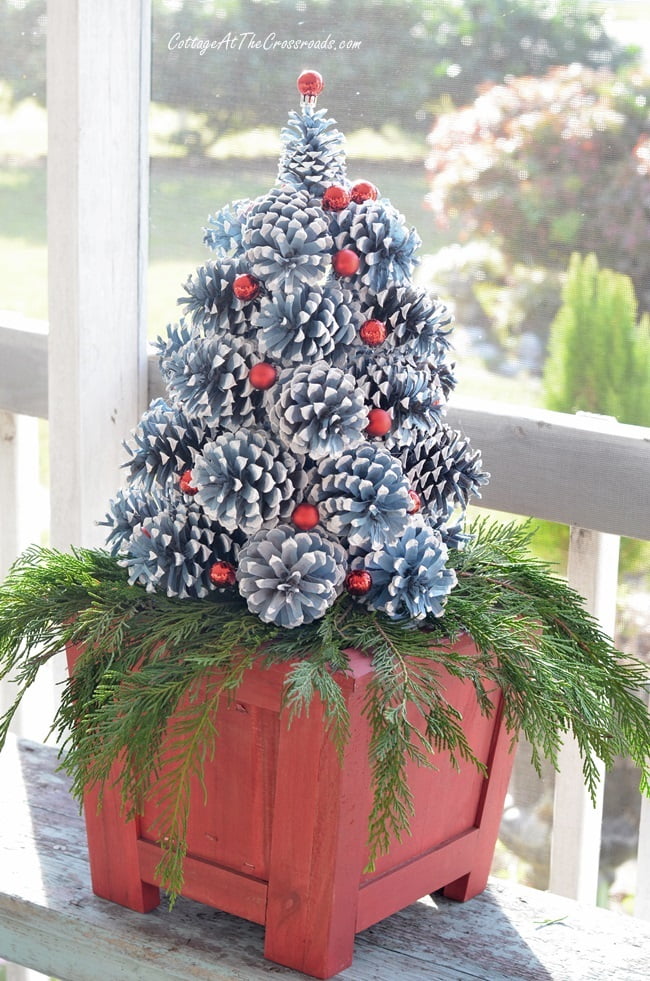
Hello everyone! Have you finished your Christmas decorating yet? If not, here is a project that I completed recently that turned out WAY better than I expected. If you have an abundance of pine cones or have access to some, then you may want to make your own...
Pine Cone Christmas Trees!
We have one tall pine tree in our yard that drops a ton of pine cones. Ever since I started crafting with pine cones, Leo picks them up and tosses them into a large container to save them for me. I like to think of these free pine cones as "nature's gift!"
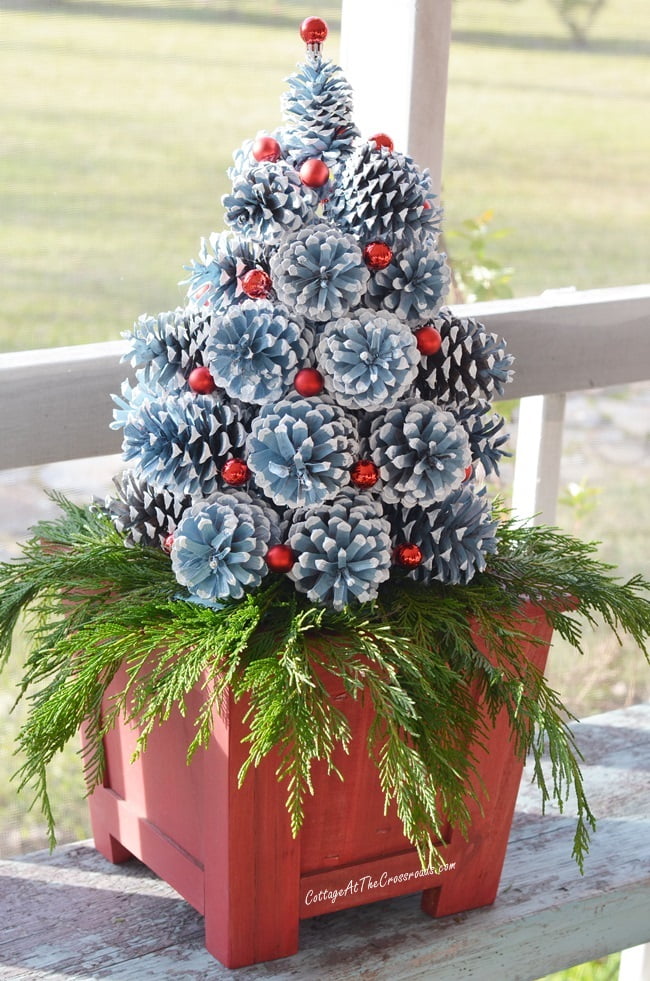
I brought one of my pine cone Christmas trees out onto the front porch so that I could photograph them better in the natural light, but currently they are residing on our hearth as part of our Christmas mantel decorations. I'm still tinkering with the mantel because it's missing something, and I haven't quite figured out what that is yet!
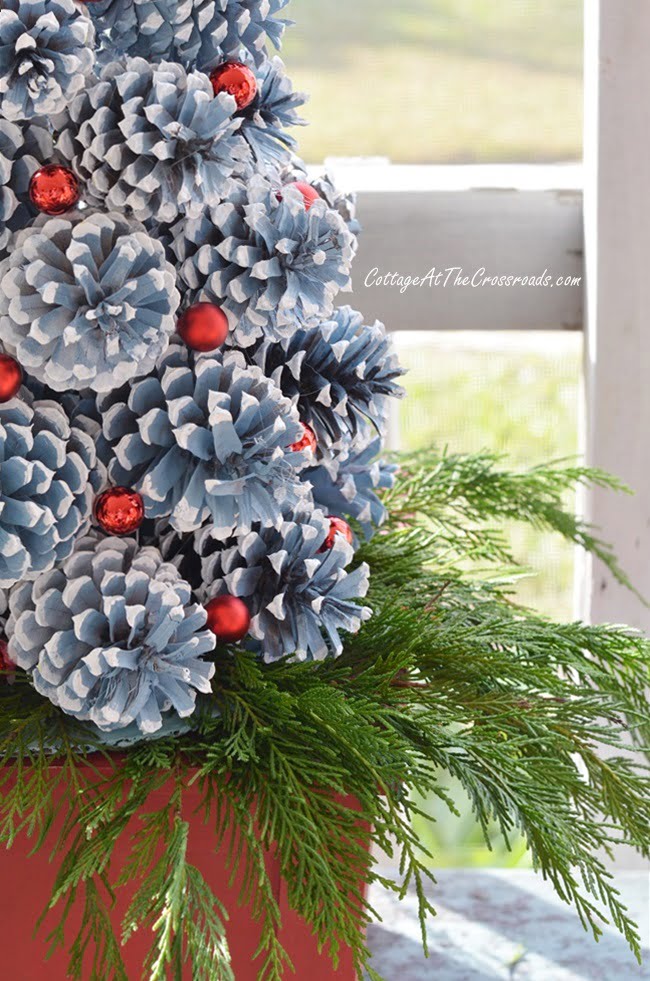
As you can see, I decided to use a blue, green, and red color scheme this year. A few months ago, I found a new and gorgeous shade of spray paint called "French blue."
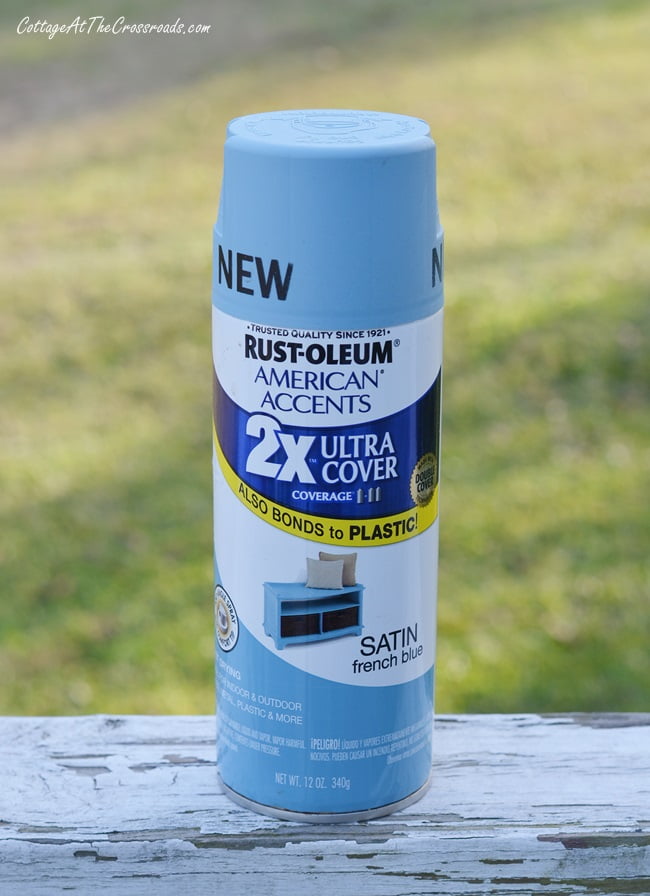
Yes, that was several months ago when I started painting pine cones blue! Now I will have to admit that you are going to need a lot of pine cones for this project, especially if you decide to make 2 trees like I did! But spray paint dries really fast outdoors and the rest of the project can be done inside.
In fact, this is a great project to enlist a few helpers and I love listening to Christmas music with my family during the holidays.
What you need to Make Pine Cone Christmas Trees
- lots of pine cones of various sizes (I used 31 for each tree but you may need more)
- spray paint (I needed 2 cans for 2 trees and I found the French blue shade at Walmart)
- white acrylic craft paint
- small artist brushes
- glue gun and plenty of glue sticks
- round cardboard base with a diameter of 12 inches (I used cake bases).
- miniature Christmas ornaments (I purchased 2 packages at Hobby Lobby)
Step 1
The first step in making these pine cone Christmas trees is to spray paint all of your cones and allow them to dry thoroughly.
Step 2 (optional but recommended)
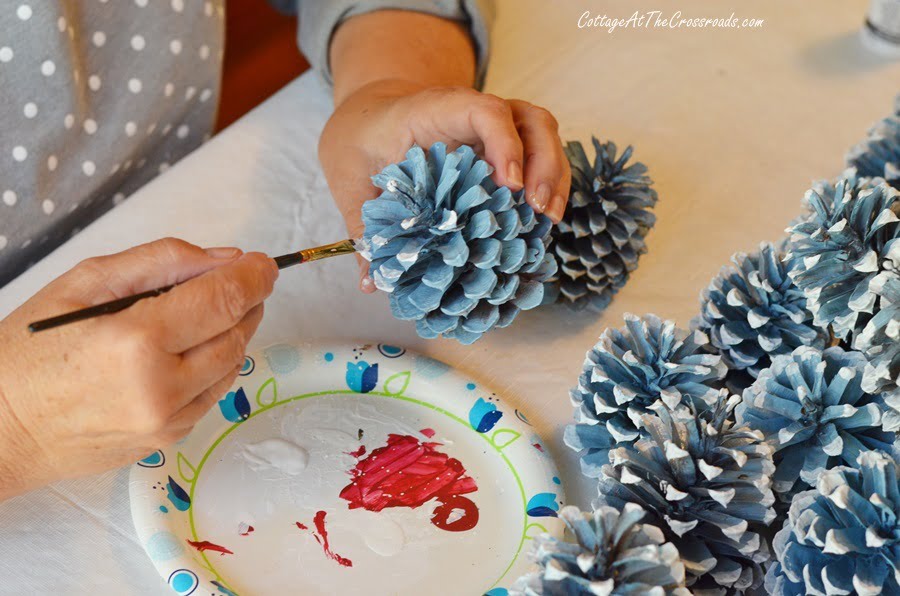
Then, if desired, paint the tips of each cone with white acrylic craft paint. (I used titanium white by DecoArt.) This would be a really good job for youngsters to do-you can't mess up this part!
Step 3
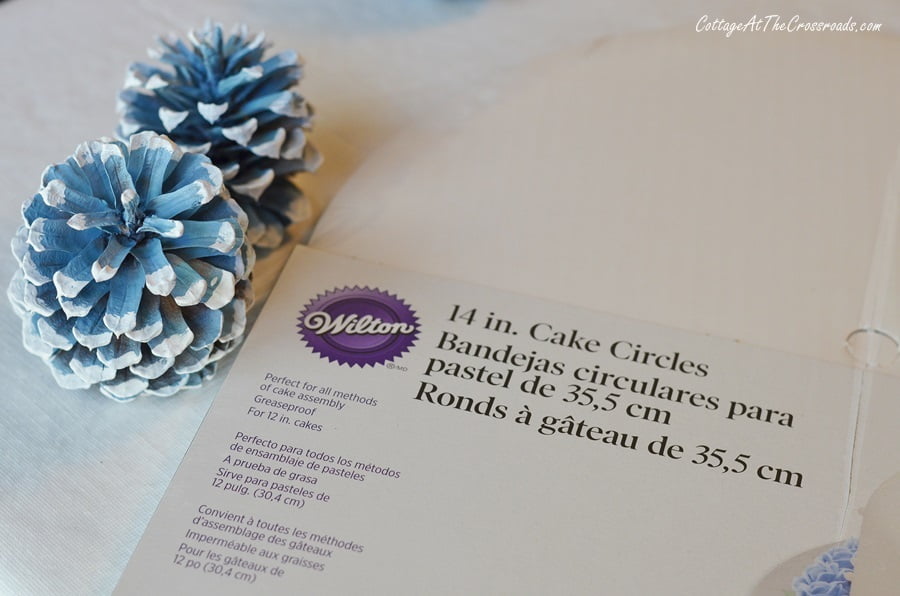
Next, you will need a round base for your tree, and I used cake circles. I purchased these 14 inch circles, but they were too large for the wooden planters that I planned to put the trees on. So I simply cut them down to 12 inch size. You could easily cut cardboard circles from a box, and it doesn't matter if the circle is perfect or not because no one will see that part!
Step 4
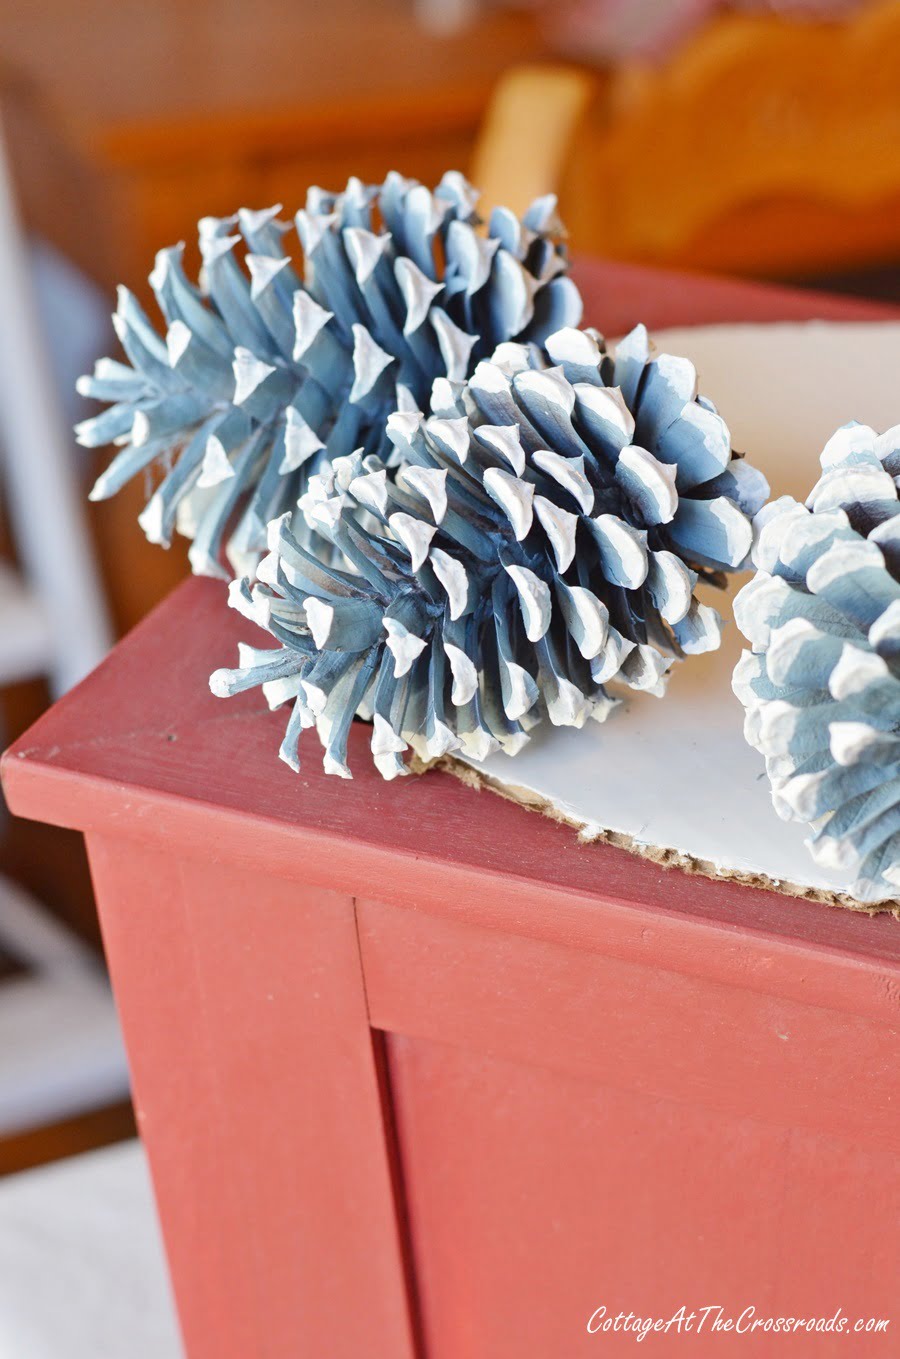
Get your glue gun ready. Place your largest pine cones on the outside edge of the circle and glue down. (I found it easier to add the glue to the circle.) While doing this, try to nudge one pine cone into the next one. As you can see in the above photo, I didn't pull my cones all the way out to the edge. If you do so, you will have a taller tree and will need more pine cones. My 2 trees ended up being 15 inches tall.
Step 6
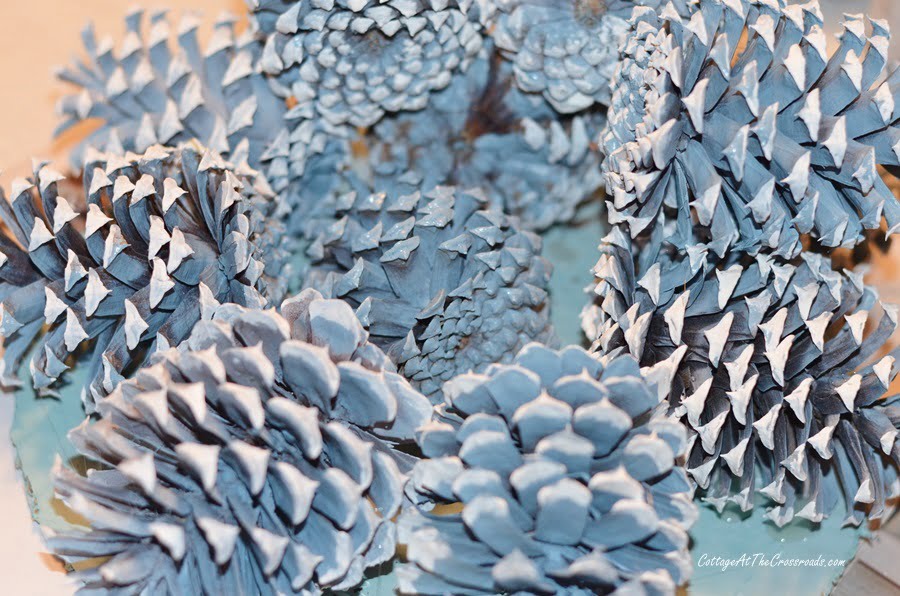
Once you glue down the first layer of cones, then start with the next one. But this time, pull your cones in just a bit in order to start shaping your tree. I put some pine cones down inside the hole that started forming, but I don't think that you really need to do that.
As you continue your layers, use smaller and smaller cones. When you get closer to the top, start angling your cones down to make the shape of a tree.
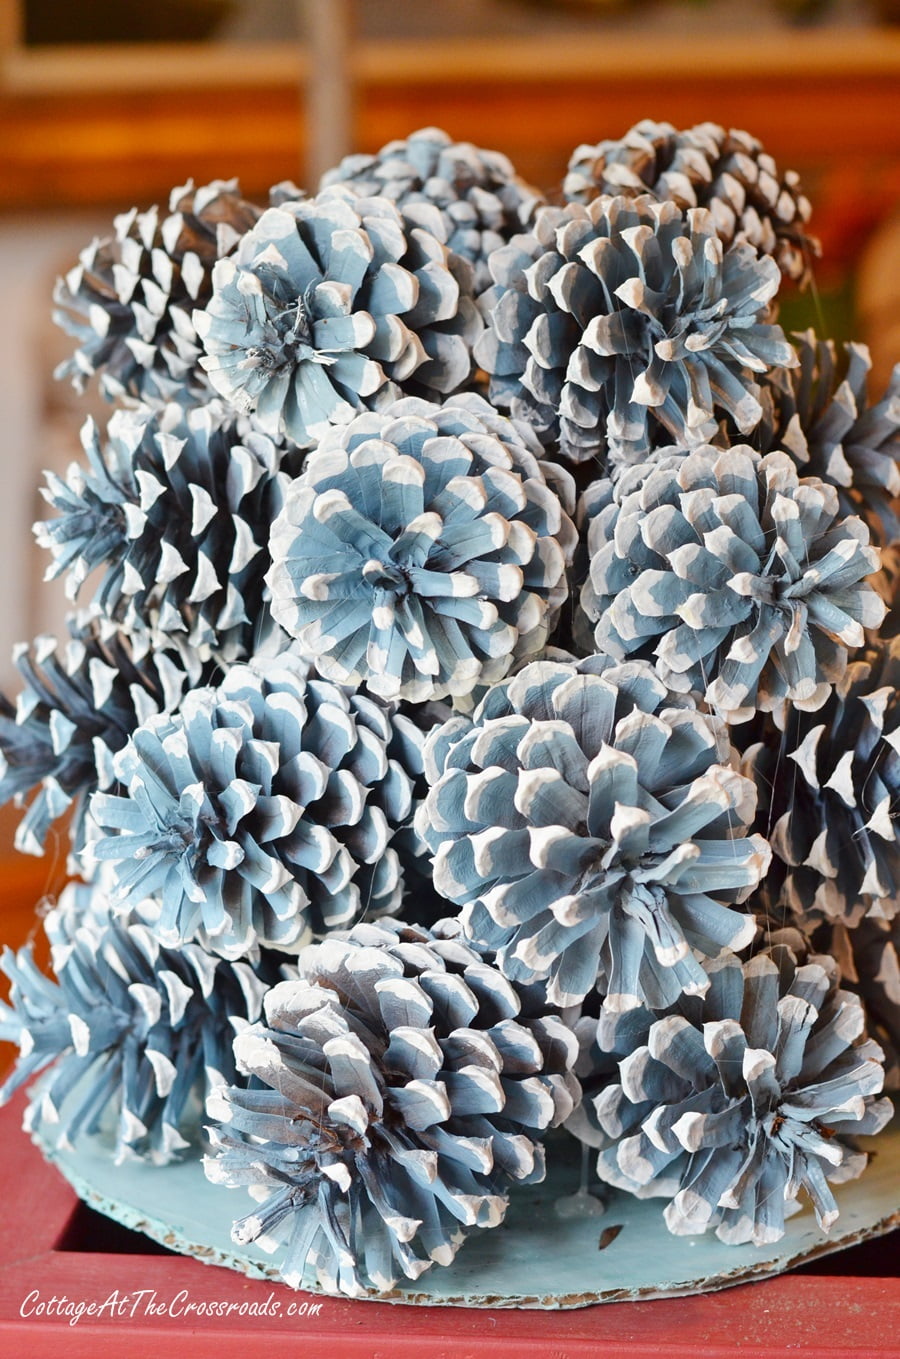
Step 7
Oh, yes. You will have lots of glue strings to remove! At least, I did. Remove excess glue strings and continue.
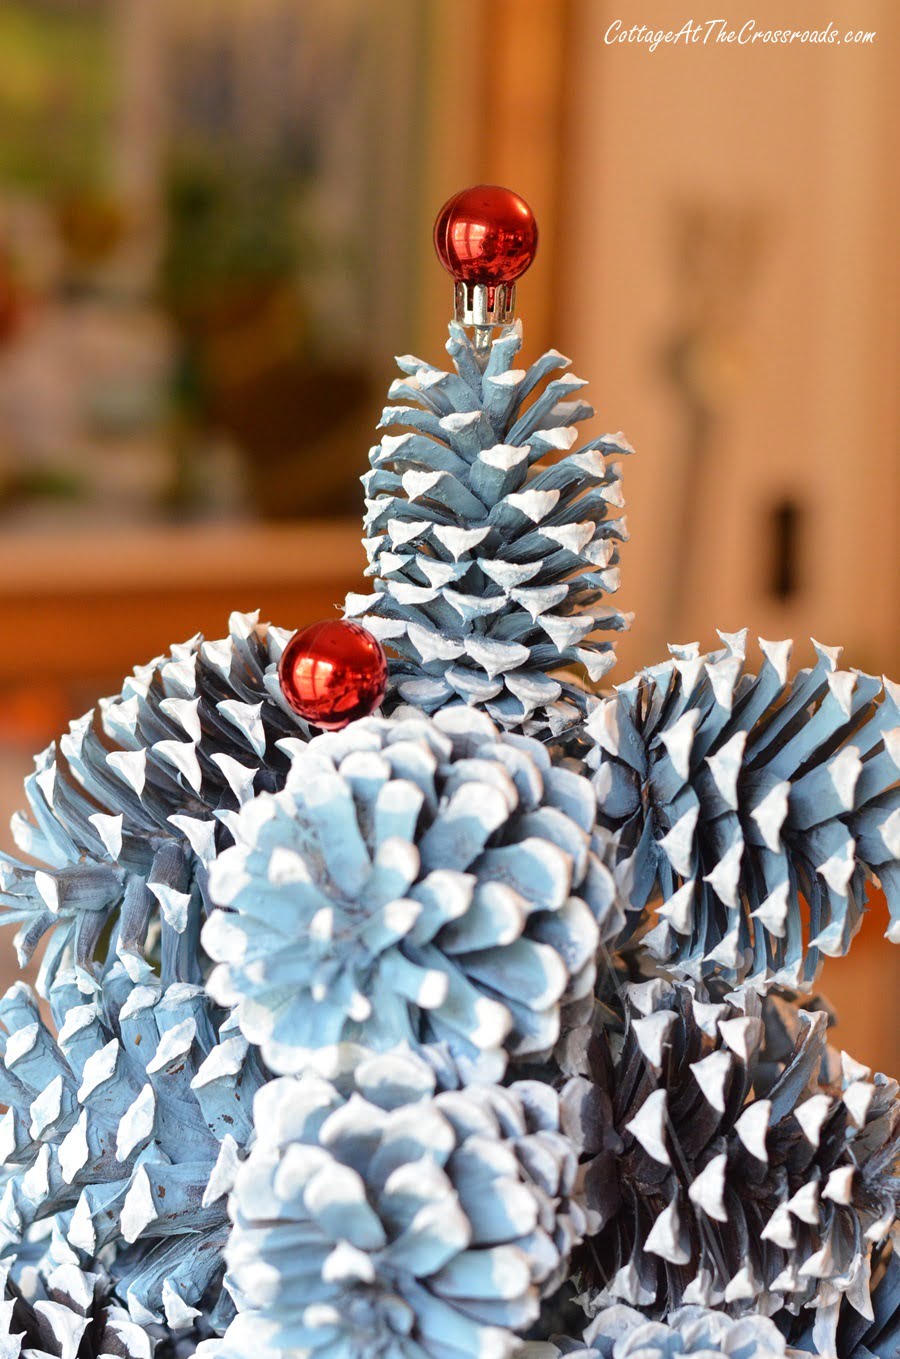
Step 8
I found that the top of the tree needed a skinny pine cone, and here I've started adding some red ornaments.
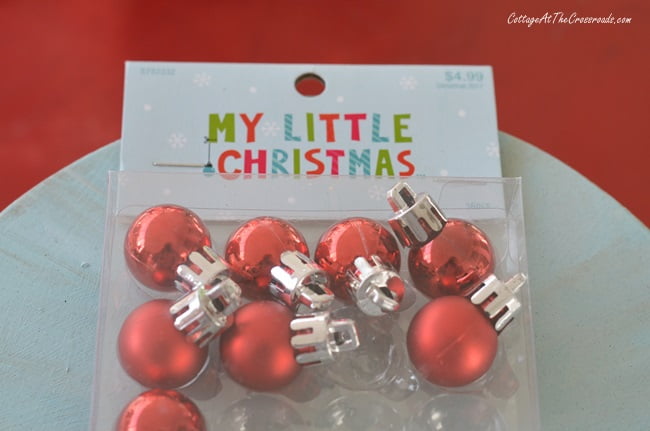
Step 9
I used 2 packages of these red ornaments that I found in the section of Hobby Lobby where the miniature tree decorations are sold. Finish adding red ornaments as seen below. You can see where I tucked them into the places where 2 cones met. I did hot glue them but only burned 1 finger! Ha! Be careful in this step!
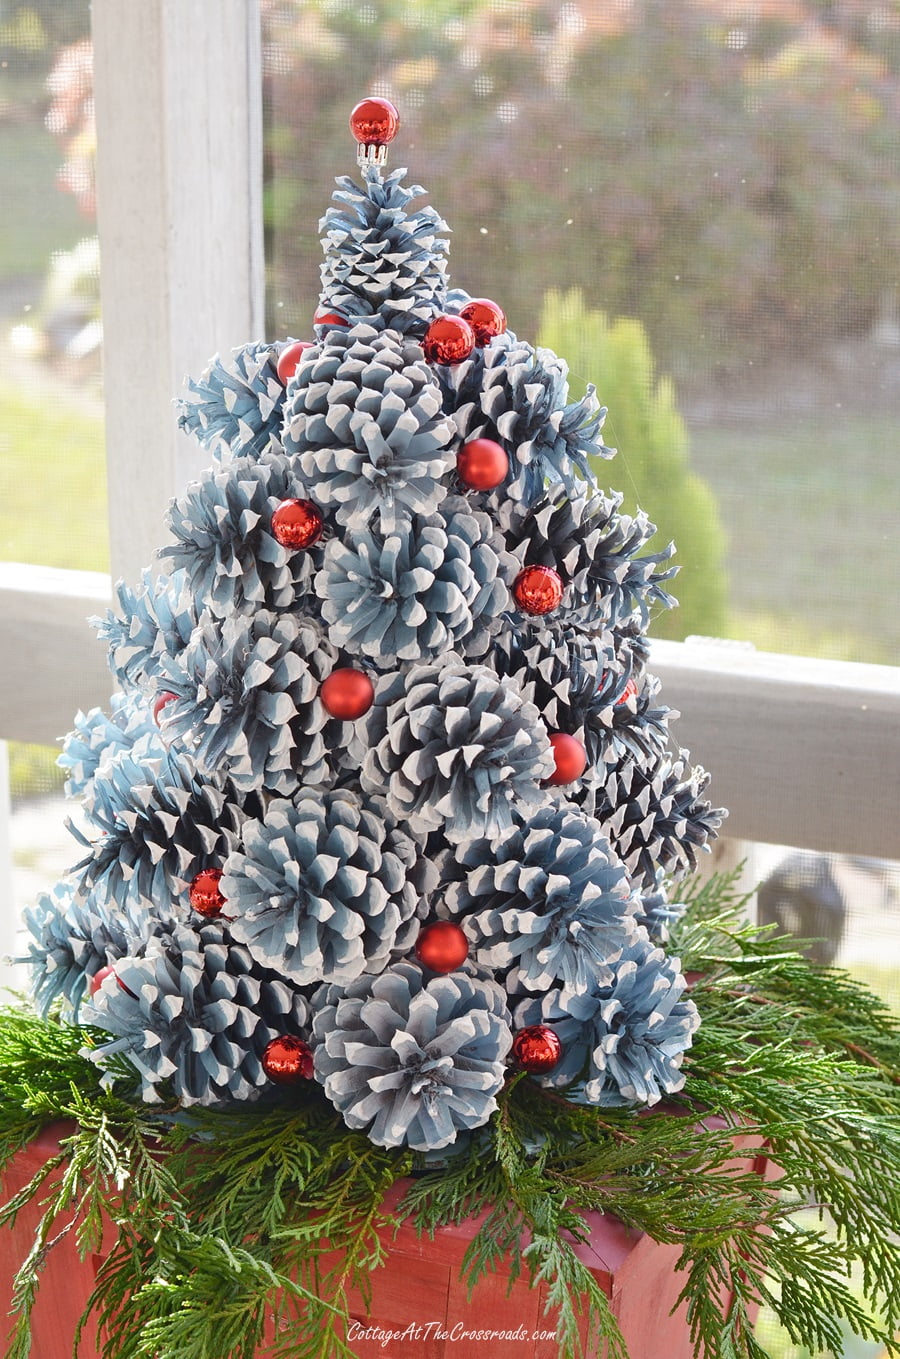
Final Pine Cone Christmas Tree
I am just delighted with how these trees turned out! I can just imagine them done in different colors or made with bleached pine cones.
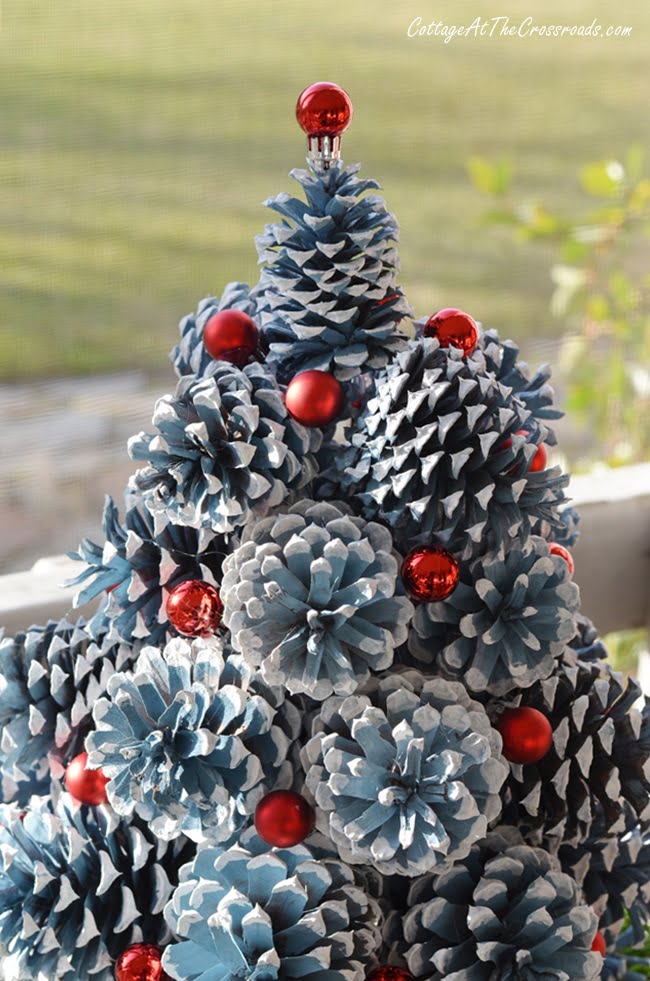
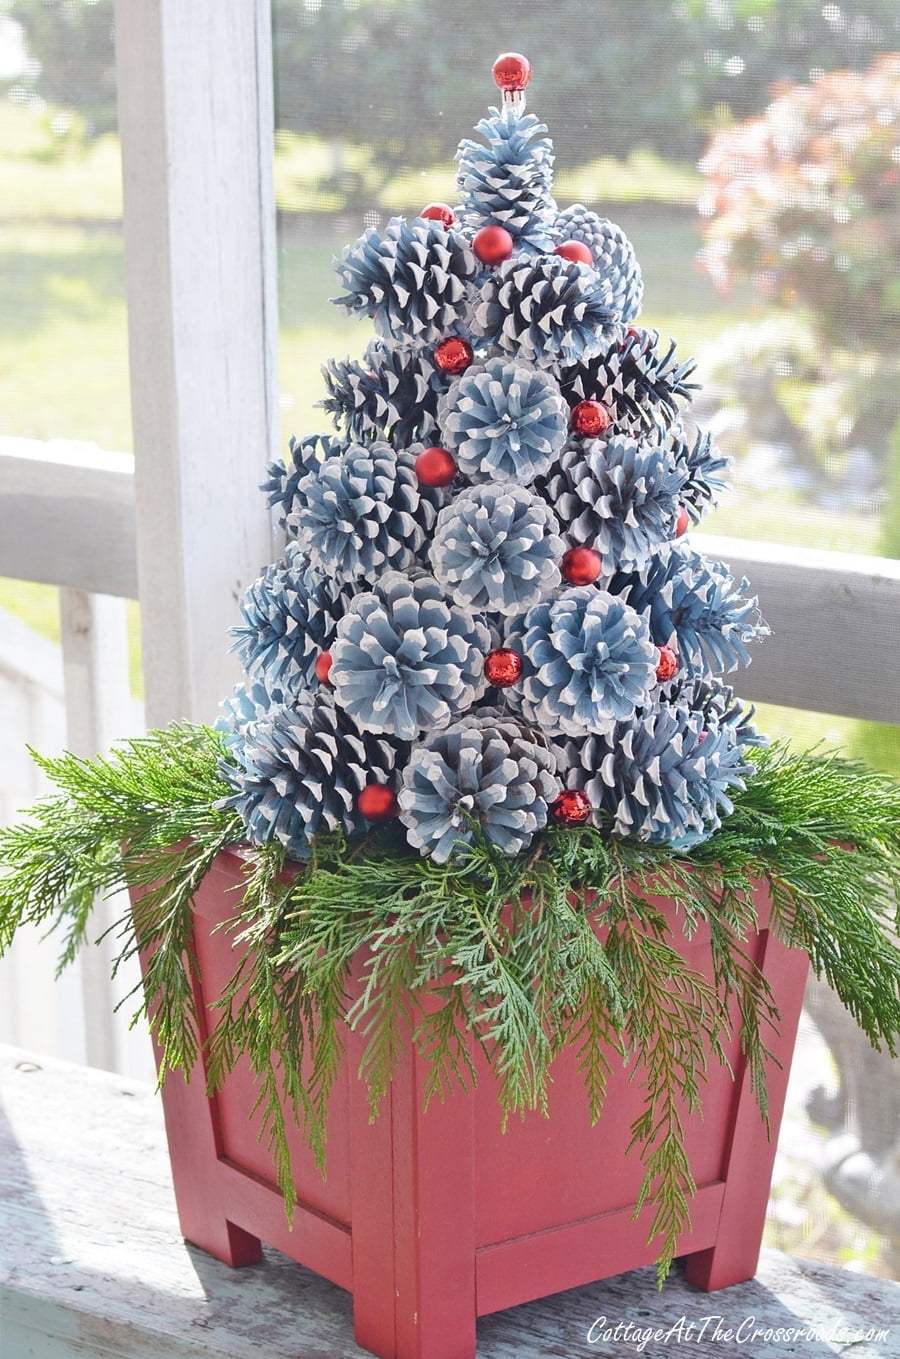
I can't wait to show you how they look on our hearth, but they would make a great gift for someone with limited space. Or, I'm thinking they'd make a great centerpiece on a table. Or...
Well, you can see how my mind works! At the time, I'm loving the blue, red, and green combo.
To see more of my pine cone crafts, you can click on any of these links:
- How to Make Pine Cone Zinnias
- Summer Wreath Made with Pine Cone Zinnias
- Fall Rake Wreath with Pine Cone Zinnias
- Chicken Wire and Pine Cone Wreath
I hope you enjoyed making this pine cone Christmas tree. And thanks in advance for sharing this with friends and family.



Wanda
I had a difficult time with the glue not holding. When I finished last night I took a photo. It looked beautiful but upon waking this morning, half of the tree had fallen onto the floor!!! How do you get the hot glue to hold when the pine cones are not a flat service? Help!!!
Tammy Chambers
How do you bleach pine cones???
Projection Tree Topper
Wow! Great job! I was searching for Christmas resembling DIYs trees, and I found yours best, quick, and easy. I can’t wait to give it a try for my home-décor. Thank you so much for sharing. Please guide me a bit… how did you manage to keep it straight? I mean, it is standing straight without any support and giving a firm look.
Projection Tree Topper
Oh My God! My stomach is growling while reading your blog. You have covered many mouth-watering recipes, including burgers, sandwiches, and cakes. I just love them and will surely try them soon as we are planning to go and spend the night into the woods. Thank you for sharing
Jennifer
Love the idea of the pinecone tree , it's beautiful and I cannot wait to try and make me a couple
Kim Oliver
Hi; Where did you get the tree stand? These are great for seniors in retirement homes and we've got a project coming up with them!
Jane Windham
Yes, this will make a great project for seniors. The stands are actually wooden planters that were purchased from Lowe's. They are a little pricey for this project but you could substitute plastic planters and spray paint them any color that would match the tree.
Eva Cangemi
Thanks for the idea of pinecone trees. I have been making pinecone kissing balls, and pinecone wreaths. I just finished a wreath with white pinecones, red cardinals and red berries to honor my mom that passed in Nov 2018. I hand picked the pinecones from her yard last July when I went up to visit, she loved cardinals and red berries. I will definitely be making a tree this year. I love your site....
Deb
How did you anchor the tree to the pot?
Jane Windham
Deb, I didn't anchor the trees to the planters because I used them indoors. The round cardboard base was large enough to simply sit on top of the planters.
Valerie
I just found your site and live not far from you. I love your posts!
Debra luhn
I really like your pinecone trees. Thanks for the directions. I have tried 2 times to bleach pinecones, but they never bleach out pretty. Is there a special bleach that I need to use? Merry Christmas.
JW85
I recently bleached many pine cones and found out that the harshest cheapest dollar store bleach you can find will work much better than Clorox. Just keep soaking them and flipping them preferably overnight and the next day they should be good. Pull them out let them completely dry and some of them will start to reopen just a bit and look very nice!
Marguerite
I have never been a fan of the Pine cone Tree but these are Beautiful and I am going to make one , love it
Robyn
These trees are so cute! Love the blue !!!!
Jean Windham
Jane the pine cone tree is so cute. As you said I would love the blue. It is French blue which is one of my favorites. I am excited to see your porch completed for Christmas... Jean
Kathleen
These pine cone trees are so pretty! What a great idea!
Jo
Terrific idea! Pine cones are either difficult to keep out of the landscape or great for crafting. Have you managed to do both?
Donnamae
Considering we have an average sized city lot...we have tons of pinecones. Thanks for the idea....your pinecone trees look fantastic! 😉
Barbara Windle
Your tree is really cute. A great idea for using pinecones.
Sandy
A cute idea for sure. They look great in the red planter. Can't wait to see the inside.