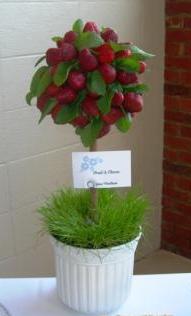
Since my last post, I've had a few people to ask how I made this strawberry topiary. I ran across the directions on the internet last year when I was looking for ideas for my table for the golf benefit. I had printed them and put them in a folder and pulled them out to use this year. It really is simple to do but you need to allow at least 2 weeks if you want to use real grass in the pot (which is what you really need to do!)
First, I purchased a topiary tree form from Hobby Lobby. You could probably make your own, but you may run the risk of having your topiary topple over so why chance it? I think the topiary tree form was $9.99 (without a 40% coupon.)
Next, I had to find a pot that was just the right size for the base of the form to fit into snuggly. I tried a lot of pots I had at home, but none were the right size. I went across the street to Jay's Trading Post and found the perfect pot.
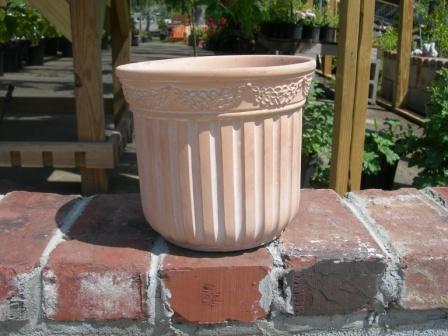
I loved the vertical lines on the pot and the detailing around the top. I think the pot was $6.00. (If you need this pot, I can get you one and ship it to you.)
Even though the pot was pretty the way it was (with a little whitewashed effect on it,) I decided to spray paint it white. I used a flat white.
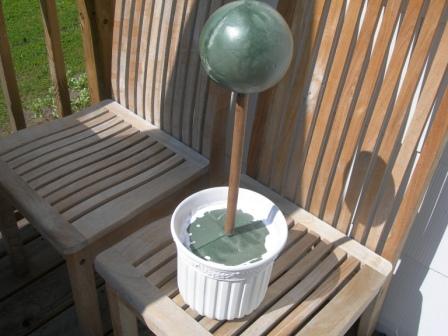
I put some soil into the pot and then put the base of the form on top of the soil, leaving about 3 inches at the top. Then I secured my topiary form with some white glue. You could use a hot glue gun.
I already had some rye grass that I had grown for another project that I simply transferred on top of the form in the pot. Since most of you are not going to have some grass already growing, then you will need to put some potting soil on top of the base and generously add some rye seed and water. (Don't forget to keep it in the sunshine!) Your seed should germinate in a week and start growing. Mine had grown so much that I had to give it a trim with scissors so that it had a nice uniform look. I also had to keep mine away from my cats because they thought that I had grown the grass just for them!
That's all you need to do until the day that you plan to add the strawberries. Stick a wooden toothpick into the top of the form.
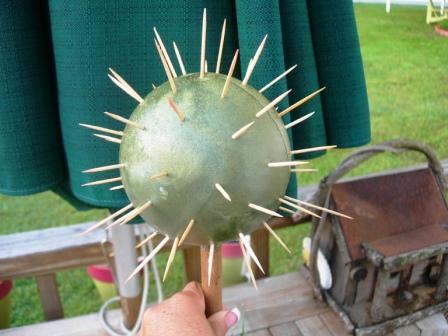
(This is how many toothpicks I added.)
Attach a strawberry to the toothpick-the pointed end of the strawberry should point out. Use strawberries that are about the same size. Continue to add toothpicks and strawberries, making sure the strawberries fit snuggly together. After the form is covered, use fresh mint leaves to fill in any gaps between the strawberries and to add green color to your topiary.
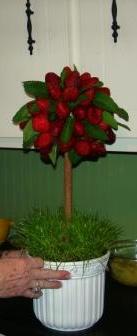
That's all there is to it. A really easy and simple way to celebrate springtime and fresh strawberries.


Mary
Love your strawberry topiary Jane! The grass is such a fun touch too 🙂
Velva
What an absolutely creative table idea. Love it! Thanks for sharing.
Velva
Deb
This is awesome...I love it!!! ~Deb~
Carolyn@Sweet Chaos
This is adorable, Jane! Very creative. Just wanted to let you know I've been reading through your blog posts and I love your cottage. I'm following you, too!
Holley
Very cute! Thanks for the instructions. I bet it smells wonderful, too!
Jill
I would have to have at least 3 times as many strawberries as needed to make this! Have you ever used other fruit?
marianne
I just love this....and thanks so much for the directions. What a great idea for summer barbecue's. It's pretty to look at and edible!
Marianne 🙂
Kit Smith
Jane,
Your directions make this sound so simple. We just had some of the best strawberries I've had in ages. I'm trying to decide what occasion to make this topiary for! Thanks for sharing.
Kit
Susan in SC
You are so talented! Thanks for the tutorial. I'm afraid my boys would eat the strawberries before I ever got them on the tree!
Pat@Back Porch Musings
I am catching up with blog visits in the wee small hours of the morning.
Your topiary is beautiful. I appreciate the tutorial very much!