Today I finished making a ruffled burlap wreath that we plan to use as part of the decorations for the golf benefit party that we're working on. It was very easy to make so I'm including the directions on how to make one.
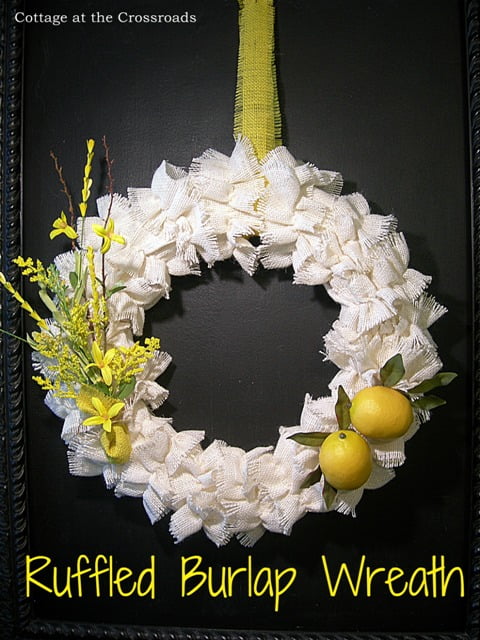
I've seen all sorts of burlap wreaths on Pinterest, but I haven't seen a ruffled one like this. Now this was not an original idea of mine. One of the other gals on our planning committee, Sherry White, showed me a picture of one she had made recently, and I thought it was really pretty. So thanks, Sherry!
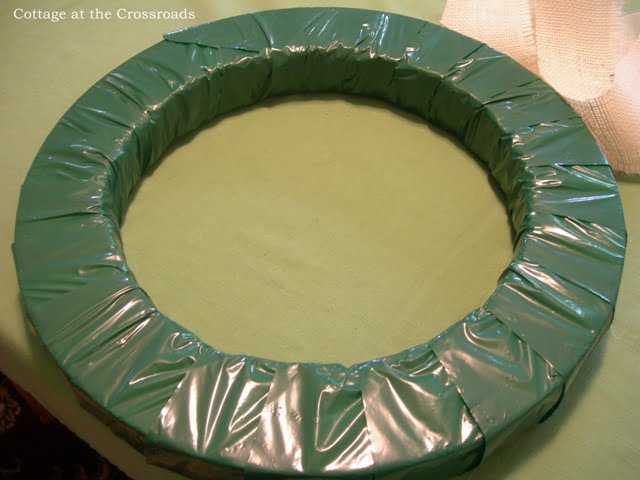
I started with a Styrofoam wreath that was wrapped in green plastic.
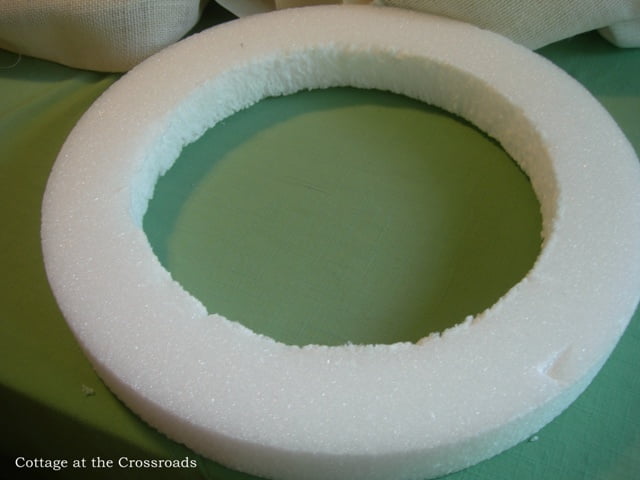
I removed the green wrapping because I was using white burlap, and I didn't want the dark green to show.
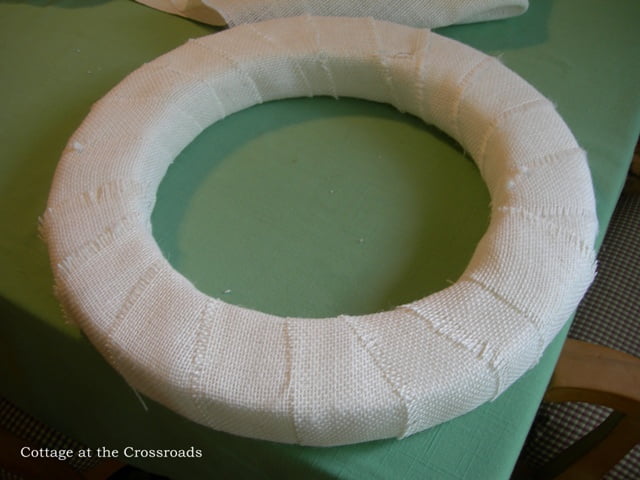
The creamy white burlap came from Hobby Lobby, and I used about 1 ½ yards in making the wreath. I cut a long strip and wrapped it around the Styrofoam wreath. I stapled the ends on the back to secure it.

What makes this wreath pretty is the ruffles. They are easy to make.
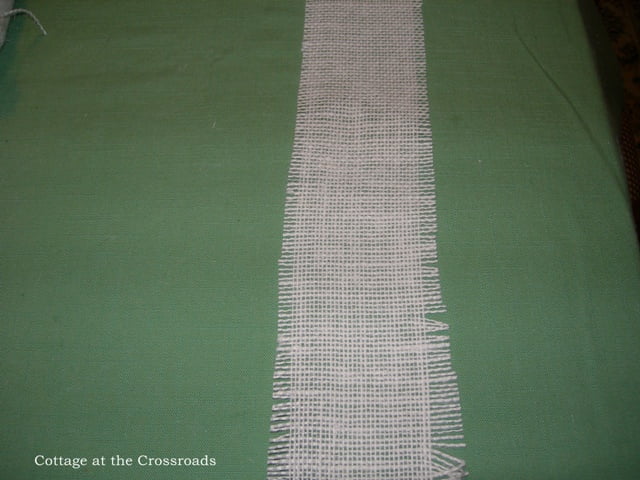
I cut some strips about 20 inches long and frayed the edges by pulling out some strings.
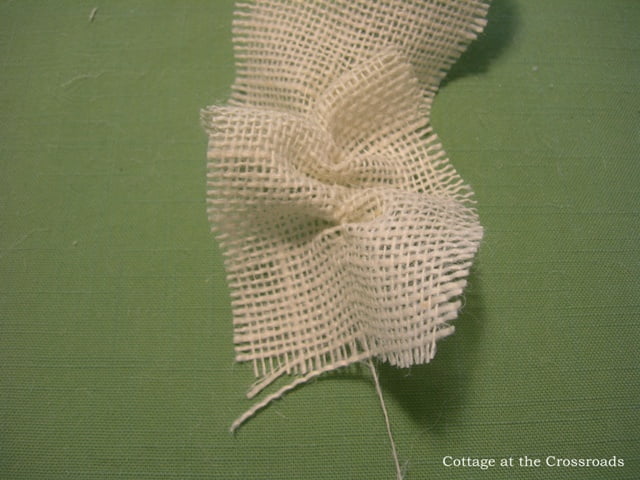
To make the ruffle, just pull on a string in the middle of the strip. Pull gently and push the ruffle down the string. But don't pull the string all the way out! Leave a flat area near the end. You won't need the ruffle there because that part will be on the back of the wreath.
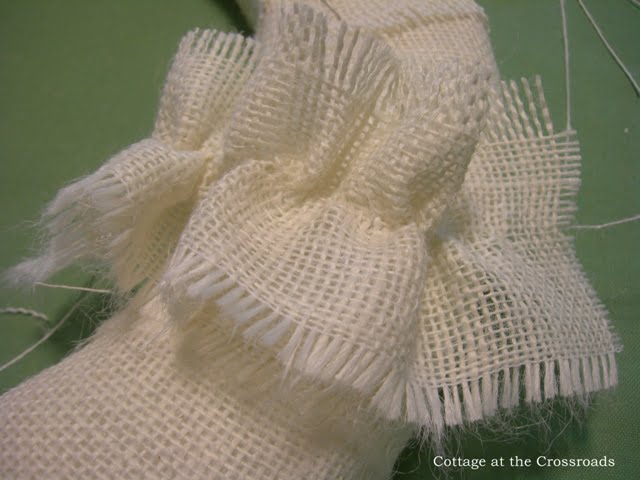
Wrap the ruffle around the wreath and staple it to the wreath on the back.
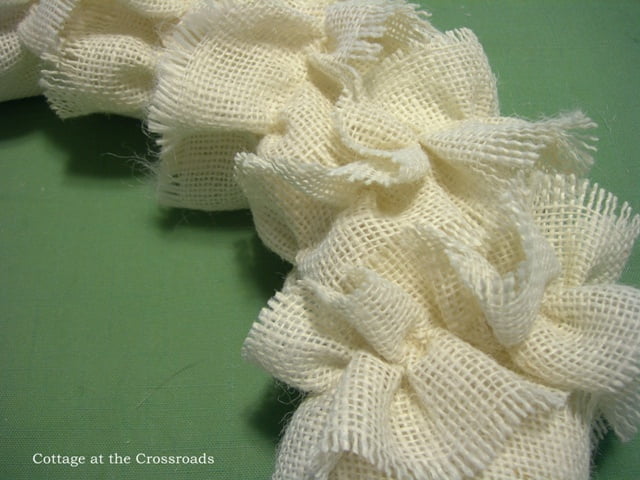
Here's how the ruffles look when attached to the wreath.
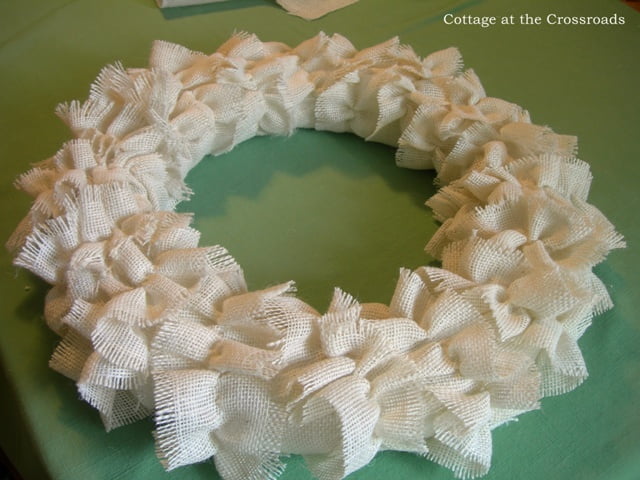
This part's all done!
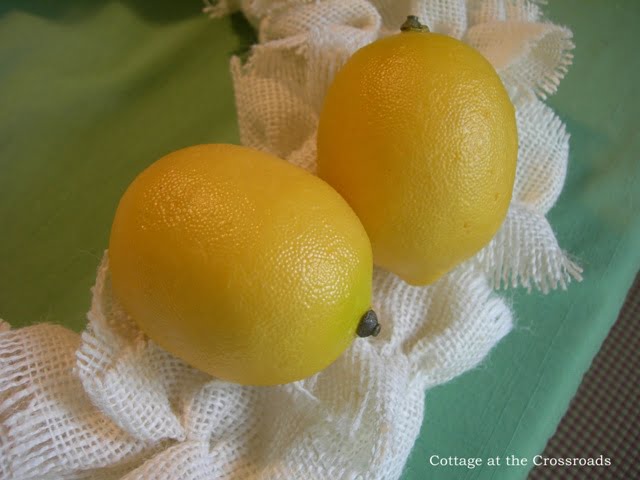
Since we have a lemon theme for our party, I decided to attach some lemons to the wreath. I found these artificial ones that are so realistic looking at where else-Hob Lob!
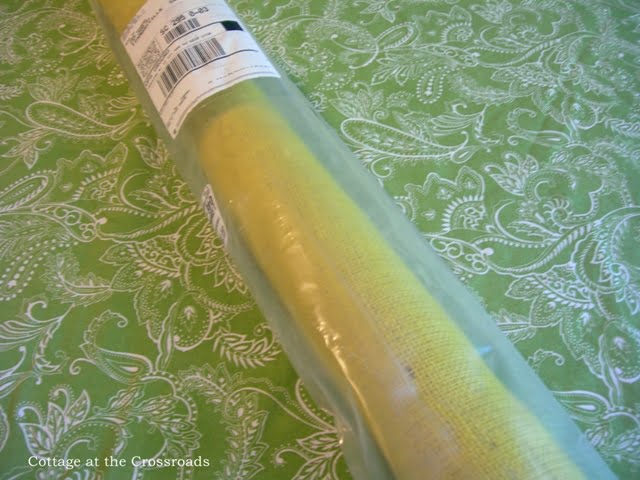
I had ordered some yellow burlap to use on the wreath and some other projects, and it arrived yesterday.
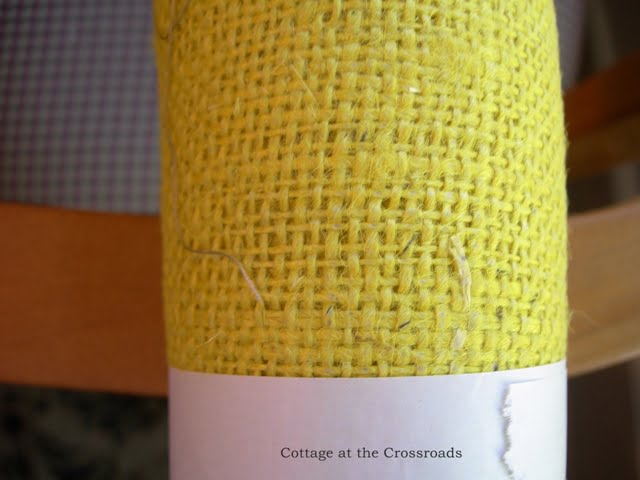
I knew I was taking a real chance with the color by ordering online, but it was the perfect shade of yellow.
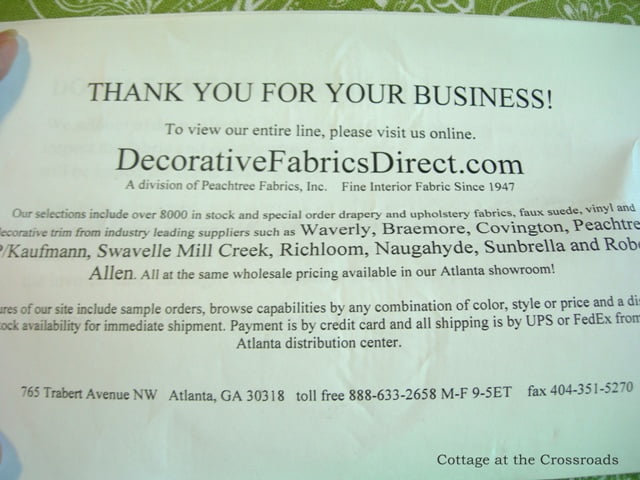
I will definitely order more fabric from this company because I was impressed with its service.
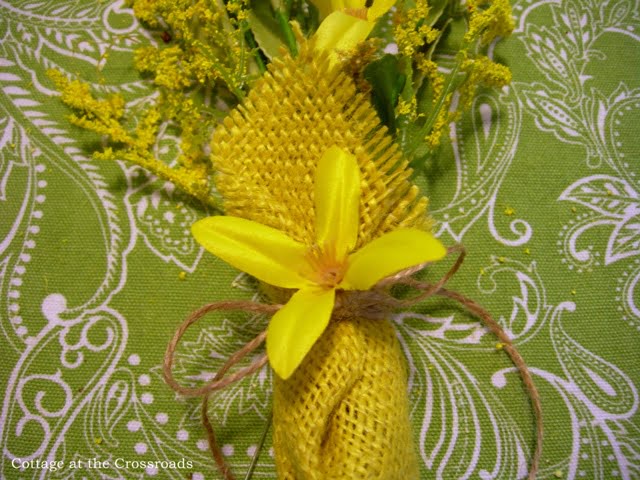
Instead of putting a bow on the wreath, I decided to just wrap the ends of some spring-looking flowers with a rectangle of the yellow burlap. I tied it together with twine and wrapped the twine around the wreath to secure the flowers.
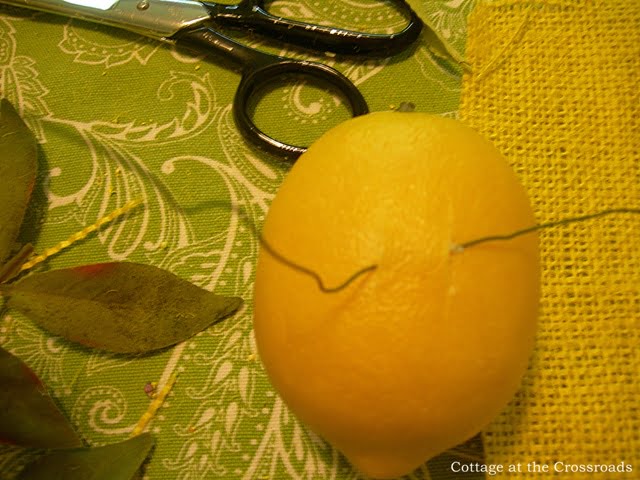
Since the artificial lemons are quite heavy, I decided to attach them with wire. I cut two slits on each lemon and threaded the wire through the slits.
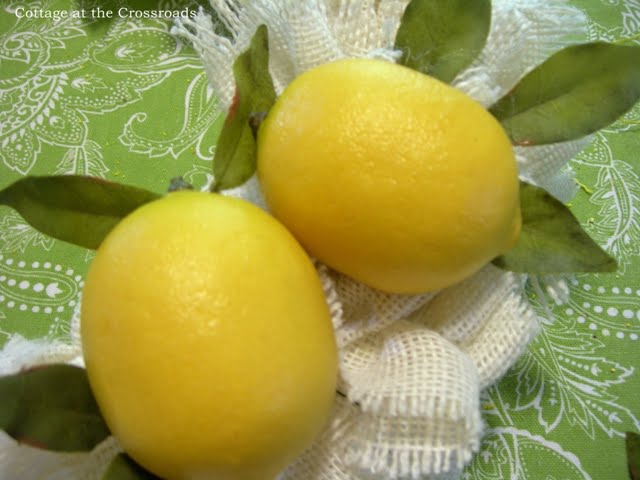
Here they are, all attached, with some lemon-looking leaves that I hot-glued onto the wreath.
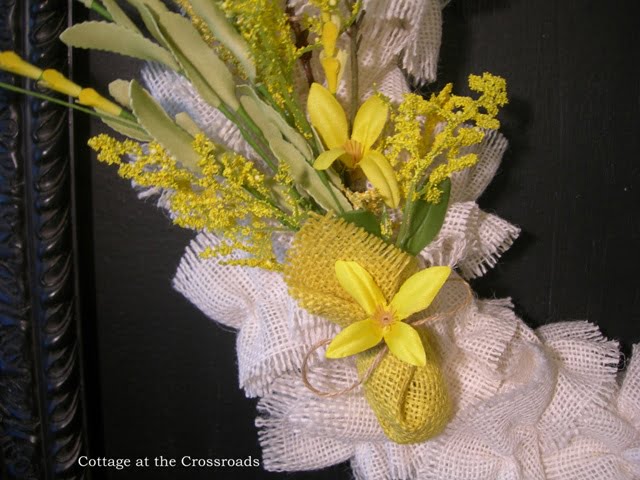
You can see the little burlap pouch better in this photo. I tucked a little flower into the twine. The flower is actually yellow jessamine, which is our state flower.
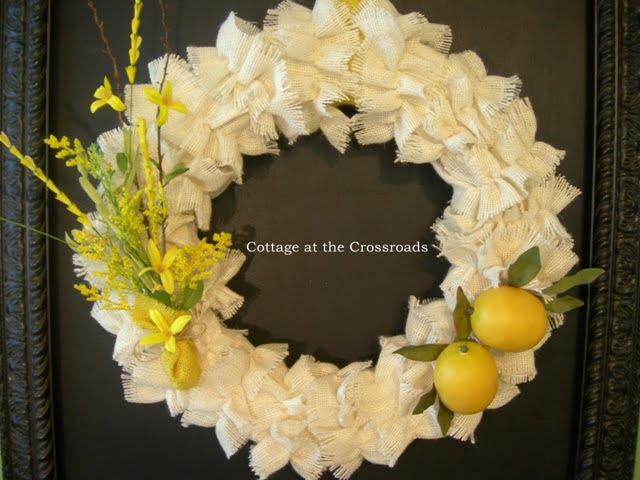
I hung the wreath on the chalkboard in our kitchen, and I really love the way it turned out. Those lemons just remind me of sunshine!

Cherith
I absolutely love this! And it's so versatile. Just switch out the colors and fruits for the next season. Thanks for sharing.
Laurece Maresh
You have some awesome ideas/I loved your website,
Laurece Maresh
[email protected]
Pat Toler
Jane, Your ideas are always so creative AND beautiful!
Thanks for sharing them with us!
Pat
Melissa@TheHappierHomemaker
This is so pretty, I love it!
Nicole Dubiton
Hi! I just finished a version of this using your instructions and it came out beautifully! Thanks for posting the step by step.
Sharon Bryan
Hello Jane!
I just got done viewing your burlap wreaths-how lovely! You are certainly creative. I was delighted to see that the instructions for the wreath are really not difficult! Also, your house is just beautiful, and I LOVE the porch! Thank you for the idea and God Bless you both richly! Sharon Bryan
Abby
That is so lovely! The touch of yellow is just perfect
Kristin @ Simply Klassic Home
It beautiful! I haven't seen a ruffled one like this and I just love it!
Thanks for sharing at Simply Klassic!
Diane@ The Checkered Apple
Great wreath Jane! And thanks for sharing the tutorial. Will you be keeping it after the party or will it be a raffle gift? I'm sure there will be many folks who would love to buy a ticket!!
Sandy
I'm wowed! It's gorgeous!
Nancy
I love your wreath and am enjoying learning about all the cool things you are doing for the golf tournament. Can't wait to see your next post!!!
Karena
Jane I love your new wreath; very creative!
....I wanted you to know...I am featuring Anita Rivera, Friend, Designer and Paper Artist with Castles Crowns & Cottages, & her Giveaway on my site!
xoxo
Karena
Art by Karena
Ginger
Jane this so beautiful. What a great job. I would have never thought of gathering burlap. It worked perfectly and the touch of yellow is just right. Blessings, Ginger
Carol
Wow, you've wowed me! How uplifting this wreath is with its sunny disposition. I like it :o)
Carol
Jordan@the2seasons
This is so cute. I love the yellow touches and the lemons. Enjoy the new wreath!
tina
Your wreath is so pretty. I love the look of the ruffles. I need to try this. Have a great day.
Kathleen
Very pretty, Jane! You could raffle it off at the fund raiser! I enjoyed Leo's farm post the other day too!
Rondell
How pretty and looks like it's so easy to do! Love the ruffle look to it! I'm going to try this!
Audrey
Jane, what a pretty, lemon-y wreath....the ruffles make it!
Terri
OH JANE..... HOW GORGEOUS!!!!!!!!!!!! I JUST LOVE IT!!! 🙂 .. and thanks for the tip on the online fabric!!
Anita
Great job on that adorable wreath. My friend just made a burlap wreath so maybe I need to jump on the bandwagon too.
Shirley@Housepitality Designs
Jane,
I love the wreath...and thanks for the heads up on the fabric supplier...will have to look them up!
You have made such wonderful things for the benefit...thank you for bringing all these great ideas to us...
Melanie
Love it. Makes me want to make one!
Sweet Bee Cottage
I love it! The lemons make me think of summer! Lemonade maybe? Now I have to go find out what else you've been up to lately.
Grace @ sense and simplicity
Such a pretty wreath for spring - love the soft yellow accents, the fluffy ruffles, the flowers, and the lemons.
Ann
A+ on the wreath! Love the color combo and the little pouch. I've sort of gotten away from using ribbon on my wreaths and the pouch is a great idea. I'm going to check out your fabric website too. I'm always on the look out for fabric deals. Hope all is well with you and Leo.
Jacqueline
How clever! This makes a darling wreath. The yellow is so cheery, but this would also be gorgeous for Christmas. Love those ruffles and the burlap in white!
Gina
That is such a pretty wreath! You really did a great job.
Rosemary
Oh, that is so pretty. Great color scheme. Love the additions of the lemons.