In this post, you'll find the directions on how to make an inexpensive but super cute rag wreath.
Earlier this year, my sister-in-law and I made some red and white rag wreaths that we used as centerpieces at our local Civitan golf tournament fundraiser. A few of you had asked if I would provide the directions on how to make a rag wreath.
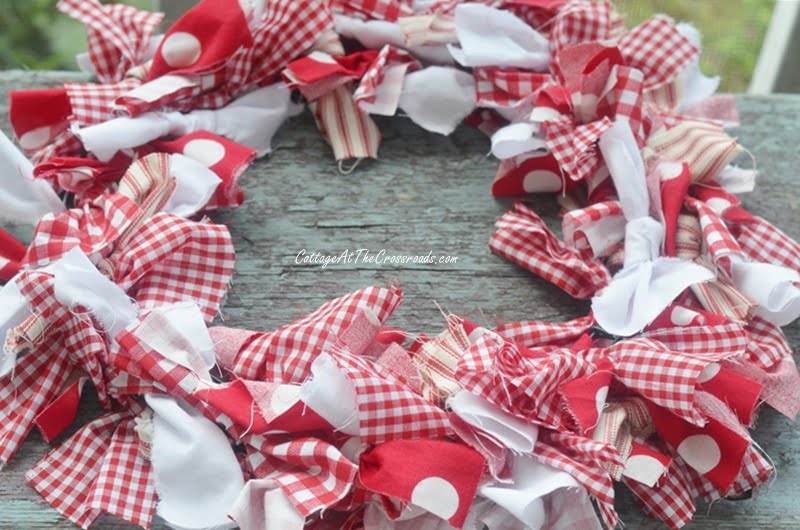
A rag wreath is very easy to make. Once you get your supplies together, you can put one together fairly quickly. You can actually watch TV while making your wreath.
I'm going to show you how to make a rag wreath by using one of the red and white ones as an example, but I recently changed it up to serve as a fall wreath for our porch. You'll soon see what I mean.
What you need to make a rag wreath
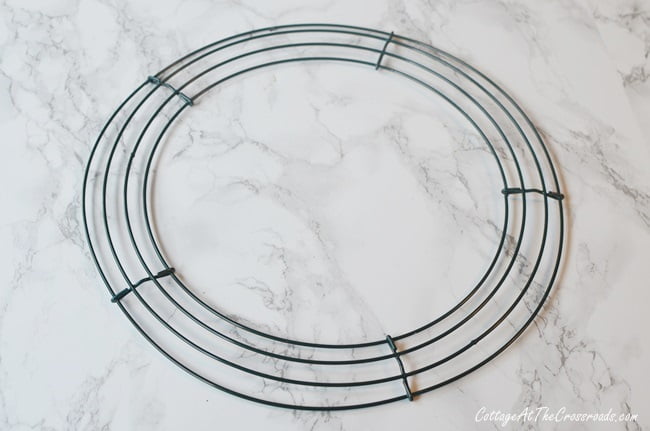
- a wire wreath form that can be found at craft stores or the Dollar Tree-they come in different sizes
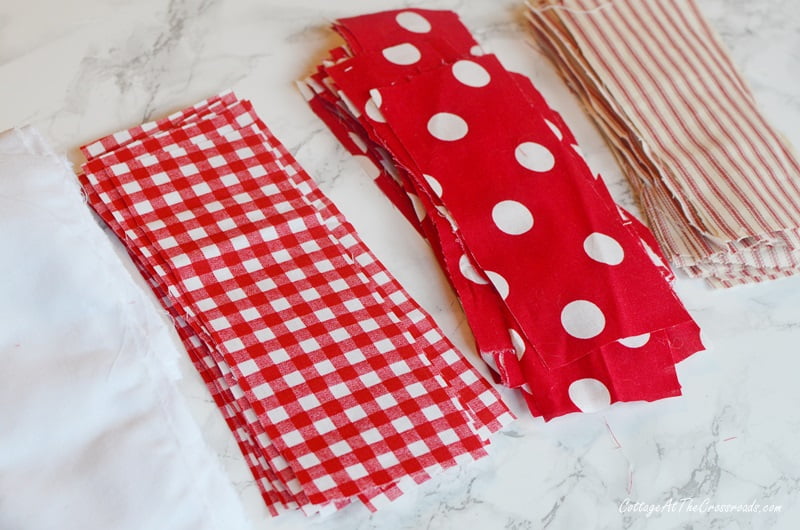
- fabric scraps cut into strips-I made mine 3 inches wide and 8 inches long. Medium weight cotton fabric such as quilting fabric works well but this is also a great way to use up old sheets or pillowcases-the amount of fabric that you will need will depend on the size of your wreath form but ¼ of a yard of each color or pattern is a good start.
- scissors
- ruler
How to make a rag wreath
Learn how to make this gorgeous rag wreath with my step-by-step instructions and detailed pictures. You'll have this gorgeous wreath ready in no time!
Step 1
Using scissors, cut your strips of fabric. Your measurements do not need to be exact nor do your cuts. I created a 3" x 8" template out of cardboard.
If you don't want your fabric to fray, then you will need to cut your fabric on a bias. But if you don't mind the frayed look, then just cut across the fabric. Personally, I love the frayed look and think that's part of what makes it a rag wreath!
Step 2
Once you get your strips cut, put them in stacks on your work surface.
Step 3
Place your wire wreath form on your work surface.
Step 4
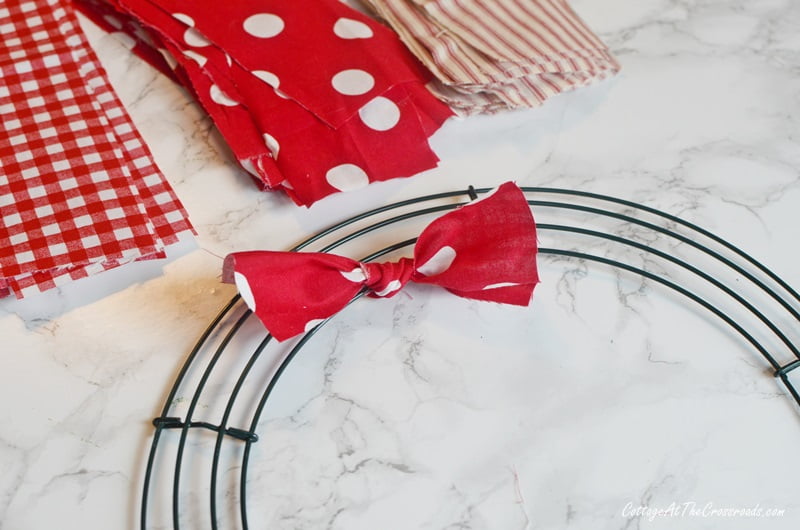
Take one strip, fold it in half, and place it under one wire. Pull the ends through and tie a knot.
Step 5
Repeat the process (over and over) and push the knotted strips together as you are working to create a full look.
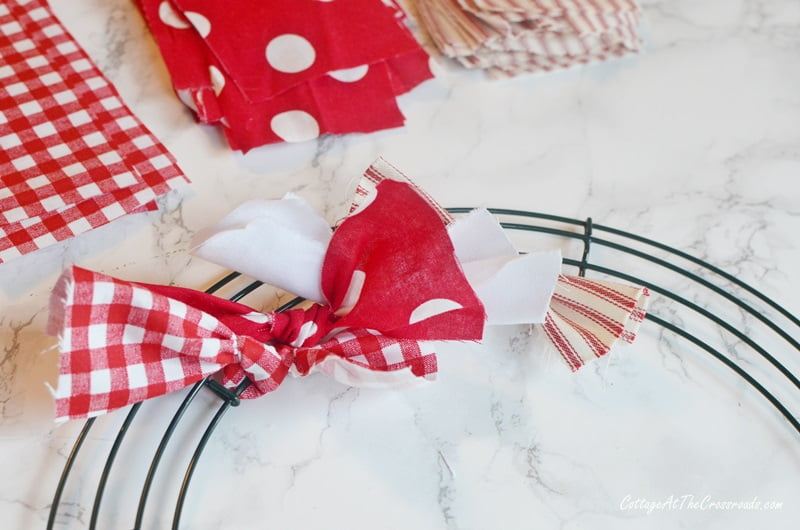
And that's it! I told you it was super easy to create a rag wreath! The hardest part is deciding what fabrics and colors to use in making one.
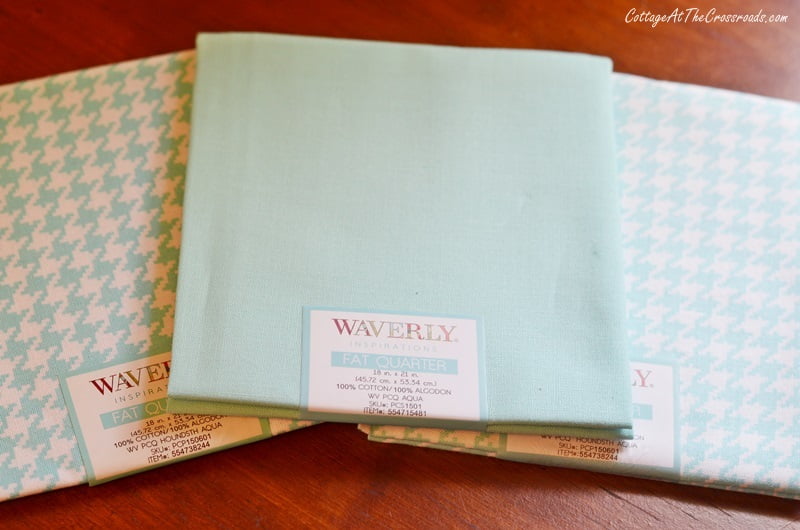
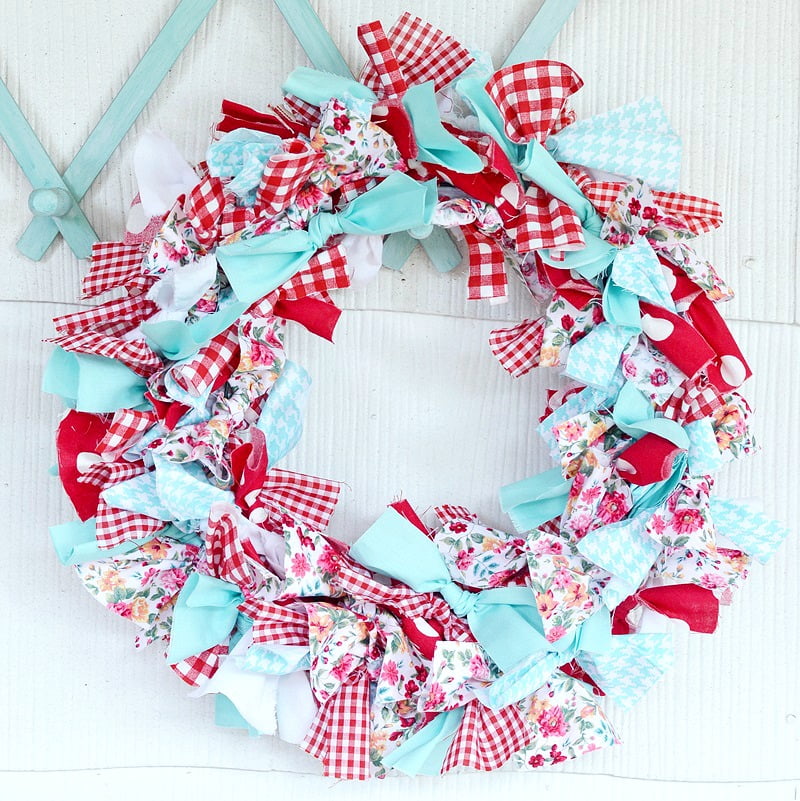
So this week, I decided that I was going to take one of the red and white wreaths and add some aqua fabrics into it to create a base for an early fall wreath. I purchased these 3 fat quarters from Walmart.
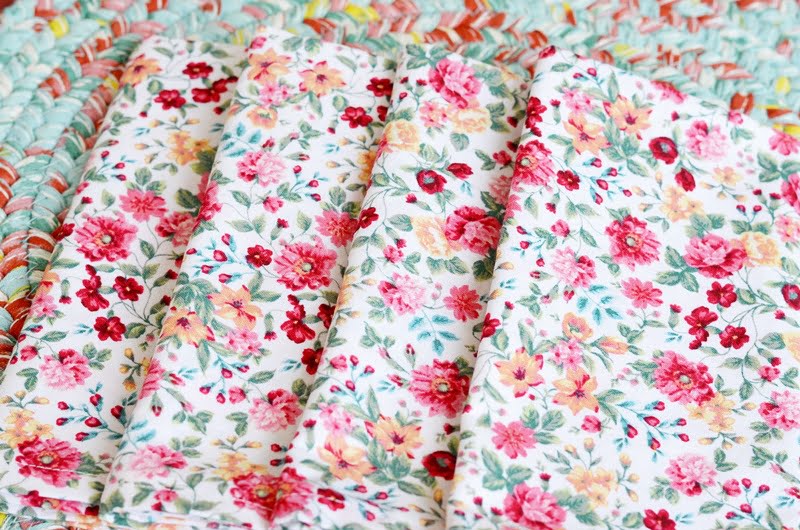
And I used some fabric that I had left over from these fabric napkins.
If you are a regular reader, then you know that one of my thrifty ways of decorating is to use an object one season and then change it up to use during the next season.
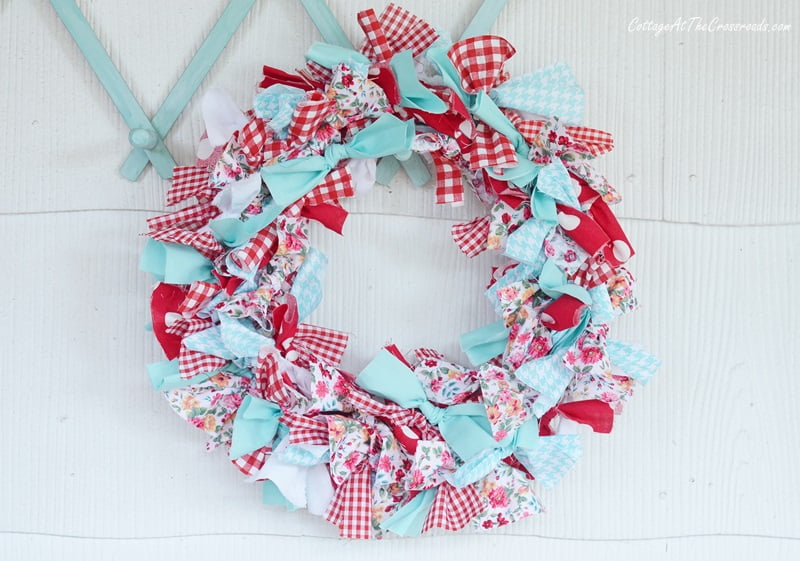
Look! Now I have an aqua and red rag wreath for the front porch! I haven't quite finished with it but it will serve as the base of my fall wreath. And who knows? It may hang around for Christmas!
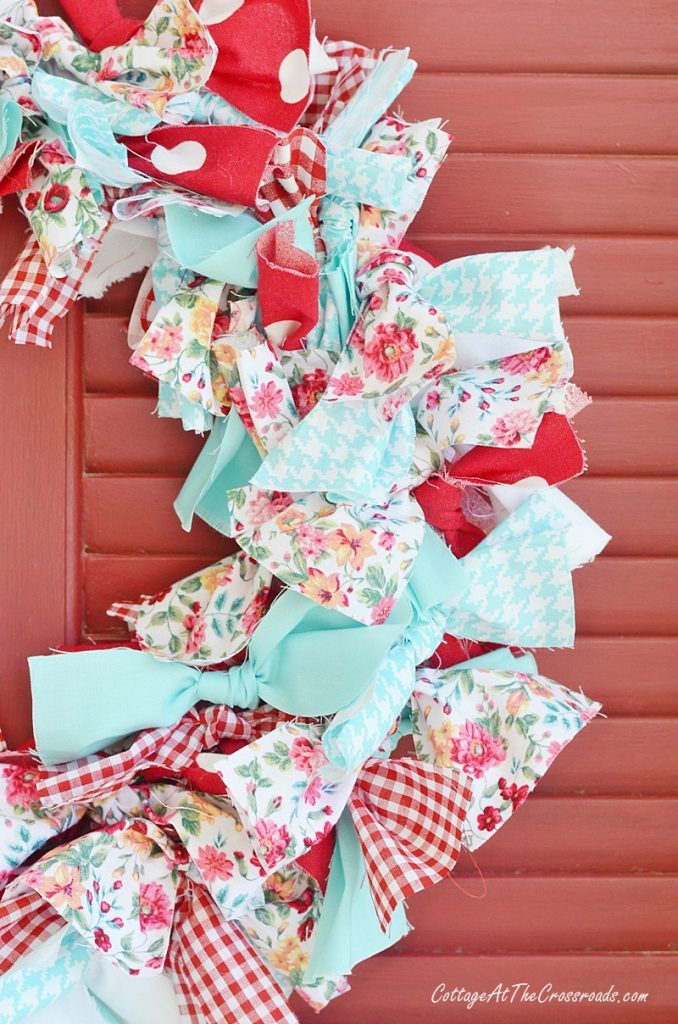
Here you can see the combination of fabrics a little better.
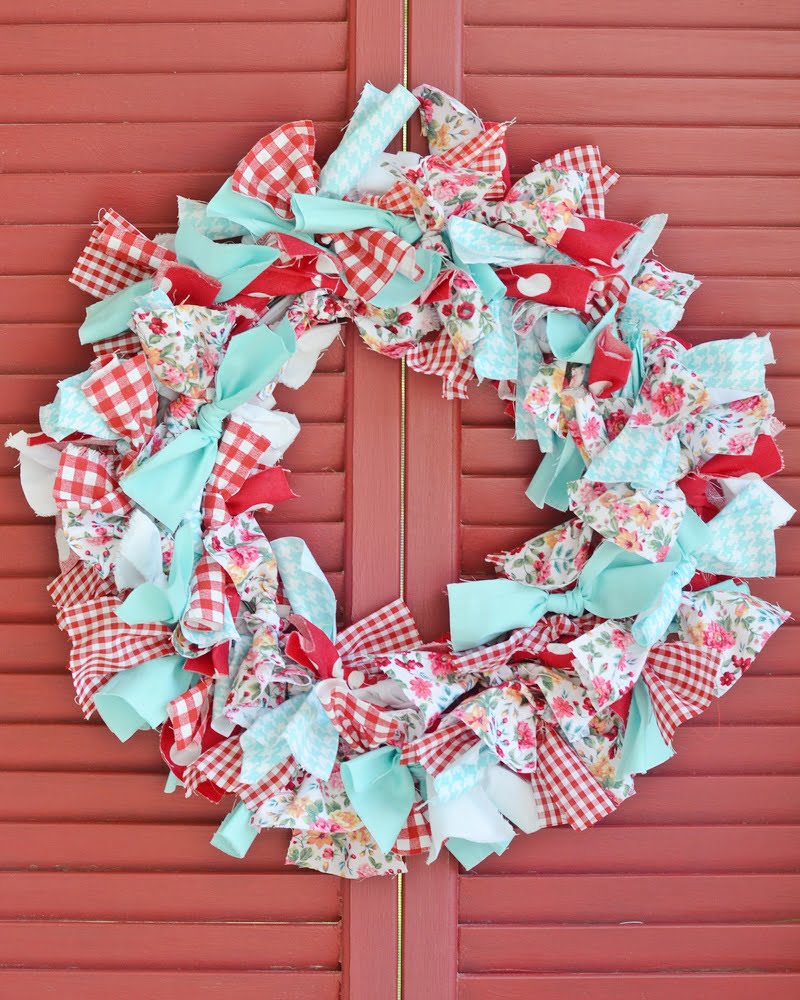
Such a fun, inexpensive, early fall craft.
It's so easy that you can even get older kids involved, and it would make a great gift for someone who loves a farmhouse or country cottage look!



Denise Taylor
I just bought two different kinds of Hanukkah fabric on clearance at Joann fabric and am going to mix that with some Blaine white fabric and make my first wreath. Can’t wait to see how it turns out.
Dee
Are you able to say how much material was used for one wreath? I want to make this with my residents and need to make sure I have enough. This is such a cute idea. I love the look of it.
Kristina
So cute! Love these! Great tutorial! Going to share idea with ladies in my craft club.
Karen
I love this. I am going to use the fabric from my dad's old shirts. It will be a reminder of him.
Linda G Bagby
Love it!
I have read several different how to's and many different preferences. This is my first one and although easy enough as it seems to be I am an over thinker.
iWould have a theme but i have different sizes of strips.
Is this something that you would recommend doing or should I just get more fabric.
My strips range from 1/4in to 1 1/win roughly.
Jane Windham
I think it would look great to have different lengths of fabric, but if you didn't like it, you could always trim the longer pieces after it is made!
Charleen
This looks like a fun and easy project. Am I right in guessing you tied strips to all 3-4 rungs on the form?
I enjoy using ribbons in projects. I think they could be used also, just more expensive,unless there are scraps leftover. Lovely!!
Jane Windham
Yes, I tied the strips to all 4 rungs.
Melanie
Cannot wait to make one myself! Thank you!
Stacey @ Poofing the Pillows
I have always thought these are so cute but I've never made one! I love the way they can be customized to your colors and that you can use bits and pieces of fabric you have around. Your rag wreath is adorable!
Kristi @ Chatfield Court
So cute Jane, and I love the fabric that you used! I used to do this when I was a kid. Such a fun project. Thanks for sharing!
Meegan
Oh, Jane, you come up with the cutest ideas.
I love that you used fabric napkins! So clever!
The colors are fun and bright. Perfect for a transition into Fall.
Thank you so much for inspiring me.
laura janning
Jane, the colors of that wreath are so pretty. I have never made a rag wreath....yet. thanks for the details.
Mary Beth
This is so stinkin' adorable, Jane! I have seen rag wreaths before and always wanted one but now that you shared how easy they are to make, I think I'll hit up my fabric stash and make one...maybe for Halloween!
Kristi Dominguez
Oh, I do love a good rag wreath! And your color combinations are perfect. I actually have several of those same aqua houndstooth fat quarters, too. Such a lovely color.
Jean Windham
The rag wreath is so cute. I remember how much I liked the wreath at the Civitan Golf Benefit and didn’t think you could come up with another that I liked better. The new colors are so pretty with the red. Perfect for your porch. Great job Jane. Jean
Deborah
I mean seriously...who doesn't love a rag wreath? This one is beautiful. I love the colors.
Cindy
This is just gorgeous friend! I've been wanting to make a rag wreath for awhile.... thanks for inspiring me! ❤
Bliss
I love rag wreaths, (yours are cute ones)and tying fabric in general because as a non sewing gal it is something I can easily do. I have made a tiny play kitchen valance of scraps, a red white and blue wreath using old hankies, and my favorite is the new sun room valance that I selected color coordinating fabrics for.