• Skip to main content
  • Skip to primary sidebar

Cottage at the Crossroads

menu icon
go to homepage
  • Gardening
  • Recipes
  • Canning
  • DIY
  • Holidays
    • Email
    • Facebook
    • Pinterest
  • search icon
    Homepage link
    • Gardening
    • Recipes
    • Canning
    • DIY
    • Holidays
    • Email
    • Facebook
    • Pinterest
  • ×
    Home » DIY » Crafts

    Farmhouse Lazy Susan with Wood Beads

    By: Jane · Updated: 9 Apr, '21 · This post may contain affiliate links · 10 Comments

    Sharing is caring!

    Farmhouse lazy susan with wooden beads

    You can easily give an ordinary turntable some Farmhouse flair by adding some wooden half round beads to turn it into a Farmhouse Lazy Susan.
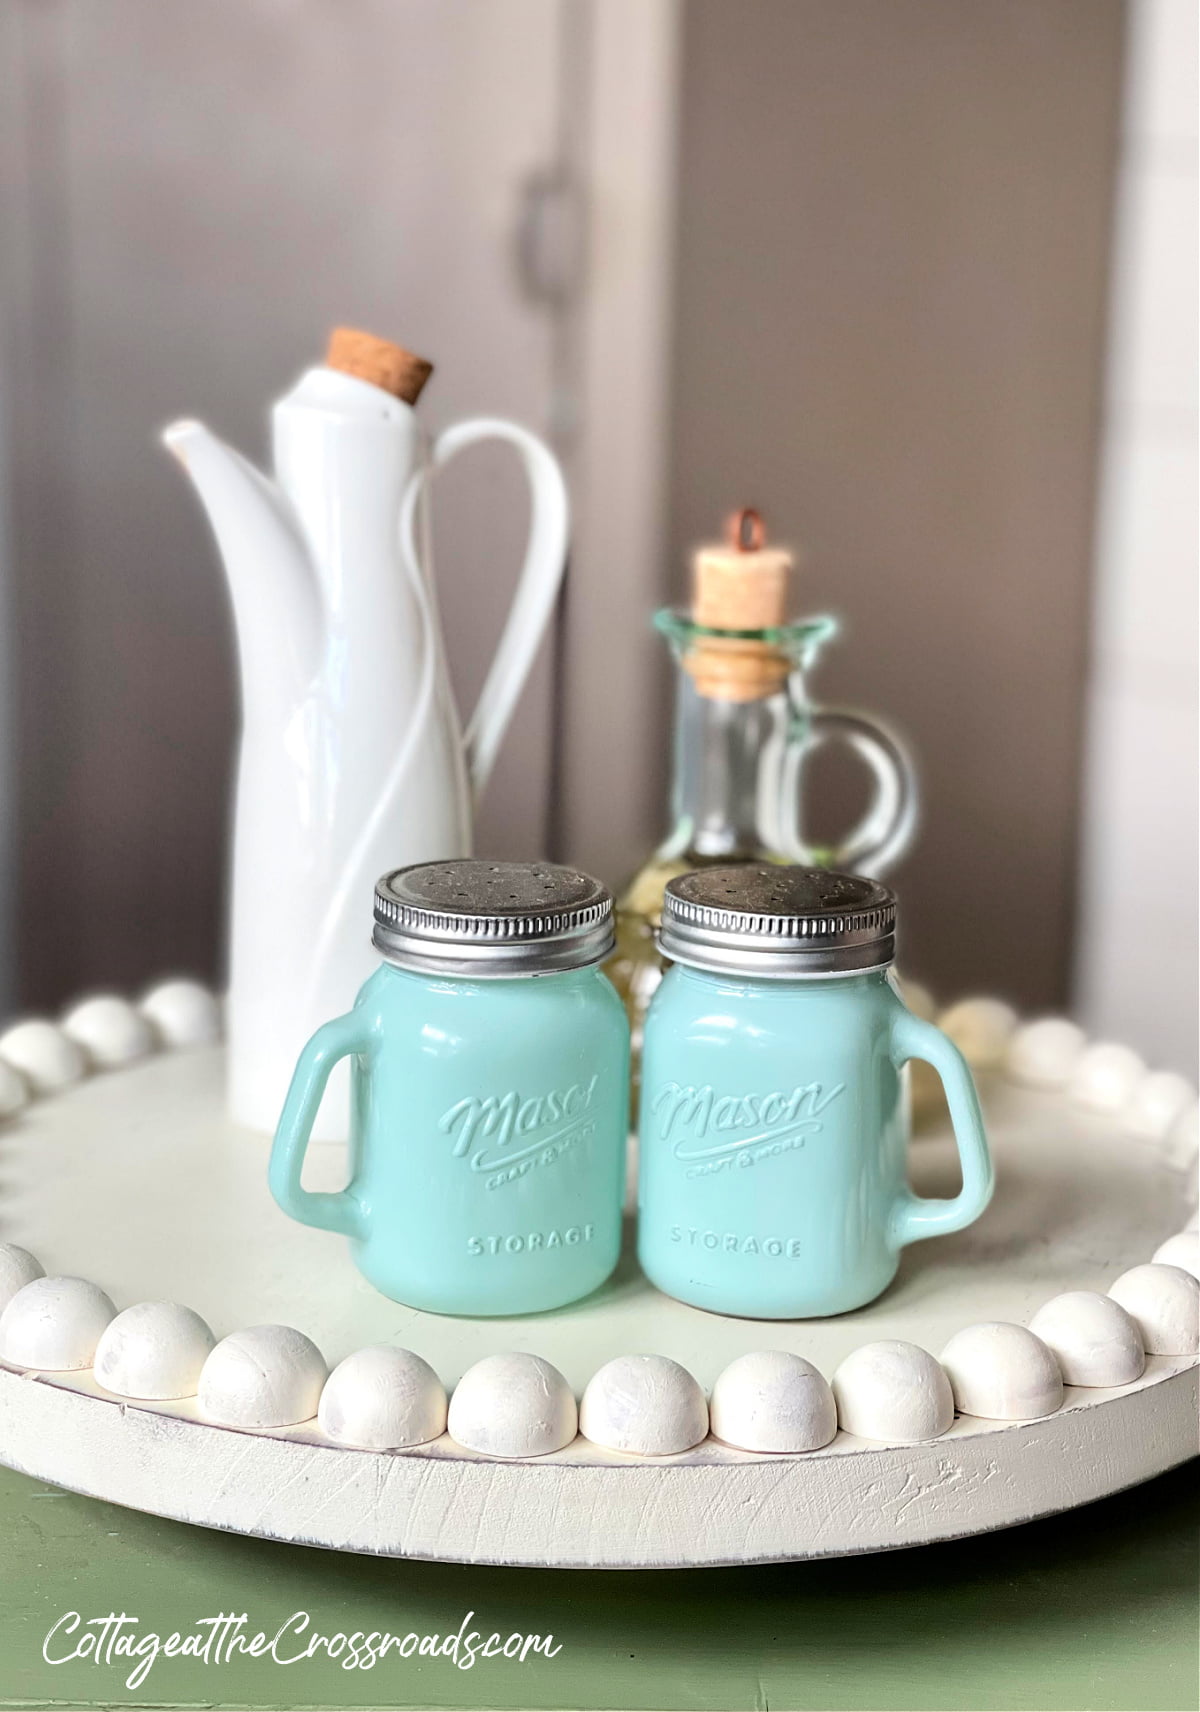
    Condiments on a farmhouse lazy susan

    My farmhouse lazy Susan all came about when Leo mentioned that we needed something to keep our condiments and salt and pepper shakers handy on the table.
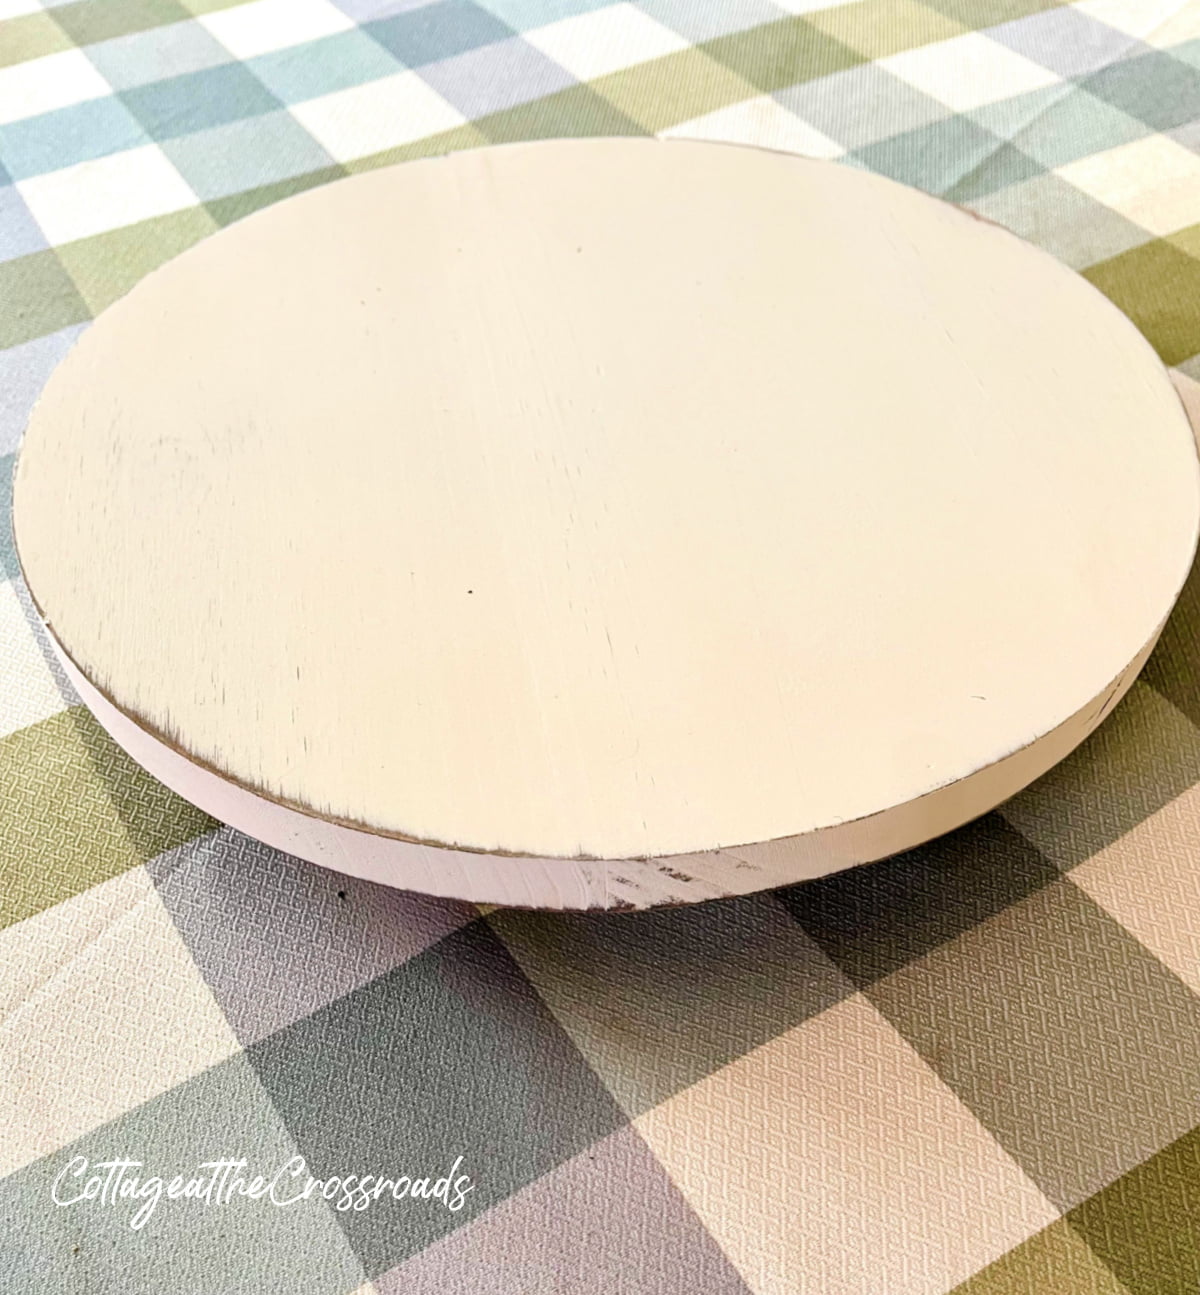
    Antique white distressed lazy susan

    So I ordered this (affiliate link) vintage white, distressed rotating lazy Susan from Amazon.
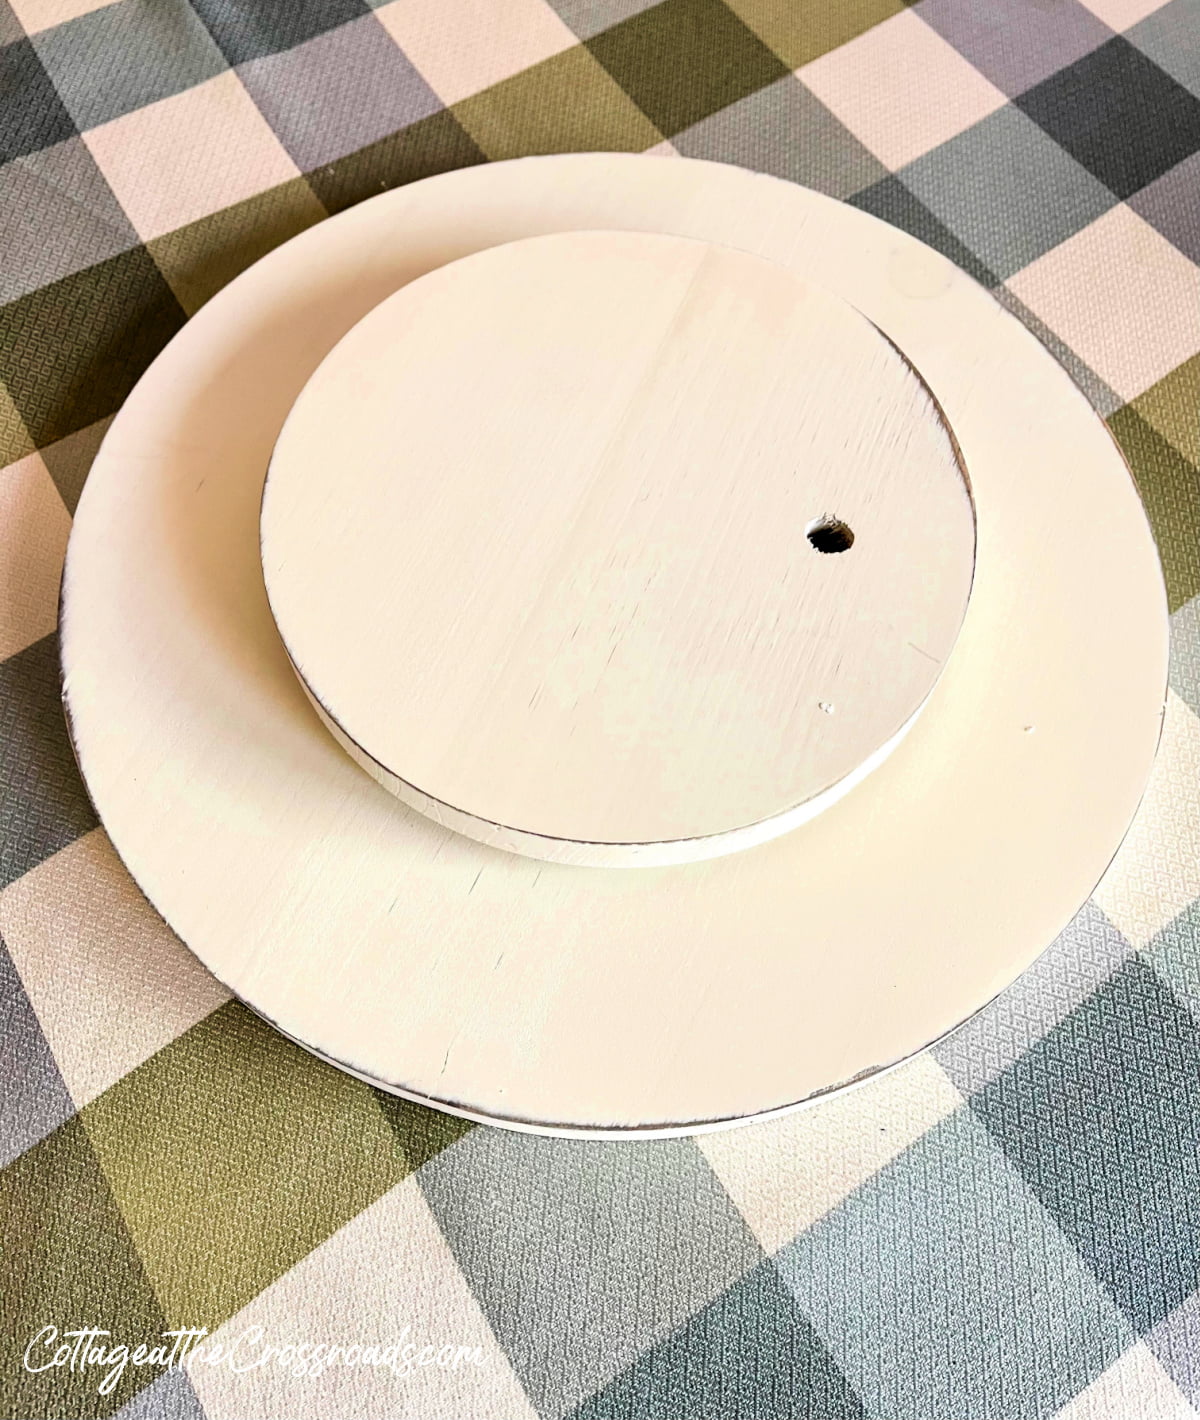
    Bottom of lazy susan

    As you can see in the above photo, the lazy Susan came with the hardware that makes it rotate. If you wanted to start from scratch, all you would need is a wooden round and then attach the hardware on the bottom.
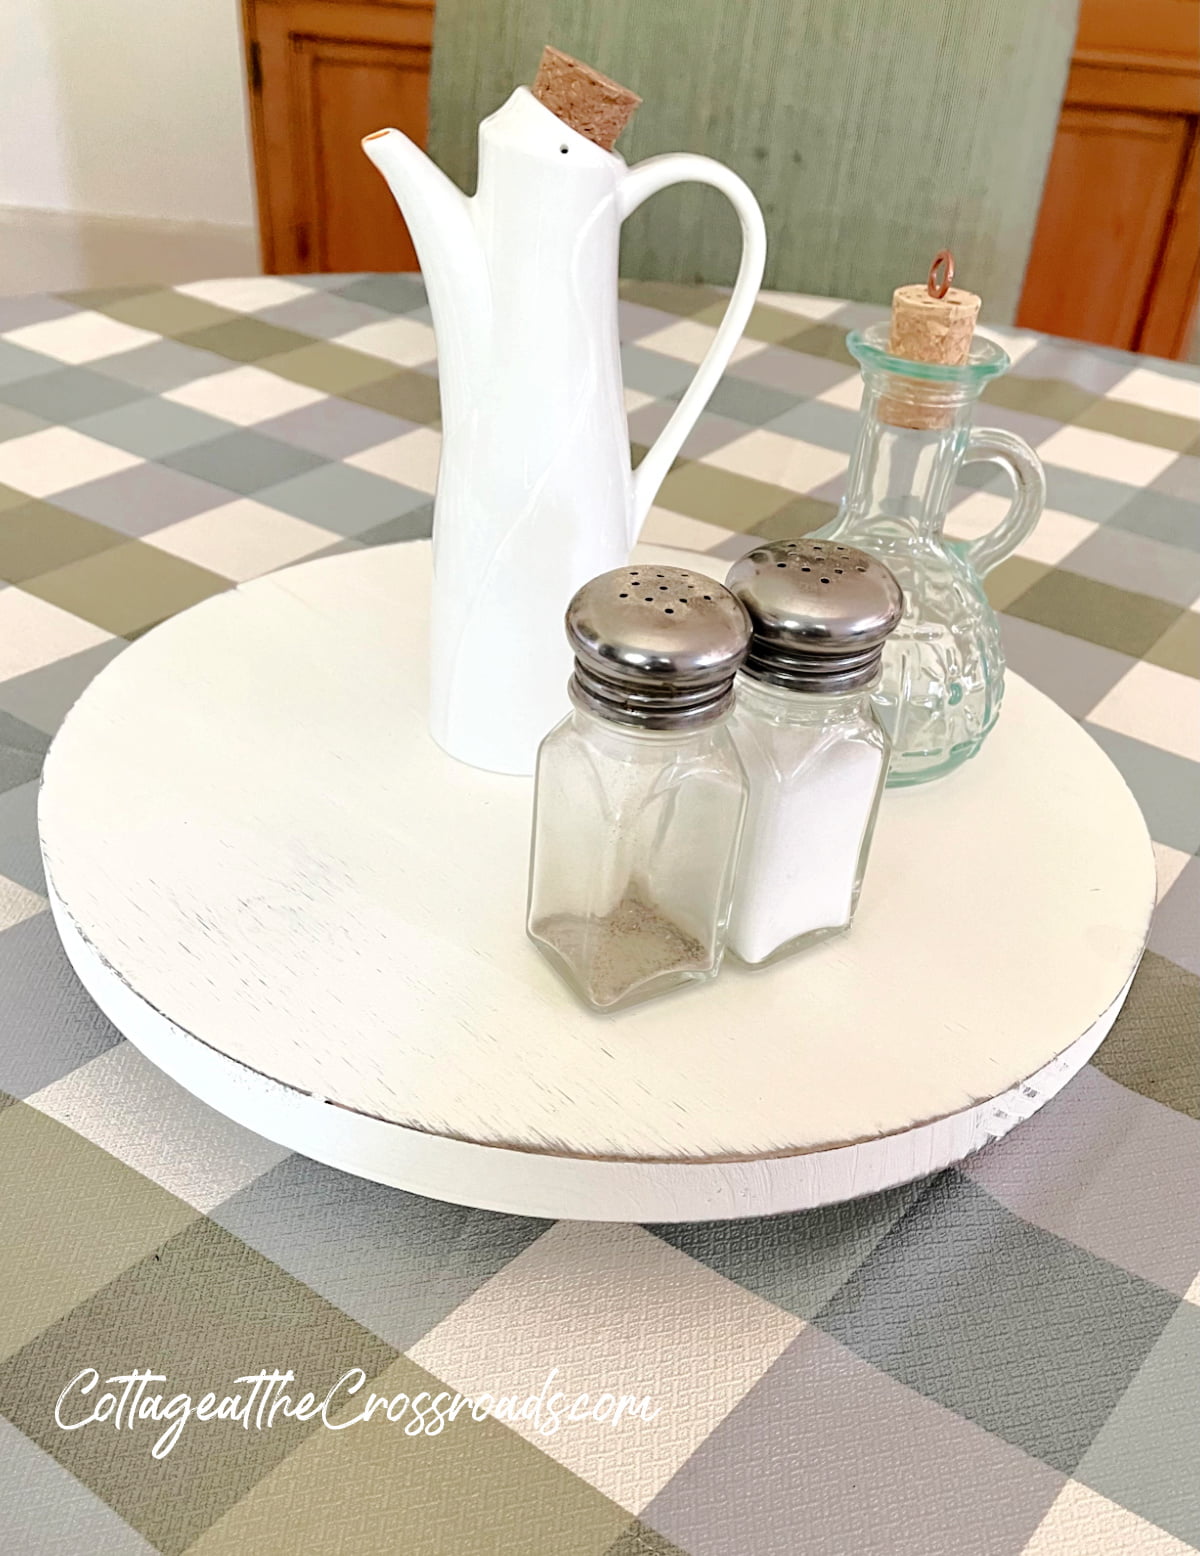
    Rotating tray with condiments

    But once I got the lazy Susan on the table with the condiment containers and the salt and pepper shakers, I thought it looked too plain Jane.

    The tall white container holds our hot pepper sauce that we put on EVERYTHING and the (affiliate link) small green glass bottle is for hot vinegar that we use frequently. I ordered both from Amazon.

    But I thought it needed a little something so I decided to give it some farmhouse flair.

    How to make a Farmhouse Lazy Susan

    I decided that the lazy Susan needed some (affiliate link) half round wooden beads which I ordered from Amazon.
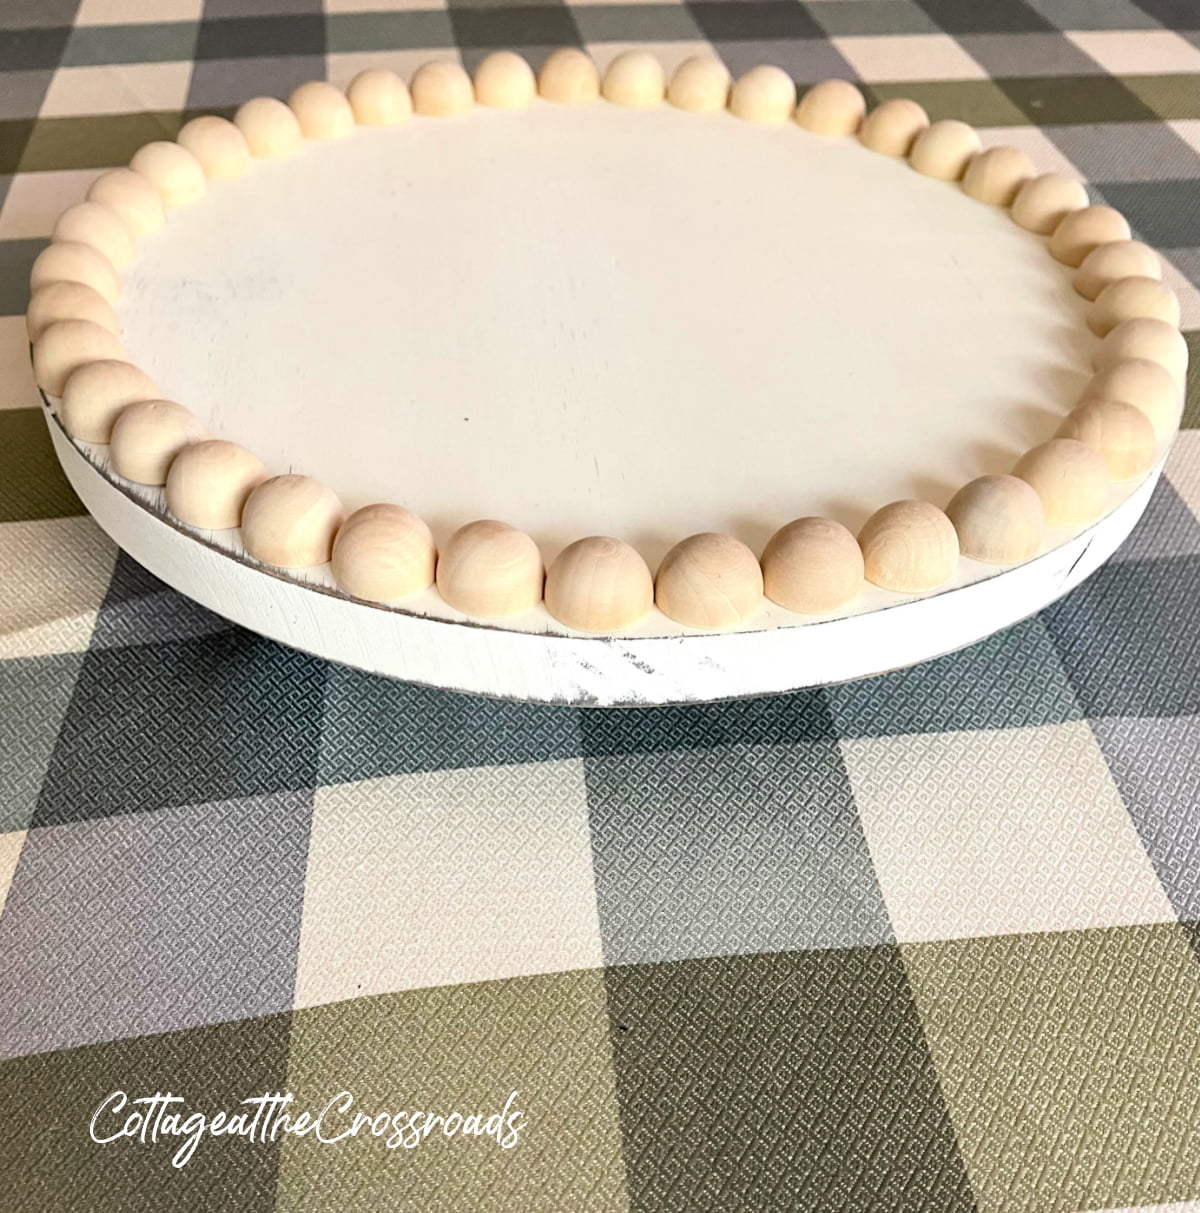
    Wooden beads around edge of lazy susan

    Next, I placed the wooden beads around the edge to see how many beads I would need.
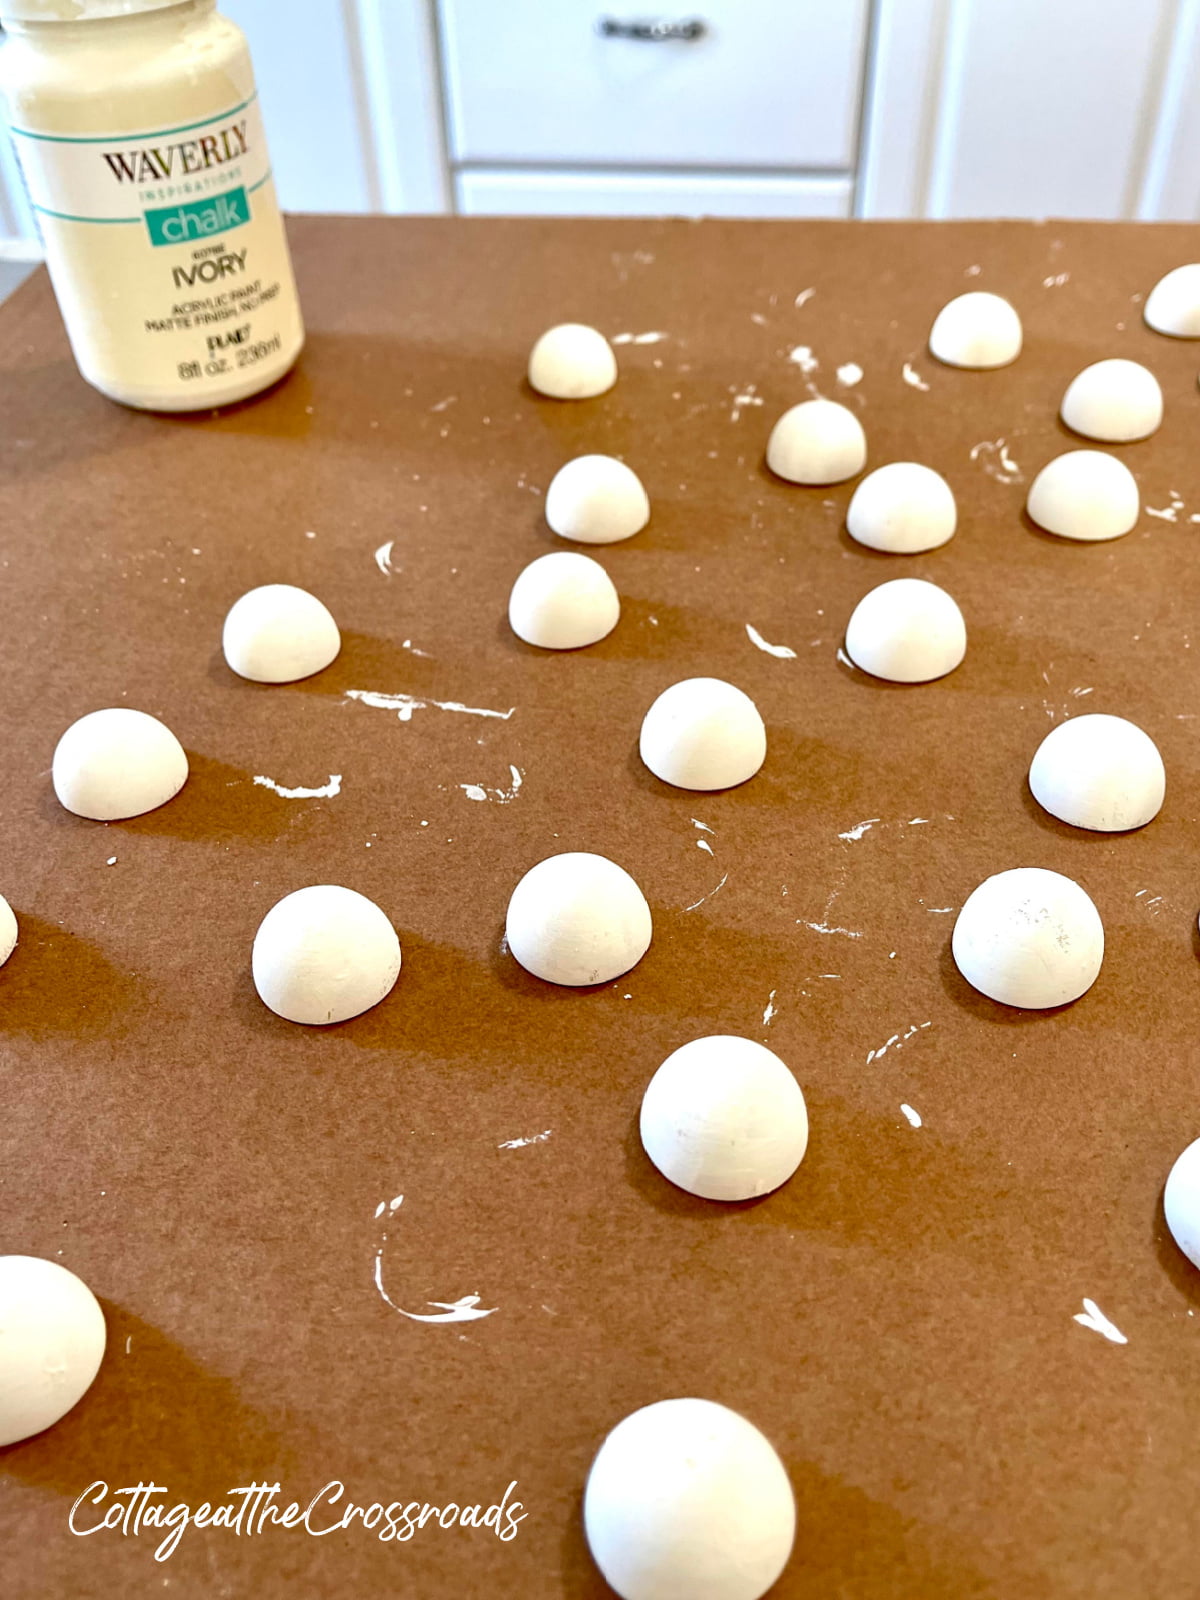
    Half round wooden beads painted white

    The wood beads come unfinished so I painted the beads with this ivory chalk paint that I already had. The color was an exact match to the color of the lazy Susan I had ordered.
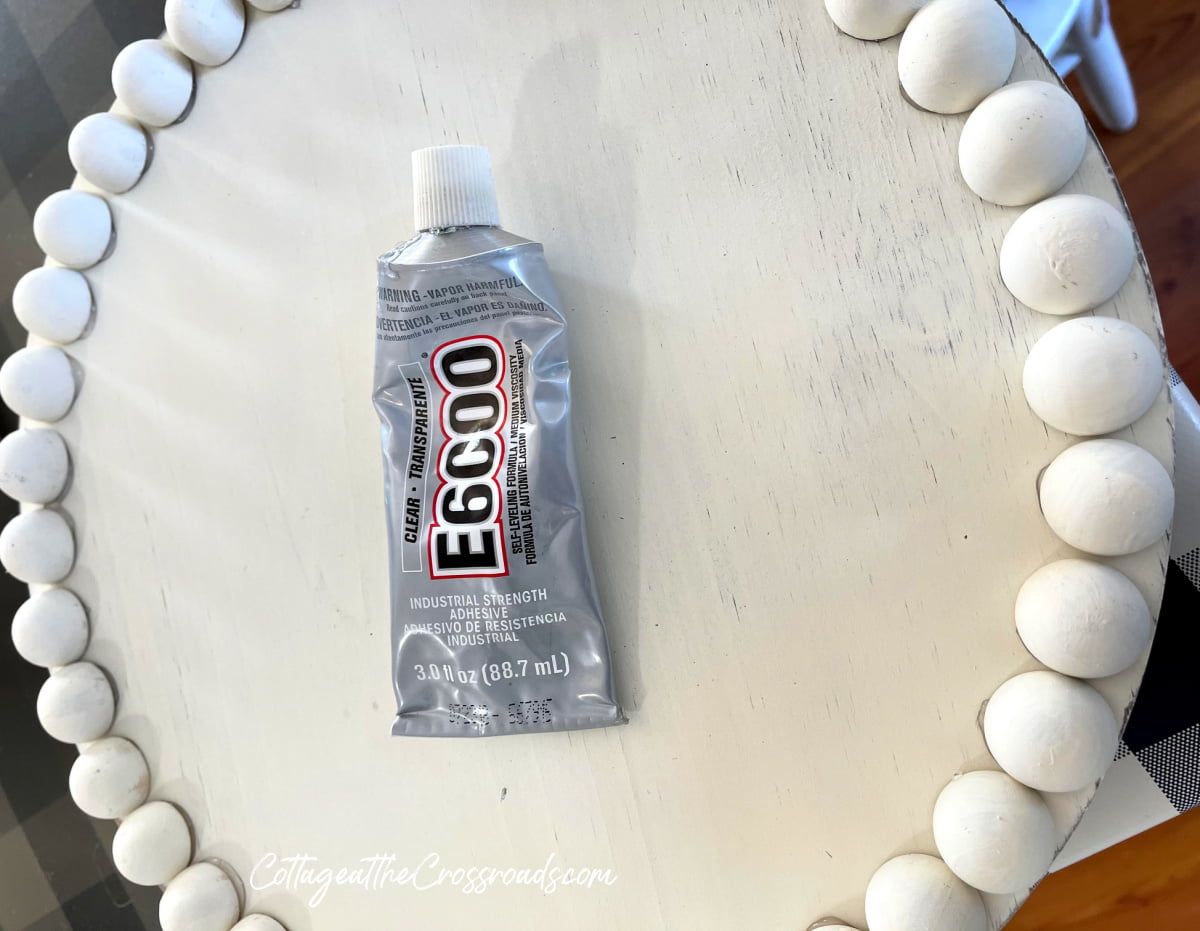
    A tube of e6000 glue

    I used E6000 glue to attach the beads to the lazy Susan.

    Distress oxide

    Because the lazy Susan had a distressed finish, I used this distress oxide to add some faux distress marks on the beads. I applied it with a sponge brush here and there.

    When I read the reviews of the lazy Susan on Amazon, several people mentioned that it did not come sealed. Because we were going to use it to hold condiments that may drip on the tray, I knew I needed to seal it.
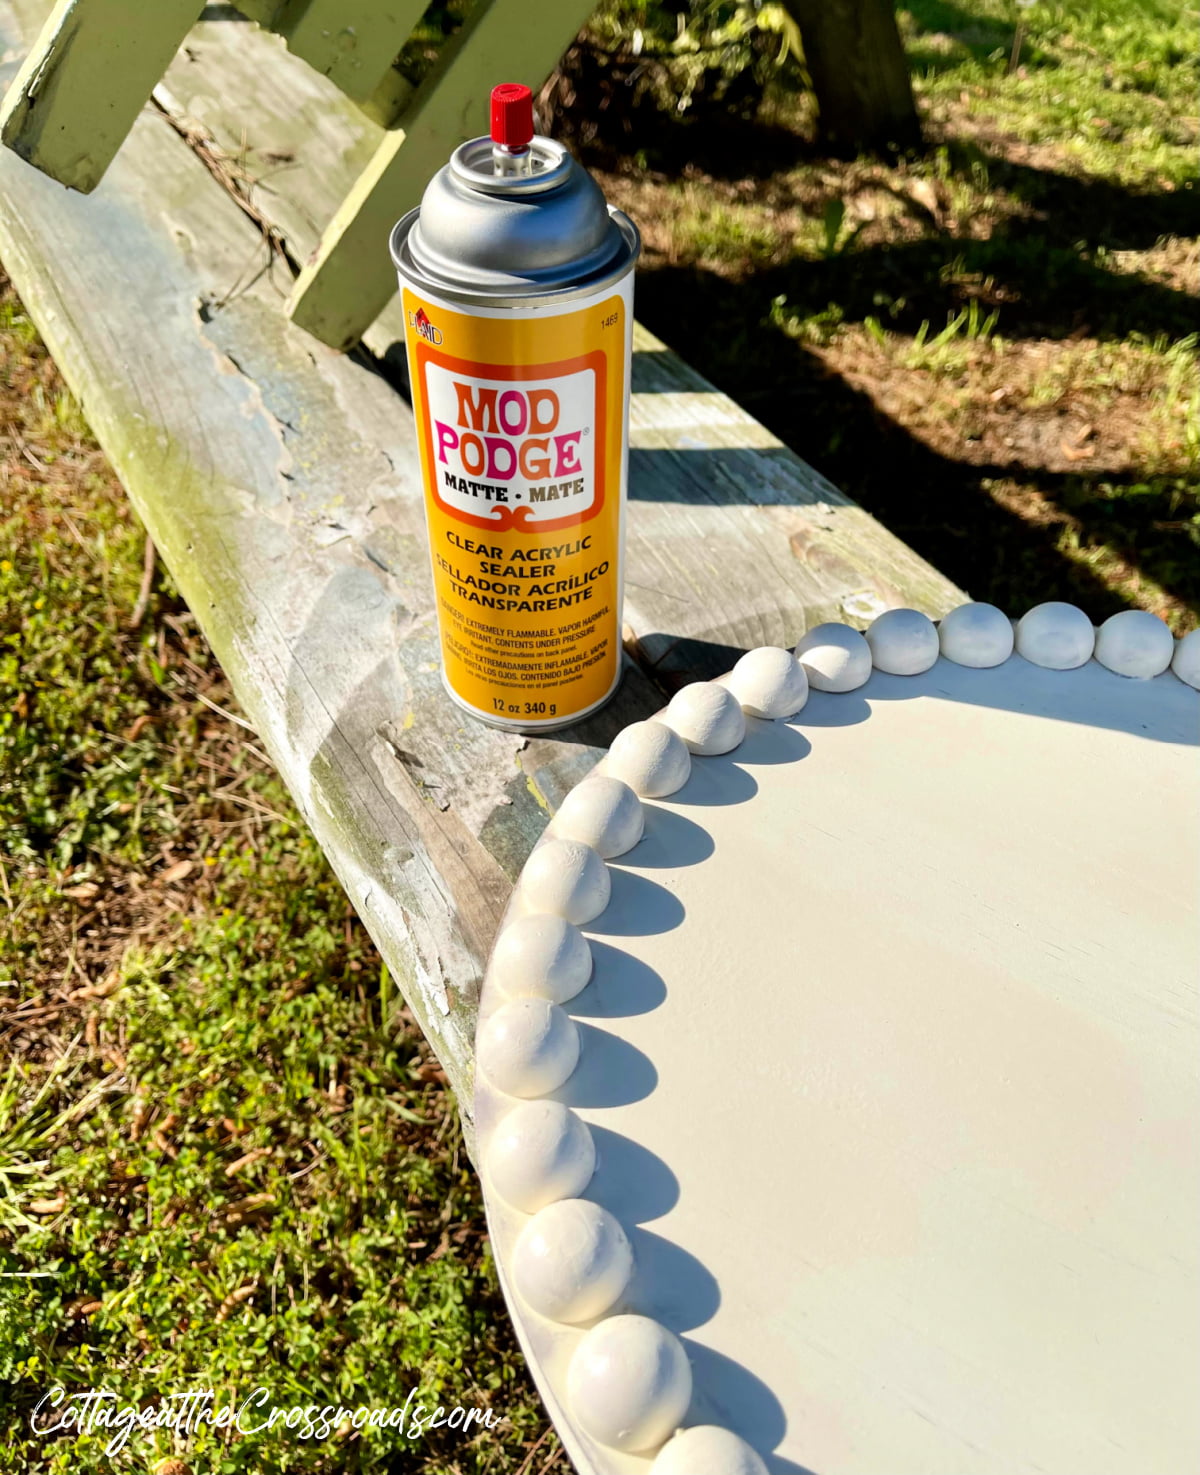
    Spray matte sealant

    To seal the lazy Susan, I used this Mod Podge matte acrylic spray sealer. I applied 2 light coats, letting the first coat dry about 30 minutes before applying another.

    Now I don't have to worry about dribbles and can wipe the lazy Susan clean.
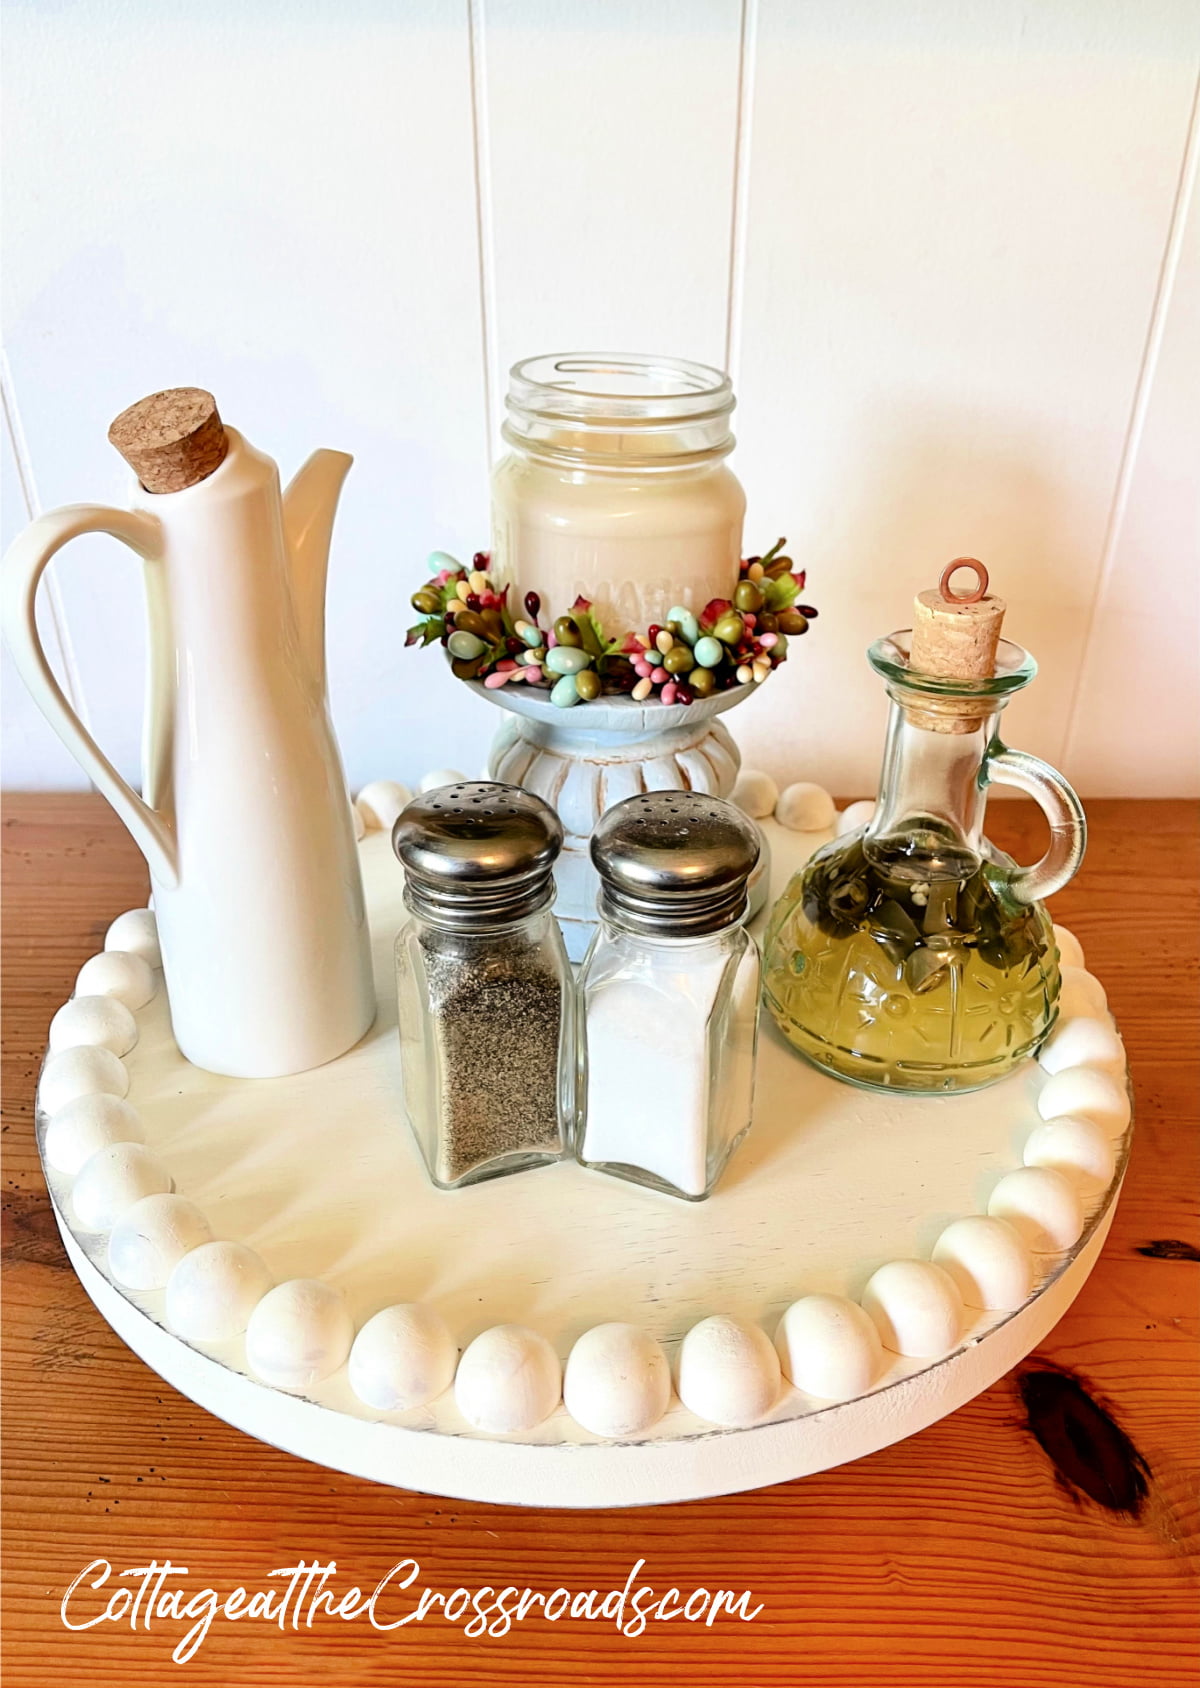
    Farmhouse lazy susan with condiments and candle

    I'm real happy with how the farmhouse lazy Susan turned out. We love having everything so easily accessible on the table.


    More DIY

    • Peat pot with pumpkin 1
      Thrifty Peat Pot Pumpkin Holder
    • Lattice panel above faux fireplace 2
      Upcycled Wood Lattice Wall Panel for Fall Decor
    • Ruffled tea towel cherry bowl and sign 2 square
      No Sew Ruffled Tea Towel
    • Bunko girls on steps 2
      Bunco Friends Lunch and Crafting Time

    Sharing is caring!

    Reader Interactions

    Comments

      Leave a Reply Cancel reply

      Your email address will not be published. Required fields are marked *

      This site uses Akismet to reduce spam. Learn how your comment data is processed.

    1. Kelly

      April 12, 2021 at 12:38 am

      I love how this turned out! The wood beads are perfect...lazy Susan’s are the best!

      Reply
    2. Kristin

      April 10, 2021 at 5:54 pm

      This is such a beautiful idea! It turned out great!

      Reply
    3. Michelle @ The Painted Hinge

      April 10, 2021 at 3:52 pm

      I love your lazy susan refresh! I never knew you could buy wood beads in halves like this!

      Reply
    4. Chas Greener

      April 10, 2021 at 8:43 am

      I love lazy Susans and what a great idea to create an edge with the wood beads. It looks fantastic and thanks for sharing.

      Reply
    5. Lora Bloomquist

      April 09, 2021 at 7:05 pm

      Great textural addition, Jane! And great idea to give them a little added shabbiness, too:) Function and beauty are always the best combo!

      Reply
    6. Cindy

      April 09, 2021 at 10:09 am

      Jane, the wood beads give the lazy Susan such charm and character, they were such a smart addition! And I like the oxide you added for a little dimension!

      Reply
    7. Meegan

      April 09, 2021 at 8:58 am

      What a great idea to add personality and style. I like how you sealed it, too. So smart and pretty for any table. Thanks for the suggestion. My husband has want a lazy Susan FOREVER. Looks like I need to order one soon. Thanks for all the help, Jane.

      Reply
      • Jane Windham

        April 09, 2021 at 9:12 am

        Thank you, sweet friend. If you can find an old lazy Susan at a thrift store, that would be a bonus! I just didn't have time to go on a search!

        Reply
    8. [email protected]

      April 09, 2021 at 8:36 am

      Where did you get 1/2 round wood beads?

      Reply
      • Jane Windham

        April 09, 2021 at 9:10 am

        Oh my gosh! I totally forgot to mention where I got the wooden beads! I ordered them from Amazon.

        Reply

    Primary Sidebar

    Jane @ Cottage at the Crossroads

    We're Jane and Leo!

    Thanks for stopping by! We're renovating and preserving our family's 100 year old home place where we garden, complete a few DIY projects, and do some cooking. Please leave us a comment so that we'll know that you were here.

    about →

    Reader Favorites

    • Setting up a gardening journal
      How to Set Up a Garden Journal
    • Wooden garden obelisks
      DIY Wooden Garden Obelisk
    • Sweet cucumber relish featured
      Sweet Cucumber Relish
    • Cucumbers in raised beds
      Growing Cucumbers in Raised Beds

    Gardening How-tos

    • Best way to remove weeds from large area
      Best Ways To Remove Weeds From a Large Area
    • Potting mix vs. Potting soil
      Potting Mix vs. Potting Soil
    • How to dry and store fresh garden herbs
      How To Dry Herbs
    • 1
      Instant Pot Canning Basics

    Growing Vegetables

    • Fall decor 063
      Our Fall Vegetable Garden
    • Garden and yard may 2013 132
      Evolution of a Garden
    • Celebrity tomatoes in cages
      How to Grow Your Own Tomatoes
    • Growing lettuce in containers 030
      Growing Lettuce in Containers

    Footer

    As an Amazon Associate I earn from qualifying purchases.

    © 2021 Cottage at the Crossroads · All Rights Reserved

    Contact Us · Privacy

    31 shares