• Skip to main content
  • Skip to primary sidebar

Cottage at the Crossroads

menu icon
go to homepage
  • Gardening
  • Recipes
  • Canning
  • DIY
  • Holidays
    • Email
    • Facebook
    • Pinterest
  • search icon
    Homepage link
    • Gardening
    • Recipes
    • Canning
    • DIY
    • Holidays
    • Email
    • Facebook
    • Pinterest
  • ×
    Home » DIY » Crafts

    Easy Owl Treat Bags

    By: Jane · Updated: 20 Jan, '18 · This post may contain affiliate links · 16 Comments

    Sharing is caring!

    Hi everyone! I thought I'd share with you how I made these owl treat bags using brown paper bags and inexpensive paper plates. I used this as a craft activity for Children's Church this past Sunday.
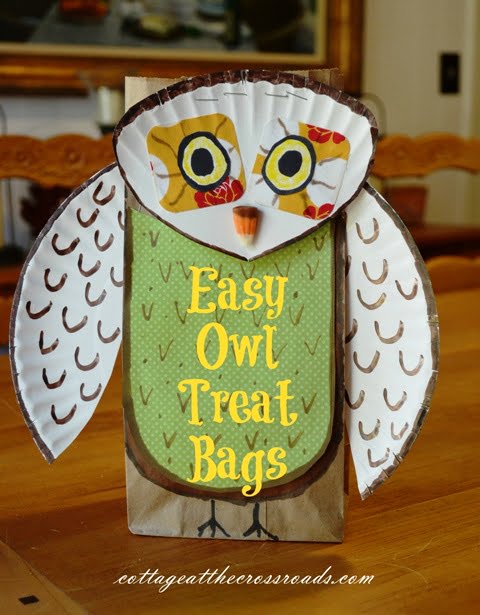
    Owl made from a paper bag and paper plate

    The topic of my lesson was "The Importance of Wisdom" so I thought the owls tied in nicely with my lesson.
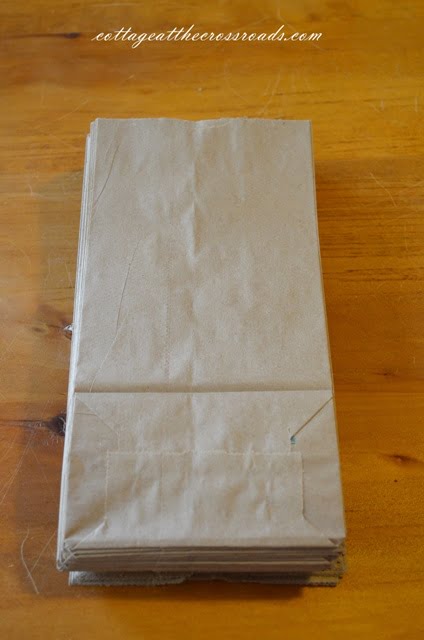
    Brown paper lunch bags

    I made one bag to use as an example to show the children, and I started with a brown paper lunch bag.
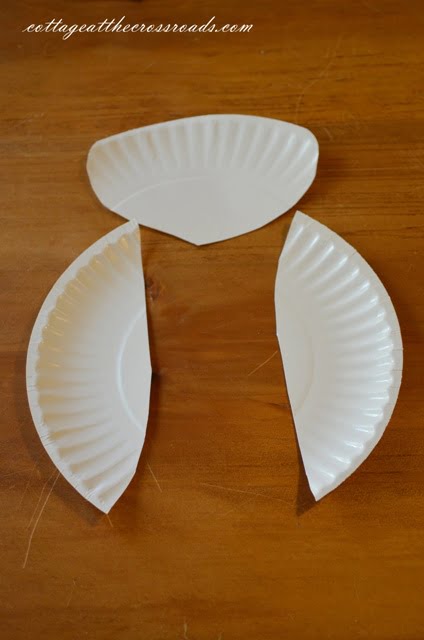
    Wings and head cut from a paper plate

    Next I cut some wings and a head from a white paper plate.
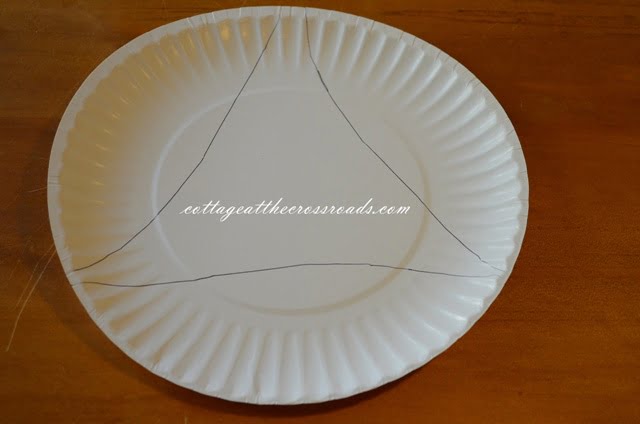
    Wings traced on a paper plate

    To speed things up for the children, I did trace and cut out the wings and heads for the children. I was able to get 3 wings from each paper plate.
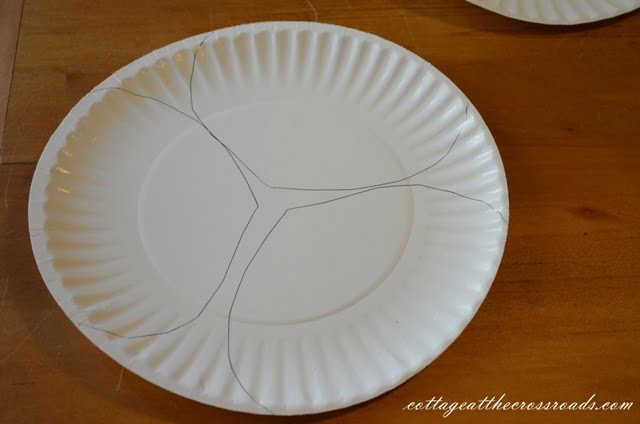
    Heads traced on a paper plate

    And I was able to get 3 heads from each plate.
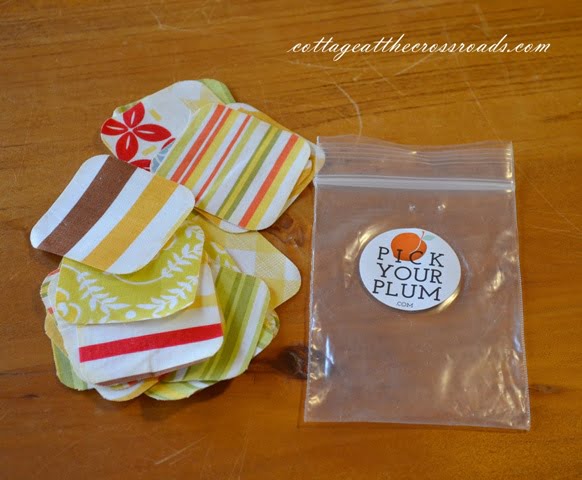
    Small fabric samples

    To make the owl's eyes, I used some fabric squares that had come in our swag bag when we attended the Southern Bloggers Conference.
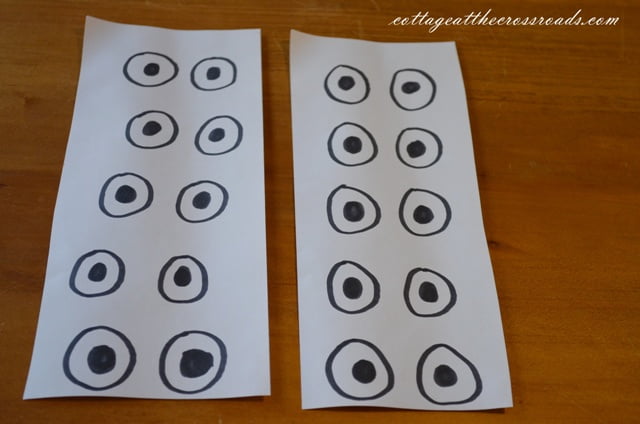
    Owl eyes traced on paper

    I also drew some eyeballs on paper for the children to cut out.
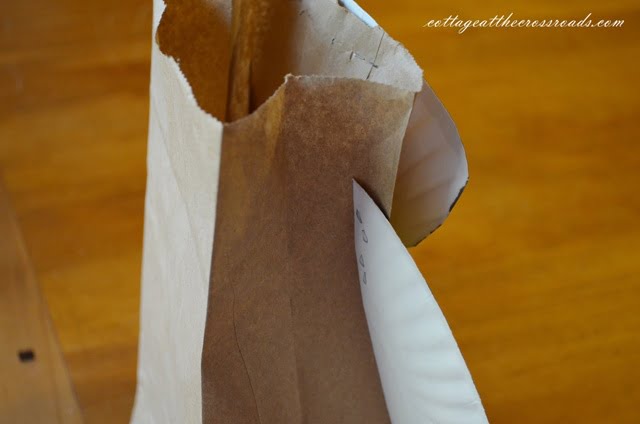
    Wings stapled on

    I just stapled the head and the wings onto the paper bag. The wings need to be stapled to the front crease on the bag so that the bag can remain open in order for treats to be placed inside.
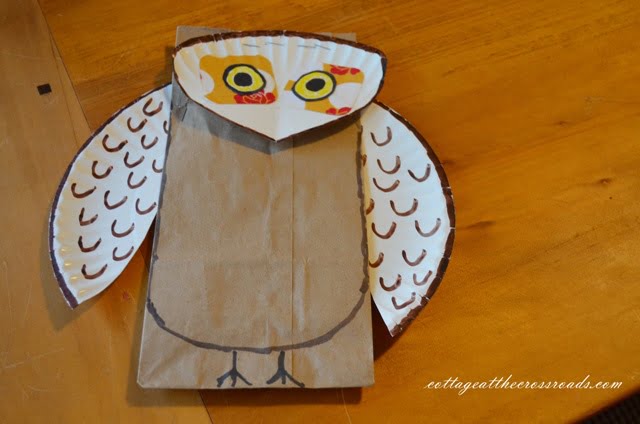
    Owl with wings and head attached

    I added a few details with a magic marker. An artist I am not!
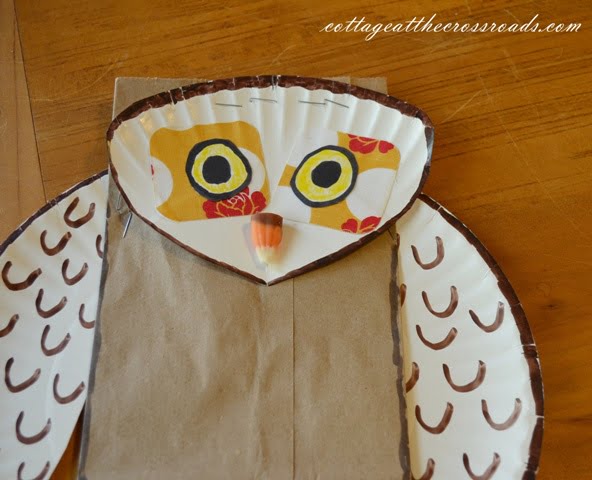
    Candy corn beak

    Next I hotglued a candy corn onto the owl's face to serve as a beak. The kids really loved that part!
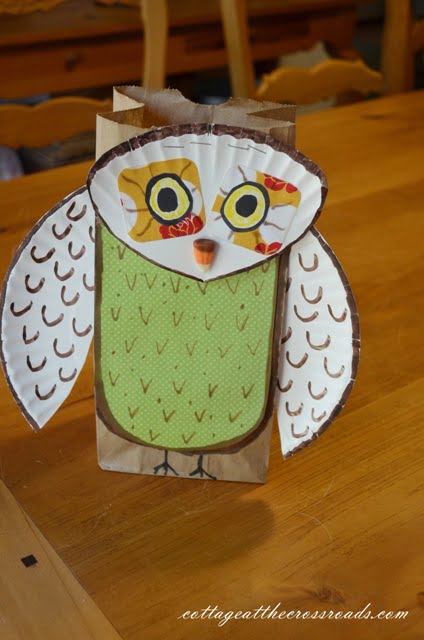
    Completed owl

    The last thing I did was to add a little scrapbook paper onto the chest.  I wish that I had taken some pictures of the owls that the children made because they turned out so cute!

    When they finished, I dropped a little treat into their bags.
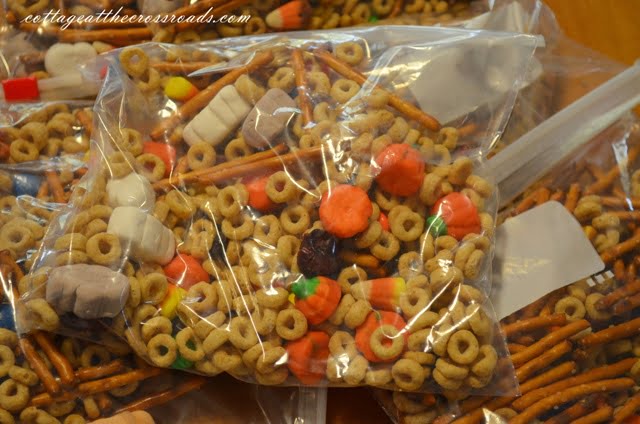
    Snack mix in baggies

    I had made up some baggies filled with a fall snack mix, and the children were delighted to see the candy corn and pumpkins in the mix. Here's the recipe below in case you'd like to mix up your own.
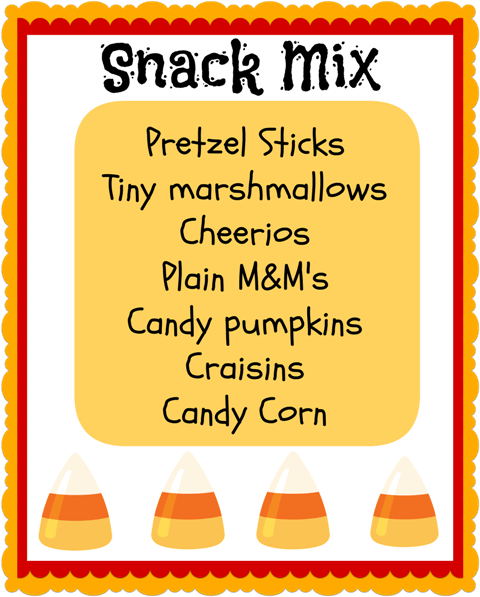
    Recipe for snack mix

    I'm not sure what the children enjoyed more, making the owls or getting the snack mix. What do you think?

    More Crafts

    • Peat pot with pumpkin 1
      Thrifty Peat Pot Pumpkin Holder
    • Ruffled tea towel cherry bowl and sign 2 square
      No Sew Ruffled Tea Towel
    • Bunko girls on steps 2
      Bunco Friends Lunch and Crafting Time
    • Patriotic mini easel place card 2
      Patriotic Mini Easel Place Cards

    Sharing is caring!

    Reader Interactions

    Comments

      Leave a Reply Cancel reply

      Your email address will not be published. Required fields are marked *

      This site uses Akismet to reduce spam. Learn how your comment data is processed.

    1. Marti

      November 11, 2012 at 5:52 am

      I just love your blogs! I could spend a whole day just looking at your creations. You both are very talented!

      Reply
    2. Keeping it Cozy

      October 28, 2012 at 3:12 pm

      Soooo cute! I'm going to remember this idea... plus I think it would be a fun craft to include my girls in. 🙂

      Reply
    3. Mary

      October 27, 2012 at 7:33 am

      This is an adorable idea Jane! So smart to use your swag bag fabric too~ love the candy corn beak 🙂

      Reply
    4. Ann

      October 26, 2012 at 2:33 pm

      My favorite part is the candy corn for the beak! Very fun craft and the treat bag was the perfect touch. Good job!

      Reply
    5. Kris

      October 26, 2012 at 12:05 pm

      Jane,

      What a cute idea! I bet the kids really liked this project and the snack mix too! 🙂

      Reply
    6. Nancy at maddalee

      October 26, 2012 at 10:00 am

      Hi Jane, these are simply adorable! Thank you for sharing.

      Have a good day, Nancy

      Reply
    7. Jean Windham

      October 26, 2012 at 9:56 am

      What a great idea. I am sure the kids loved the project and enjoyed the snack mix. Thanks for sharing. Jean

      Reply
    8. Barbara F.

      October 26, 2012 at 9:44 am

      How cute are these little owls! Good use for the fabric squares. I am sure the kids loved them, and especially the snack mix. xo

      Reply
    9. Kathy

      October 26, 2012 at 9:37 am

      Jane,
      These are fabulous! Gotta share with my granddaughter. She'll love these.

      Reply
    10. Rebecca

      October 26, 2012 at 6:16 am

      This is precious! What a cute fall craft! I may do with my niece and nephew when they get here! Thank you for sharing! Love, Me

      Reply
    11. Maxie Sykes

      October 26, 2012 at 3:00 am

      What a wonderful Halloween crafts ideas and kids will surely love to eat candy with this bag.

      Reply
    12. Debbie refreshrestyle

      October 26, 2012 at 12:48 am

      Love the bags and thanks for the recipe! Guess who I saw today???

      Reply
    13. Melanie

      October 25, 2012 at 9:29 pm

      Very cute items!

      Reply
    14. Olive Cooper

      October 25, 2012 at 8:11 pm

      They are adorable and would be fun for kiddos to make too.

      Reply
    15. Kim

      October 25, 2012 at 7:50 pm

      That is so cute and glad you found a use for those swatches.

      Reply

    Primary Sidebar

    Jane @ Cottage at the Crossroads

    We're Jane and Leo!

    Thanks for stopping by! We're renovating and preserving our family's 100 year old home place where we garden, complete a few DIY projects, and do some cooking. Please leave us a comment so that we'll know that you were here.

    about →

    Reader Favorites

    • Setting up a gardening journal
      How to Set Up a Garden Journal
    • Wooden garden obelisks
      DIY Wooden Garden Obelisk
    • Sweet cucumber relish featured
      Sweet Cucumber Relish
    • Cucumbers in raised beds
      Growing Cucumbers in Raised Beds

    Gardening How-tos

    • Best way to remove weeds from large area
      Best Ways To Remove Weeds From a Large Area
    • Potting mix vs. Potting soil
      Potting Mix vs. Potting Soil
    • How to dry and store fresh garden herbs
      How To Dry Herbs
    • 1
      Instant Pot Canning Basics

    Growing Vegetables

    • Fall decor 063
      Our Fall Vegetable Garden
    • Garden and yard may 2013 132
      Evolution of a Garden
    • Celebrity tomatoes in cages
      How to Grow Your Own Tomatoes
    • Growing lettuce in containers 030
      Growing Lettuce in Containers

    Footer

    As an Amazon Associate I earn from qualifying purchases.

    © 2021 Cottage at the Crossroads · All Rights Reserved

    Contact Us · Privacy

    80 shares