This post contains the step-by-step directions to make your own sturdy tomato cages that will last for years.
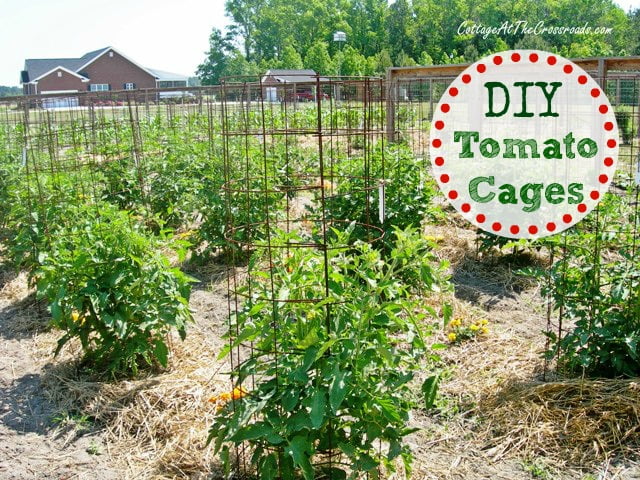
Hello everyone! You haven't heard from me in a while. That's because I've been real busy in our garden. Here is picture of the tomato cages that I built four years ago, and I'm still using them. Read on and I'll tell you how to support your tomato plants with sturdy, do-it-yourself tomato cages that will last for years.
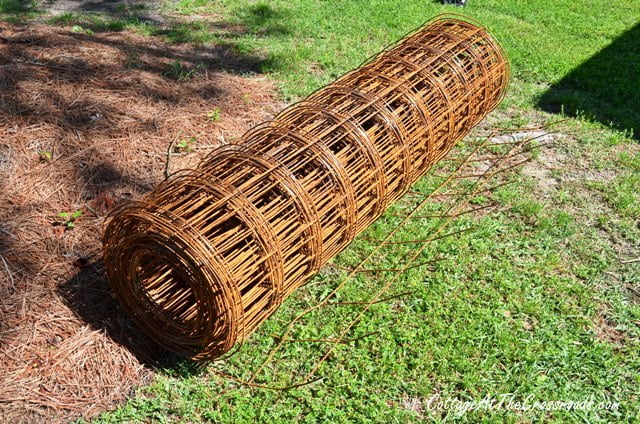
I urge you not to buy those flimsy, expensive tomato cages found at the big box stores and garden centers. I made my tomato cages using concrete reinforcing wire. I found my roll at Lowe's in the concrete section. It's 5 feet tall and 100 feet long. Although some indeterminate tomato plants can grow as tall as 8-10 feet , I've found that these cages will support most tomato plants and the heavy weight of the fruit. Don't be concerned about the wire being rusty. It is not galvanized steel, but it will last for years.
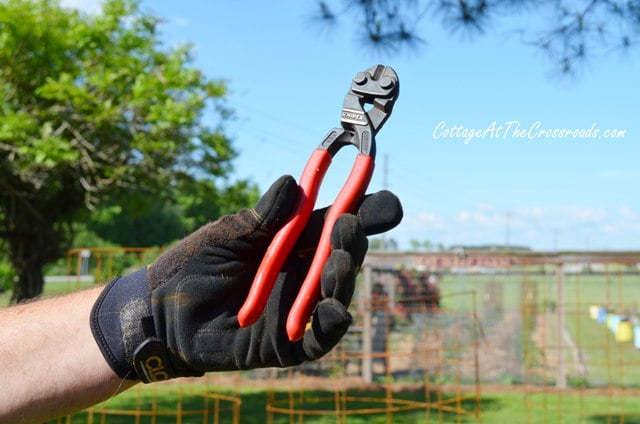
Here are some of the things that you're going to need for this project. I balked at the price tag for these wire cutters, but believe me, they are worth every penny. You can also use bolt cutters. Be sure to wear work clothes: long pants, heavy shoes or boots, and a good pair of work gloves. This is not a job for sissies!
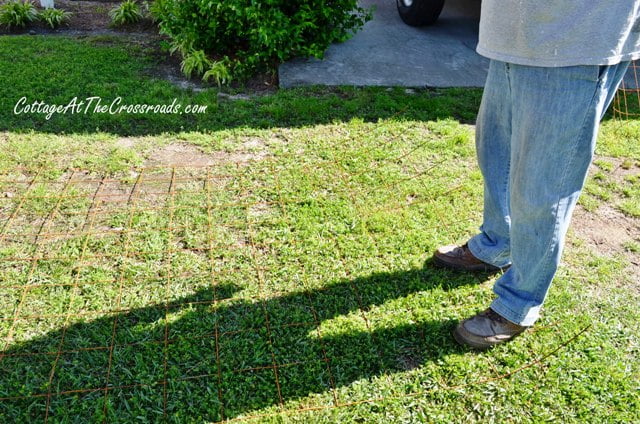
Because the wire is so stiff, when you unroll it, you will need someone on the end to hold it down or you will need something heavy like concrete blocks to hold it down. Just be careful. The wire is stiff and not that easy to work with.
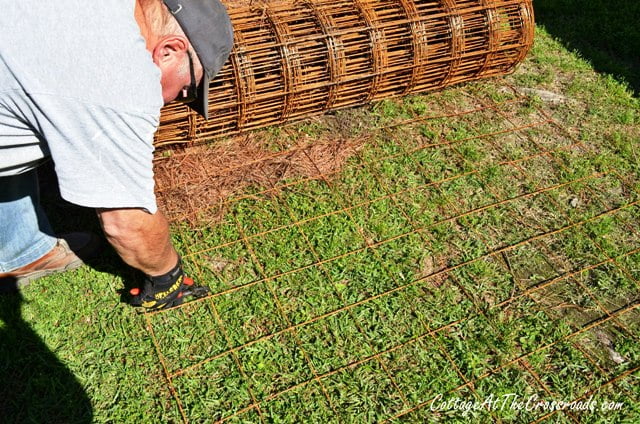
The concrete reinforcing wire comes in 6 inch squares. The squares are big enough to reach your hands inside to pick the tomatoes. Count off 12 squares from the end and cut the wire.
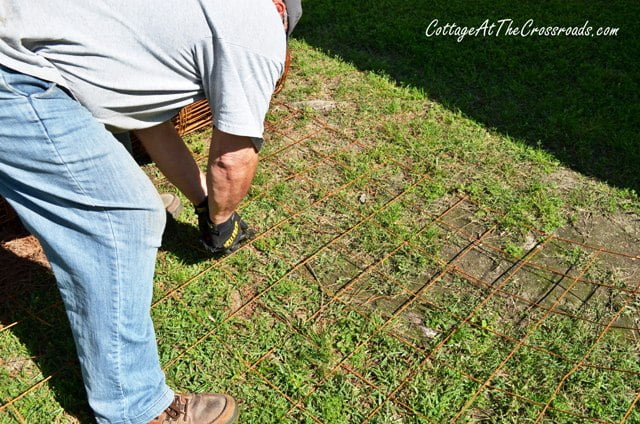
Once again, be careful when you cut the last piece of wire because it will spring back. And no one wants to stab their helper, do they?
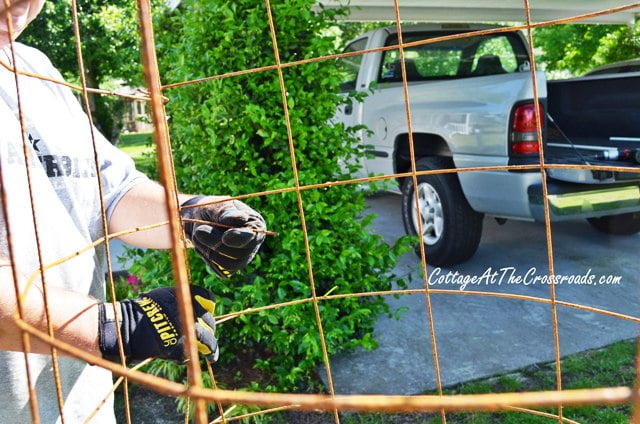
Once cut, stand the wire up and form a circle. Take the loose ends and bend them around to secure the cage.
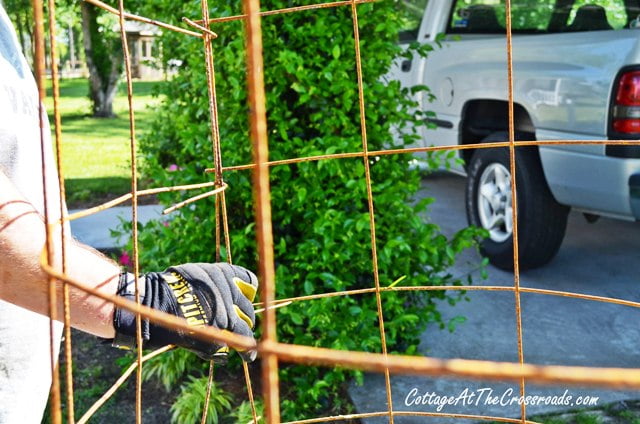
Do it all the way down the length of the cage and this will assure that the cages will not come apart.
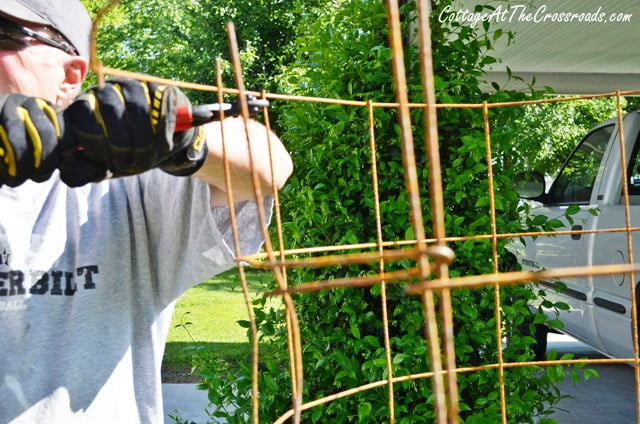
The final step is to cut off the bottom ring of wire. It will leave 12 six-inch spikes that will secure the cage into the ground around the plant. You can use your foot to push the cage into the ground.
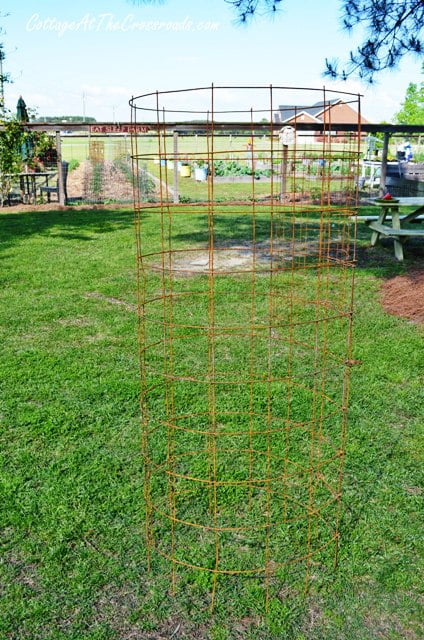
There you have it. A strong, study tomato cage that will last you for years.
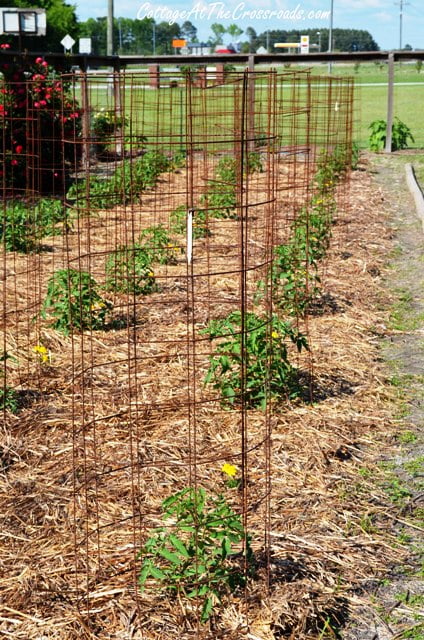
After the growing season is over, you can stack these up in a corner of the garden. The birds love to roost in them. That's free fertilizer, folks!
If you haven't planted your tomatoes yet, you may want to read our tomato planting tips before hand.




Randolph Knackstedt
Which clippers are those?
Thanks.
Lisa G
So approximately how many cages did you get out of the 100ft roll? And how much did it cost approximately?
Jane Windham
Hi Lisa, you should be able to get 33 tomato cages from a 100 foot roll. Since my husband wrote this post several years ago, we do not remember the cost of the roll. However, whatever you pay for it will be worth it because you cages will last for such a long time. So if you plan to garden long term, the cost and effort will be well worth the initial expense.
Wayne S. Ambler
I've made these cages for over 40 years (am a horticulture teacher, and we sold them). You can get 16 cages from a 100'roll. I have cages well over 20 years old. They become shorter as the 'spikes' in the ground will eventually rust and break off. It's the ONLY way to grow tomatoes!
Jane Windham
So good to know that we have many more years to enjoy the cages. Last year we grew some cucumbers on them.
Karl
Great pictures, well done!
I've used this method for 15 years. I have scratched myself and caught clothing on the bent over ends that hold them together. So another method of securing may be good. Either hog rings could be good. I have over 300 cages and it hasn't been a priority yet. I wouldn't trust cable ties to hold this strong springy steel in the sun under the weight of full size plants loaded with fruits. If taken apart they would hold a rounded shape and won't lay flat and I wouldn't want to go through the work of taking them apart and putting them back together every year. Stacking is the way to go. It looks cool and is a nice perch for birds. Can be used to protect small trees from browsing deer in the winter too.
They are also a nice perch for birds when in place in the garden. Imagine a 100ft x 100ft block of garden with these placed every 3ft in rows 6ft apart. Hundreds of barn swallows and cow birds coming hopping from cage to cage socializing every morning and evening. I get roll of Mylar ribbon, aka flash tape, aka "bird scare tape" (100ft rolls can be found tucked in the corner of walmart's garden center under a layer of dust) 2-3 ft long strips tied to every third or fourth cage will keep the bird poo off your fruits.
I cut out an additional row of the horizontal strands from the bottom to have 1 foot tines to stab in the dirt but still have a few that tip when the ground is softened by heavy rains just before we get 60-90 mph straight line winds. Sometimes I regret giving up the extra 6" height but fine with staking the few that tip rather than the other anchoring methods.
I use an old tire to keep the wire from rolling back up when unrolling a 25-50 foot section and 2 other tires placed one on either side of where I make the cuts to avoid being impaled. I find counting out 8-9 squares (4ft-4.5 ft sections) with 3 inch "tabs" at both ends to bend over from both ends to be a pretty good size.
Compare prices, a 150ft roll of reinforcing mesh at my local small town lumber, steel supply and building supply store has been $30 cheaper then the same roll at Menards $40 cheaper than Lowes, Home Depot and Farm&Fleet for the last 4 years.
JayJay
I would use cable ties for securing instead of bending wire--faster, and when not needed, cut the tie and lay flat.
Just my way--I use cable ties for everything.
Karl
I don't think cable ties would last in the sun under the stress of the spring-like tension of the steel and the weight of a full grown plant loaded with fruit.
Karl 2
I've used zip ties for YEARS and they work great. Cut them off at seasons end to open the cages up makes cleaning up easier. Get the UV stable ones. They work very well. I thought I invented using concrete wire but obviously there's a lot of smart folk. For Roma's but a small interior cage 2' tall and smaller circle. The place the bigger cage over it and the branches are supported very well. Similar method works great for Poblano's
Ed
Strong nylon cable ties work, if they're guaranteed they contain NO copper: copper makes nylon UV & Ozone- sensitive, makes nylon brittle.
I secure cages w/ 3 thin rebar stakes (16" L) driven at angle against prevailing winds.
Also helps (some) against destructive animals.
Ellen
Do you think these would be sturdy enough as a melon or squash trellis/tower?
Leo Windham
Hi Ellen,
I'm pretty sure they would support melons. I have stakes driven into the ground to keep them from turning over.
John
Great job of documenting how to make these cages. I've also made tomato cages out of concrete re-mesh for years now and love them, they are virtually indestructible and the absolute best tomato cages.
Wendy Tobler
In my half century of gardening, this is absolutely the best tomato cage I've ever used. My husband made three dozen of these in exactly the same way (except for leaving the spikes at 6" long) at least 12 years ago and they're still going strong. Well, fairly strong. The rust has progressed a bit, of course, so a few of the spikes have broken off, but I tie each cage to either a T-post or the stock fence of our horses' pasture, so the spikes, although very helpful, aren't vital.
The reason we need to tie ours down is because hearty tomato plants can make these top heavy and subject to toppling over in a high wind, or, more typically, by the deer who traipse through our gardens at night.
Thanks for posting this, Leo!
Duster
I've seen this technique on alot of different sites. It seems the way to go. This is my first year growing more than 1 tomato plant and I have a few of the store bought cages. They were fine until the plants started getting lots of tomatoes. Then they couldn't handle the weight. I just looked into this today. I never saw any rolls but the place I was @ did have precut section for $10 a piece. I think i'll get some of these setup for next year. BTW I already have a pair of those knipex that you got in your hand in that 1 picture. Made in Germany . Can't beat them.
Jay
Go to any masonry supply business and they will have rolls of the wire in stock and will be cheaper when purchased as such.
Linda
This is brilliant! I knew there had to be something better than those flimsy store bought ones but I couldn't figure out what would be safe to use or how to make them strong enough. Thank you for sharing your marvelous idea and instructions. We will definitely be making these for our next tomato crop.
Nick
Great idea. I think I will try it.
mgmeredith
My dad made these kind of tomato cages over 50 years ago. My brother inherited them five years ago when my father could no longer garden. I believe they are the original ones. Dad took out several vertical wires so that it would be easier to reach in to harvest.
Shirley@Housepitality Designs
There is nothing like a freshly picked tomato...I remember as a kid that my favorite sandwich was a tomato and mayo sandwich with lots of salt and pepper....I wish I could grow tomatoes...can't keep the deer away!
laurie
Wow! What a great cage. It's been a long time since I've grown tomatoes. There is nothing better than a fresh tomato. Makes my mouth water to think about it. Wish I lived close enough to "borrow" some of your crop! laurie
Jean Windham
I am with you Leo waiting for my first tomato sandwich. Great job with the post instructions and pictures for making the tomato cages. I cannot wait to see the first crop of beautiful tomatoes..... Jean
Melissa-TheHappierHomemaker
Great tip! Thanks for all the gardening advice-this is my first year growing tomatoes!
Ruthie
WOW!! Outstanding idea that will last forever. Thanks for sharing. Loved the Vandy t-shirt, too!!!!!!!!!!
Dawn
Great idea Leo, and perfect instructions and pictures. I pinned and placed on FB.