Now, to my red ticking peppermint twist pillow! First, I'll have to admit that this is not an original idea of mine. I saw a similar pillow on a very famous site that sells home decor and I thought it was the cutest thing, especially since I'm in the middle of having some new curtains made for our front porch.
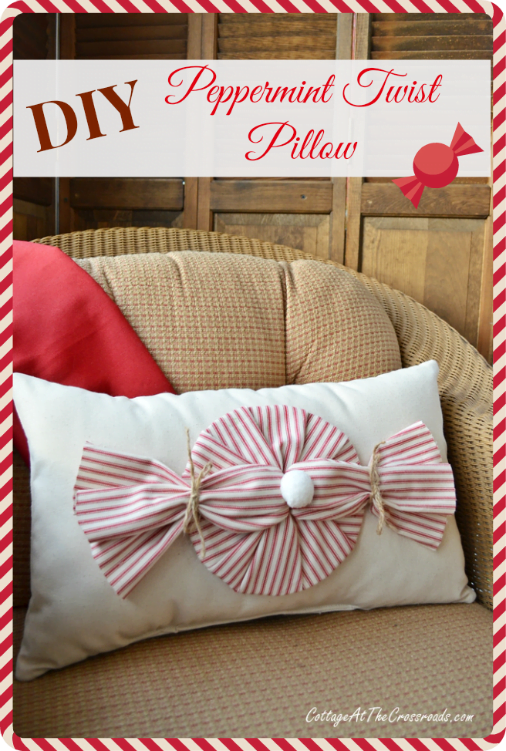
And I don't want to reveal too much, but I will tell you that there will be some red ticking on those curtains! Anyway, this famous site where I saw the pillow was asking $85 for it! So I thought I'd try my hand at making something similar.
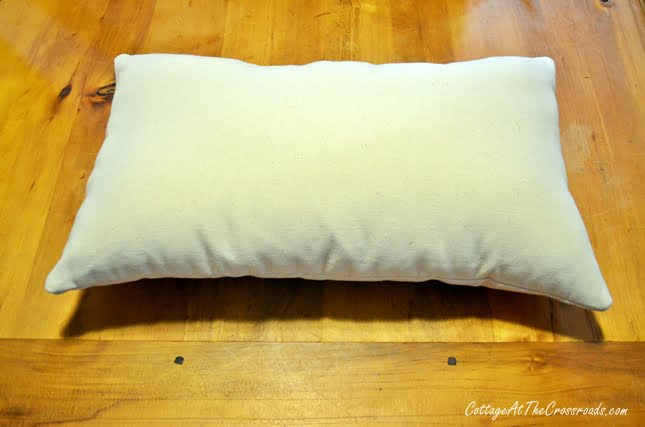
The base pillow is made of muslin. A friend of mine sewed this up for me since I don't have a sewing machine. I wanted a very neutral pillow so that I could change the decoration on it to suit the seasons.
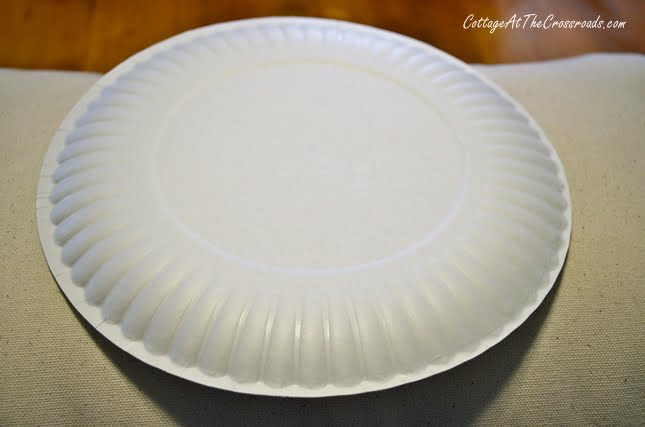
But for Christmas, I wanted to attach the peppermint twist to it so I searched around for a round object to use in making the twist. I thought that a paper plate would work perfectly.
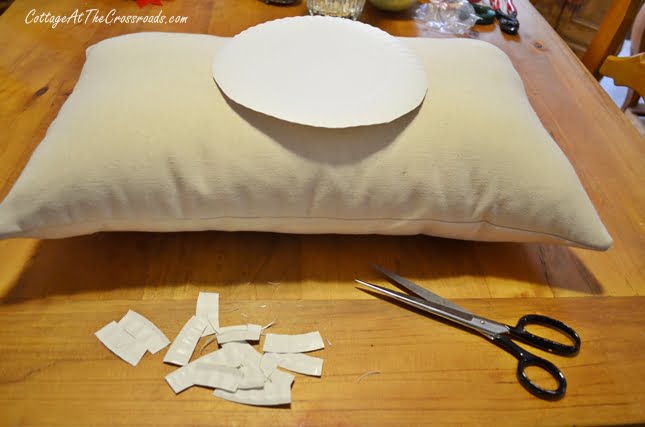
The paper plate was just a bit too large for my pillow so I trimmed about ⅜ inch from it all around. If you try making one of these, just make your plate the size that you want your peppermint twist to be.
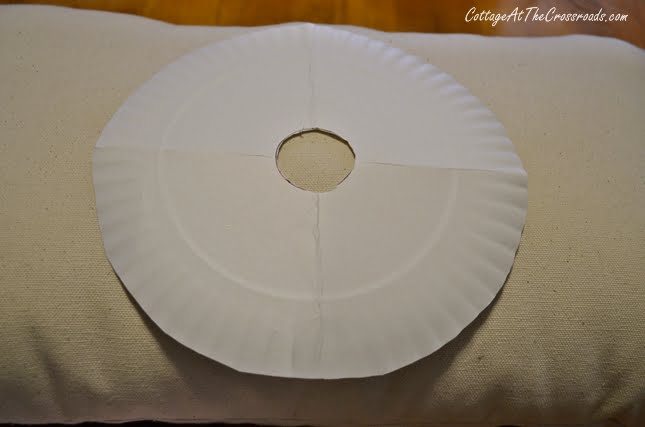
Next, I cut a hole in the paper plate about 1 ½ inches in diameter. If I were making this again, I would increase the size of the hole and you will see why in a minute.
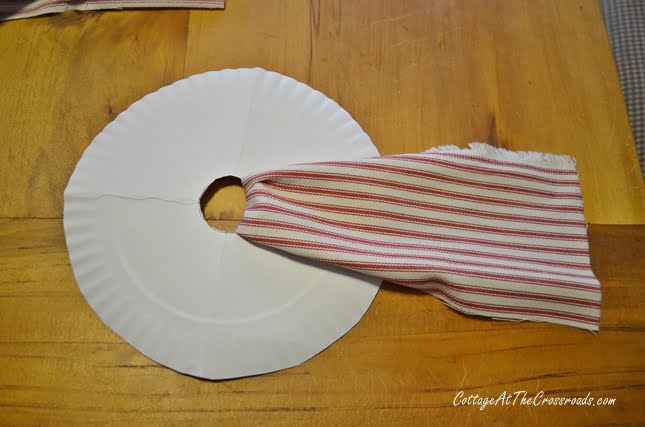
The next step is to cut some strips of red ticking. I used a total of 10 strips that are 5 inches long and 3 inches wide. Pull about an inch of each strip through the circle.
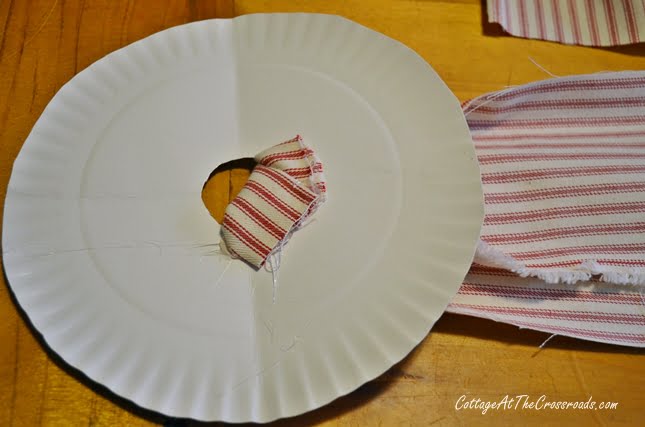
Hot glue the part that you turn back to the plate and then hot-glue the other end also.
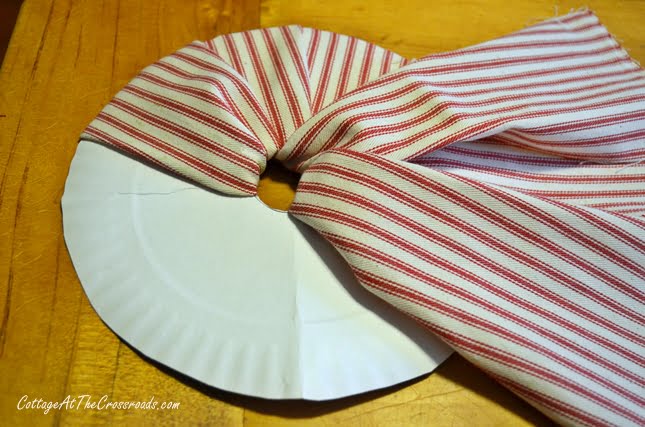
Now, I didn't do this, but if I were making this again, I would go around and cover the entire plate with the short strips first before adding the longer ones. You will need 6 strips that measure 10 inches long and are 4 ½ inches wide. Now are you beginning to see why you need to increase the diameter of your hole?
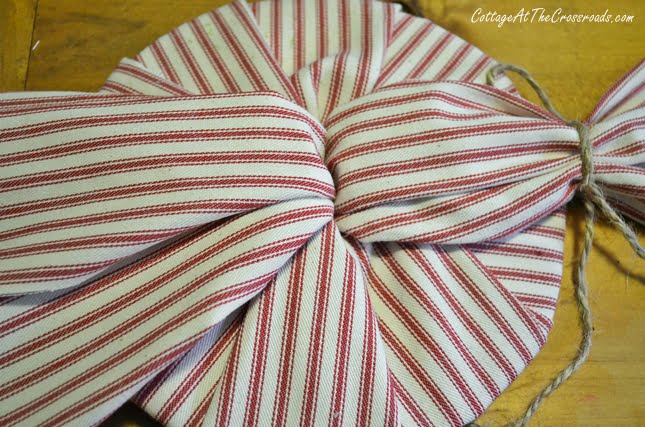
By the time you finish, the entire hole will be filled with fabric! I tied a little twine to my ends to make the "wrapper."
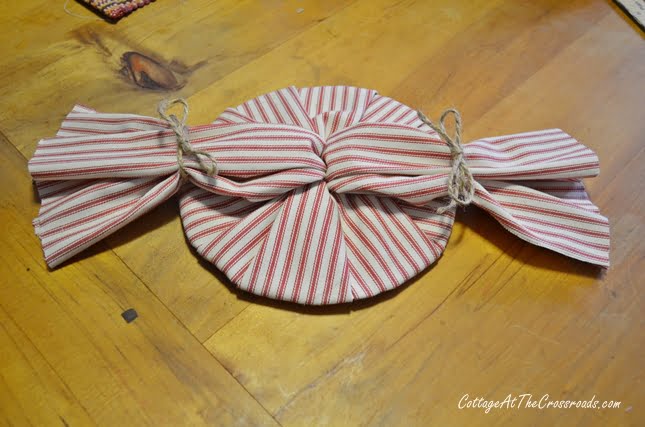
The last step is to trim the ends so that they are all the same length and then attach the twist to the pillow. I used a few dabs of hot glue, and I'll be able to pull the twist off whenever I want to change the pillow.
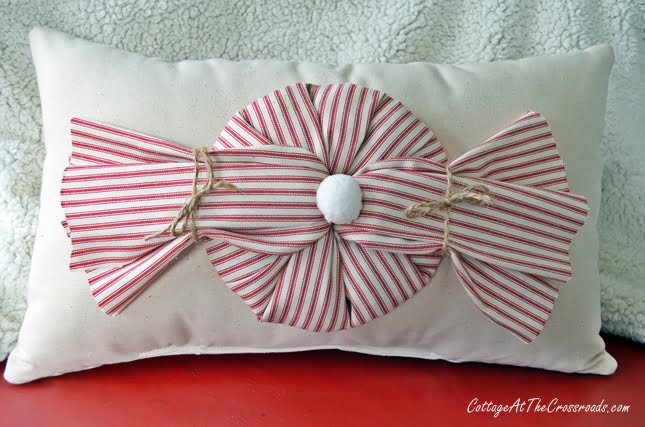
I also added a little stuffing underneath each section to make it a little more rounded and hot glued a pom pom in the center.
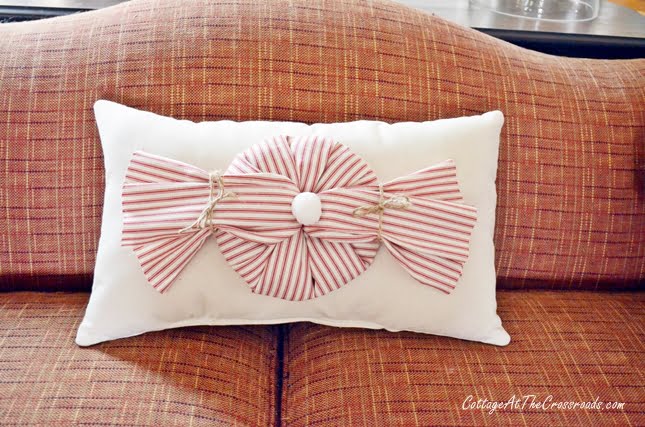
Now I can't decide if I like it better inside the house or on the porch. Either place, I love my little peppermint twist pillow and it make me smile to think about how much money I saved by making it myself!


Atta Girl Amy
This is the cutest pillow ever. And I love that it's no-sew. (I don't have a machine either.) You're so clever. Pinning and sharing on my FB page.
Jean Windham
I love it Jane. Very creative way to make the design too. I now see how the red and white stripe really makes a good show. I agree the pillow will look good indoors or outdoors at your home. Jean
Ann Hooper
Jane, love the peppermint pillow...Did you also hot glue the candy (plate), to the pillow???
Linda
I really like the peppermint candy pillow, what a fun project for Christmas decor. I went on the web page Family and Home and I like the plaque life moments with easel # TW67. Please enter me in the Christmas giveaway. Thank you Linda
debbiedoos
So so so cute Jane! I really love this pillow. Happy Thanksgiving to you, Leo and family. XO
Mary
Adorable Jane, have your peppermint and pillow too 🙂 Wishing you a Happy Thanksgiving!
Cynthia
This pillow is super cute. Love it!! Have a great Thanksgiving.
Cynthia
Jenna
This is too cute! Clever clever girl! Thank you, I hope I find time to do this!
Linda aka Crafty Gardener
I'm a new visitor to your site, popped over from Creative Cain Cabin. Love your pillow, thanks for sharing.
Mona
Very cute Jane. Thanks for sharing.
Shirley@Housepitality Designs
Oh my gosh Jane..that pillow is fantastic!….I need to run out and get some red ticking!!!…Fabulous job Jane!….Happy Thanksgiving to you and Leo!
Leo@cottageatthecrossroads
Thank you Shirley. Back at ya.
Kathy
What a sweet pillow. Great instructions! Love this!!!
veronica
perfeito adorei a ideia parabéns.
Ann
This is adorable! I love the red ticking too. Festive and fun!
Dawn
Jane, what a brilliant idea. I have never seen this done before and you gave a great tutorial. I love it!