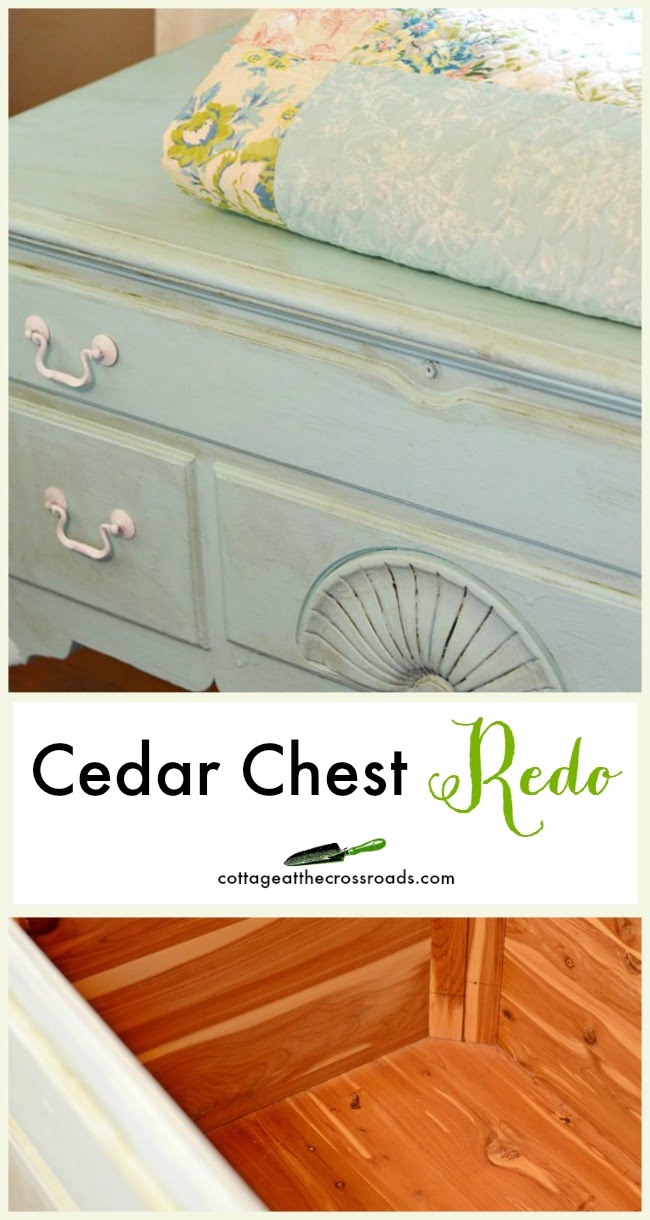
When you live in a small house, you are always looking for furniture pieces that give you lots of storage. So I've had my eye out for a cedar chest for our bedroom. I'm happy to say that I found one recently and I'm sharing my cedar chest redo with you today.
Back in the day, these cedar lined chests were often called hope chests or dowry chests. Young girls were often given one of these chests by their parents and over the years, it was filled with linens and household items that she would use after marriage. I never received one of these nor did I ever ask for one because I had my mind on pursuing a college education.
But last month, we moved our dog Lucy's crate out of our bedroom. It has been in there for six years since we got her, but she never uses it anymore. It was just taking up space so that's when I got the idea that I could really use a piece of furniture to store blankets and linens.
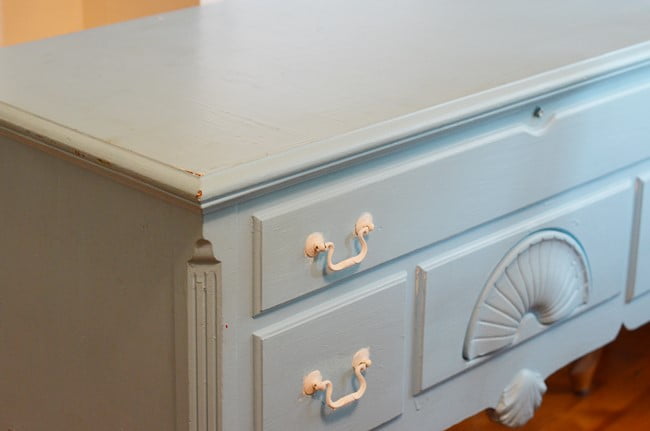
So Leo and I were at the auction that we attend all the time and I spotted this vintage hope chest. It was already painted turquoise and I thought that I could move it into the bedroom and fill it with all sorts of things. I didn't pay much for it but when we got it outside in the sunlight, I could see that the person who had painted it has actually done a poor job with it. Although I liked the white hardware, the paint was all gooked up on it and was messy!
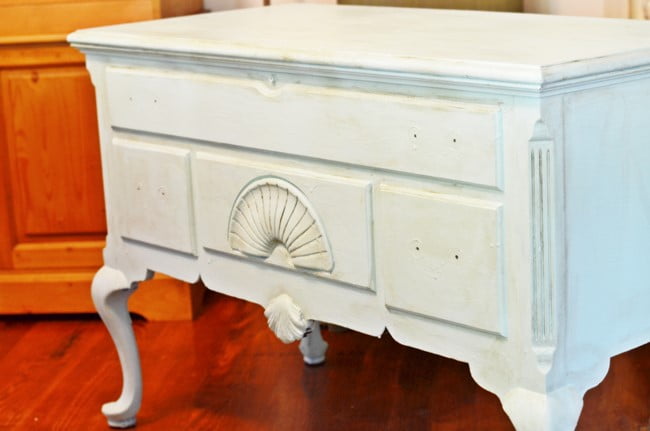
I removed the hardware and soaked it in hot water and was able to easily remove the paint. Since I was going to repaint the piece, I decided to lighten up the color a bit by using some aqua homemade chalky finish paint that I already had on hand.
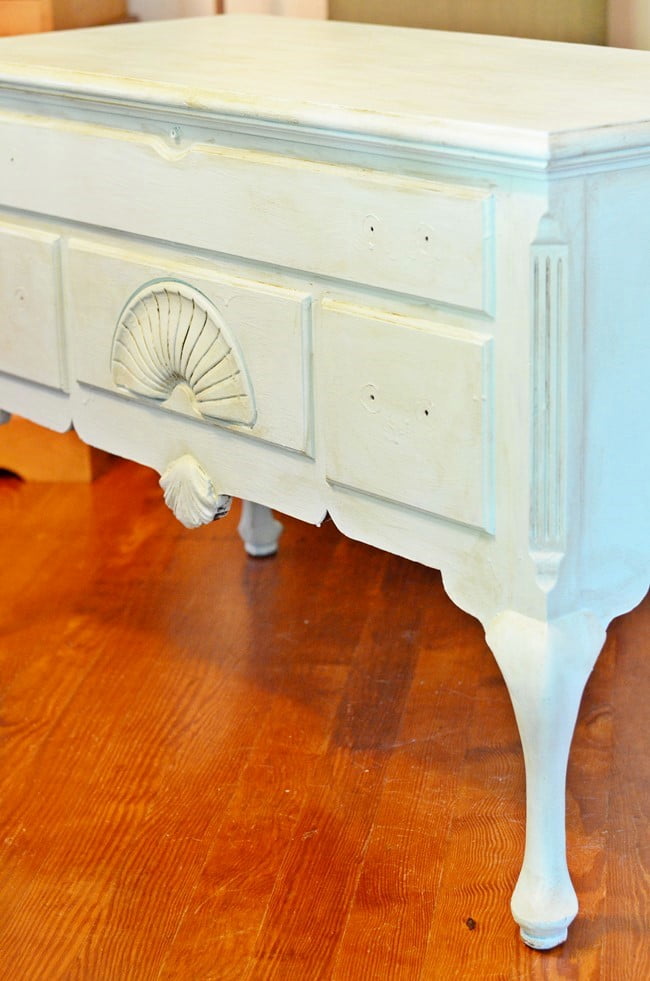
Here it is sporting the new aqua color. Although I frequently mix up my own chalky finish paint, I do use the Annie Sloan waxes because I really like the protective finish that they give to furniture pieces. You can see how adding the dark wax really accentuates the decorative details on this piece. One of the things that I especially love about this cedar chest is its flirty Queen Anne legs!
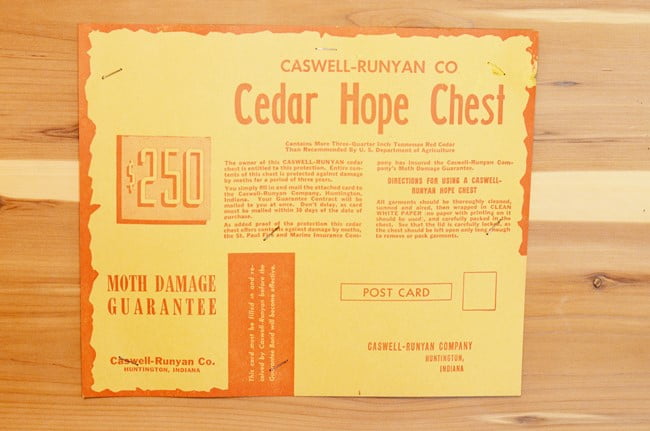
Although this chest probably dates back to the 60s or the 70s, the moth damage guarantee was still attached to the inside of the top. As you can see, this chest was not made by the Lane company as so many of the hope chests made during that period were.
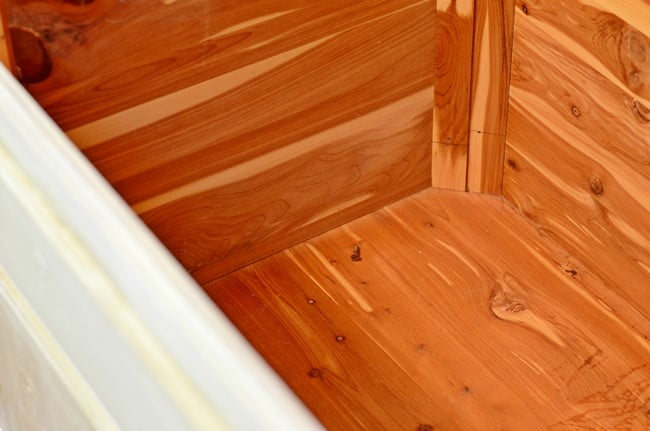
But the cedar inside still has that distinctive smell even after all these years!
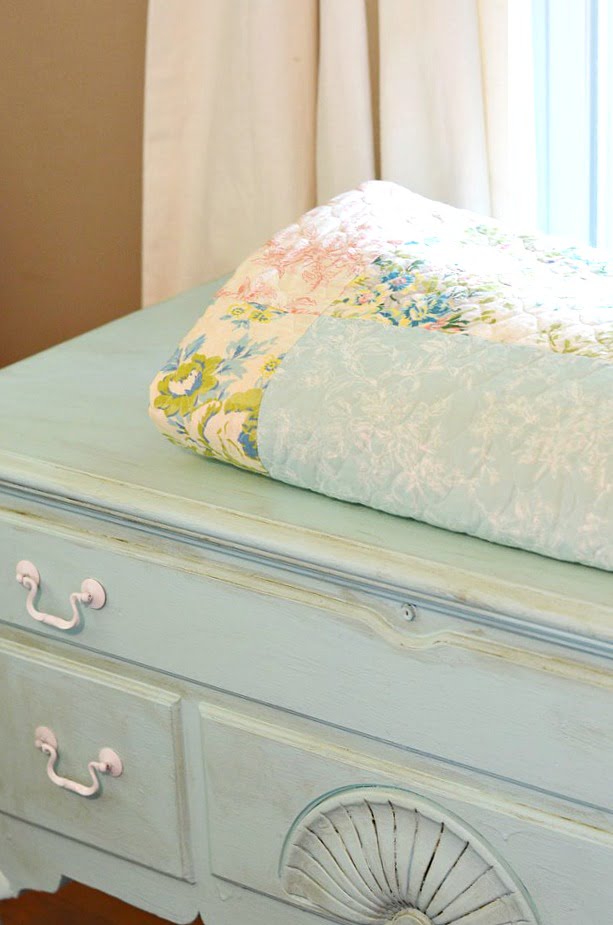
Now you can see why I lightened up the original color with this cedar chest redo. I was matching up the aqua in my new quilt that I purchased a few months ago and plan to freshen up the rest of our bedroom over the summer.
So stay tuned. I have been working on multiple projects recently and I'll share those soon! And I was thinking that I could do some quick videos on how I make my own chalky finish paint and how I use the waxes on painted furniture pieces. Are you guys interested in learning how to do that?



phyllis
nice job Jane; wow what beautiful features on that. color I love; does that chalky paint rub off? yes would like videos. thanks Jane; keep up the good work.
Phyllis
p.s. say hi to Leo
Shirley@Housepitality Designs
Great find Jane and love the color and those beautiful flirty legs!....I did want a "hope chest" but never got one...I bought a chest for my granddaughter when I was in Paris...it is actually a beautiful wood toy chest...Yes, would love to see a video of the chalky paint and wax tutorial....
Pat@ Life At Lydias House
I love your cedar chest, Jane. What I love most is that it doesn't look like a cedar chest! As practical as they are, they aren't usually very attractive but yours is absolutely lovely! Great job!
Nancy Miracle
I need to know how you make your chalk paint. I have a piece I want to redo/
Deborah D
Great job Jane. I've recently four your blog and can't wait to see the videos. I paint furniture and can't wait to see how you do it.
I love the cedar chest. I received one when I was in high school. Can't wait to paint it now!
Beth
Great recycle job, very pretty! Looking forward to the paint recipe and video.
Jane Windham
Thanks Beth! I hope I can get those done in a few weeks.
Dolly
Beautiful and what a find! I love what you've done with the piece and you're right it does go well with your new quilt!
Jane Windham
Luckily the paint that I had on hand matched up perfectly!
Jean Windham
Jane, this piece turned out so pretty. I actually love the color alot. I bet it matches your quilt perfectly. Great job and I think you probably got this piece for a song. Jean
Jane Windham
I paid a little more than I wanted, but it's a great, sturdy piece!
Libby Wilkie
Nice redo, and yes, I love cedar chests! We bought one more than thirty years ago and, heavy though it is, move it with us. What a lifesaver it has been. You just know that your clothes will be fine through the summer months!
Jane Windham
Libby, if I run across another one in similar condition, I'm going to buy it to store off season clothing!
Jennifer
Hi Jane.... I love how your hope chest turned out! I just wanted to make you aware that Lane recalled millions of chests because children have been killed after being trapped inside. You can contact them for a replacement lock, which will prevent this! Just google the recall to find details. I still have my hope chest... Replacement lock in place!
Jane Windham
Yes, I was aware that Lane provided replacement locks but I'm not sure about the company that produced mine. I'll have to research that. Can't be too safe!
dee
I believe if the inside cedar is lightly sanded it will revive the cedar fragrance. I have a cedar chest from the mid-60's that I use for storage. Nice that you gave this one new life.
Jane Windham
Thanks for that tip to lightly sand the interior, Dee!
Paulette
Love it!!! I have yet to have the courage to try such a project so I would love to see a "how to" video!!!
Jane Windham
Hope to get those videos done in a few weeks, Paulette.
Kris @ Junk Chic Cottage
Great re love of this fabulous piece. Beautiful.
Jane Windham
Thanks Kris. I was pleased with how it turned out and LOVE how much I can get inside!
Melanie
Hi Jane- Yes! Would love the videos! Am very interested in the chalk paint. Great job on the cedar chest redo. Cedar chests are near and dear to my heart. I still remember a time when my mom and I made a special trip to the store to buy a few items that she and I felt were good for when I started housekeeping. I still have and love the cedar chest I received for high school graduation. It has it's original finish but I have thought about painting it.
Jane Windham
I'm sure those are some precious memories of you and your mom shopping for those items, Melanie.
Jenna
Great redo Jane!
Jane Windham
Thanks Jenna! If I run across another one, I'm going to redo it, too!
Becky
Yes I would definitely be interested in video. Where did you get that quilt ? pretty colors!
Jane Windham
Becky, I purchased the quilt from Wayfair online a few months ago. It's the Jessica Simpson Elisabeth quilt. It will be a few weeks before I will get some videos completed. I'm cleaning out my storage building and plan to do the videos in there because it has an air conditioner in it!