We have been having the most glorious spring weather here at the Crossroads for the past two weeks, and we have gotten outside and built these wooden pyramid shaped trellises for the garden.
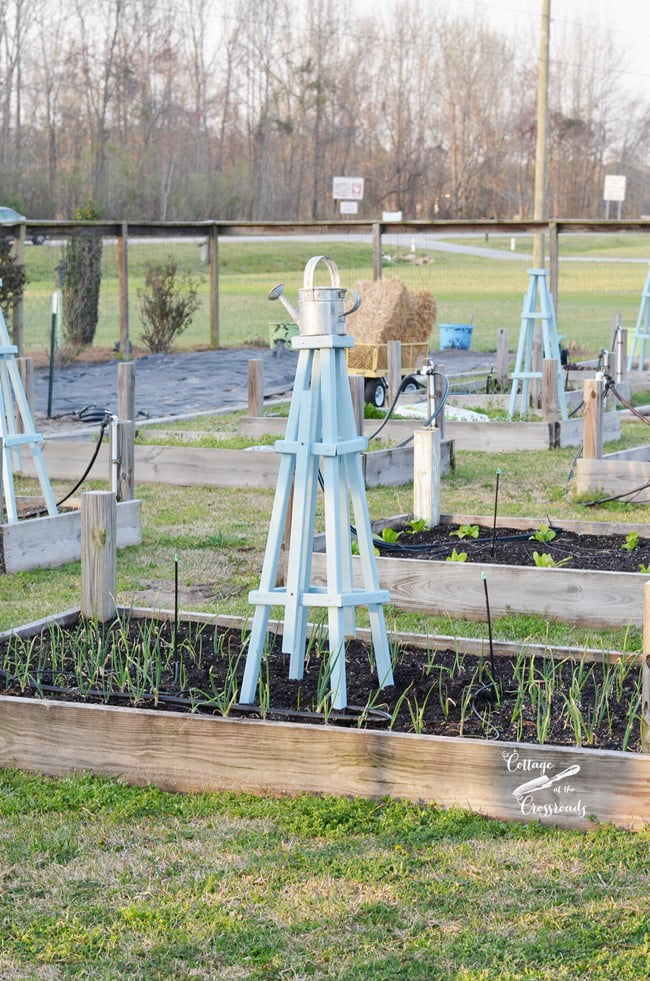
You see, each year we like to change things up in the garden and during this past winter, I had a vision of putting pots of flowers and/or small trellises in each raised bed. Making these trellises was a family affair since Leo's brother Jim and his wife came over and with their help, we were able to construct 6 of these trellises in one day.
If you remember, we made four 8 foot tall DIY WOODEN GARDEN OBELISKS two years ago, and we based our design for these smaller wooden trellises on those. Here is a list of supplies that you'll need to build one of these smaller trellises.
- Two 8 foot pieces of 1 ½" x 1 ½" slats
- Three 8 foot pieces of 1" x 1 ½" slats
- small box of 1 ⅝" drywall screws
- miter saw
- drill
- quart of wood stain
- staple gun
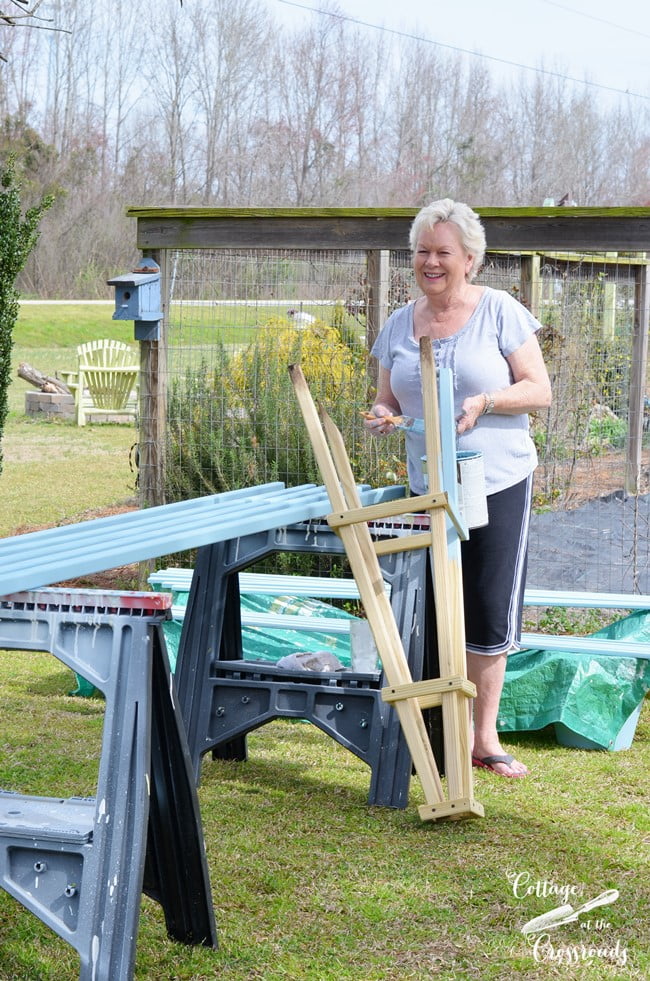
It's a good idea to prestain all of your wood before cutting and assembling, and after you put your trellis together, you can go back and touch up. Here Jean is staining the first trellis that we built to use as our prototype. Please keep in mind that none of us would ever profess to be professional carpenters, and since these obelisks are, after all, for the garden, we weren't too concerned with creating a perfect structure since flowering vines will be covering any obvious flaws.
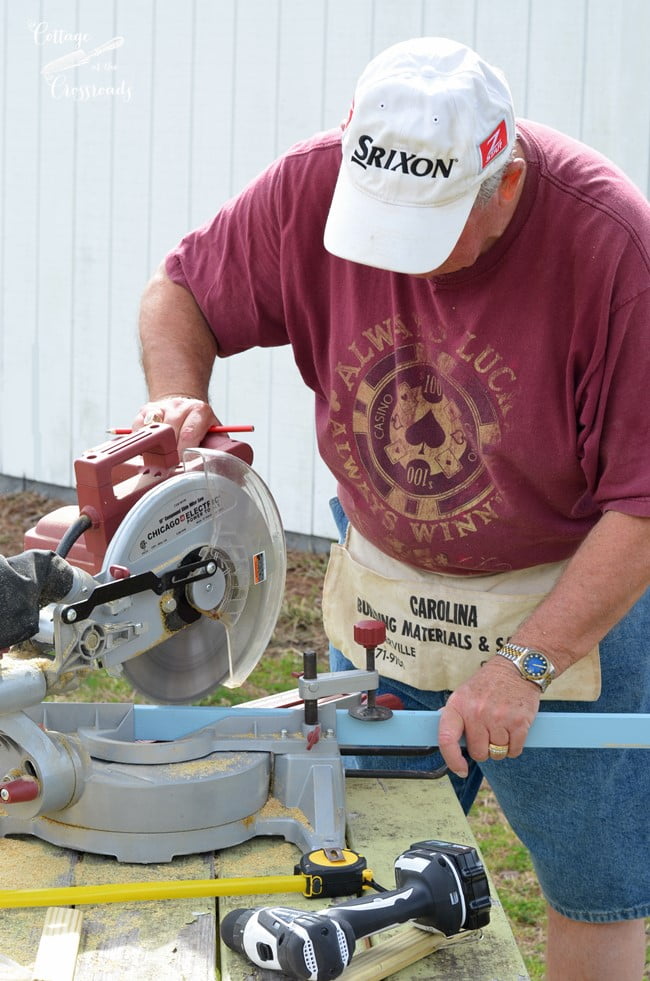
It's a good idea to go ahead and precut all of your individual pieces before assembling. Start by cutting the two 1 ½" x 1 ½" slats into two 4 foot pieces which will give you the four legs of your trellis.
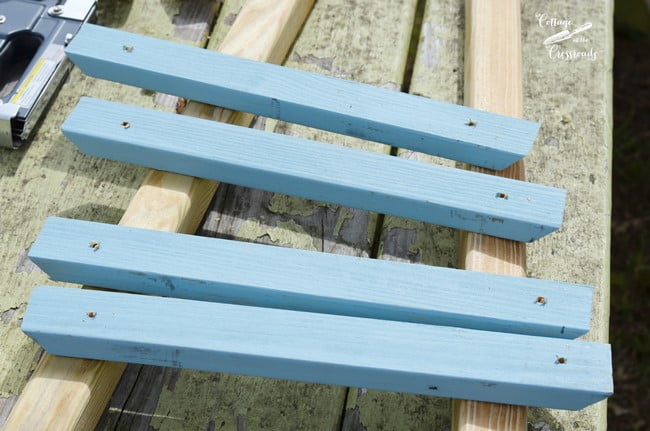
To create the cross pieces, you'll need four 12 inch pieces from long point to long point cut from the 1' x 1 ½" slats. Set your miter saw at a 45 degree angle in one direction and make the cut, and then set the saw at 45 degrees and miter the opposite end of the cross piece so that the ends will fit together.
Then you'll need to repeat the same step to create the next set of cross pieces but cut them 8 ½ inches long.
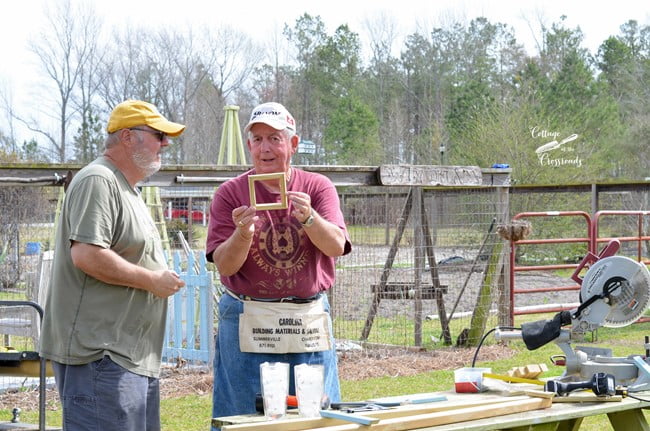
Finally, you'll need four 5 ½ inch pieces to make the top piece.
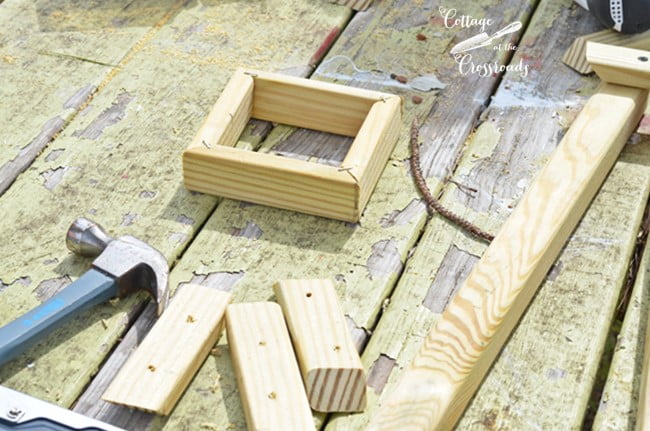
To make it much easier to work with, we preassembled the top portion using a staple gun. Now keep in mind, a professional carpenter would design and build a finial for the top but we purposely made the top square in order to put a birdhouse or other ornamental fixture on the top.
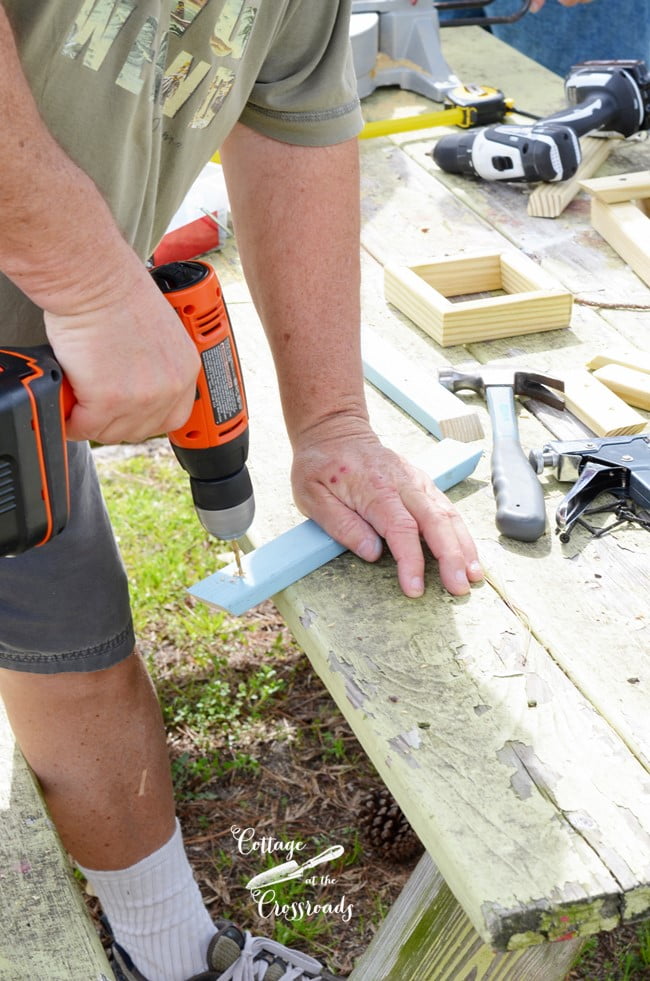
To avoid splitting the wooden pieces when inserting the screws, it's a good idea to predrill your holes about 1 ½" from each end. Be sure to use a drill bit smaller than the screw!
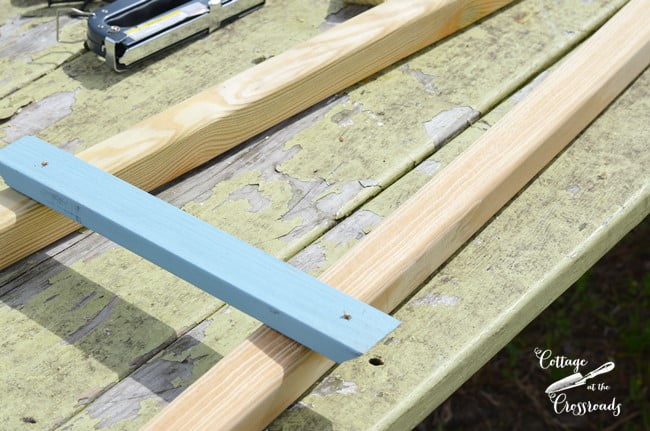
OK, now you're ready to put it together. Lay 2 of the legs on a flat surface as seen in the photo above. Measure 18 inches from the bottom of each leg and screw the first 12 inch cross piece onto the legs. Measure 18 inches up on both legs and screw in the 8 ½' cross piece.
Set that piece aside and repeat the process using the other two legs.
It's going to take two people to do the next step. Stand up both sets of legs and slide the square top onto the top of the trellis and insert screws to attach the top to the legs. Use a little caution here because the trellis is very unstable until you attach the remaining slats on the other two slides which is your next step.
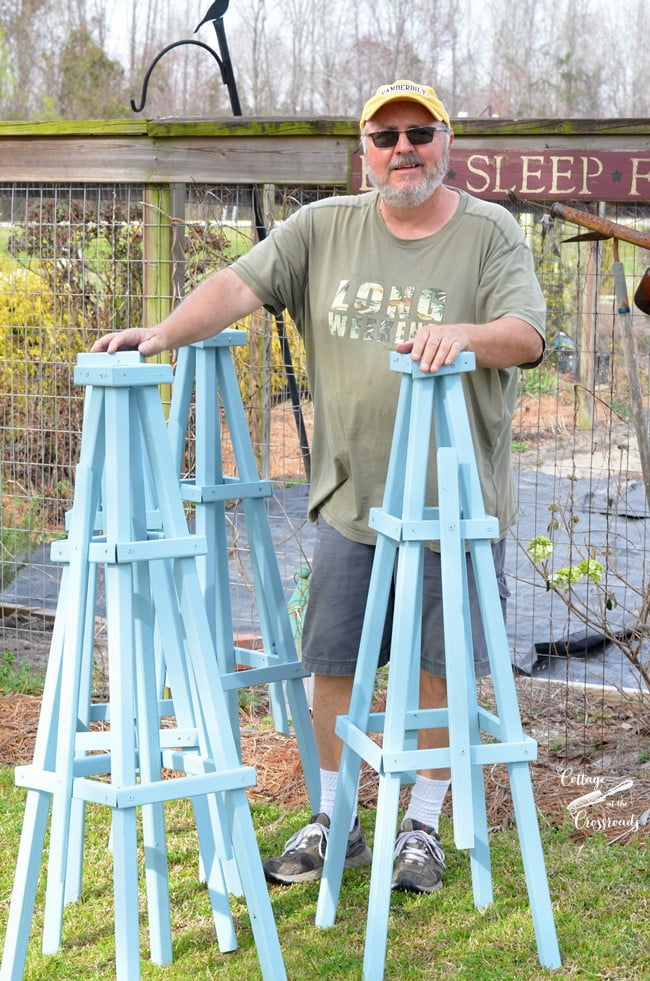
After Leo and Jim made the first prototype, I suggested that we cut two additional 30" pieces from the 1' x 1 ½" slats to add additional decorative supports onto which vines could climb. We only added them onto two sides as you can see in the photo above, but you can customize the trellises any way that you wish.
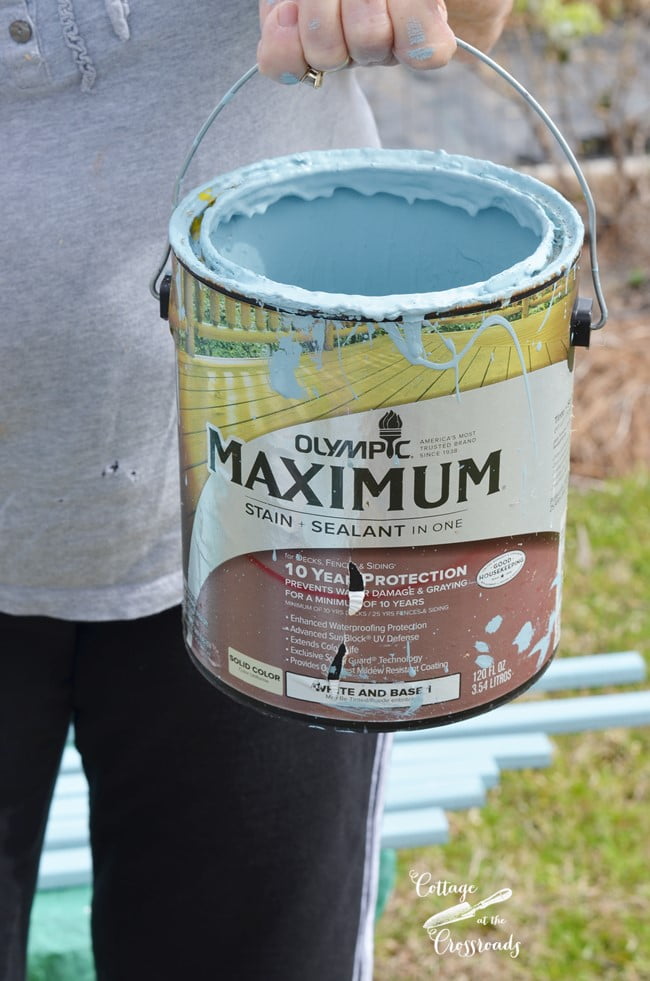
Since we didn't use treated wood to make the trellises, we stained them using this solid wood stain by Olympic that we had left over from staining the picket fence panels that we put at the ends of our FREESTANDING DECK IN THE GARDEN that we built last year.
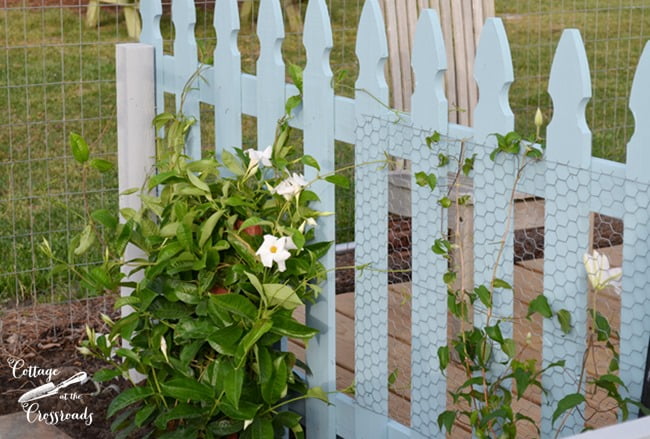
I'm sorry that I cannot give you the exact color that we used because the label on the can has faded but it is such a pretty color.
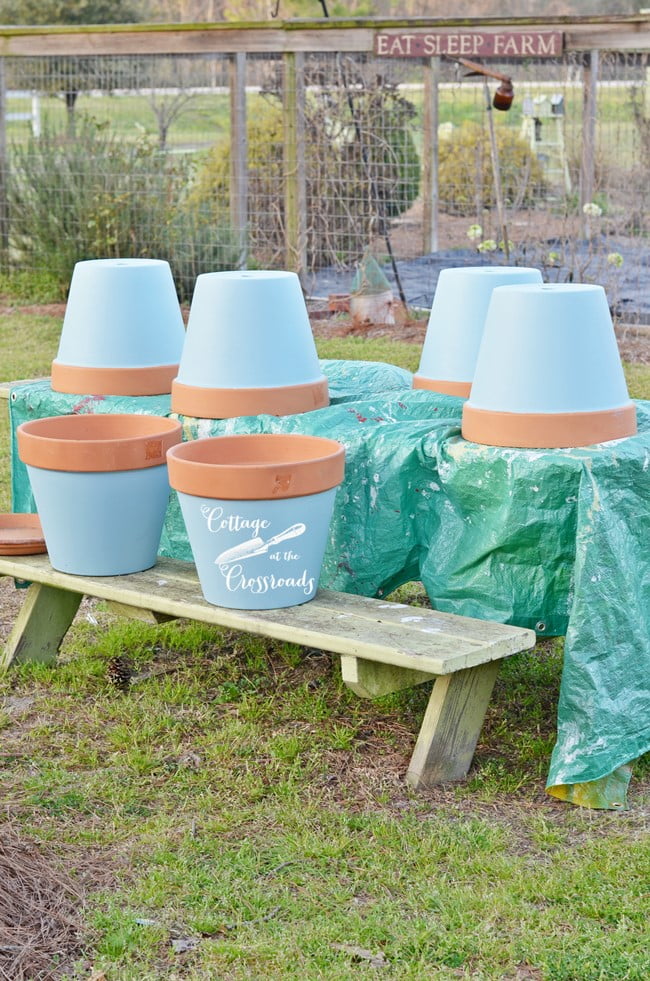
So pretty that I decided to stain some terracotta pots with the amount I had left over from painting the trellises! Remember my original vision that I had of having pots and trellises in the raised beds?

It's coming true thanks to Jim and Jean's help in getting these wooden pyramid shaped trellises made for the garden!
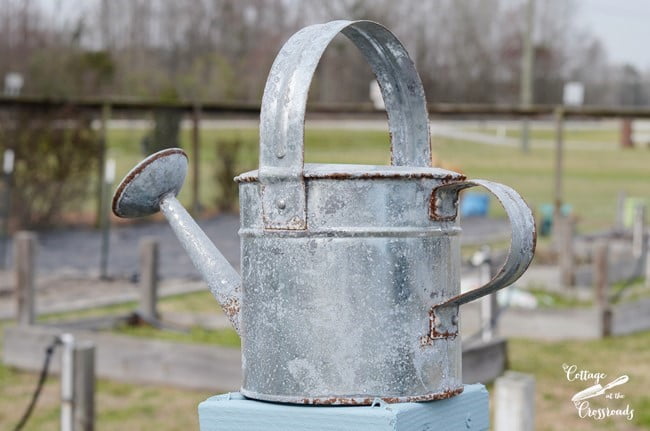
And look how cute this rusty watering can looks on the top on one of the trellises!!! I can't wait to get some flowering vines planted underneath these wooden pyramid shaped trellises in the garden! Hurry spring!

Denise Frantz
Georgous!
Kathleen
I love these.....and the color is gorgeous! Very beautiful job....great family project!
Suzy @ Worthing Court
I love these, Jane. They are too, too cute!
mary
Jane, I always look forward to seeing what you and Leo are up to in the garden! So nice that you have family to help with projects 🙂 I can already imagine your trellises in your beds with climbing vines or with pots of trailing flowers on top!
Stacey
Your trellises are fantastic! I love them painted blue because they add that little cottage touch to the outdoors. I bet the people driving by love to see what y'all are up to. 🙂
Dianne Stewart
They look great!! I am forwarding this to hubby -- so he can make some for our garden!!
Pamela Groppe
Love them. I need to make more in my garden. We turned some of our into an arbor and I just found the perfect clematis to plant by it.
We need to make more and some of the shorter ones too, they work great for my tall Delphiniums to grow up thru and be a support for.
Holly
I adore these trellises! What a cute idea and fun color! Thanks so much for sharing the tutorial. Ü
Roy
Beautiful! Great job! I'm envious...!
Jane Windham
Thanks Roy! It's easy to make one of your own!
Dawn
What a beautiful sight, just seeing some green grass and things sprouting from the soil excited me, and then those trellises just made my day. Your garden space is looking wonderful like always and what a fun day with help from framily.
Kathleen G
Love the color and spring is coming! It's nice to have help in assembling the trellis and having family near by too.
Kathleen in Az
Jane Windham
Because of the warm temperatures, the pollen has already arrived!!! Too early to plant annuals or tropicals because we're expecting a few more frosts, Kathleen. And yes, we very much appreciate the our helpers in the garden!