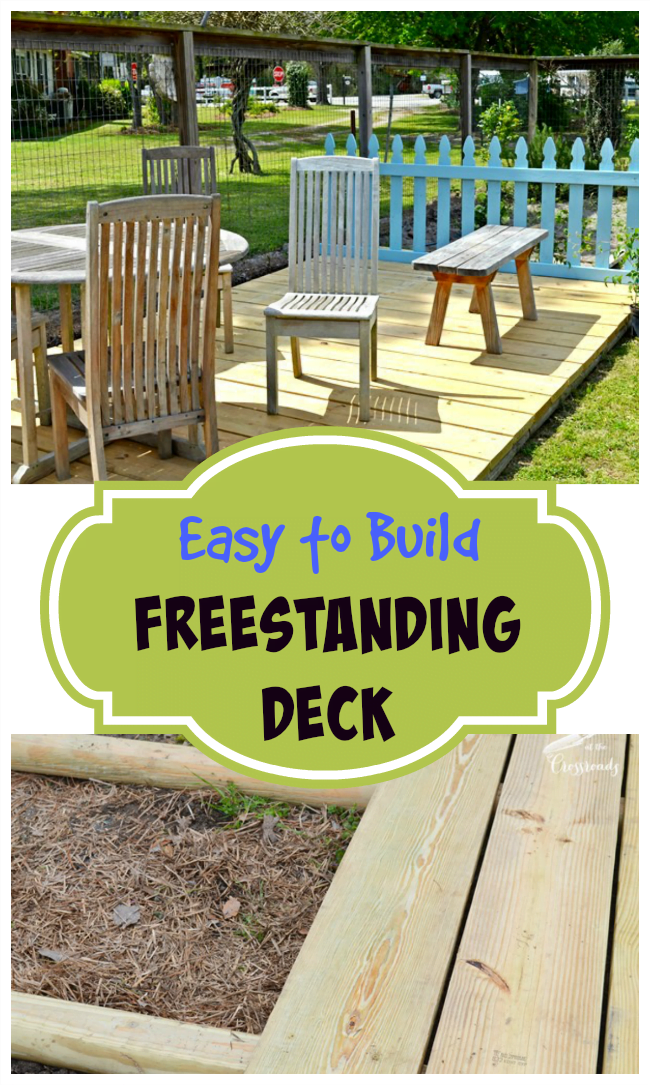
Learn how to build a freestanding deck step by step. You know, a nice place to sit, relax, and maybe enjoy an adult beverage from time to time.
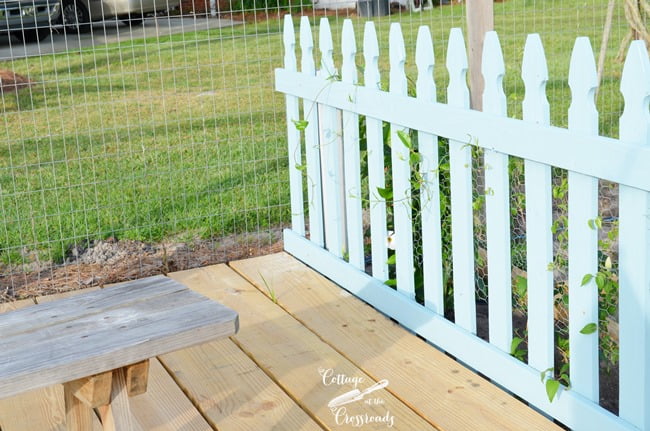
Or, here in the South, a nice tall glass of ice tea. Before I begin, I must tell you that I am by no means a professional carpenter or deck builder. This is just the way that I did it, and it's quick and easy.
How to
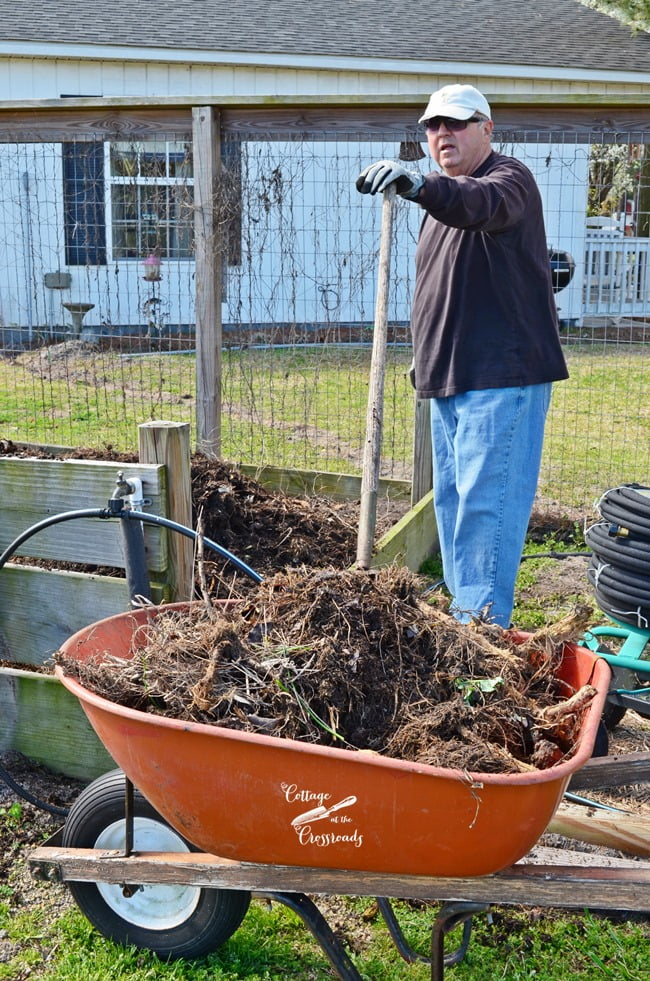
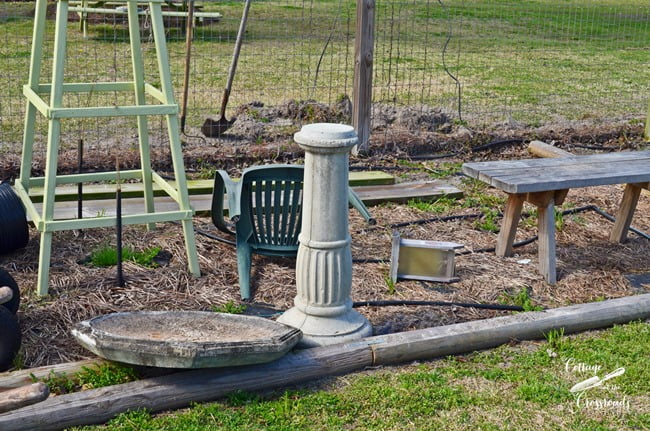
The first thing that I had to do was to clear a place to build a new deck, and it really was time to move this compost bin. It's not a job for a person with a weak stomach. But it had to be done, so I did it.
I already had some landscaping timbers, so I decided to use them to build a frame. I know, I know. Most folks go to the trouble to dig footers and place concrete blocks for the foundation. But like I told you, this is quick and easy.
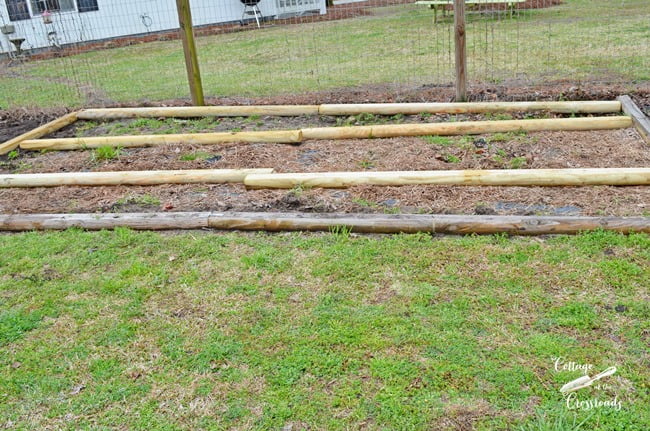
It's very important to make sure your area is level. You may have to move a little dirt here and there. I decided to make the deck 8 feet by 16 feet. Why, do you say? With those dimensions I didn't need to cut or saw any lumber. The landscaping timbers are 8 feet long and I placed one on each end and put 2 together on the sides and in the middle for support. I used a total of 10 landscaping timbers.
Lucy and I made a quick trip to Lowe's to pick up the lumber for the decking. I brought home twenty 8 ft. long 2" x 10" pressure treated boards. I chose to use the 2" x 10" boards instead of regular decking planks in order to make the entire deck sturdier.
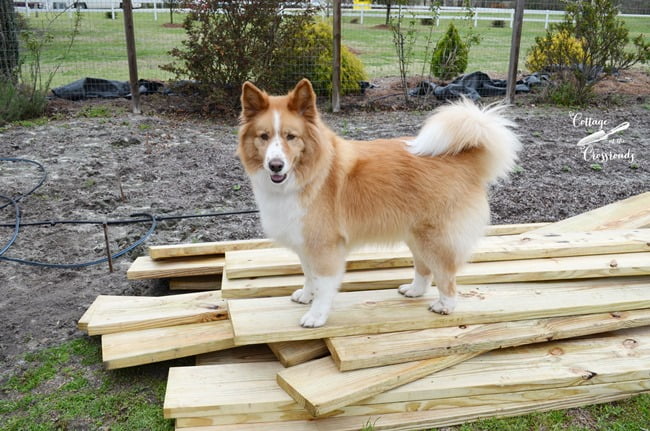
I got the frame all level and checked to see if Lucy was ready to go.
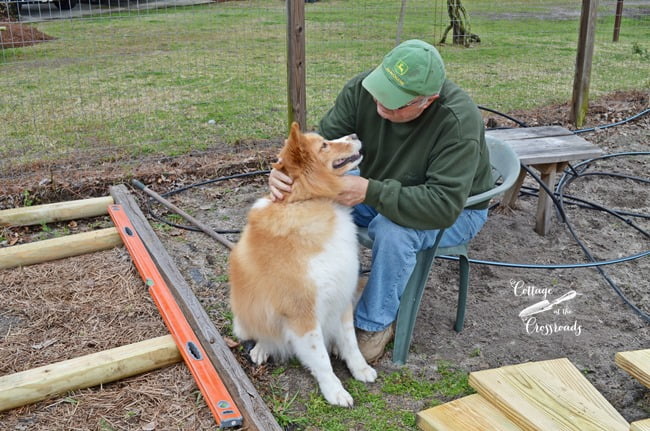
After all that, it was time to start placing the boards. I made sure the first board was laid square with the frame, and I used a ½ inch spacer to keep the gap between the boards consistent.
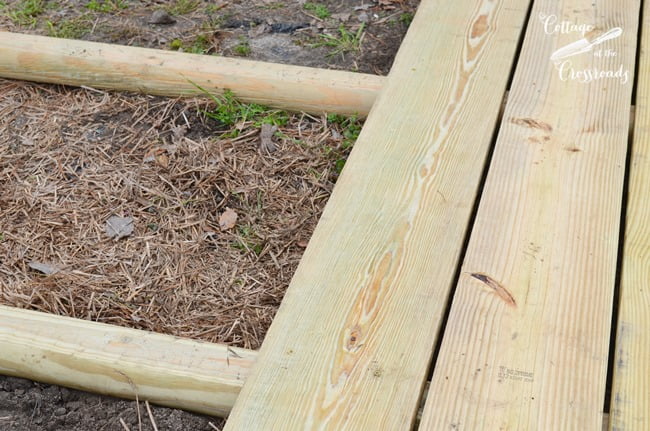
The only supplies that I used beside the lumber were my drill, a box of 3 ½ inch coated decking screws, a level, a hammer for tapping, and a good ole' shovel.
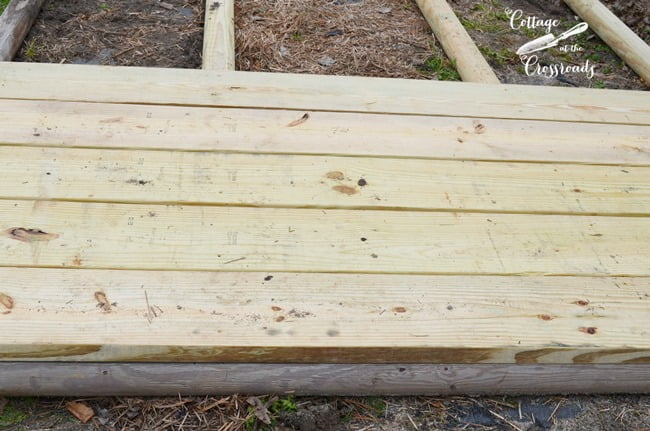
If my faithful sidekick and assistant Jane can drive in the decking screws, then so can you!
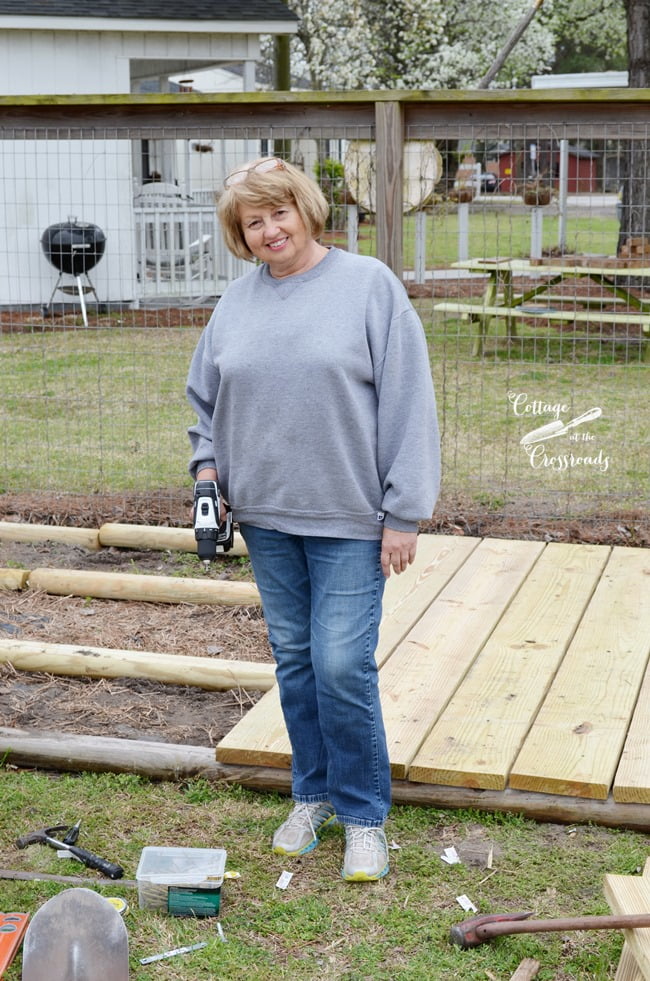
Once we got started, this freestanding deck only took a few hours to construct. By the way, while Lucy and I were at Lowe's, we picked up 2 sections of pre-made picket fence.
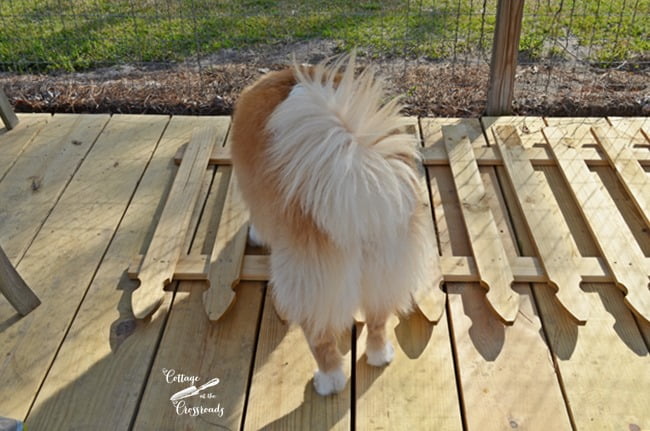
While Jane was painting one of the picket fence panels blue, Lucy got a little too close. Talk about trendy! Lucy has blue streaks in her hair!
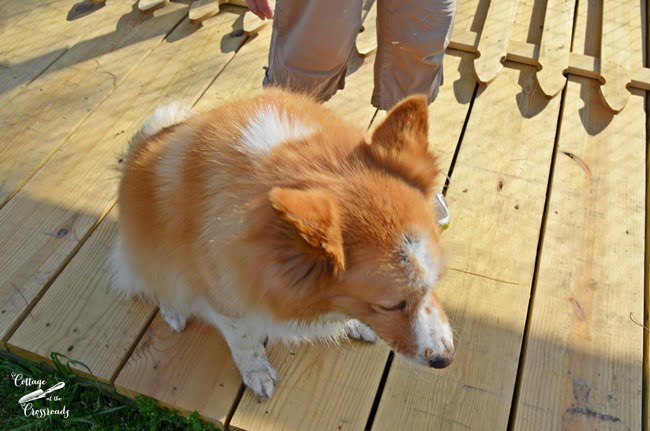
Adding the fencing was easy. Just two 4" x 4" posts set in the ground 2 feet on each end and I used 2" screws to attach them to the posts.

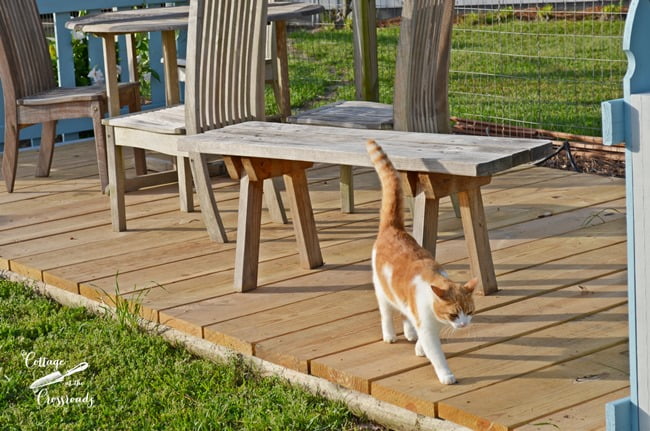
I'm sure we're all going to enjoy this freestanding deck in the garden, especially after Jane puts her creative decorating touch to it.

Aleksandar
BRAVO
Christine
Hi! Came in via Pinterest.
Am in the process of building my own deck, as an extension of my porch. The ground slants, and all.
Anyway, I was wondering if you had any trouble with the 2x10s cupping? I have a lot of 2x8s I plan to use, but the advice is nothing bigger than a 2x6.
Never having been one to take things at face value, I was glad to see you using wider boards.
How is that working?
Thanks!
Jane Windham
Christine, we have not had any problem with cupping.
Ms Willie
I found a tip to help avoid cupping!! When you lay the boards down, make sure to look at the ends of the boards. The wood tree rings need to look like they are ‘frowning’, rings curving down. If they’re smiling, then the planks will cup overtime. Hope this makes sense.
Jane Windham
That is such a great tip and thanks for sharing it with us!
Mary Stewart
I wanted to know if you could give an update on your deck and maybe a picture. How has it held up over the years? I want to make 3 small decks, one for each of my three grandchildren in different areas of my backyard. From reading the directions, I know it will be easy and I've seen those same landscape timbers around town at various businesses and parks. I don't think those businesses would use them knowing they would have to replace them every couple of years. The cost could get really crazy. Thanks for the tutorial and have a Blessed day!
Michelle Melton
I love this!!!! I also love your style posting. Love the fur babies in the pics!
Emily
How do you make sure its level?
Jane Windham
The ground was mostly level before we started. But as we laid each board, we used a level to see if we needed to add any soil under the landscaping timbers to get it just right.
Jessica
Just wondering- about how much would something like this cost?
Stella Gustafson
I had an area in my yard by the above ground pool that was dirt and nothing would grow there. So after seeing your blog I decided to recycle some old pallets that was to be used for another project, and make a fre standing deck. I love it and my friend visited one day and she also liked it. It gives us a nice area to sit and relax around the pool. Thank you for sharing
Jane Windham
Hi Stella, I'm so glad that our deck gave you the inspiration to complete yours! It's the best thing that we've added to the garden!
DGCO
Really like your idea's! Motivated to start this Spring '16. Always wanted a little something in the backyard so we could relax, but other options were expensive, complicated and time consuming. I think we could be up to the challenge with your idea/example. Keepin' an eye out for sales on lumber, so we can store up during the winter and get going first part of spring. Yippee!!
Jeremy Minick
Just stumbled upon your blog and am glad I did! Great information and presentation you have going on and we're always preaching about the value/beauty combination of adding a deck to your home! Keep up the good work!
Karyn
This is a great idea, I truly do love it; however, it's a construction rule to not put wood onto dirt..... otherwide it rots.
Hope you get many years before that happens.
🙂
Marlene
Hi. We're not handy at all, but think we could build this deck. Could we put landscaping fabric under the timbers? Pavers? Any other suggestions? Thanks.
Jane Windham
This is a very easy deck to build, Marlene. We actually had some landscaping fabric in part of the area where we built it so we haven't had any trouble with weeds growing through the cracks. We do have some weeds that grow around the edge so I would suggest to extend your landscaping fabric a few inches beyond the deck. You can always cover it with mulch or straw.
Marlene
Thanks for replying. we just bought our supplies..
Jean Windham
The garden deck looks like great place for a cool drink whatever your fancy. I do love the color Jane has picked for the picket fence. Woody and will look forward to evenings there late sumner. Congrats on a job well done.
Pamela @ FlowerPatchFarmhouse.com
I have been meaning to stop in and say how much I love this. I am also putting in a little raised deck in my back yard but I am using pallets for the base and laying old lumber on top for the floor. So far it is working out. Though with it sitting directly on dirt the pallets won't last long but maybe long enough to decide if I want to redo it with slate pavers or the cement stepping stones. I am always so indecisive. 🙂 It was fast and easy though.
MariaElena
Love, love this idea! How beautiful! Have a great weekend! xxx Maria
Mary
Hi Jane & Leo! You make deck building look so easy with the exception of moving the compost pile! Hope you're enjoying this beautiful weather on your deck with your glass of iced tea or cocktail 🙂
sondra spencer
Cute blog! Found you through pinterest! Hope to visit again soon! Thanks!
Simply Suzannes at Home
Hi Jane and Leo!
You two are too cute! Love your freestanding deck! I think it's a GREAT idea!!
I can already see intimate brunches and evening gatherings happening there!
Looking forward to following your adventures.
Have a wonderful week,
Suzanne
Robert
Very inspiring little project.
this will be perfect for a spot to set a small grill in the back. Easy to take down and reassemble also. Thanks y'all.
debbie
i love your freestanding deck,, simple and sweet, my kind of project. Thanks for the inspiration.
phyllis
very nice Jane; I see the animals are enjoying it already. Still looking for a planter like yours; the one from a grill;. cant wait to do the summer jobs. I have plenty in mind. I think Leo is a closet model. keep up the good work.
Donnamae
Super idea! I like the fact that you see a need...and just do it! You two work so well together! 😉
Wendy Johnson
What a delightful thing to read . Love your humor and how you work together And all the wonderful ideas!
Kathleen G
Reading the posts about your garden endeavors remind me of the years my husband and I worked on our garden. Even with a dog ( with paint too! ) and cat. A lot of work, but so rewarding. Oh my, the compost, so rich looking, all the beautiful veggies and flowers that will grow from it. Kathleen in Az
Karen
What GREAT COUPLE you guys are!!!!! LOVE the garden deck!
Gaye Ham
It looks great and so easy, I may be able to handle that !
Jackie
I love this! The pretty blue fence is a charming detail. Also, I have sunflower seeds to send you - I think I also found my cosmos seed stash!!! If you would email me your address I can get those in the mail to you. It will be time to get them started!! We loved ours last year - but I have to admit now, my most favorite were the cosmos. They bloomed up until late October when the frost finally took them. Sending those, too.
Thanks for all your great inspiration!
Jackie
Dolly Sarrio
I like it!
Dawn
That looks fabulous and I know Jane will have it looking spiffy in no time. Yes that's one trendy dog for sure. I also have to mention, I'm loving how you strike a pose, lol 🙂