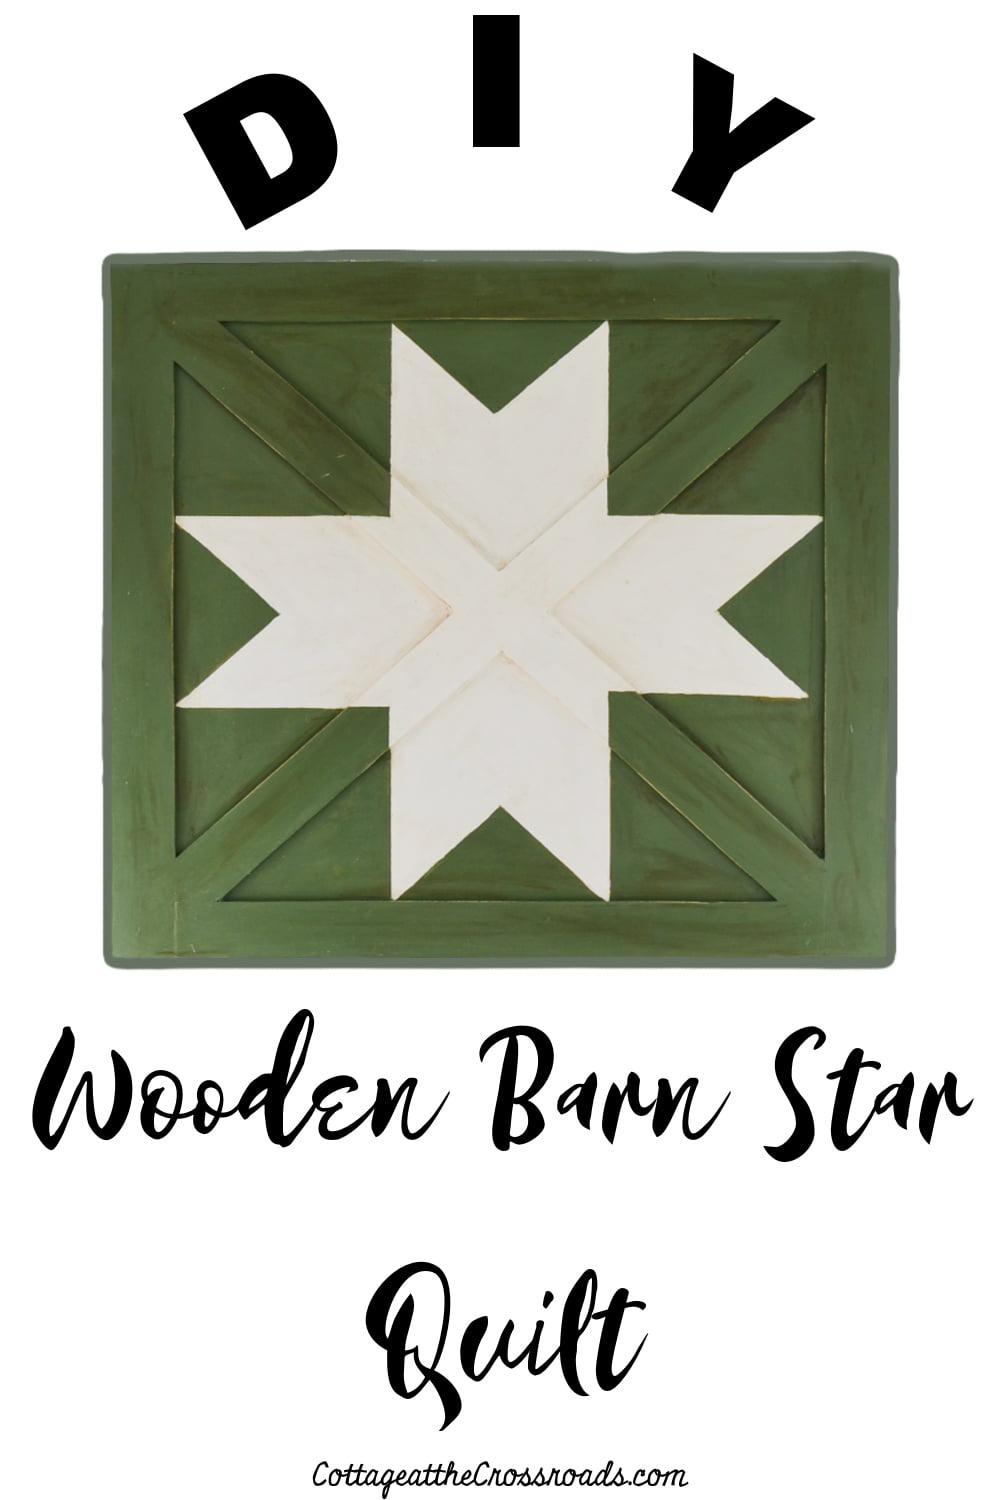
Have you seen the wooden barn star quilt that's in a very popular home decor catalog? Yes, that one! Today I have all the details on how we made our own version.
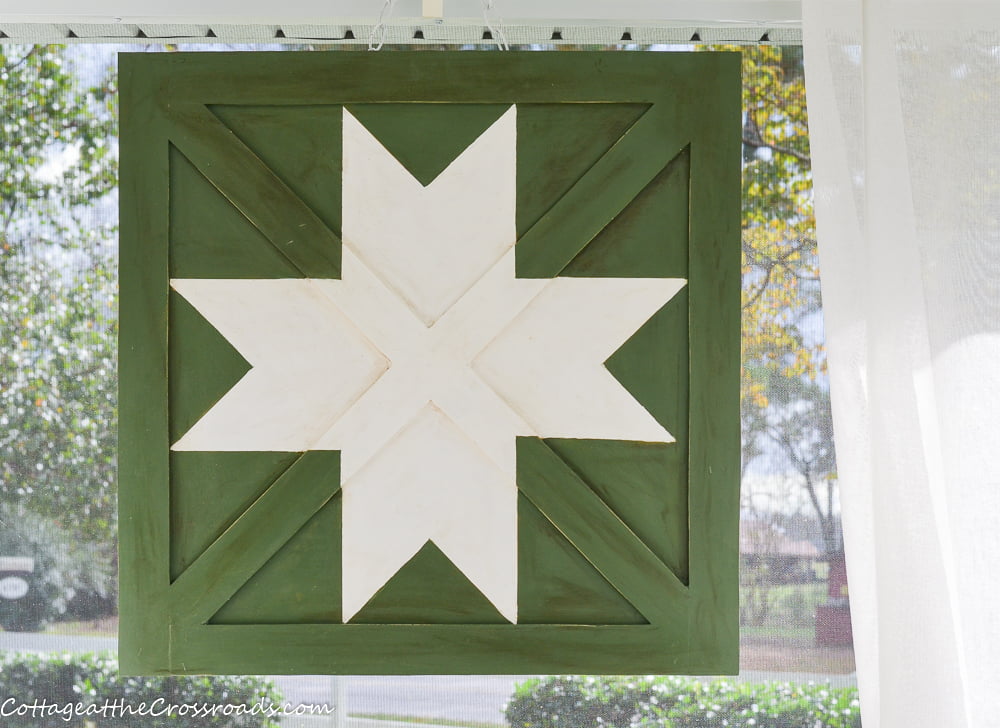
Yes, friends, our version is green instead of red! It's hanging at one end of our screened-in front porch.
If you have the catalog that I'm referring to, I'm sure that the red barn star quilt caught your attention when they showed it as part of their Christmas decor. But did you see the price??? Yikes!
I had actually thought about making a wooden barn quilt to hang on our porch many months ago when we did some renovations to our front porch. And I had even sketched out a design on graph paper.
You may not know this about me but I love quilts. Years ago, I even made a few crib size quilts and put them on display in a hallway. I have one of my grandmother's quilts and even a yo-yo quilt in my small collection.
So when I spied the barn star quilt in the Christmas catalog of that very famous company, it spurred me on to making my own version for the front porch.
First, I will have to admit that we did not entirely DIY our barn star quilt. I sent a photo to our contractor of the one in the catalog and asked him if he could whip one out for me. I knew he could put it together faster than we could.
And he did! I had him make ours a 30 inch square since I wanted it nice and large, but this wooden barn star quilt could be made any size.
If you have the tools and are handy at woodworking, here is a link to a post about making the wooden base of the barn quilt: WOODEN DIY BARN STAR ART-POTTERY BARN KNOCKOFF
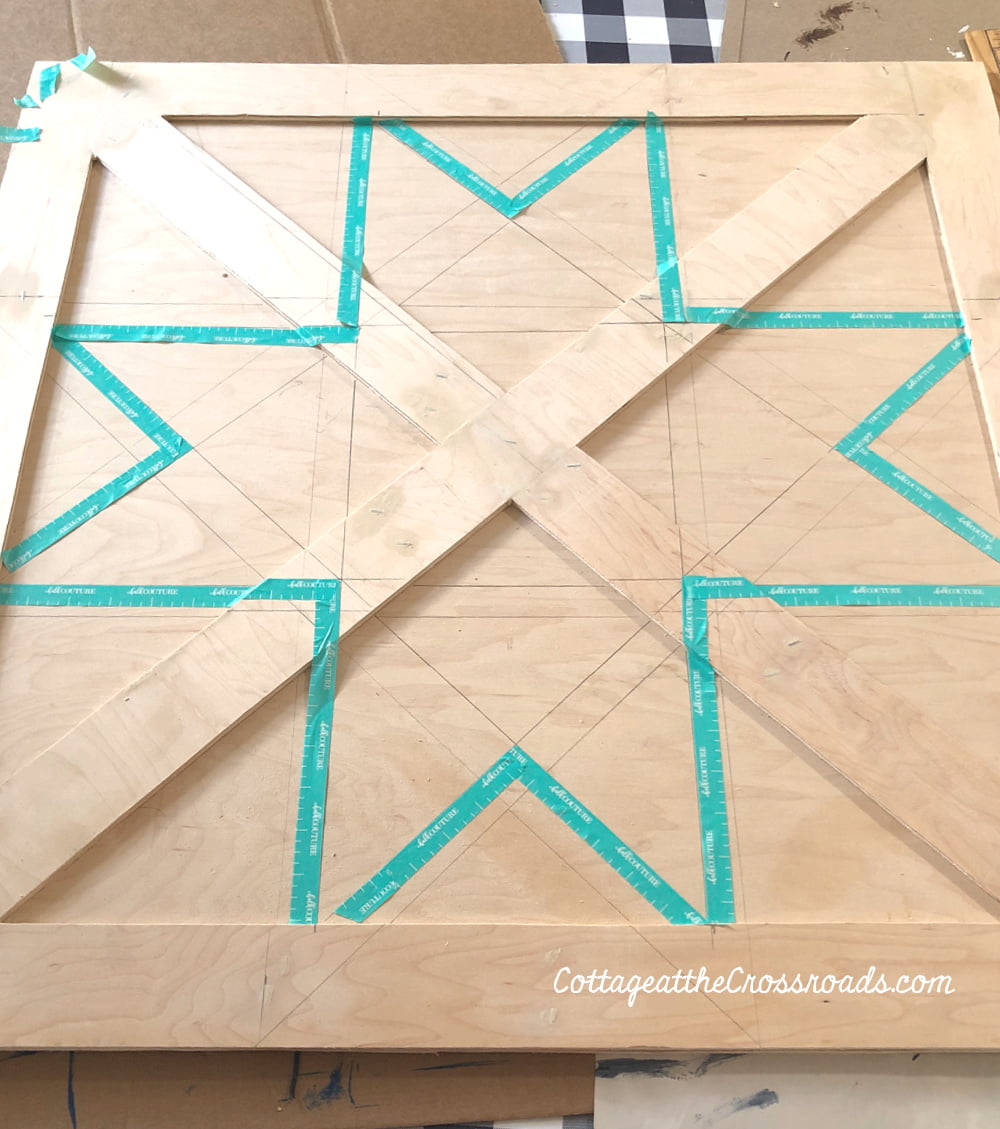
Once I had the unfinished barn star quilt back from my contractor, I had to figure out how to paint the design on it. The pattern is based on a simple and old quilt block design called the Ohio Star in which the large square is divided into 9 smaller squares forming an 8 point star.
At first I messed up because I was dividing the entire square measuring from the outside edge but corrected my mistake quickly. I had so many pencil lines on my bare wood that I was getting confused!
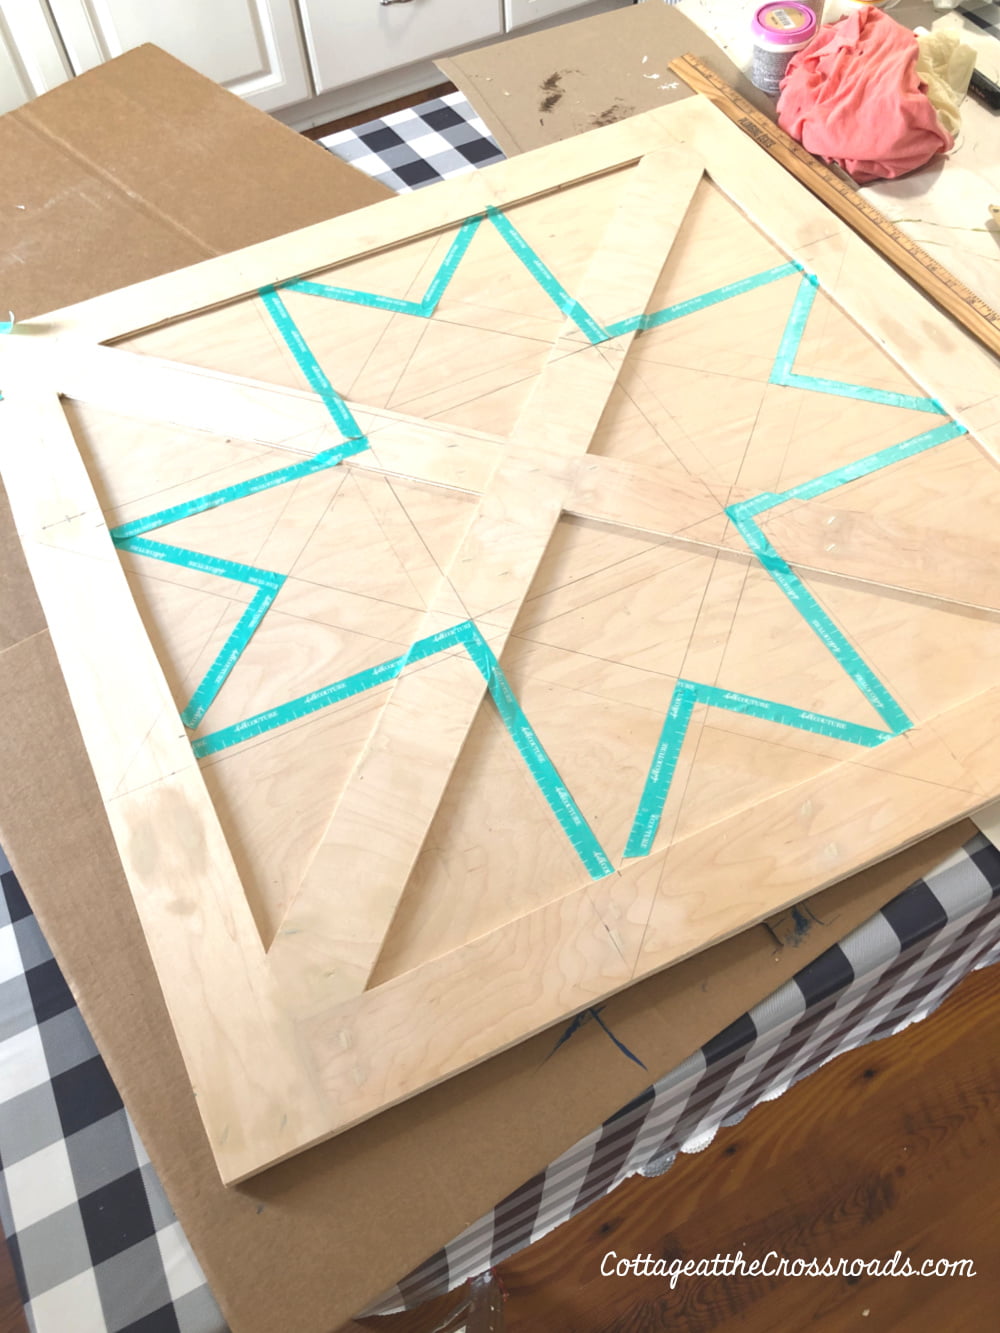
Using painters tape helped me see the squares and where I should paint. If you should decide to make one of these, be sure to divide the inner large square and not include the molding that makes a frame around the design.
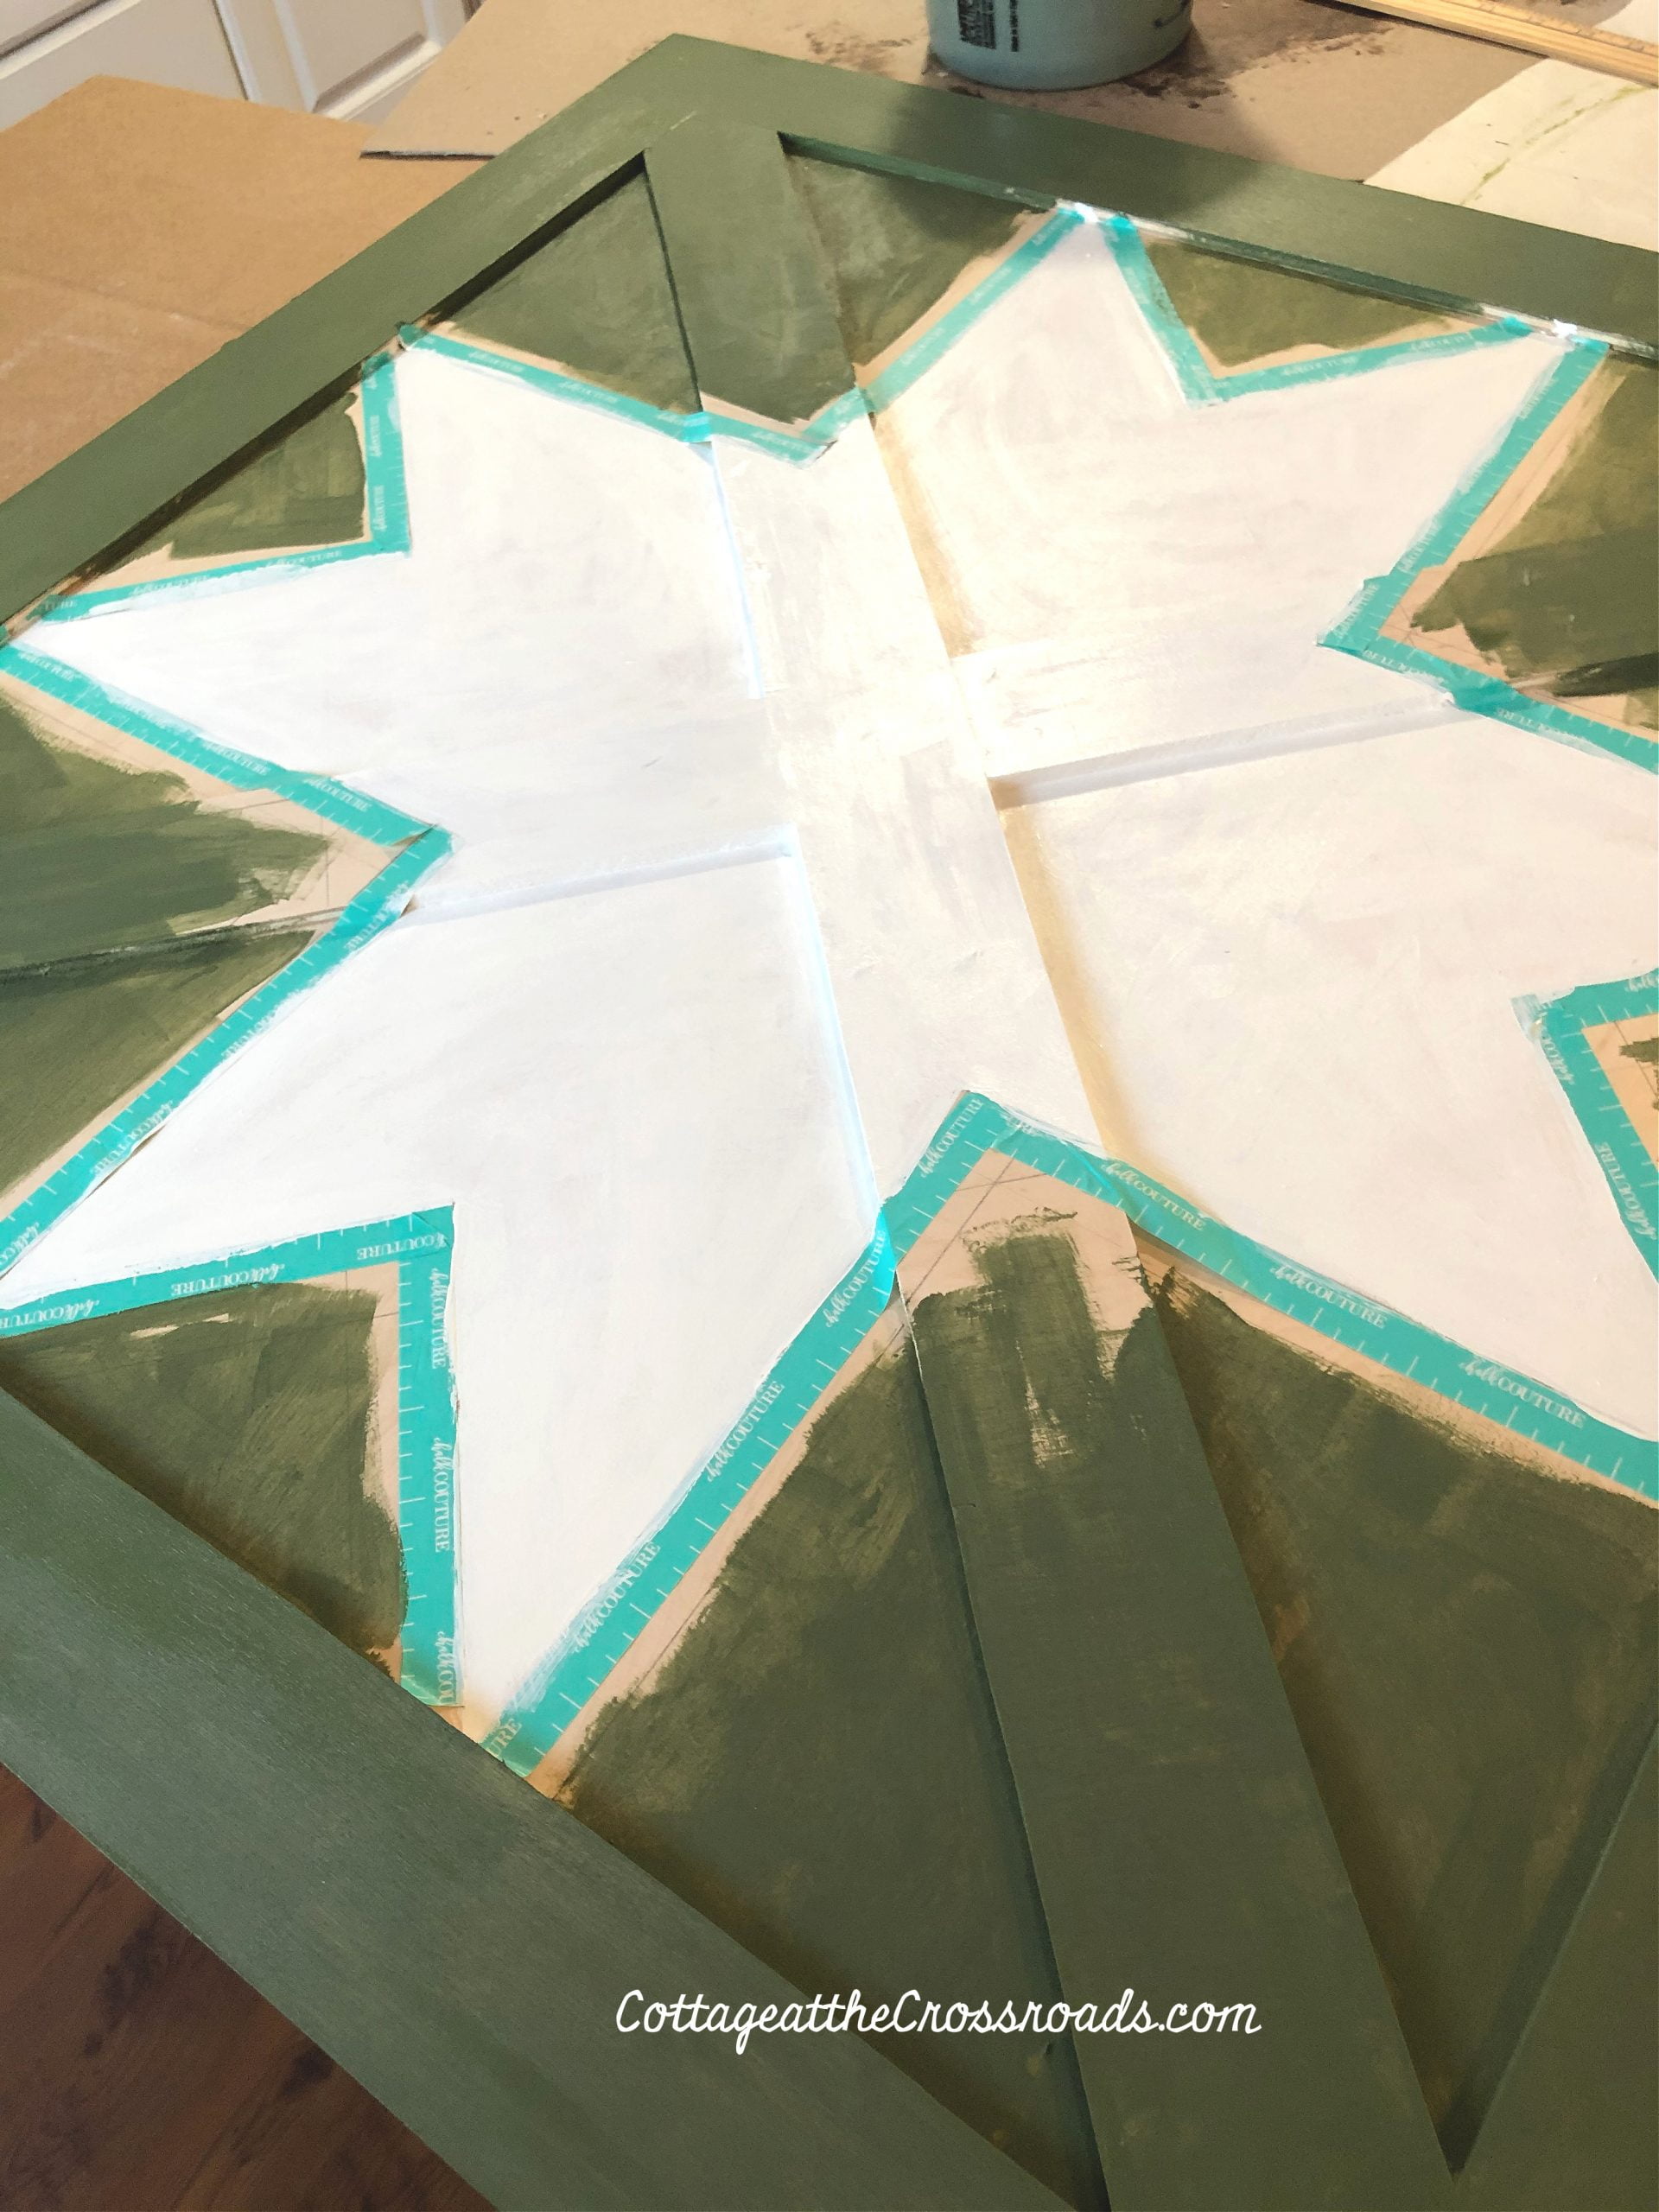
First, I painted the white parts of the star using some latex paint that I had on hand. It took 2 coats for good coverage.
As that was drying, I went ahead and gave the green areas a coat of some green chalk paint that I had mixed and used on some furniture on our front porch.
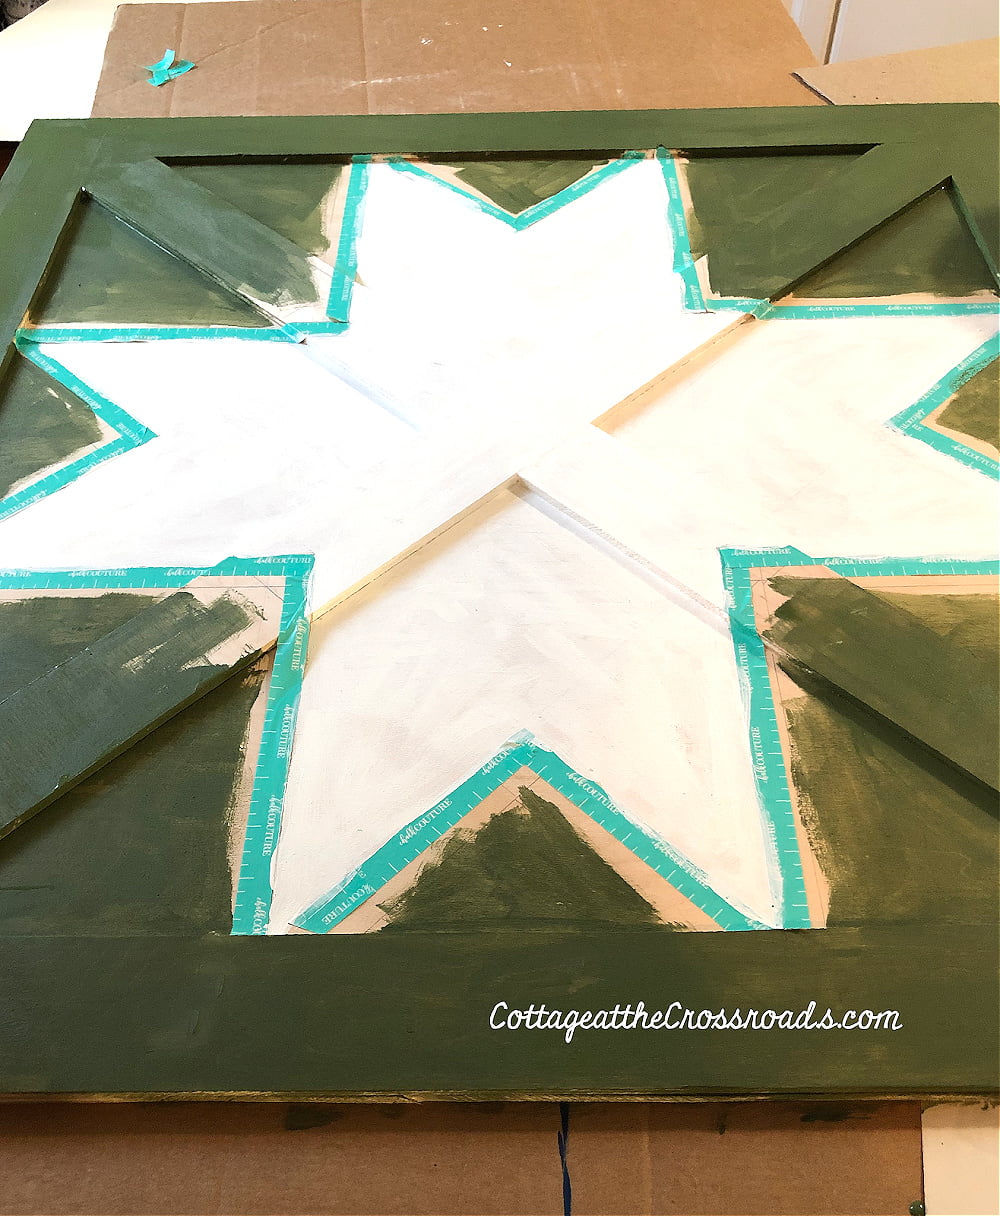
I didn't paint all the way to the edge of the white paint because I knew I'd have to retape the design to get a good edge between the white and green.
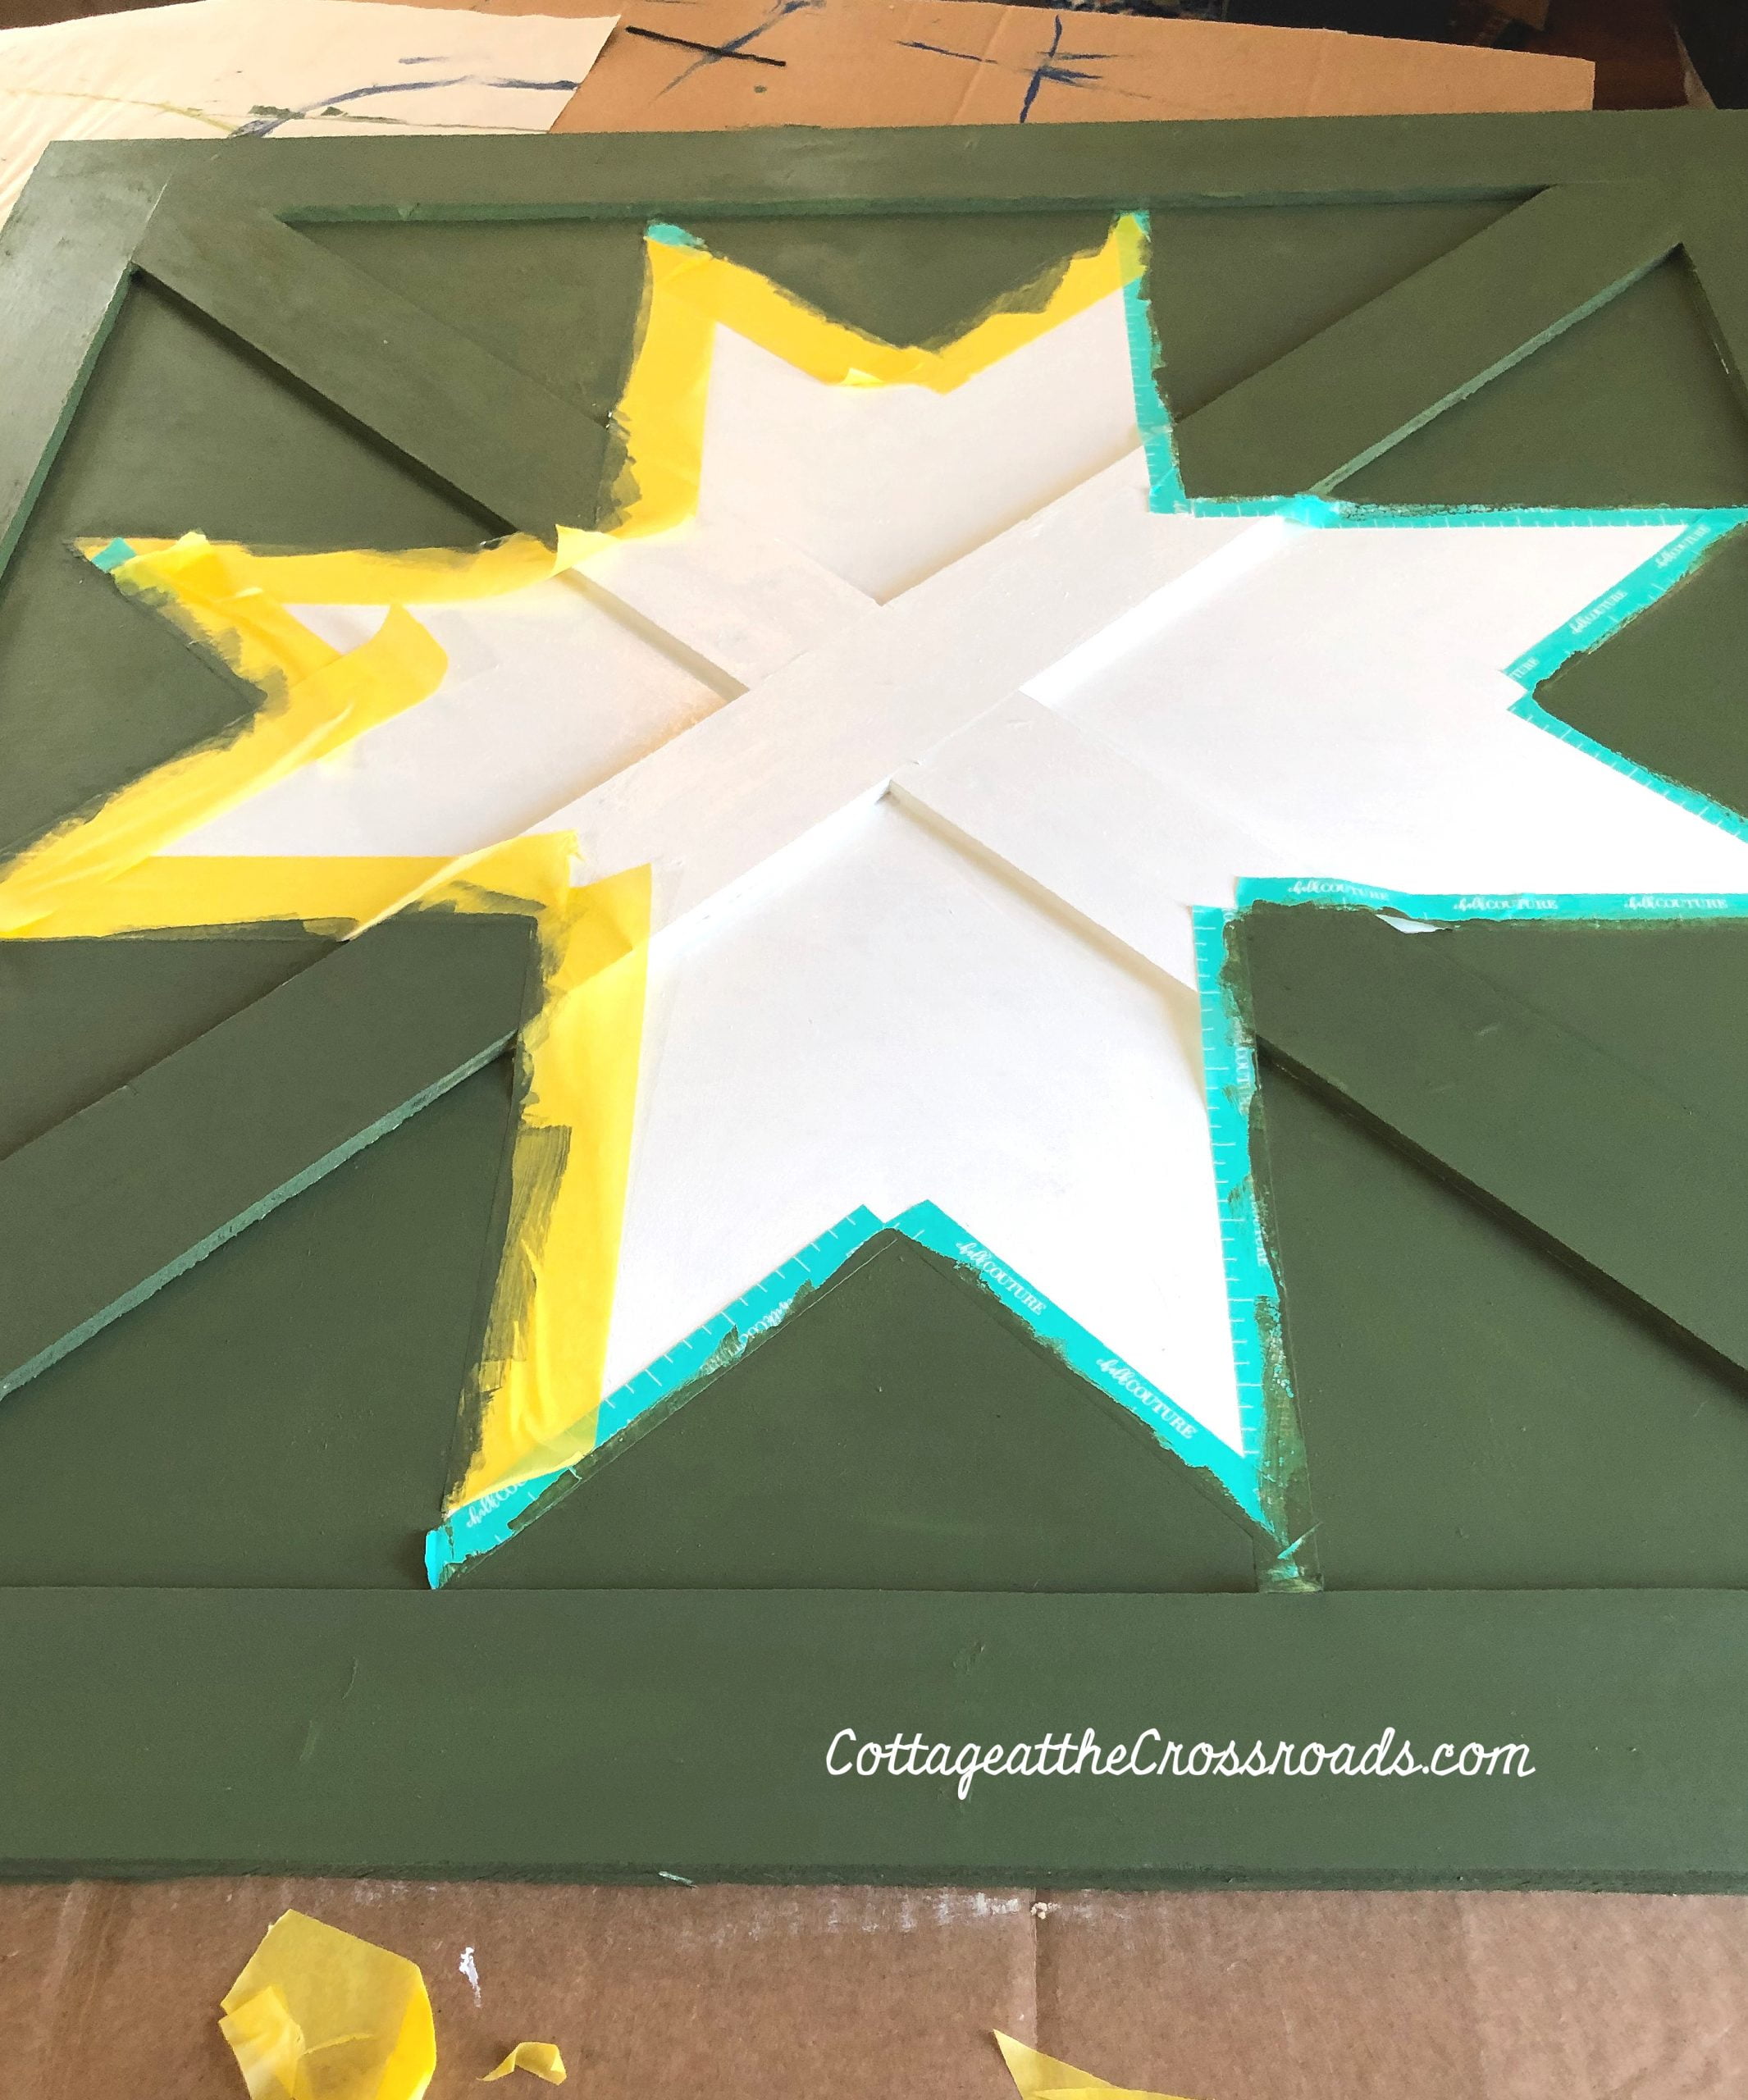
After getting it all retaped, I finished painting the green areas of the design. Once the tape was removed, there were a few places where I had to fix a few places where the paint seeped under the painters tape. I just used a small craft brush to clean up those areas.
Since the wooden barn star quilt was going on the porch where it will be exposed to rain and high humidity, I decided to protect it with Annie Sloan's clear and dark paste wax.
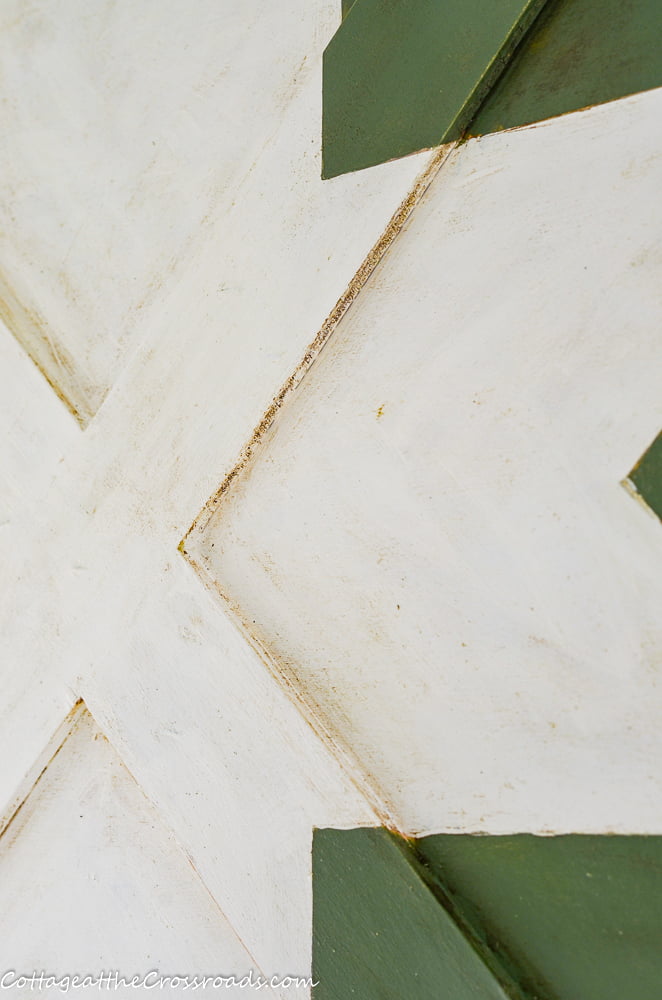
Here is a close-up so that you can see how the dark wax ages the barn quilt.
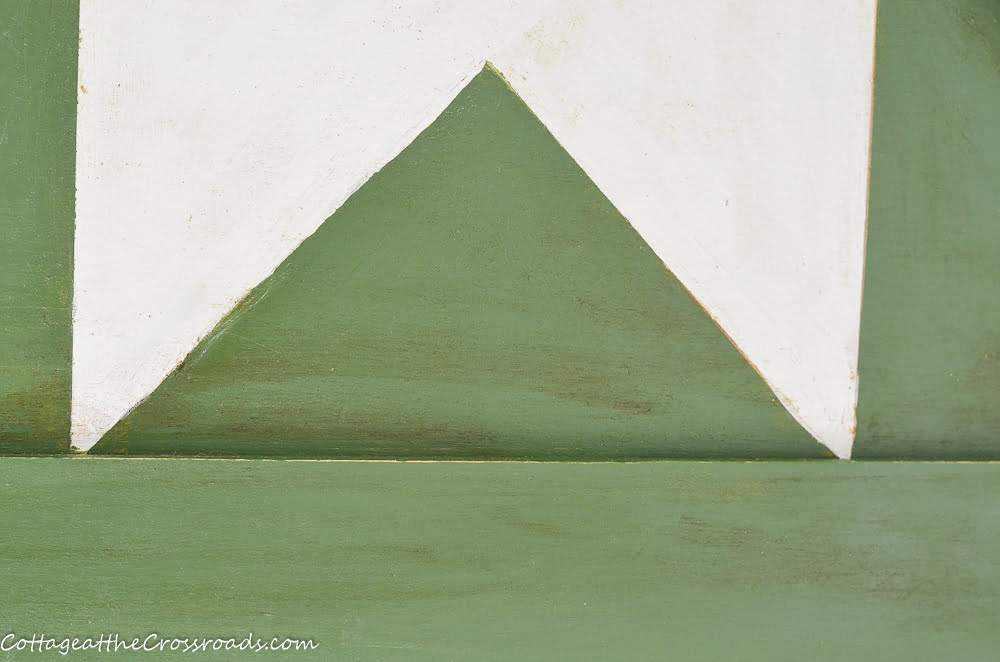
In the above photo, you can see where I also did some light sanding to further distress the barn quilt.
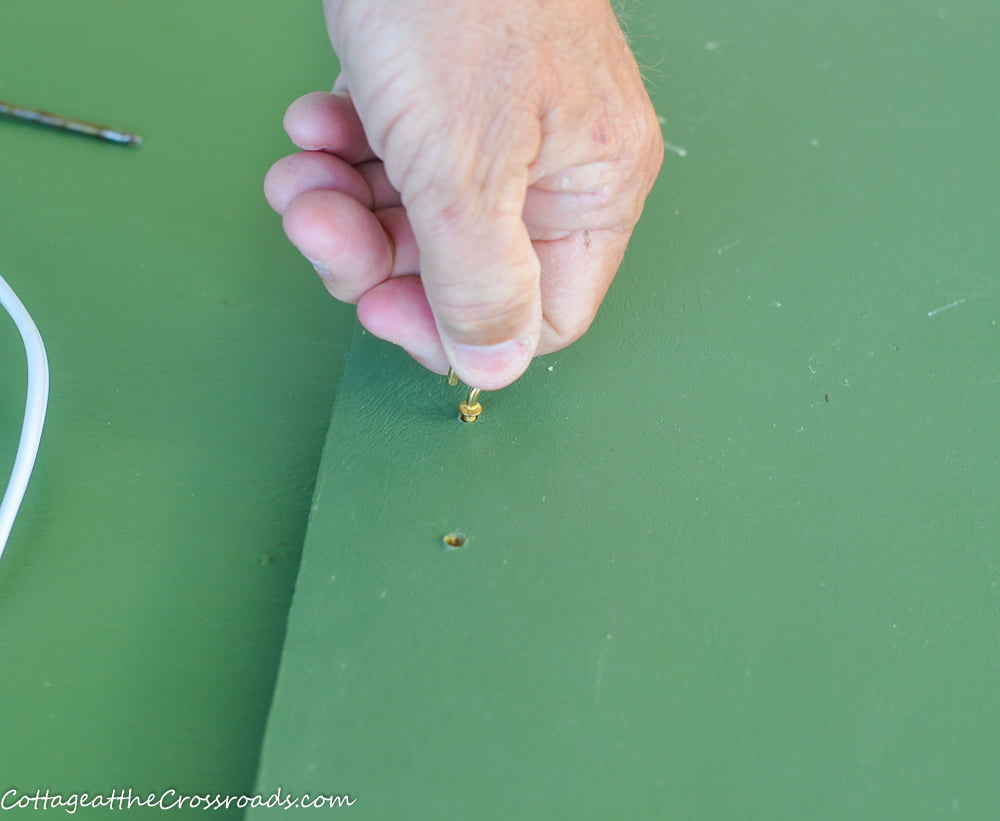
When we got ready to hang the barn quilt on the porch, Leo screwed 2 cup hooks into the back. We attached a short length of chain to one of the hooks, bent it with pliers so that the chain would not slip out, threaded the chain over the curtain rod that was already hanging, and attached the chain to the other hook.
It looks so good hanging on the porch and I cannot wait to get it all decorated for Christmas. The barn star quilt is a perfect compliment to our country cottage and will remain hanging long after the holidays.
Thanks, as always, for reading and supporting our blog, and I hope we've inspired you to make a barn star quilt, too!

Francis C. Moore
Love it. You could make kits to sell. I would buy one.
Janis T Hill
Yes, that's a great idea!
Nancy
That is absolutely beautiful. I love it.
Dolly J Sarrio
Excellent! I like that creativity! I've always loved those. My grandmother had a red on their barn and I always loved looking at it. I also love the Pennsylvania Dutch barns with the designs. You know I like green like you! Very pretty!
Judy Chastain
That looks awesome! We may have to make one.
Lorri
Love it.. When driving in the County I love looking for Barn Quilts on the barns. Yours is very cool.. 😁
Robyn Henningsen
I love this Jane. I have wanted to do one for myself for a while now, but just haven't had the courage to conquer it!!! You did a beautiful job. Happy Thanksgiving to you and Leo!