In this post you'll find the directions for the cornucopia update that I did recently as well as 9 more thrifty diy projects for the holidays.
I'm back as promised with the details on how I updated my old wicker cornucopia. If you missed seeing it on my Thanksgiving table, you can see it here: Thanksgiving Tablescape with a Cornucopia Centerpiece
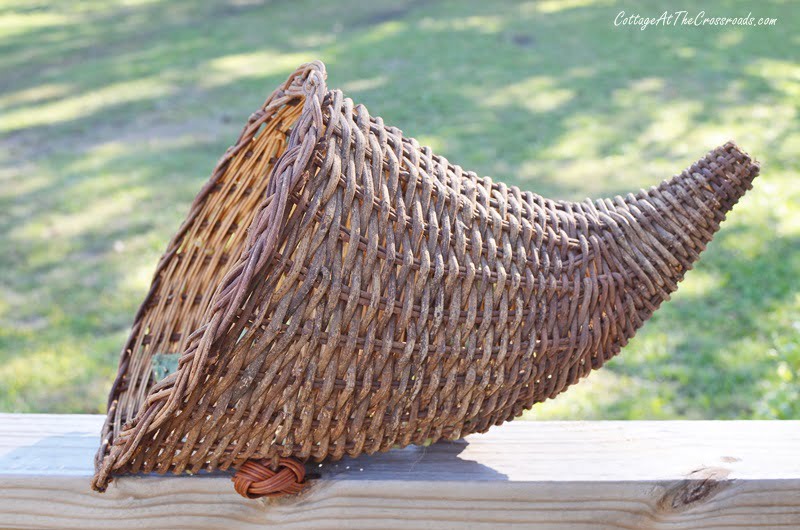
A cornucopia is unique to the Thanksgiving holiday, and I've had this brown wicker one for 20 or more years. This symbol of nature's abundance has had a place on our Thanksgiving table for many years.
Originally, it was filled with a beautiful sunflowers, gourds, and leaves in autumn colors, but a few years ago, I pulled all of that out because it looked "tired."
This year, though, I finally got around to a cornucopia update.
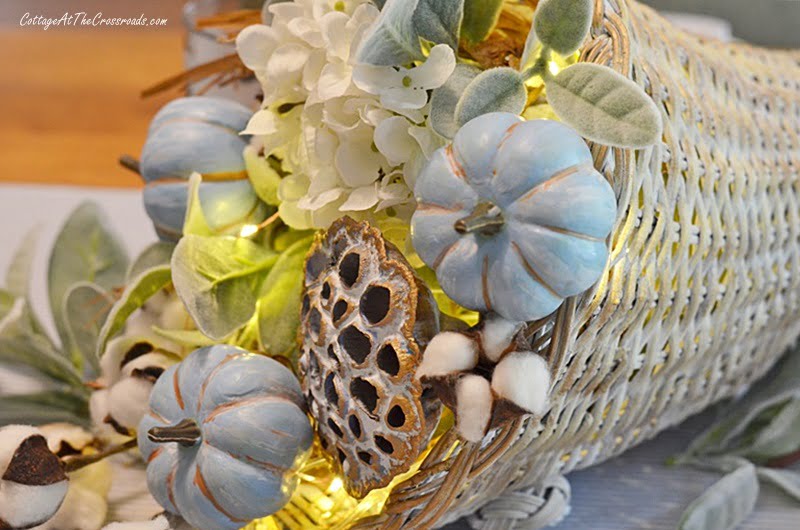
Yep. I brought this iconic symbol of the holiday back to the table, and I'm very possibly introducing it to a younger generation that doesn't even know what it is!
If you're inspired to do a cornucopia update, here are the steps and supplies that I used.
Steps and Supplies Needed for a Cornucopia Update
*Affiliate links have been provided for your convenience.
- First, you will need a wicker cornucopia. You can usually find them at thrift or antique stores, but if you don't have time to search for one, you can order a cornucopia from Amazon.
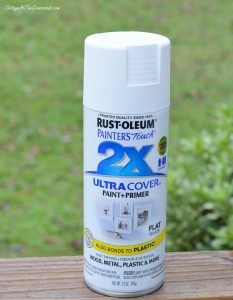
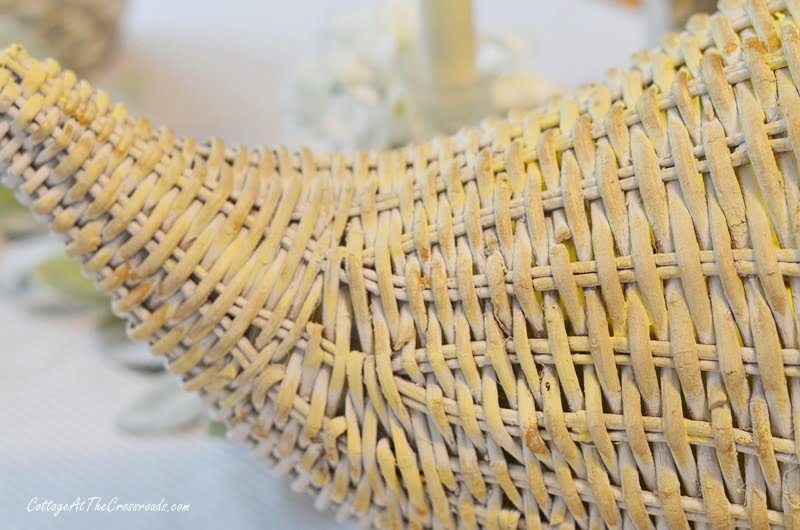
- Next, spray paint the cornucopia. I used this flat white paint and spray painted the inside and outside of my cornucopia.
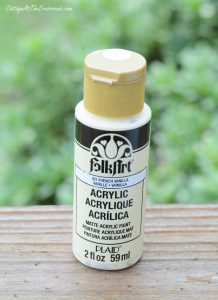
- To add some dimension, dab some darker acrylic paint onto the white painter wicker. I used French Vanilla by Folk Art and a sponge brush. You do not want to cover all the white paint, just simply dab the darker color here and there.
T
- You could stop at this point but I added some antique gold Rub 'n Buff around the opening of the cornucopia and here and there on the outside. I applied it with a cloth, and you only need a very small amount.
- To anchor your filler, place a floral styrofoam brick inside. I used small pumpkin picks from JoAnn's that I painted blue to match my color scheme, white faux hydrangeas, seed pods, cotton bolls, and faux lamb's ear to fill my cornucopia.
- Tuck a set of battery operated fairy lights inside for additional interest.
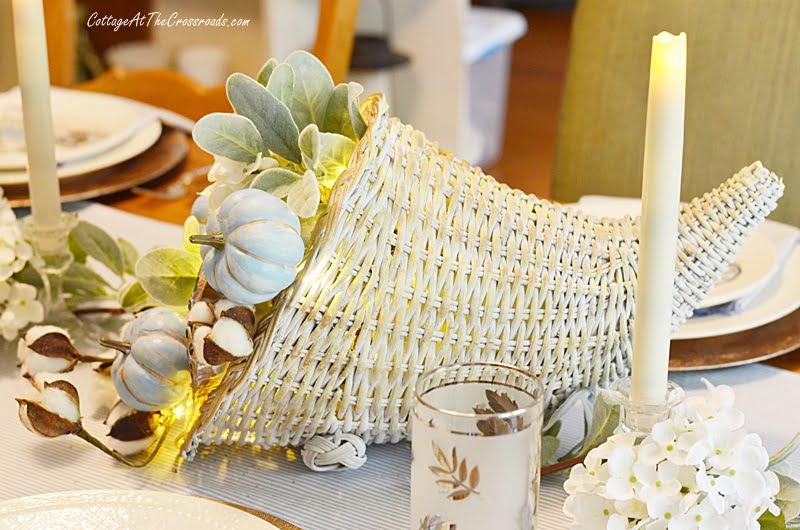
Ta-da! Much better, don't you think?
I hope I've given you an idea of how you can easily update a cornucopia.


 T
T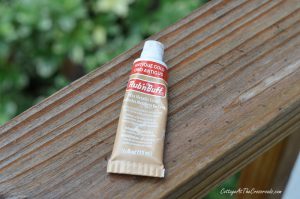

Gina
That's really pretty and I think it would be perfect for my Thanksgiving table this year - hopefully I can find a cornucopia while out thrifting this weekend!
Michelle @ The Painted Hinge
What a gorgeous makeover! I'm definitely doing this for Thanksgiving next year.
Paula
What a great update! You centerpiece is perfect for Thanksgiving. My grandmother always used a cornucopia filled with fruit, flowers, gourds and nuts for Thanksgiving.
Valerie
I’ve never even thought about painting mine! Love it.
Bliss
My what a nice cornucopia you have. I’m obviously not the younger generation!
Stacey @ Poofing the Pillows
Very pretty and so perfectly seasonal. 🙂
meegan
Jane,
It looks so fresh and new. Just in time for Thanksgiving!
I love visiting your blog and seeing all of your amazing ideas and creativity.
Deborah
What a beautiful update!!!!!
Cindy
Such a pretty update Jane! I love your blue pumpkins!!