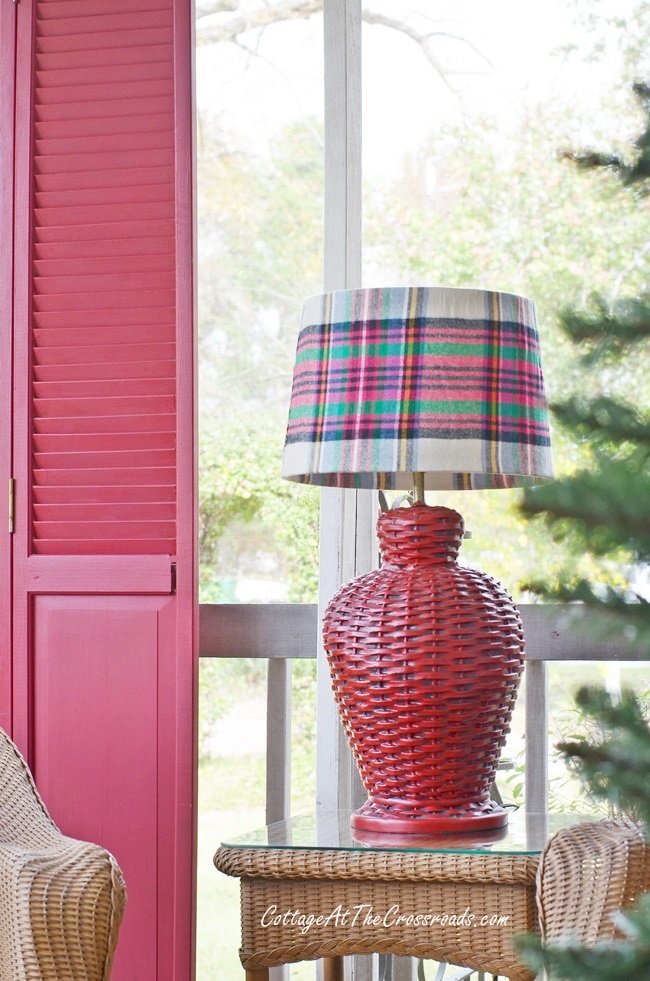
Today I'm sharing a plaid lampshade cover that I made for our red lamp on the front porch.
DIY: How to Make a Plaid Lampshade Cover
This fall, I've really fallen for plaid. It seems to be everywhere. I have a new plaid flannel shirt, a pair of plaid shoes and a handbag which I'll show you later. Plaid is really on trend, and I had even been noticing how plaid was being used on lampshades. So I decided to see if I could DIY my own plaid lampshade cover.
Materials Needed
- A drum shaped lampshade (affiliate link)
- Approximately 1 yard of plaid fabric (affiliate link)
- Mod Podge (fabric formula) (affiliate link)
- Scissors and/or razor blade
- A few binder clips or clothespins
Directions
First, you will need to select your plaid fabric.
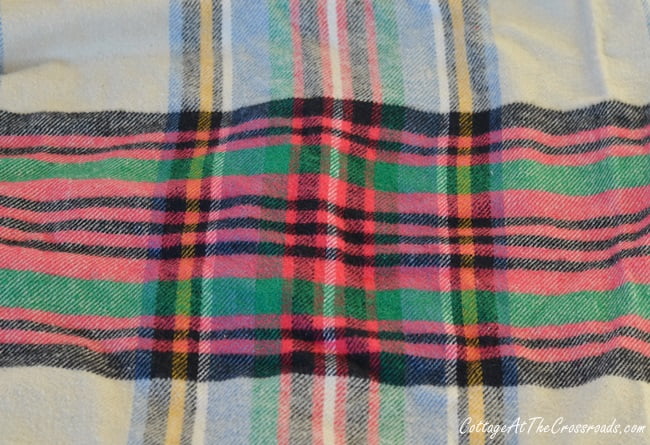
Since I wanted a warm, cozy feel for our lamp on the front porch, I selected this plaid flannel fabric which I found at Hobby Lobby. It would be better to iron out the wrinkles and fold lines before you get started.
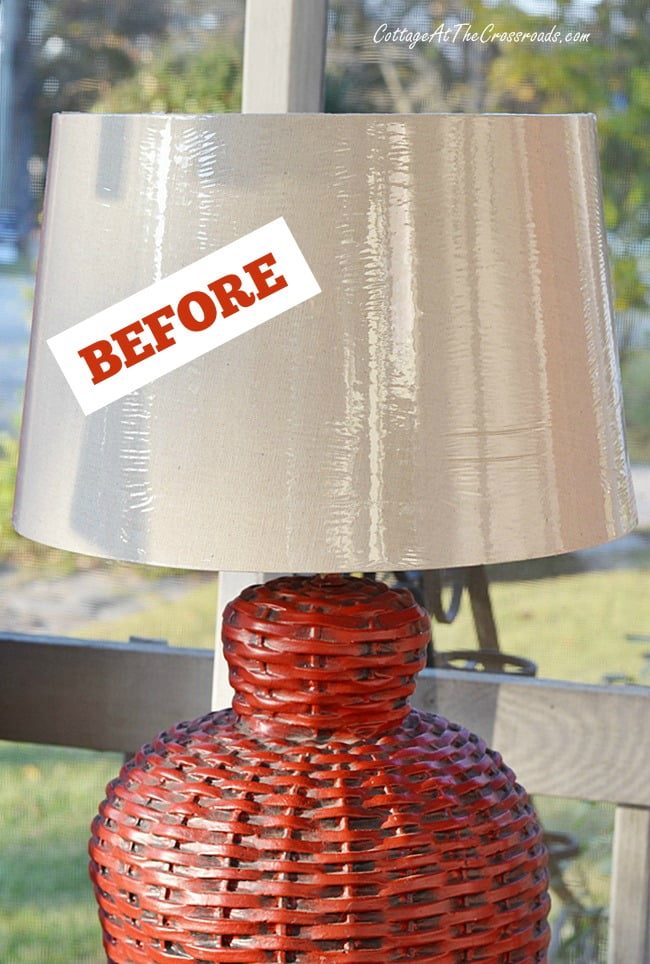
Next, you will need a drum shaped lampshade. I have never really paid attention, but some drum shades have straight sides and other have a slight slant to them. This project will be easier if you select a shade that is the same circumference at the top and the bottom rather than having slanted sides, but it really does depend on your plaid fabric as well. I'll explain what I mean in just a bit.
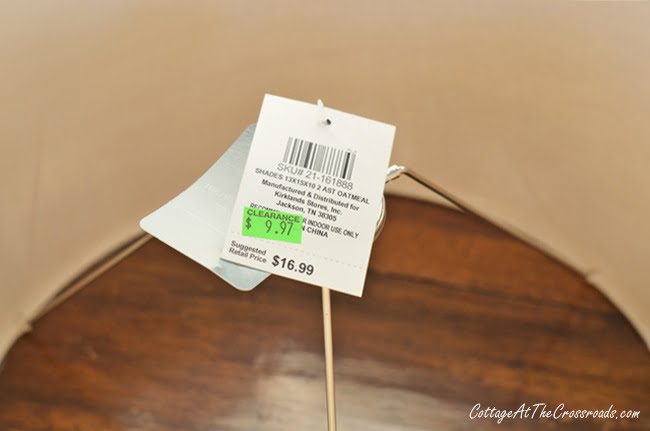
I was on the lookout for a drum shade when I ran across a sidewalk sale at my local Kirkland's store. So that price qualifies this project as "thrifty!"
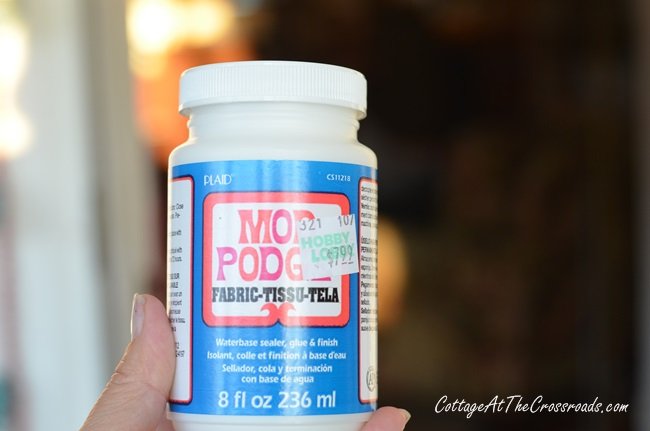
You will need to use some sort of adhesive. I used this fabric formula of Mod Podge, purchased at Hobby Lobby with a 40% coupon. (Before starting, test to make sure it doesn't discolor your fabric. If it does, use another adhesive.)
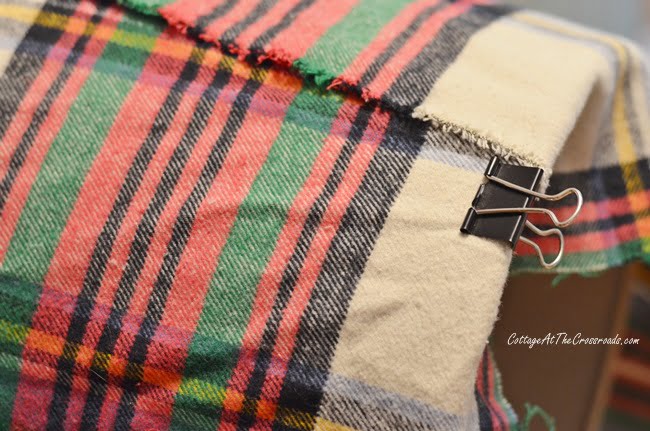
Next, you will need to wrap your fabric around the shade to make sure you have enough for full coverage. It worked out that the width of my fabric completely wrapped around my shade. Now, here is where you will need to make some decisions. I placed my fabric where the plaid would be straight on my shade. If my shade had straight sides, that would not have been a problem. So you may decide to turn your plaid on the diagonal. Secure the fabric on with binder clips or clothespins to determine where to cut the excess fabric. Allow about 2 inches on the top and bottom to turn up inside the shade. Once your fabric is cut, start by brushing a small amount of Mod Podge onto the shade. (I used my fingers!) Work in small sections, gluing and smoothing the fabric to the shade.
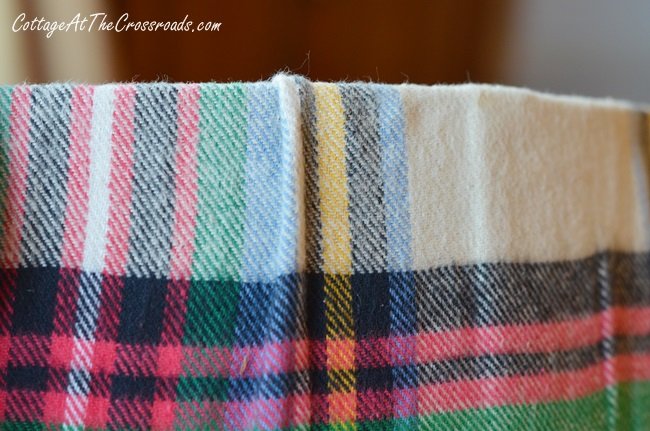
Here was my dilemma! No matter how carefully I smoothed out my fabric as I was working, I ended up with a crease or overlap in the fabric due to the slanted sides of the shade. To eliminate it, I used a razor blade to cut a slit in the overlap, trimmed the excess, and glued it down with a little Mod Podge. It's hardly noticeable now.
If you are working with a shade with slanted sides, you may want to turn your plaid so that the pattern runs on the diagonal. I had to work hard to keep those lines straight in my plaid pattern!
The final step is to turn the fabric edges under and glue them to the shade. Use your scissors or a razor blade to trim the fabric to fit around the metal fitter.
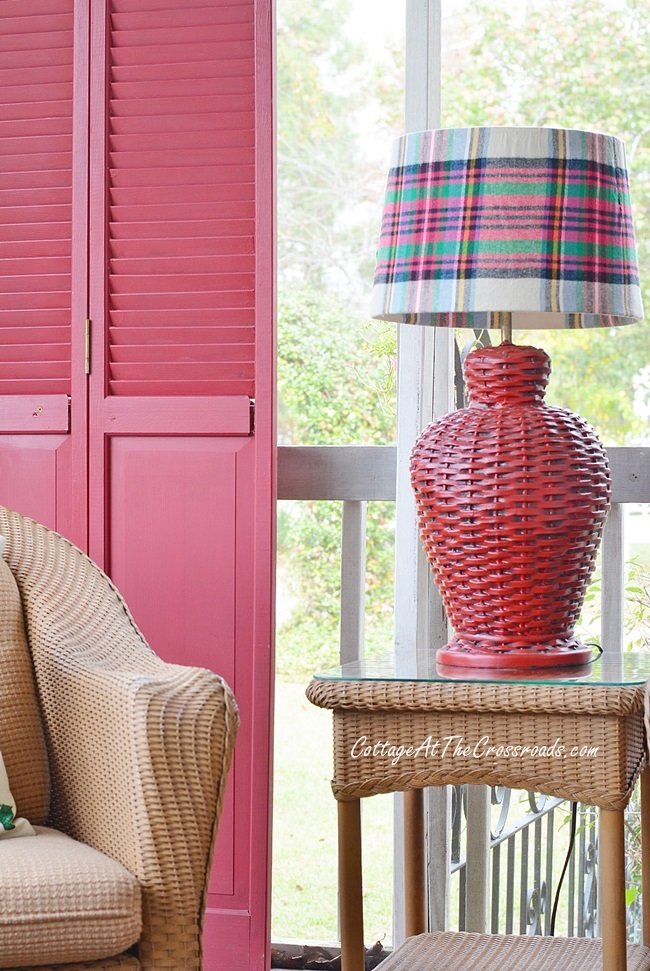
Ta-da! Here it is! This was an easy, thrifty way to update a lampshade.
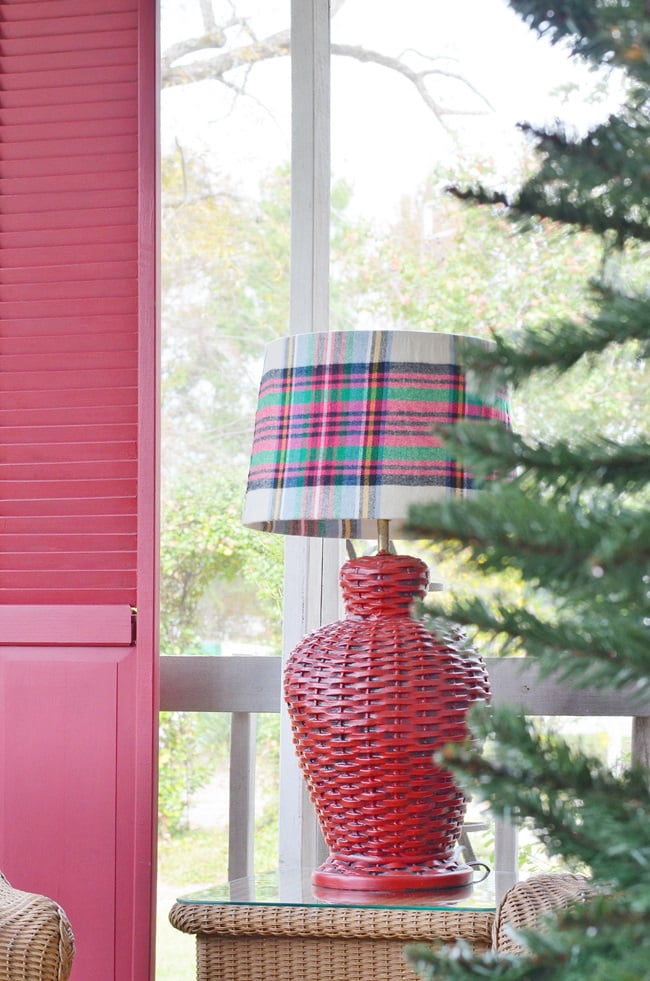
Oh, yes! That is a Christmas tree that you see in the photo! It went up today. The new plaid lampshade cover exudes just the right warm, cozy, farmhouse-y vibe that I wanted while staying within my budget.



Dianne Stewart
Love this lamp. Gives me some great ideas!
Jane
This is gorgeous, and you are so clever. Your instructions are easy to follow. I may try this for a few bedrooms!
Jane x
laura janning
how cute is that. i am always so surprised that there aren't any cute lampshades out there except for the standard colors. Perhaps you should start something !!!
Meegan Fast
I love this idea. Especially for the price. The plaid is so pretty anytime of year. Thanks, Jane.
Cindy
I love this bright plaid lamp! So festive! I'm really loving plaids and checks right now too... they're kinda a classic!
Kristi
Love it! What a great way to make a lamp suit your style. I'm definitely going to give this a try on one of my 576 lamps in the basement. 😉
Penny at Enjoying The Simple Things
That turned out adorable!
patti @ pandora's box
Looks cute - did you spray your lamp red, or was it that color? Love it!
Jane Windham
Patti, when I bought the lamp, it was already painted red. It looks like a wicker lamp but I think it's ceramic. It was already the perfect color and I think I paid $5 or $10 for it!
Pam
That is so cute! I need to try that with my thermos lamp I made a few years ago. It still has a boring old white shade on it!
Deborah
Oh, that looks terrific. I love me some plaid. It looks so great with that lamp!!!!
Bliss
Timely post for me to read. I picked up a new old piece of something last weekend to make a unique lamp. It will need a shade and I have a couple old ones. Pinned.