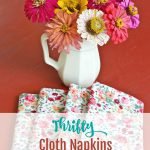
Even with limited sewing skills, you can make your own cloth napkins, even ones with mitered corners. Today I'm showing you how to sew your own cloth napkins.
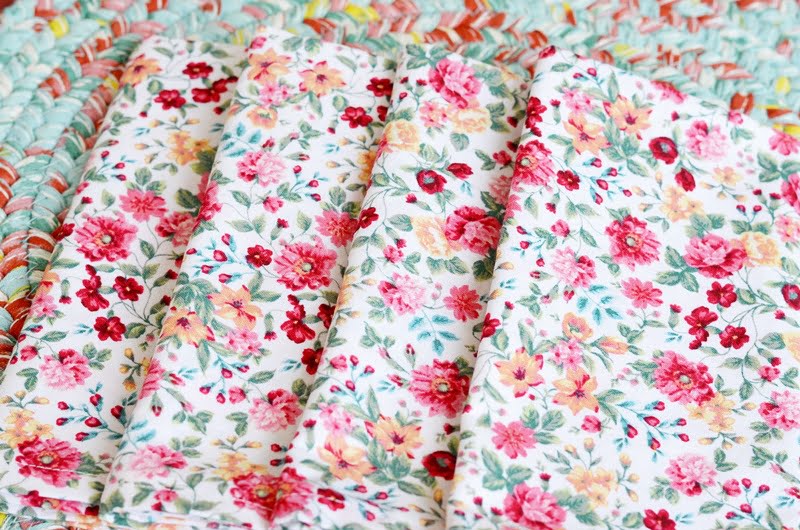
I have a thing for pretty cloth napkins, tablecloths, and place mats. And dishes, too, of course!
But those things can be expensive.
I have a hard time paying much for cloth napkins knowing how easily they can be made at home.
You can even find tutorials online for making no sew ones, but the ones I'm sharing today require a sewing machine.
Even someone with limited sewing skills like me can make these. All you have to be able to do is sew a straight stitch.
What you need to Make Your Own Cloth Napkins
- 1-1 ¼ yards fabric, depending on the width and the size you cut your squares
- matching thread
- scissors
- measuring tape or yardstick
- pen
- straight pins
- iron
- basic sewing machine
It's best to use cotton or linen fabric to make napkins, but I've seen really cute ones made with vintage sheets. To make the cloth napkins even more economical, check clearance and remnant tables for deals.
The fabric I used came from Jo-Ann's and was purchased with a coupon and I selected it to match the Pioneer Woman place mats that I already had.
No matter where you get your fabric, the first step is to wash, dry, and iron your fabric before cutting.
I cut four 18 x 18 inch squares. It's times like this that I wish I had one of those cutting mats and a rotary cutter, but I made do with dining room table and my scissors!
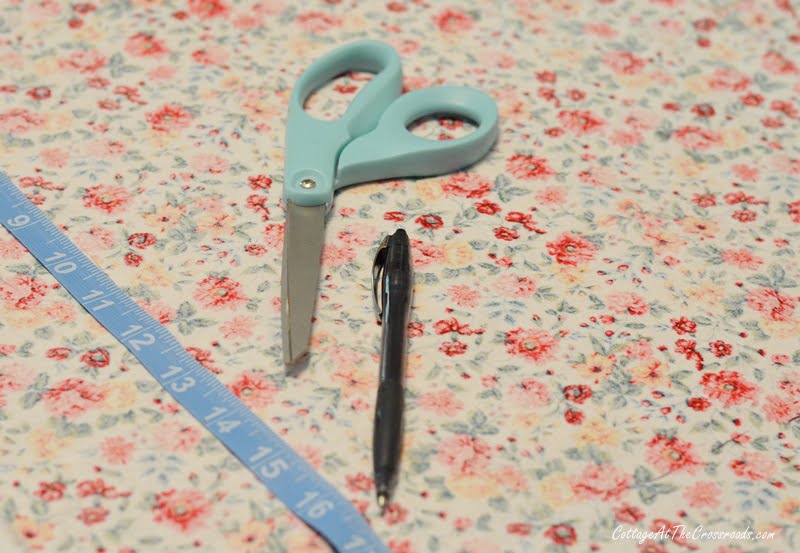
Using a tape measure, I made marks on the wrong side of the fabric with a pen to serve as cutting guides. Nothing fancy here! Just be very careful to keep every thing squared up!
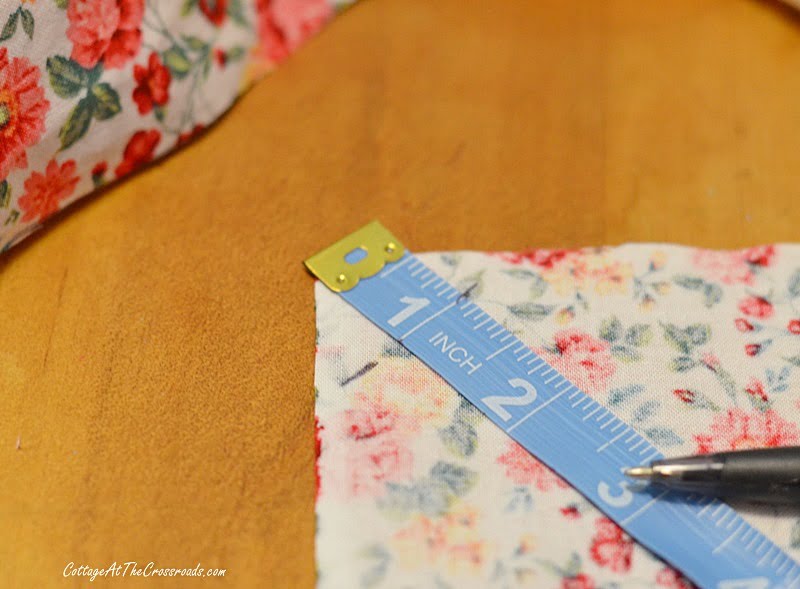
At each corner, measure down 1 inch and make a mark.
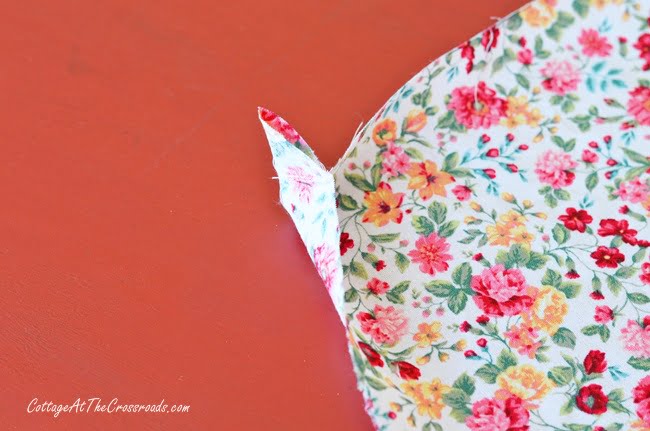
Take your fabric to your sewing machine and stitch along the marks you made in each corner. This is going to help make those neat mitered corners on your finished napkins.
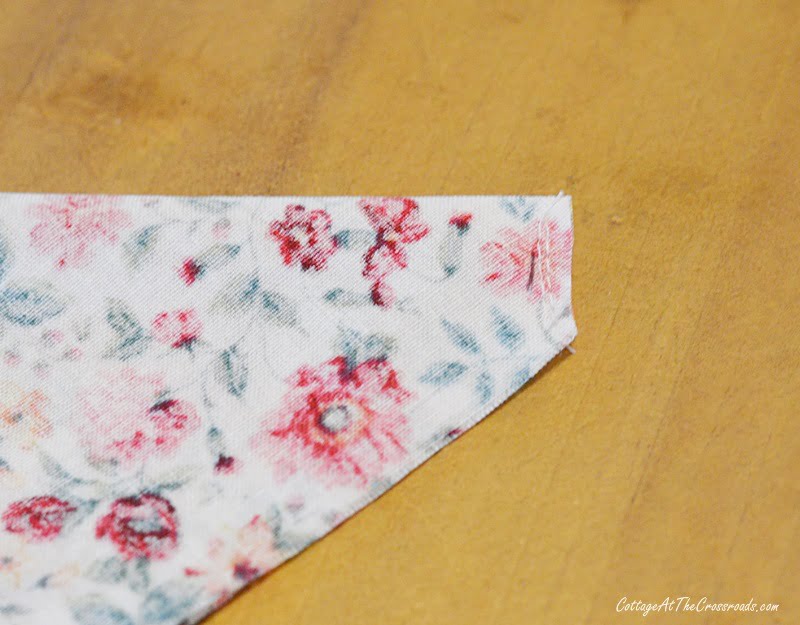
Once you get each corner stitched, cut away the excess fabric ⅛ inch away from your stitch line.
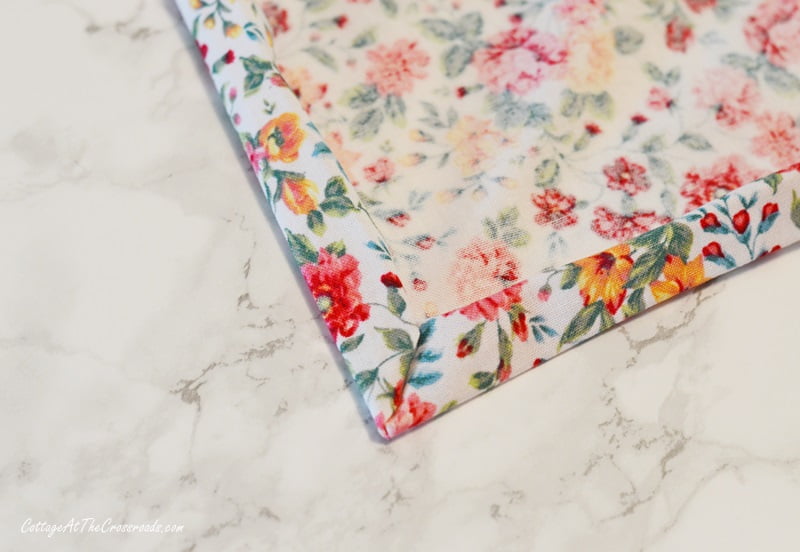
Turn the corners right side out and use something small and pointy to create a sharp point to your corners. I used a wooden skewer.
Next, press a ⅝ inch hem all around the napkin. Then fold in about ¼ inch of the edge of the fabric and press again. You can use straight pins to keep it folded, but I didn't find that necessary with the fabric that I was using.
Starting about 1 inch below a corner, stitch your hem with your sewing machine.
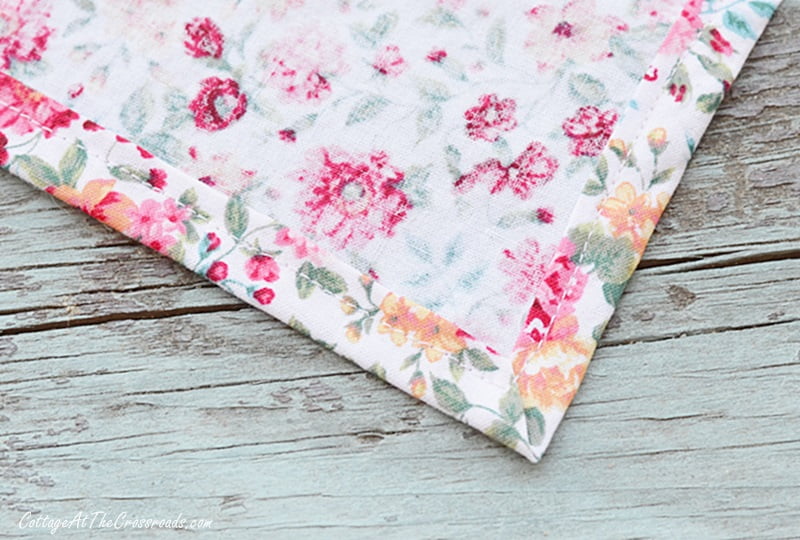
Ta da! Not perfect but close enough for me!
Confession time. I watched a really helpful video HERE for making those neat, mitered corners.
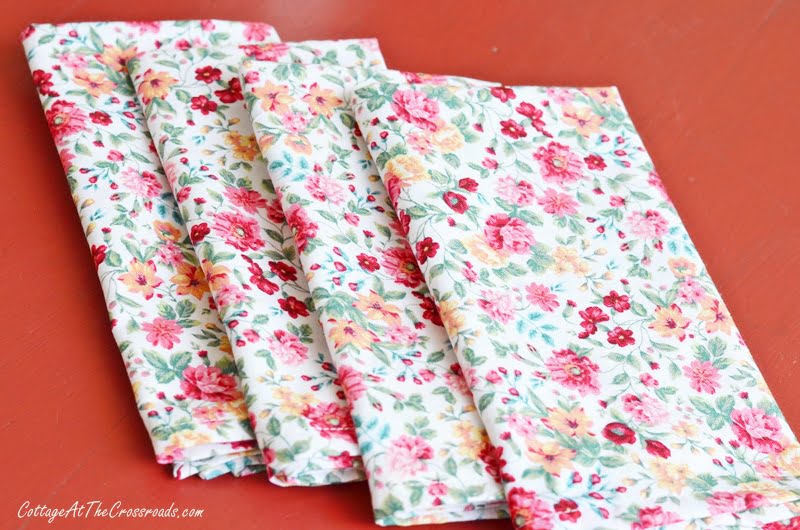
Now I have four pretty cloth napkins that were really simple to make and very thrifty!
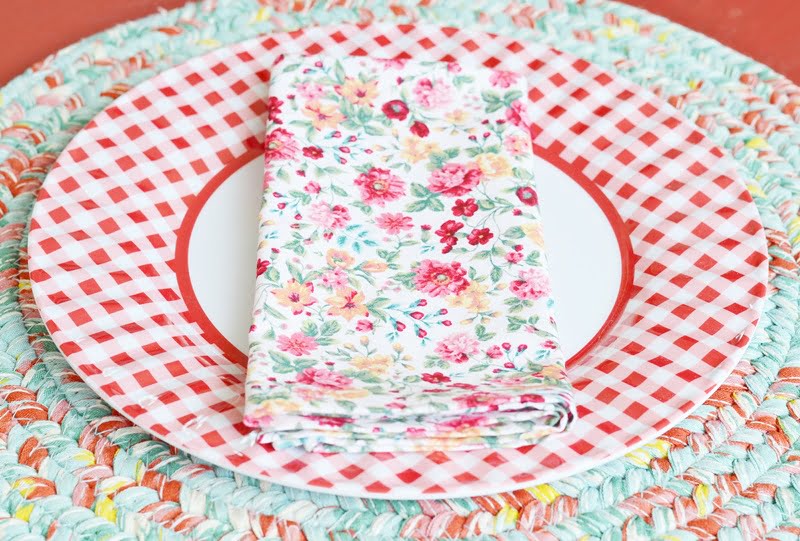
My homemade napkins coordinate with these plastic plates and place mats that I use on our front porch.
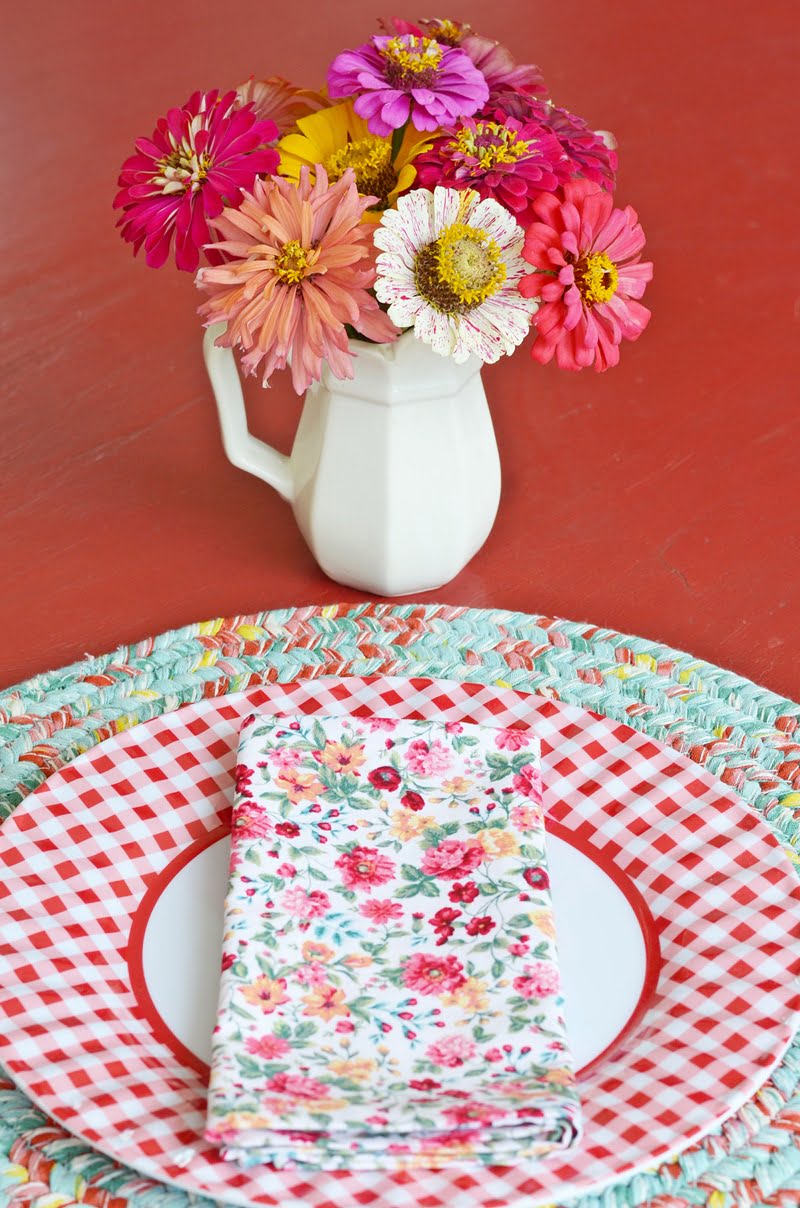
I am so tickled that I can easily make cloth napkins to match any color scheme that I dream up.
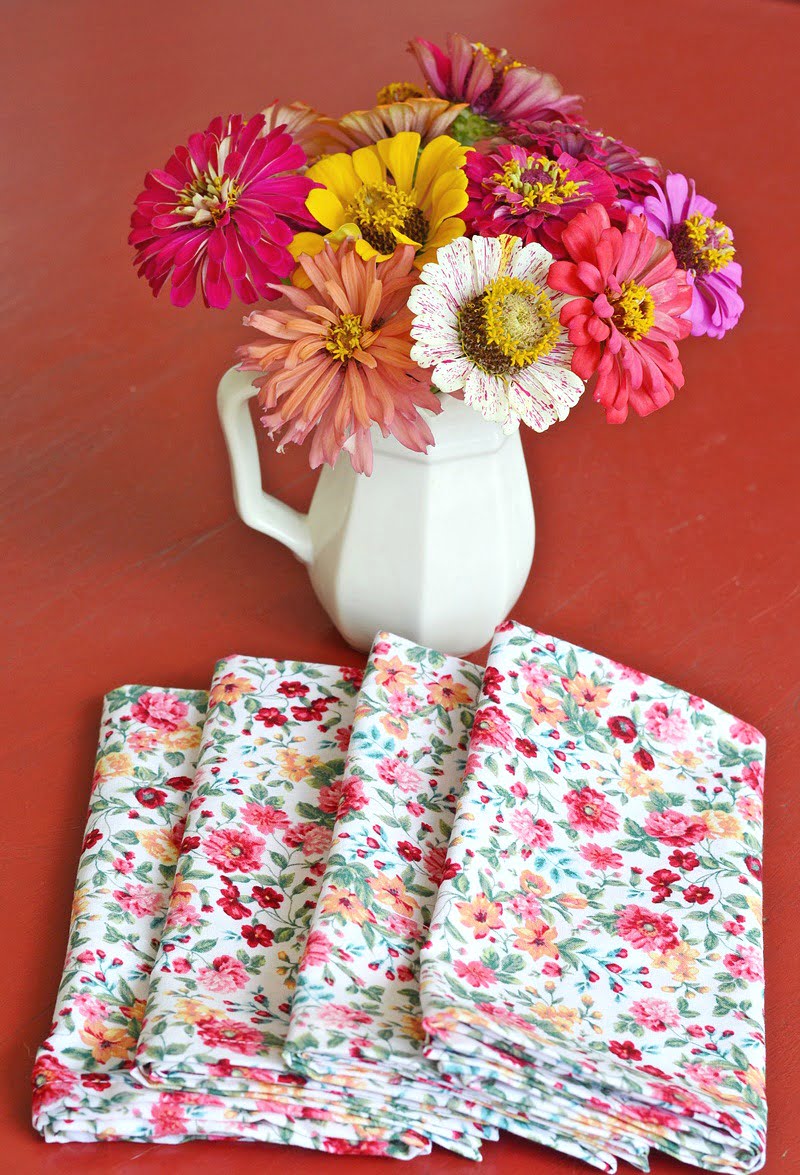
I can't wait to use them in a tablescape on our front porch after the weather cools down. The zinnias, though, are loving this heat!
I hope I've inspired you to try your hand at making your own cloth napkins. They really are simple to sew and very earth friendly.
They would make great hostess gifts or could be tucked into lunch boxes. Now that I have the hang of making them, I don't think I'll be buying napkins at the store any more!

Pat
Thank you for the tutorial. You've given me the confidence to try making napkins. I was always afraid to try because of those corners. Your napkins and place setting are beautiful!
Rita
Love both napkin fabric and zinnia. My zinnias do not do so well do you have any tips. I plant mine in a south flower garden and the bugs get so many of them. Thank you fo any help you can give.
Susan in SC
Jane - what a wonderful tutorial! I love the fabric and how they look on your place setting!!
Vanessa
Those are so sweet Jane!! I haven't used my sewing machine in years but I might have to just drag it out and make some for myself!
Francis Moore
The napkins and other items are so bright and cheerful. You did a good job.
Julie
These napkins are gorgeous. The entire setting is beautiful. The tutorial is very easy to follow. Even for a non-sewer like me!!
Michelle @ The Painted Hinge
I love these napkins! The floral pattern is perfect for summer! 🙂
Mary Beth
Your napkins are so pretty, Jane, and I love the fabric you chose. I also like your mitering tutorial...that is something that still stumps me when I sew. Sometimes I get it...sometimes, it's a hot mess! Have an awesome week. xo
Miss Kitty
Your napkins are oh so cute! I have never known how to make mitered corners on napkins so thanks for showing us how.
Kathleen
Very pretty, Jane! I hope all is well with you.
Cindy
I love these pretty florals Jane! I have always wondered how to make mitered corners...thanks for sharing!
Lisa S
These are great and I love that varigated zinnia, or is it another type of flower? It's gorgeous.
Thank you for sharing!
Dolly
Pretty!
Vicki and Jenn 2 Bees in a Pod
Love your fabric choice...and thank you for this wonderful and easy-to-follow tutorial. We too prefer cloth napkins and will definitely give this a try!
Janet Taber
That is a neat mitering trick! Thank you for sharing -- I'll be sewing up some napkin sets right away. I, too, love cloth ones.
Sandy
Love your fabric choice. I have made some before and yes, I need to do that some more since kitchen linens are a huge weakness.
Katie Mansfield
These are adorable. I love the fabric. It's so fresh and fun.