It's that time of year for seed starting, and today I started some seeds for these gorgeous Candy Cane zinnias. Zinnias are some of my favorite flowers, and I like to fill our garden with them.
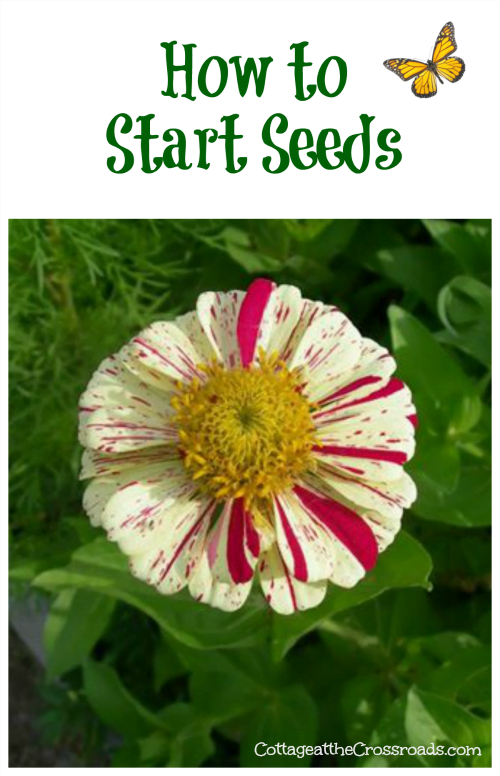
But flats of flowers can get pretty expensive so I try to start as many as I can from seed. So I thought I'd pass along some seed starting tips geared especially for people who've never done it.
1. Select your seeds carefully
If you are inexperienced with buying seeds, it's easy to get carried away because seed packets are so inexpensive. But start with some easy to grow varieties that are suited to your area. Marigolds, zinnias, petunias, and nasturtiums are some of the flowers that I've found easy to start from seed, and some easy to grow vegetables are cucumbers, yellow squash, and zucchini. Other things such as radishes and lettuces are better suited to direct planting in the garden rather than starting from seed because they germinate so quickly. You can use last year's seed packets too, but just keep in mind that the germination rate will be slightly less.
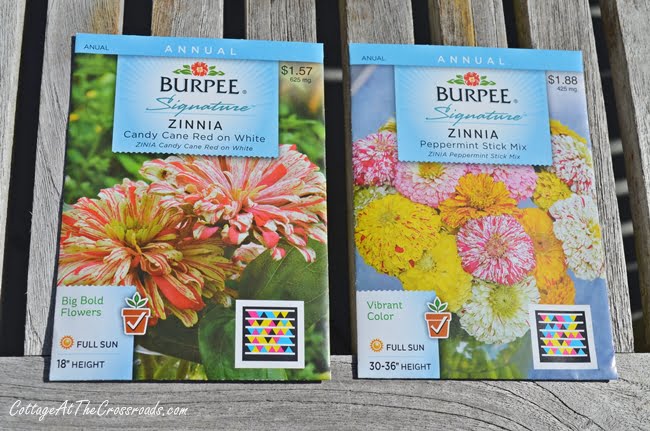
Today I used the entire pack of the Candy Cane zinnias and about ½ pack of the Peppermint Stick variety.
2. Prepare a seed starting area
First, you will need a table or space where you can leave your seeds for about 6 weeks. A south facing window is recommended and you will need an additional source of light. It will be important to control the temperature of your seeds as well. Most seeds germinate at 70 degrees F. You can use a warming mat or find a warm spot in your home such as the top of a refrigerator.
3. Calculate the date to start your seeds
You will need to determine when your average last frost date is for your area. I consult the Clemson Cooperative Extension website for this information, but every state in the US has their own cooperative extension office. For me, the last frost date is March 27 so I look on the back of the seed package for instructions on when to plant outdoors. Then I count backwards about 6 weeks to determine when to start my seeds. So my zinnia seeds that I started today will be ready to move into the garden at the end of March. Perfect timing!
4. Use the right starting medium
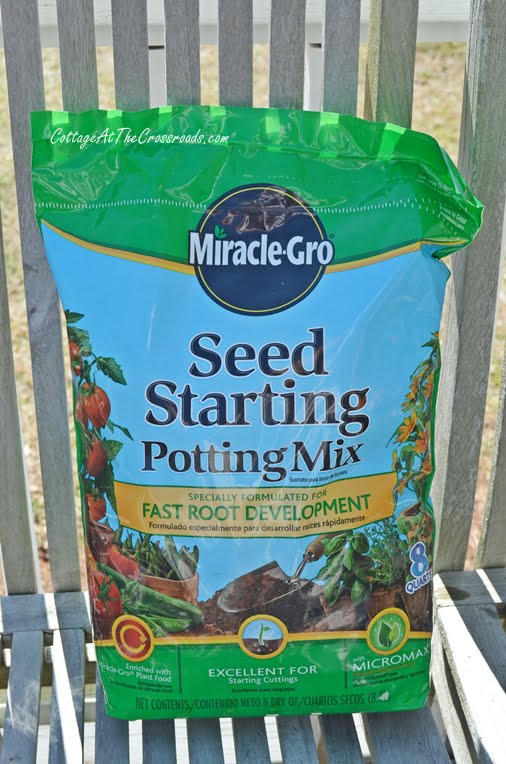
The ideal starting mixture is disease free and holds both water and air. If you are new to seed starting, I would recommend that you purchase a premade mix such as this. Make sure you are getting a seed starting mix and not potting or garden soil because those are very different things.
Or, you many just want to purchase a seed starting kit that contains peat pellets such as this.
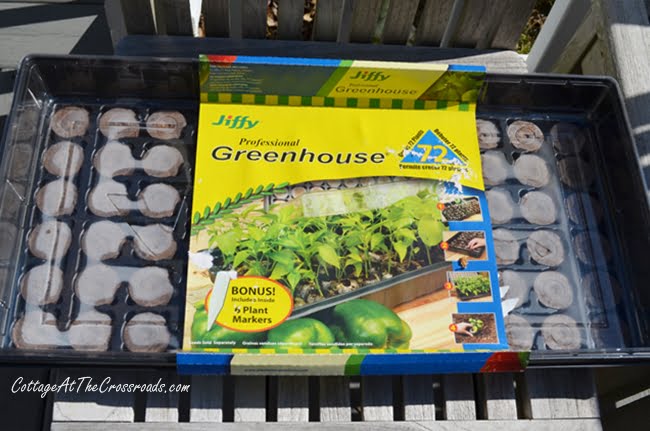
If using the seed starting kit, just follow the instructions on the package for getting started. Basically, you will need to add water to the pellets before you begin.
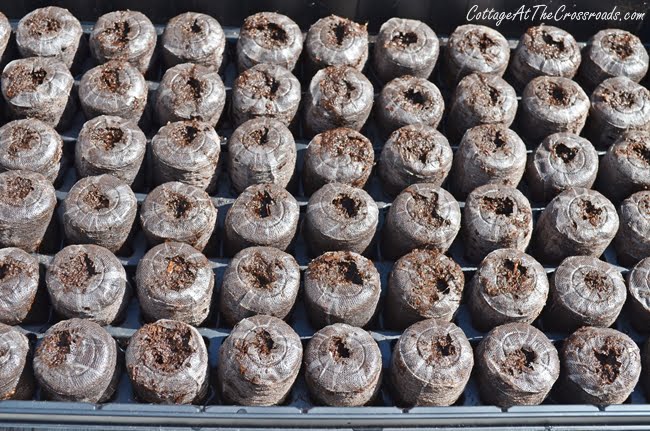
It's so fun to watch the pellets swell with water! Kids love this part!
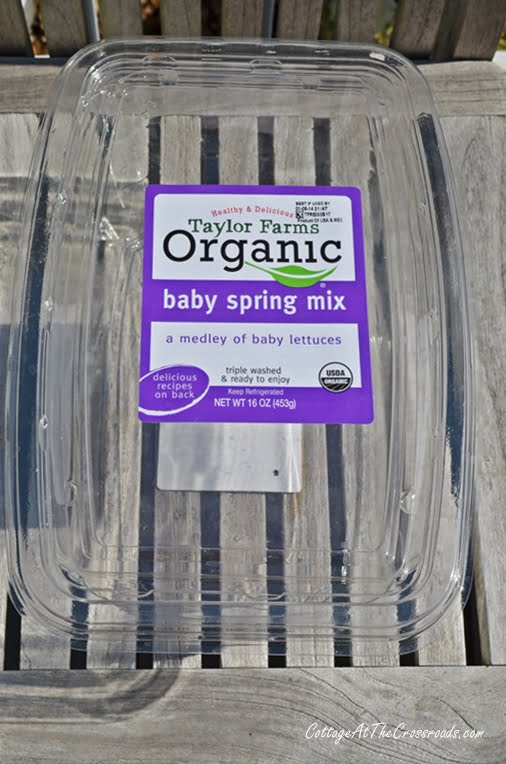
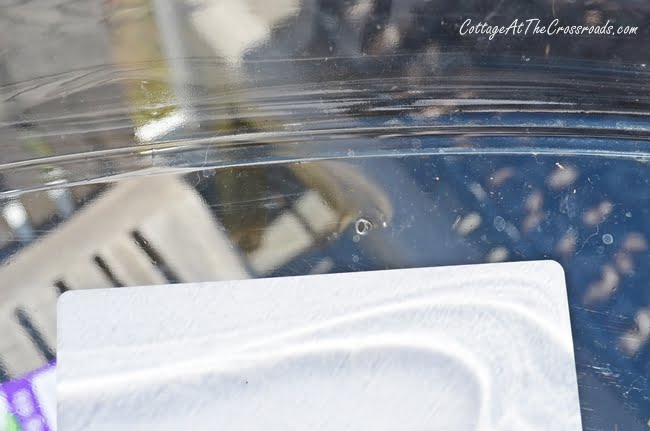
You can also use just about any container to start seeds as long as it is at least several inches deep. These plastic packages that lettuce and spinach come in are great because they already have a top on them.Just be sure to put some drainage holes in whatever container you select because seeds like to be moist, not soggy! I just puncture the bottom several times with the tip of a sharp knife.
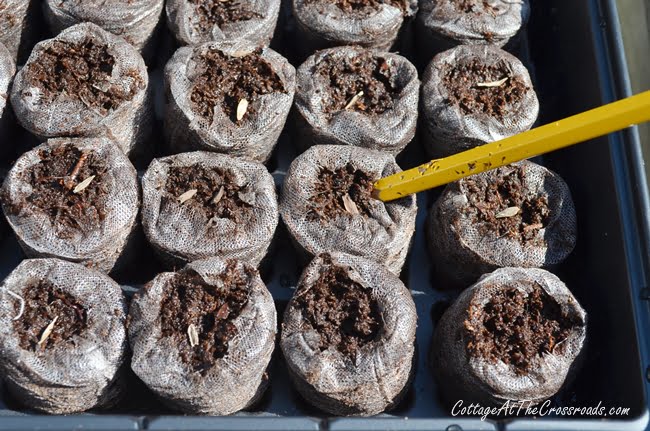
If you're using the pellets, gently tear away some of the netting and fluff up the soil. A pencil makes a handy tool to do this as well as to make a little hole in the soil to plant the seeds. Put one or two seeds in each pellet and cover them with a little of the soil.
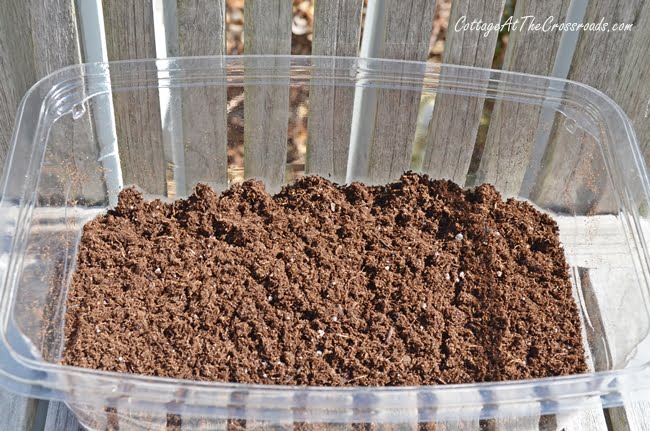
If using a container, add about 2 inches of the seed starting mix and then moisten it. Consult your seed package to determine how deep to plant the seeds and how much soil to cover them. This container comes with a top, but you can use plastic wrap to cover your containers while the seeds are germinating.
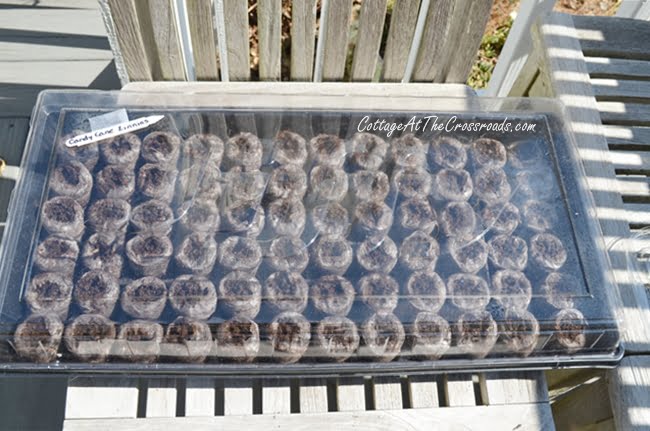
Don't forget to label your seeds and keep the seed packet as a reference.
5. Nuture your seeds
Check your seeds daily and keep the planting medium moist. If you water with chlorinated water, let it to sit overnight to allow the chlorine to dissipate before using it. Most seeds do not need light to germinate, but as soon as they break through the surface, give them plenty of light. Special grow lights are available to purchase, but I save money by using a full spectrum fluorescent lamp that I already have. To develop healthy stems and leaves, plants need about 14-16 hours of light daily. Fertilize your seedlings with a weak liquid fertilizer after they have developed a few leaves.
When you are close to the time to transplant your seeds into the garden, "harden them off" by gradually exposing them to the outdoors. Place them in the shade of a tree for an hour the first day and increase the amount of time each day until you are ready to plant.
Seed starting is really easy and will save you a lot of money. Better yet, it will give you tremendous satisfaction of growing something from start to finish.
Don't be surprised when your friends start noticing the green glow on your thumb! 🙂

Sensible Gardening
Just waiting for my new lights to arrive and then the fun begins.
Mary Jane Washnock
Just found your blog and loved your pictures and the story of your "preserving " the old homestead. My husband and I are doing almost the same !!! I already have tomato seedlings coming up - some seed I saved from last year from my favorite heirloom tomato, Cherokee Purple, plus some others I bought. It's been a cold, wet winter here in South Georgia so I'm ready for Spring !!!
tonia conner
Very informative, this is the first year we will put out something besides tomatoes. I'm going to try a raised bed thinking this may help keep the chickens out. Any other suggestions besides fencing . We will put a short temporary one on the raised bed.
Mary
Great tips Jane, I love those candy cane zinnias! Those pellets make it so easy but I love the idea to reuse a plastic spinach container, brilliant!
Shirley@Housepitality Designs
Thanks Jane...I cannot wait to see your beautiful gardens this Spring!
Barbara F.
Very helpful hints, Jane. I am not a good planter or gardener, as much as I try. I may start a few plants from seeds, though as you have inspired me! xo
Betty
I have always wondered about those seed pots. I have seen them before, but always bought the small pots. I might just try them.
Dawn
Great post Jane, the soil starting medium is a must. Seeds can fail in heavy soil. I am ready to start mine but it's to early here yet.