A few weeks ago, we showed you the beginning of one of our latest DIY stone walkway from our front door to the driveway. I hope this how to build a stone walkway, helps you build yours.
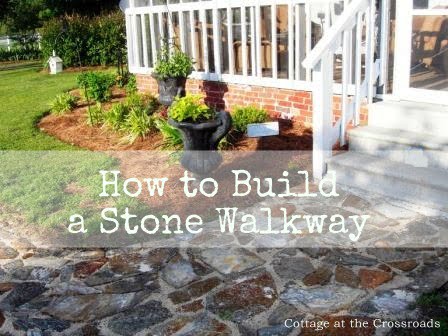
We had several requests to post a tutorial on how we did it. So here it goes.
I was warned that this little project might turn out to be time consuming, and I learned quickly that it can also be frustrating. But the finished product is worth it.
First, you'll need to make a few decisions such as how wide you want it to be. We decided to make ours 5 feet wide-big enough for two people to walk side-by-side. You may want to make it 3 or 4 feet wide. It's totally up to you.
Step 1
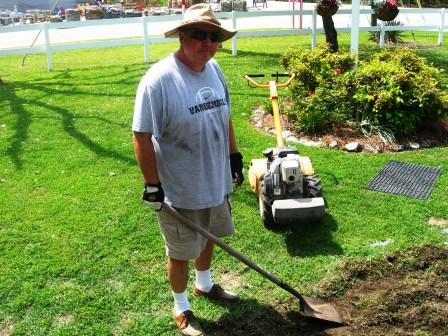
Grab a tape measure and a can of spray paint. Draw an outline with the spray paint, keeping the width of the walkway consistent all the way to the end.
Step 2
Next, I used my garden tiller to soften the ground and tear up the turf. I set my tiller at 6 inches. If you don't own a tiller, you may want to consider renting one.
Step 3
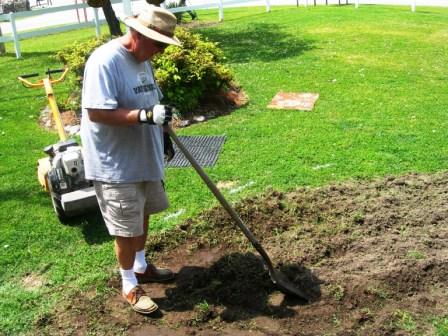
After that, I took a flat blade shovel and scooped out the dirt. Think about it, our walkway is 5 feet wide and 75 feet long and 6 inches deep. That's a lot of dirt and a lot of shoveling!
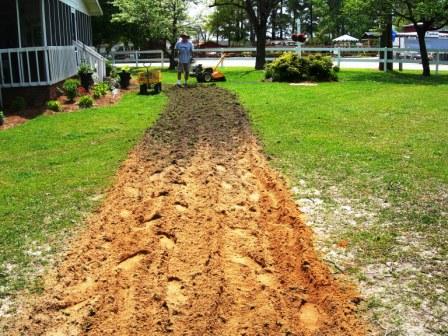
Right about here is when you have second thoughts about this project.
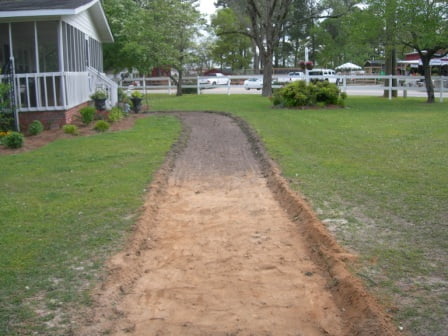
But the good news is, there's always a place in your yard where you can use some good topsoil.
Step 4
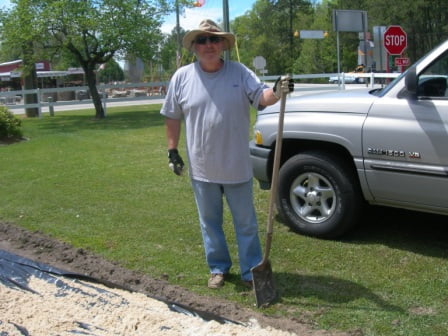
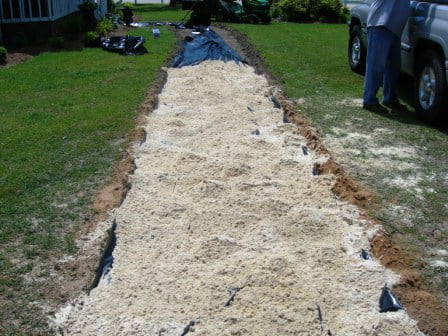
I went to Lowe's and bought a 100 foot roll of black plastic. It was 10 feet wide, so I doubled it and it fit perfectly in my trench. The black plastic will keep weeds and grass from coming up in your walkway. It won't work forever, but it's a good start.
Step 5
Now you are going to need some sand. Don't even think about buying it by the bag. I found a sand and gravel company and had them dump 1 yard of sand in my pickup truck. By the way, 1 yard of sand is one giant scoop from a front-end loader. It was only $30. It would have taken me over $200 to buy sand in bags. See what I mean?
Step 6
Spread about a 3 inch layer of sand on top of the black plastic in your trench. Now you are ready to lay your stones. You don't know how much to get? All I can tell you is we used 2 pallets of stones for our walkway.
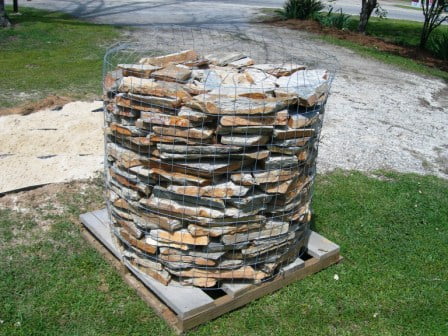
I had mine delivered via forklift from Jay's Trading Post right across the street. How convenient is that?
Step 7
After laying about 5 stones, I realized that this job was too frustrating for me. I just don't have the patience to find the perfect stone for the perfect place. And that is why you need a good wife or a good partner who will take the time to do the job right. Putting the stones together is just like doing a jigsaw puzzle, and I never liked to do puzzles! Since I had done all the physical labor so far, Jane agreed to lay the stones. That's right, piece by piece by piece.
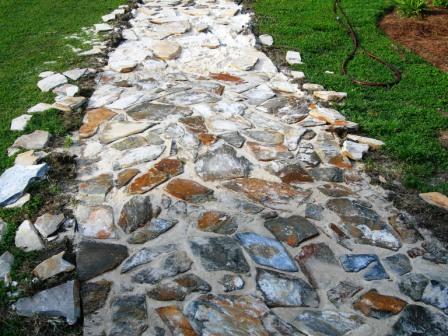
It's not necessary to get the stones perfectly level, but you don't want any jagged edges either. This is where the tedious part comes in. You want to place the stones as close together as possible. Also, place the straight edged stones on each side and then work your way inward. As you place each stone, use the loose sand to level the stones. Use hand-fulls of sand to fill in the cracks between the stones. Do as much as you want each day, but don't over do it. It's just like doing a jigsaw puzzle. When you feel yourself getting frustrated, stop. Come back to it another day.
Step 8
When you decide to stop laying stones, give yourself some satisfaction by taking a broom and sweeping the sand on top of the stones to completely fill in the cracks. Now here is the magic. With your garden hose set on "shower," wash the remaining sand off each stone so it will settle into the cracks.
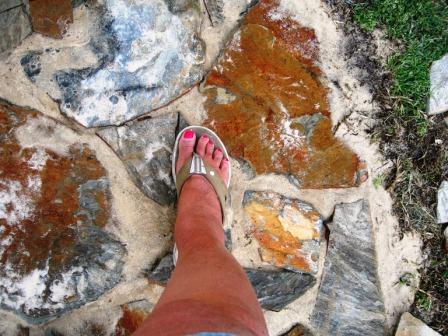
Now doesn't that look nice? Some satisfaction after a day of frustration.
Step 9
Repeat these steps until your walkway is finished. By the way, I had to go get another ½ load of sand to complete this project.
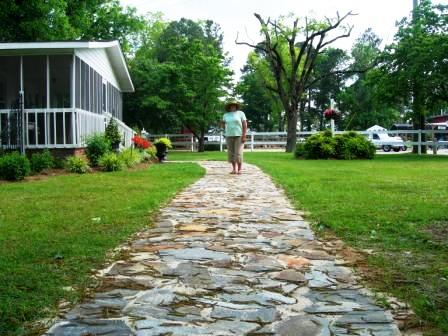
It took us almost a month to do this, and we took a week off after we finished. Then it was much easier to get the job finished.
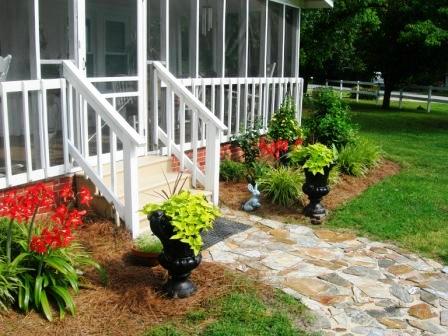
Since our new walkway looked so nice, we spruced up the front of the house by painting the steps and the urns.
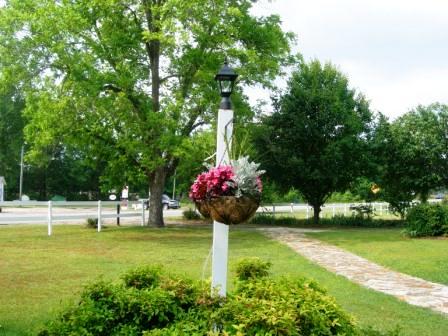
There you have it. After all my whining, I' m sure glad we did this. Just adds a little more character to our Cottage at the Crossroads.

Jan Johnsen
I think you would really like my book on stonescaping: The Spirit of Stone.
Jan Johnsen
Carlene @ Oganized Clutter
Leo is a keeper, Jane. My husband would never help with this!
laura@Top This Top That
Leo, your stone walkway turned out fantastic. we have done lots of stone work around here but have used concrete to set the stones. Your method looks a whole lot easier with the sand!
Lorrie
Your walk looks fantastic! I'm visiting from the pinning party, I've pinned and I'm now a follower!
Rosemary
Love the walkway. I tried to pin it, but no photos are showing.
Albansneeze
Awesome job, you have inspired me to do my walkway myself : )
I'm sure at times I will hate you lol but I'll get over it soon enough.
Congrats,
Beautiful work
Dolly Sarrio
WOW! I love the walkway and know that was a massive undertaking....proud of you. I may attempt it someday, notice I said may....very pretty.
Terry Moore
There's nothing better than a stone path to the front door and your is just beautiful. Yes, back breaking work but so worth it!
Lavender Cottage
Your walkway turned out really nice! I do know what you went through as we did a walkway like this from the front grassless yard to the back. Our stone was free as it came from a fellow's farm way up north (Muskoka area of Ontario) but it did come in various thicknesses. My husband didn't use sand but limestone screening and after 5 yrs. just added some more limestone and had to lift a few of the rocks.
I too was the jigsaw person for laying the stone. 🙂
Zoey
Wow, that is a lot of work! Perseverance pays off because it looks gorgeous! What a great screened in porch to sit and admire all your hard work.
Vanessa
A big project but what a gorgeous reward in the end! It looks lovely. Thank you so much for sharing this with us at Inspiration Friday this week!
Vanessa
Fishtail Cottage
Thanks for sharing at Cottage Flora Thursday's Garden Party! xoxo, tracie
Jo
WOW!...hard work,but it sure paid off,great lookin' walk,now would yall come do mine!teehehe
~Jo
LazyonLoblolly
Mary Light
I love the walkway. It turned out so very nice. That is not a project to do if you have a bad back!
gnee
Wow Leo, Your path is amazing, bring to mind, "Go big or go home!" Thanks for showing all of your step-by-step hard work.
Beth
This is so amazingly beautiful! I am sure the both of you are so proud. Lovely,lovely,lovely!
Beth
Annette
Wow! Y'all did a great job. That was a lot of work. I'm saving this post to show hubby. He really loves stone and I might can talk him into an adventure! Thanks for sharing the how to's.
Elaine
This just came out wonderful. That was a lot of hard work. Bet you saved a lot of money though.
Doreen @ Redesignbygrace
Very nice flagstone pathway! Thanks for the invitation to check out your blog and for the sweet comments (awhile back now) on mine. 🙂
FABBY
Oh my goodness!...I'm totally impressed! Your walk up path it's just gorgeous, what a prefessional job you two did! I need to hire you for this, have you thought of opening up your own company?... Hubby & Wifie Co. Ltda.! Fantastic job, congrats to the both of you! Have a nice walk up week.
Hugs
FABBY
Tracie
fabulous project & it turned out beautiful! hoping you'll share this post Thursday at the garden party i host! ooxx, tracie
debbie
That is so gorgeous and adds such a nice element! Thanks for sharing with my newbie party.
Pat@Back Porch Musings
It is a beautiful walkway. Lots of work and effort went into this, plus creativity!
Kathy
Well that is fabulous...your hard work has certainly paid off big time!
Barbara F.
Jane, Thanks so much for visiting my blog. This walkway was some undertaking but it turned out perfectly. Love the urns next to the steps. I am following now. xo,
Carol @ There's Always Thyme to Cook
WOW, that walkway came out great! What a big job for two! But the results are fantastic!
Gayle
Oh, I do love it! So long, so it must have been a lot of work, but worth it now!
Jacque
I love your walkway. The hubbie and I did the exact thing except with those concrete forms that you pour ---and lift-- and pour and lift!! I love the way it turned out too.
This is the first time to visit your sight. I am going to stay awhile and visit--thanks for sharing!
KK
Oh it looks great with your beautiful landscaping and flower beds. And I'm lovin your porch!
jennifer
looks really good!!! My body just hurts looking at all of that hard work!
Jill
Beautiful!
Kathy Ransom
Well done! It adds wonderful character to the front of your yard! Hope you all are having a wonderful day! I am praying for rain over here and cooler temperatures! It has been hovering around 90 degrees here in Georgia.
TTFN,
Kathy
Carolyn
Your stone walkway is just beautiful and WOW what a lot of work.
Carolyn/A Southerners Notebook