Looking for an easy, fun fall craft? Let's paint a white pumpkin! Even if you say you can't paint or draw anything, I've got you covered.
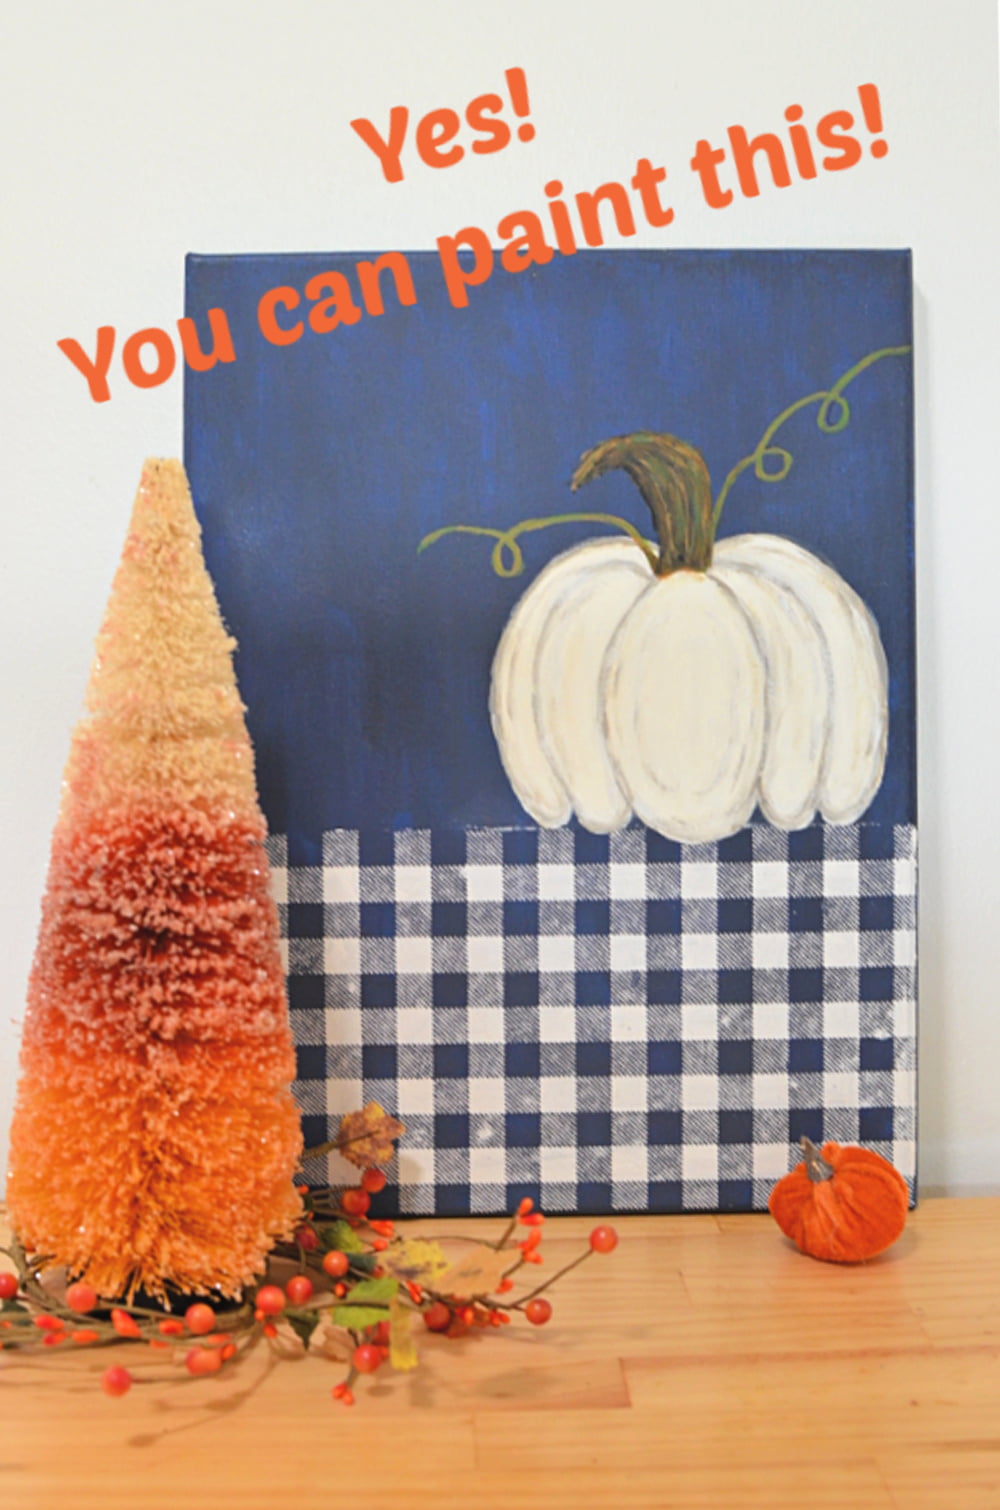
The weather has turned in South Carolina and there is a hint of fall in the air! Just in time to start a little fall decorating.
What you need to paint a white pumpkin
- one white 11x14 stretched artist canvas
- art brushes
- acrylic craft paint: navy, ivory, light gray, brown, tan, and dark green
- pumpkin sketch to trace
- carbon paper
How to paint a white pumpkin
First, you will need to paint a background for your pumpkin. I am really loving the navy and orange combination this fall so I painted the entire canvas navy.
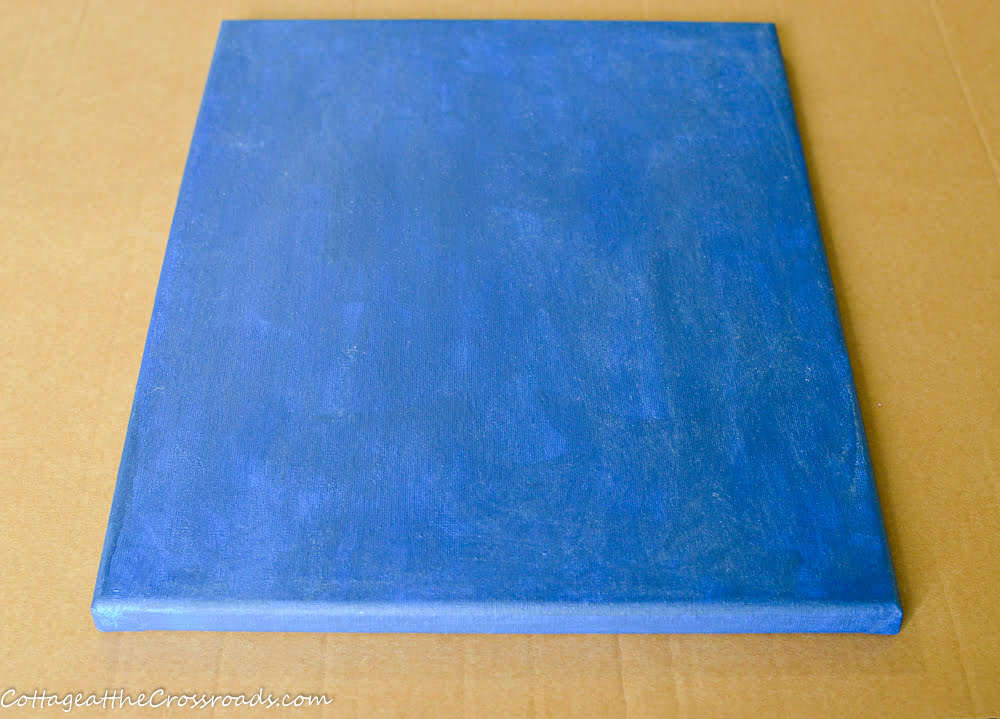
You could use any color of acrylic craft paint to create your backgound. Paint the whole canvas including the sides.
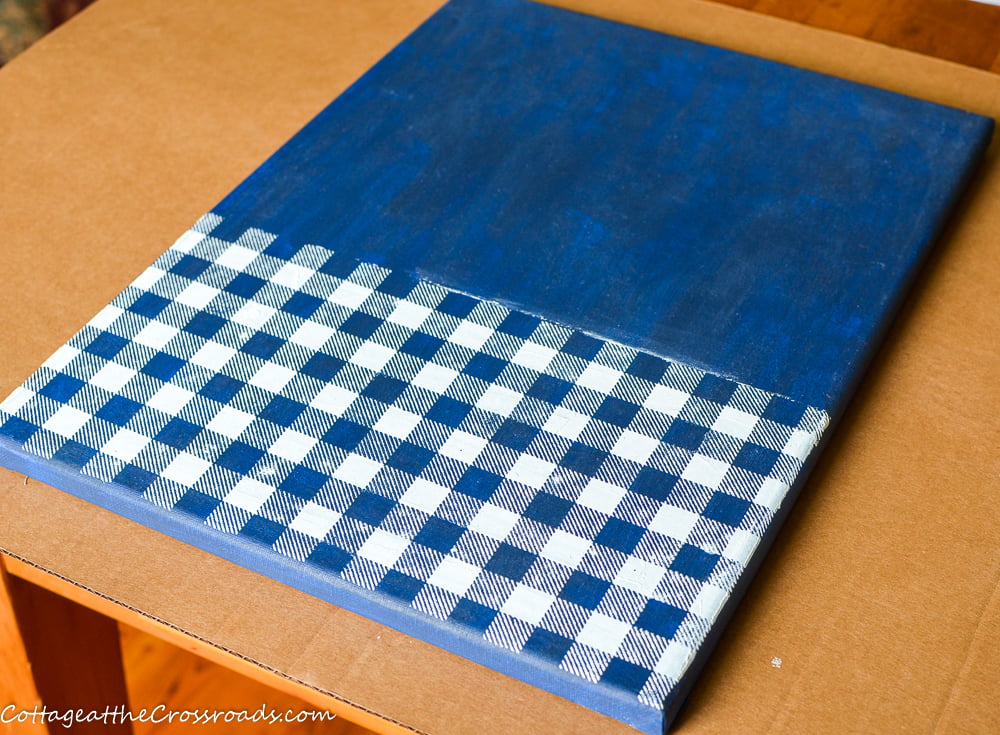
Because I have joined Chalk Couture as a designer, I decided to use the mini buffalo plaid transfer on the bottom third of the canvas. The transfer is similar to a stencil but it has a sticky back which gives you much cleaner results. You could create your own buffalo plaid design with paint by doing a search for an online tutorial.
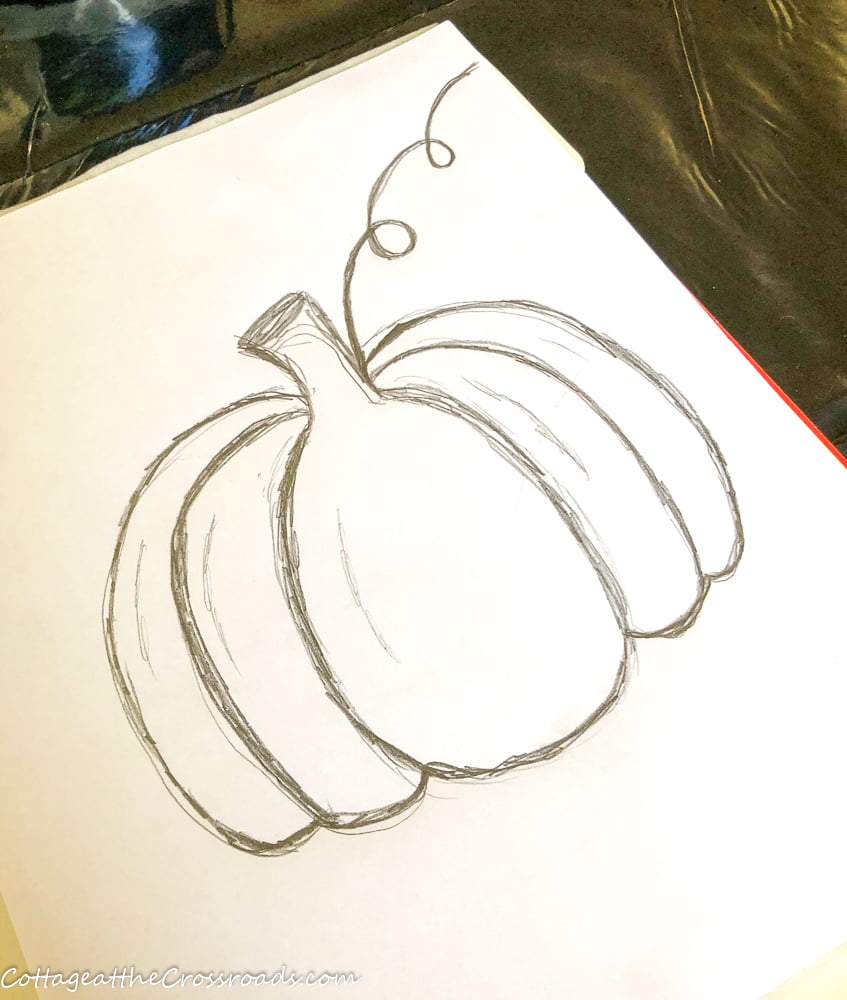
If you are artistic, you could paint your own pumpkin on the canvas but I sketched a pumpkin so that it would be the right size for the space. If you'd like a free copy of my sketch, click HERE.
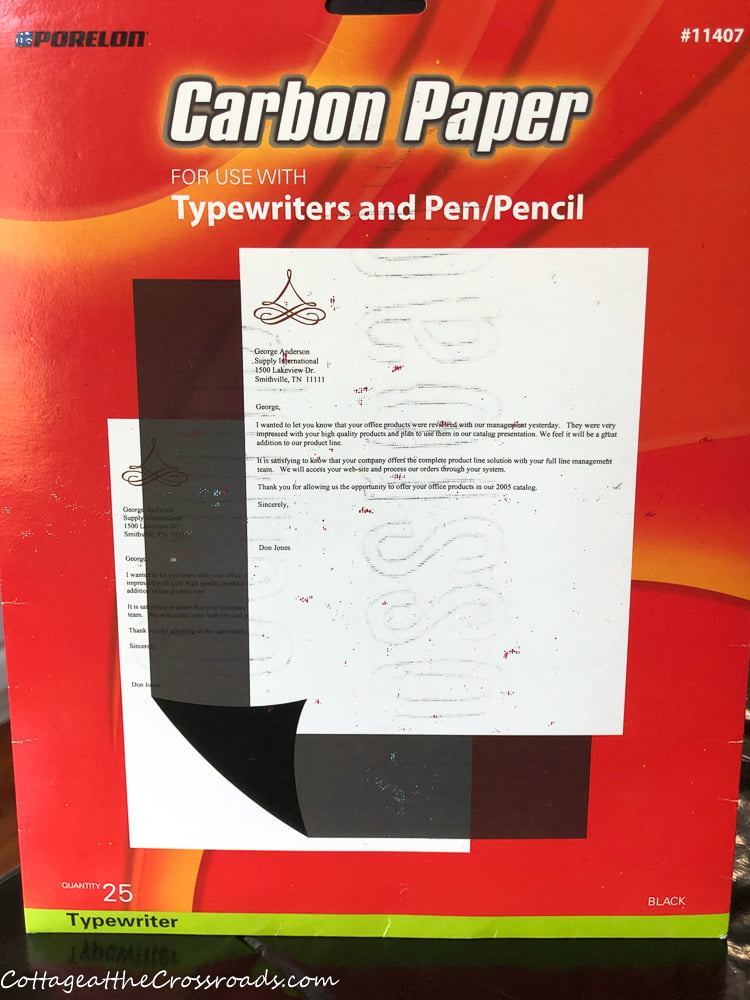
My secret weapon for this project is carbon paper. This is an old package that I've had forever which came from Office Depot, but I put the link to carbon paper on Amazon in the supply list for your convenience.
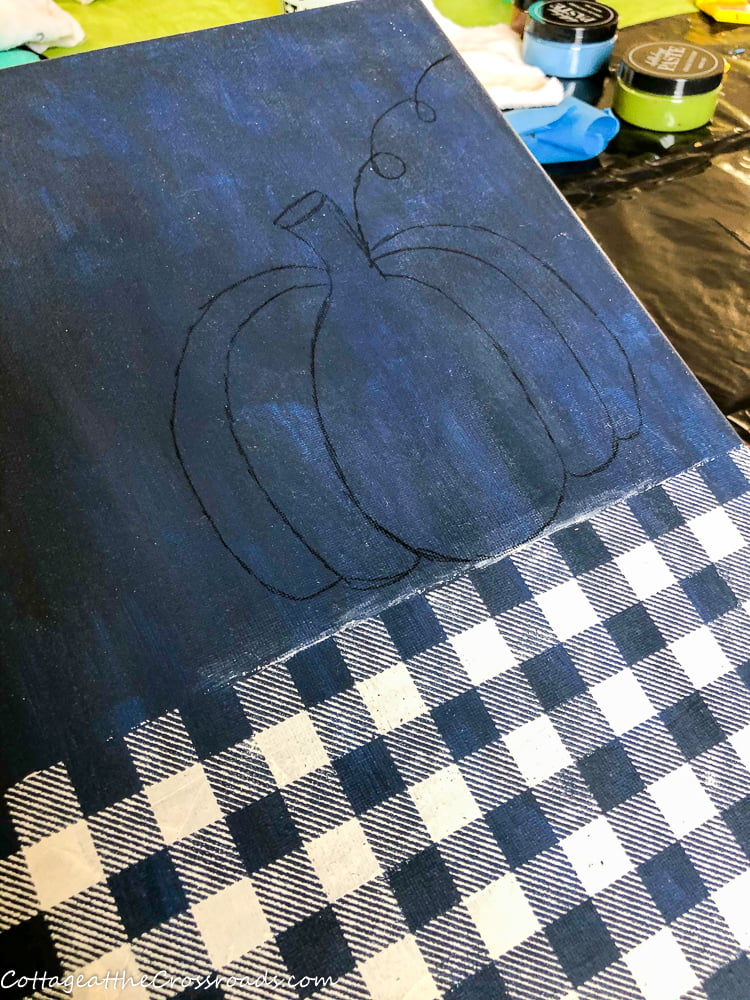
I wondered if the trace lines would show up on the dark navy paint but they did!
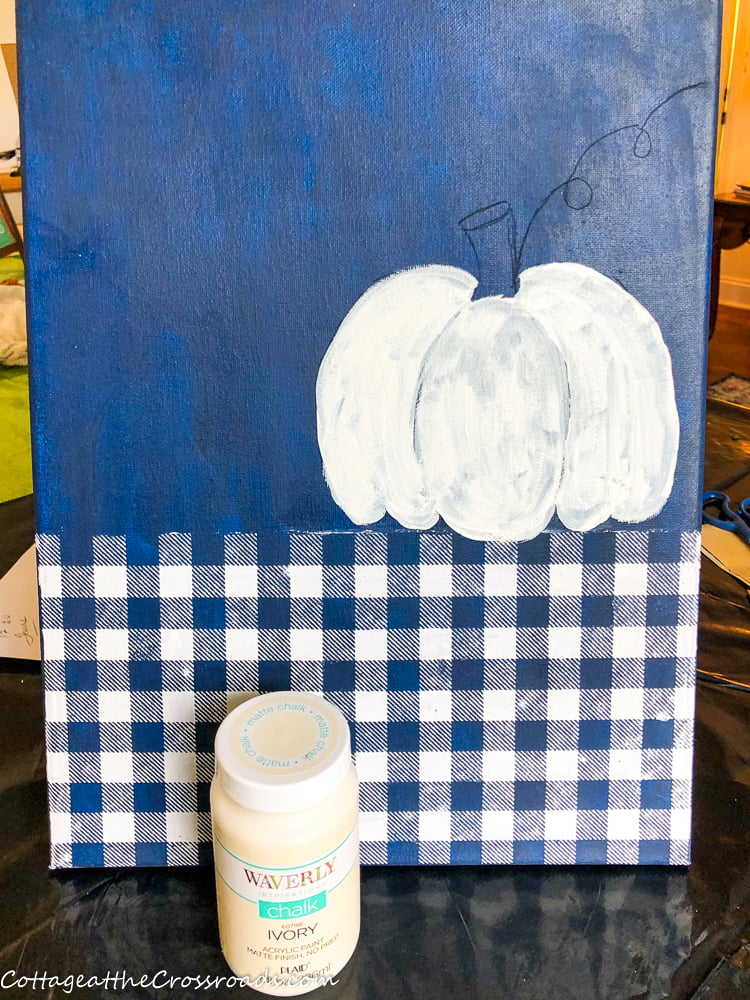
Next, I started filling in the trace lines with ivory paint. Don't worry about covering up the rib lines because you will still be able to see them.
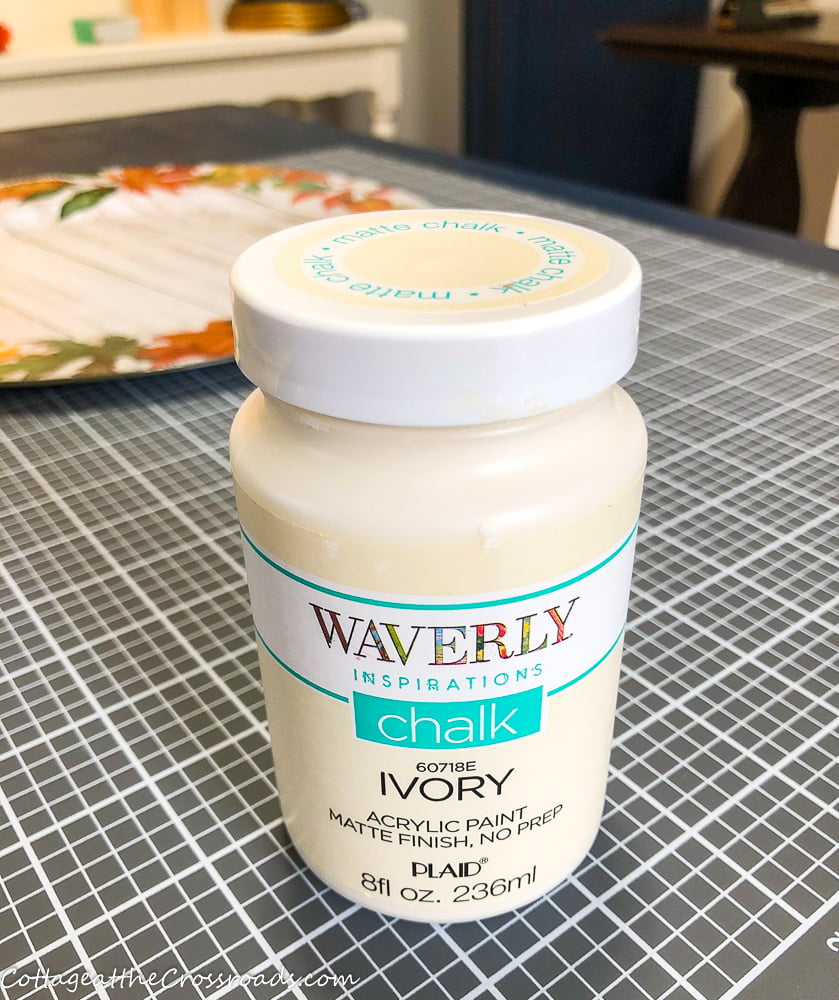
This is the paint I used because I already had it on hand. It came from Walmart.
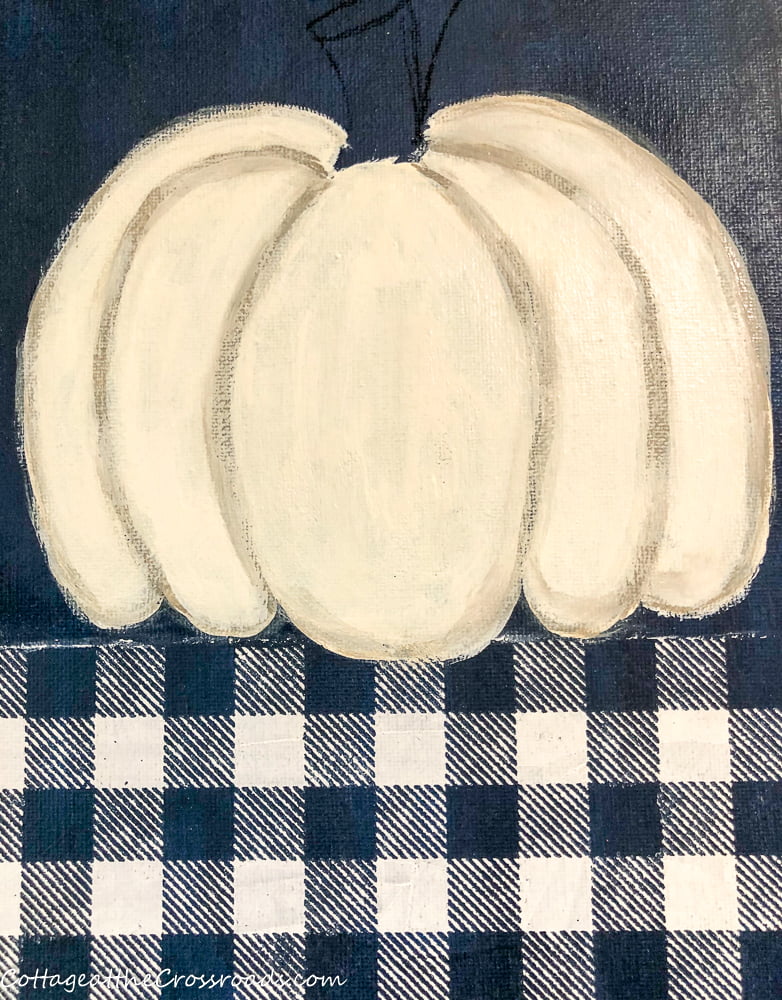
I used gray to paint along the ribs of the pumpkin. Don't worry about making anything perfect. Brush and blend more ivory paint over the gray so that the lines don't look too stark. Have some fun blending additional colors on your pumpkin to make it your own!
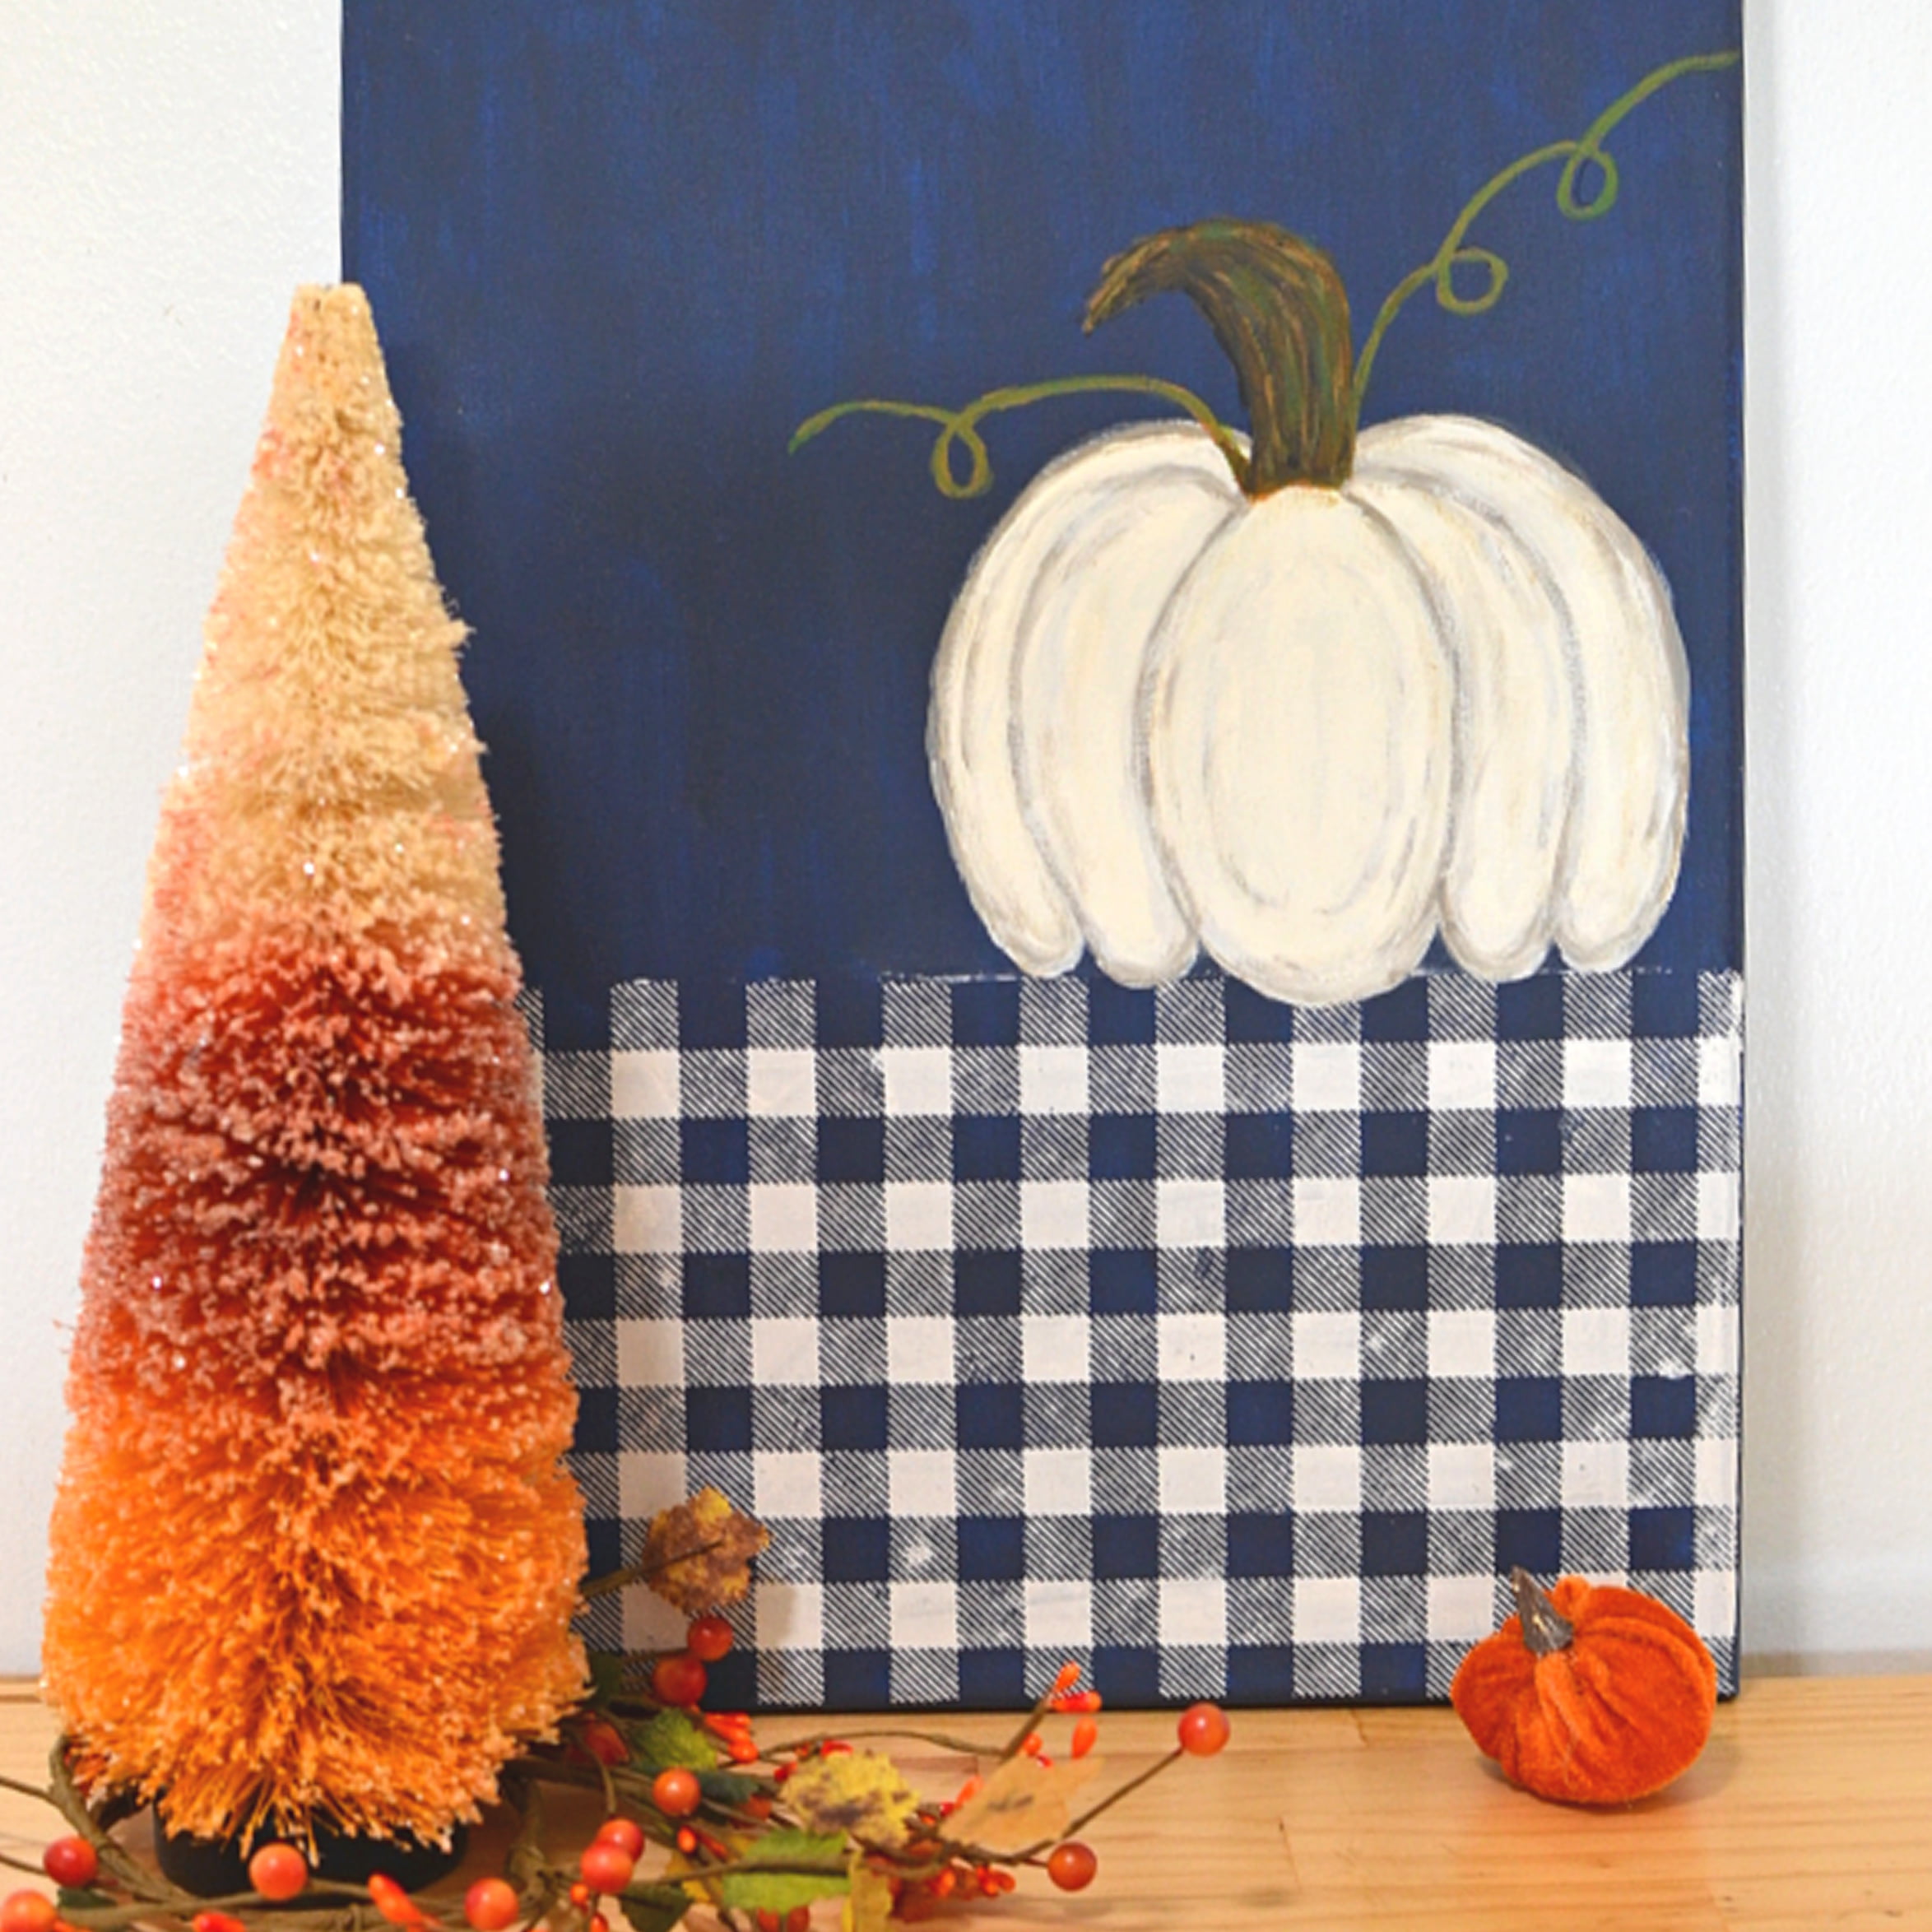
The next step is to paint the stem. I used various shades of brown, tan, and a little green. Notice that I extended the stem and made it a little more pointed on the end. And then I painted the curlique vine dark green and then decided to add another one on the other side.
Love me some curliques, don't you?
I hope I've inspired you to pick up an art brush to paint a white pumpkin even if you think you can't paint or draw to save your neck!
If you want to know more about Chalk Couture, feel free to leave a comment. I am in the process of turning my mom's apartment into a craft studio so I'll be showing you more of that soon.

Julie
I’m so excited for you and this new adventure! Your pumpkin is perfecto!!! This is something I have never done!
Kelly
This is a beautiful painting! I love the colors you chose and how you make it look so easy! So inspiring!
Mary Beth
I love this, Jane! I think I'm going to make this soon. Thank you for the creative inspiration.
Paula@SweetPea
What an adorable project! It would be fun to host a girls night out with snacks and have everyone craft this. I know my friends would love doing this project!
Kristi Dominguez
Cutest pumpkin ever...makes me want to give it a try!
CINDY LONG
This turned out so cute Jane! Thanks for the great tutorial, it seems very doable 🍁
Michelle @ The Painted Hinge
This is so cute! Thanks for the pumpkin painting tips!
Jenna
Very cute!!