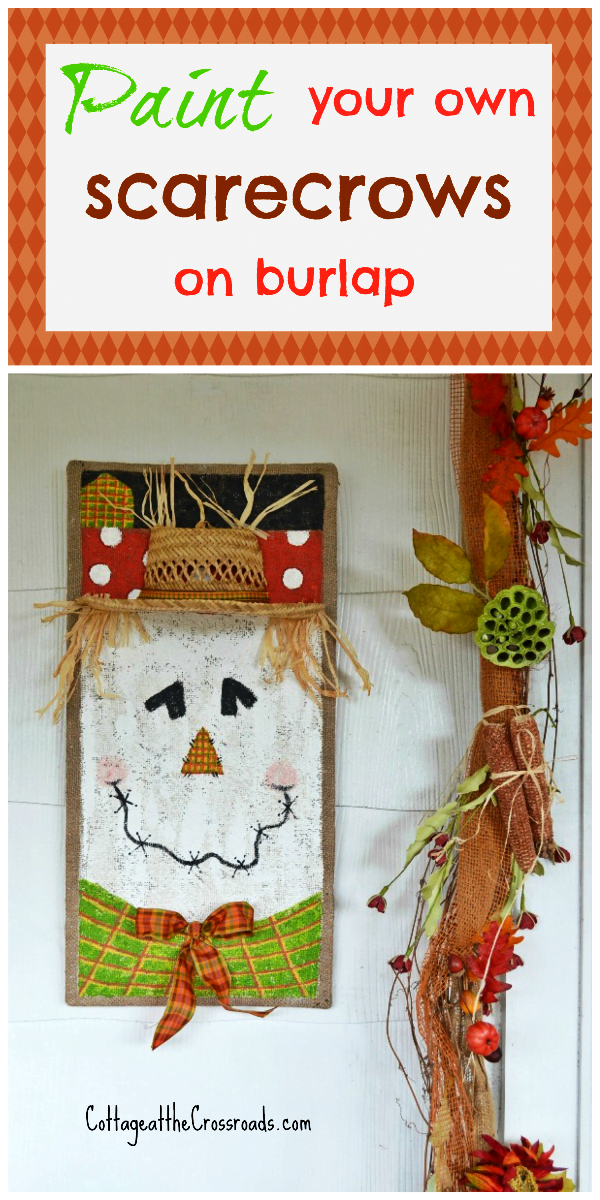
I'm back with the tutorial I promised you about how I painted my scarecrows on burlap. The painted scarecrows were used to decorate our fall porch.
My inspiration for these scarecrows came from a visit I made to a well-known craft store in August. I spotted some similar scarecrows but each one was $29.99 and I needed 2 of them! Yikes! So I decided to try my hand at painting them. (As a true DIYer, I took a photo of one of them with my phone!)
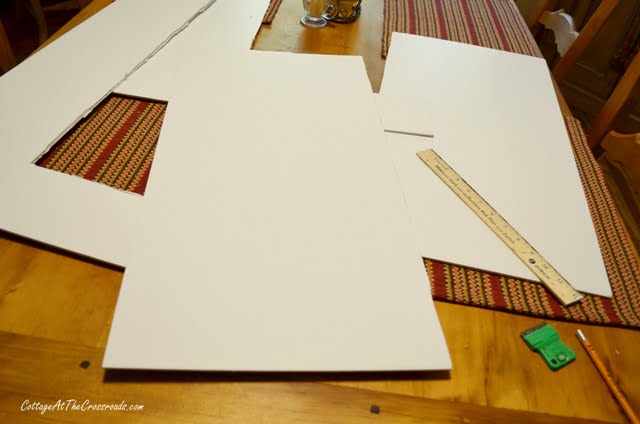
To get started, I purchased a sheet of foam board from Hobby Lobby and promptly cut it into 2 pieces that each measured 12 ½ by 26 inches. The reason I made 2 pieces is that I wanted to make 2 matching scarecrows to fill the space to the left and the right of our front door.
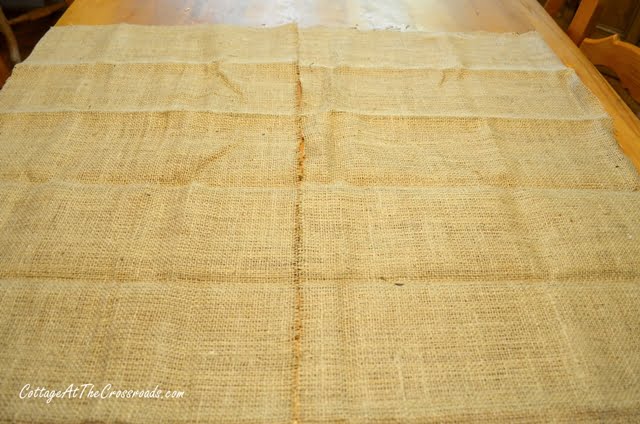
Next I pulled out some burlap fabric from my stash and cut two pieces that were about 2 inches wider on all sides than the pieces of foam board.
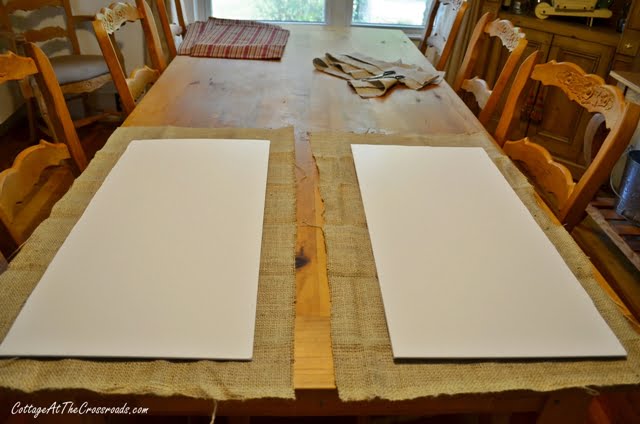
This is about how much extra you need on all sides so that you can attach the burlap on the back. Did you notice the wrinkles in the fabric? I did iron the burlap to remove them because I didn't want my scarecrows to have wrinkly faces!
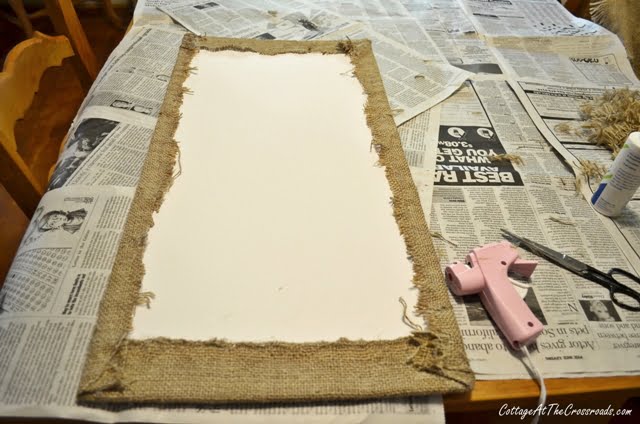
Starting on one side, I pulled the burlap taut and glued it down with both fabric glue and hot glue. I wasn't sure that the hot glue would stick to the foam board so that's why I doubled up on the glue. Turns out you only need hot glue!
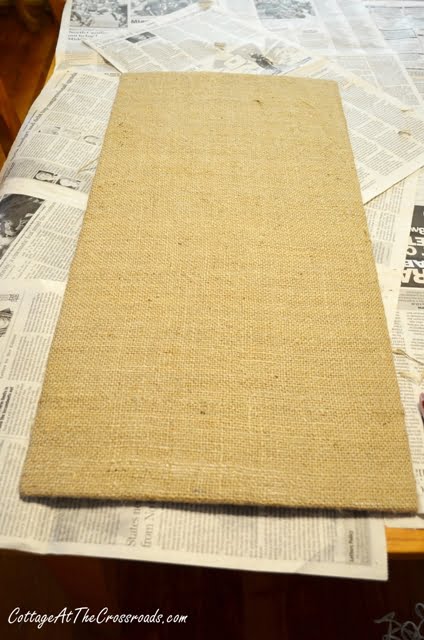
Once I got the burlap secured onto the pieces of foam board, I spread out some newspapers because I was ready to paint. Now I need to tell you that I am no artist, but if I have a picture to look at, I can copy fairly well. So if you look the following photo, you will see my inspiration photo that I used as my guide.
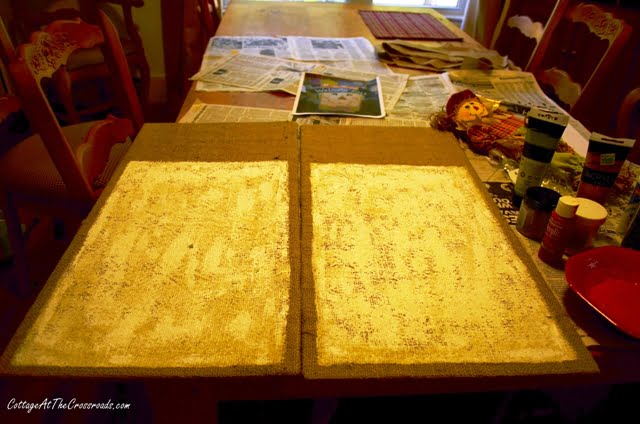
I apologize for this horrid photo! I have been playing around with the settings on my camera and I forgot to change them when I started taking more photos! Oh well. Using some craft acrylics, I painted two large rectangles using a mixture of white and beige. You don't want to put the paint on too thickly because you want the texture of the burlap to show. Then I let that dry for several hours.
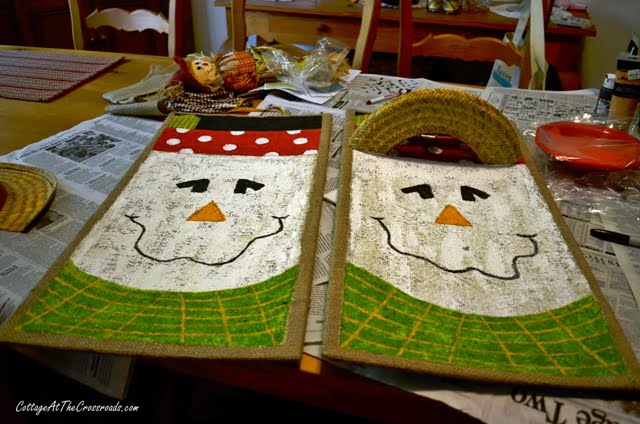
Do you see the little scarecrow at the top of this picture? I used him as a guide in choosing my colors because I knew that I was going to put him on the front door wreath and I wanted everything to coordinate. Using my picture as a guide, I just freehanded the details. Often I would add a color of paint and then I would go do something else while I waited for that to dry. For example, see the reddish orange bands at the top of the scarecrows' heads? First I painted that section and after it dried, I went back and traced a quarter with a sharpie pen to make the circles. Then I painted in the circles with white paint.
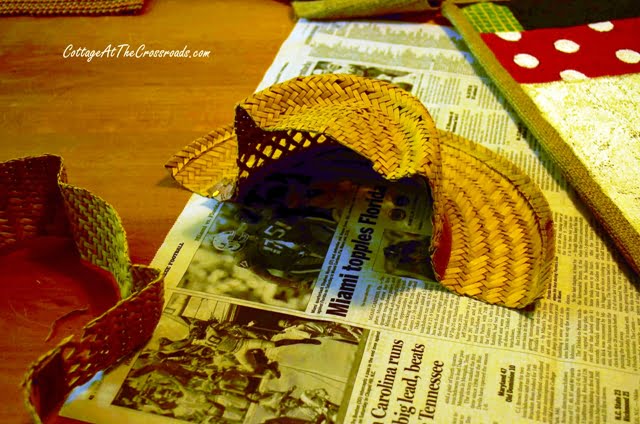
I decided that the scarecrows needed hats so I just cut one of Leo's straw hats in half. Actually, he said it was ok because the hat was too tight on him!
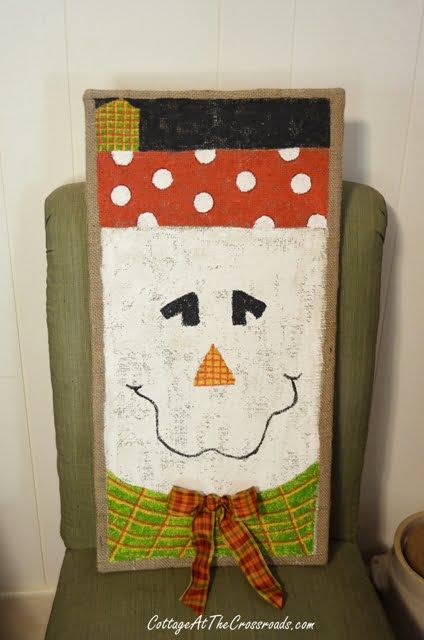
Here's one that is almost finished. See what I mean about him needing a hat?
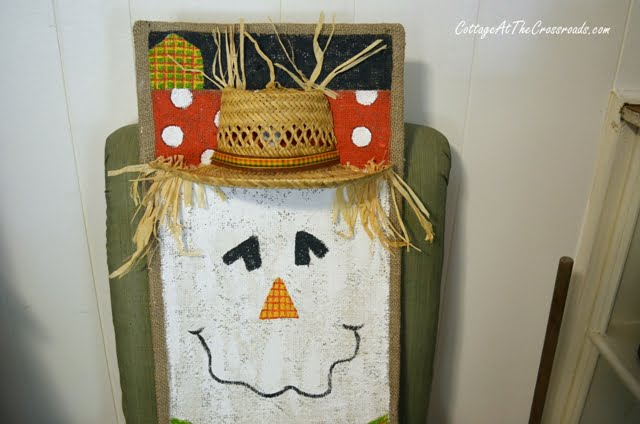
Much better! I just hot glued some raffia onto the scarecrow, added a little ribbon onto the hat, and then hot glued it on, too.
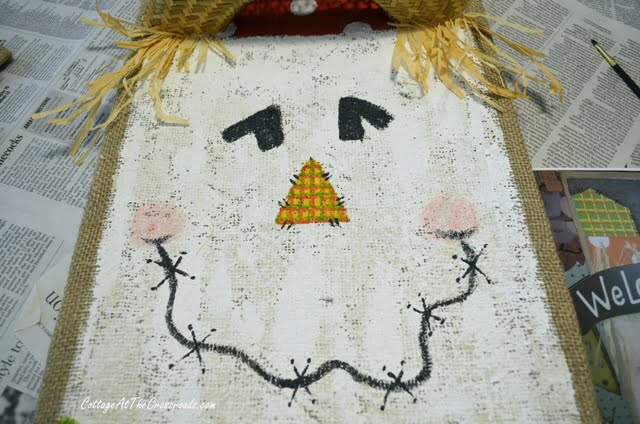
Here's a closeup of this one's face. More details were added including those rosy cheeks and the stitch marks on his nose and mouth!
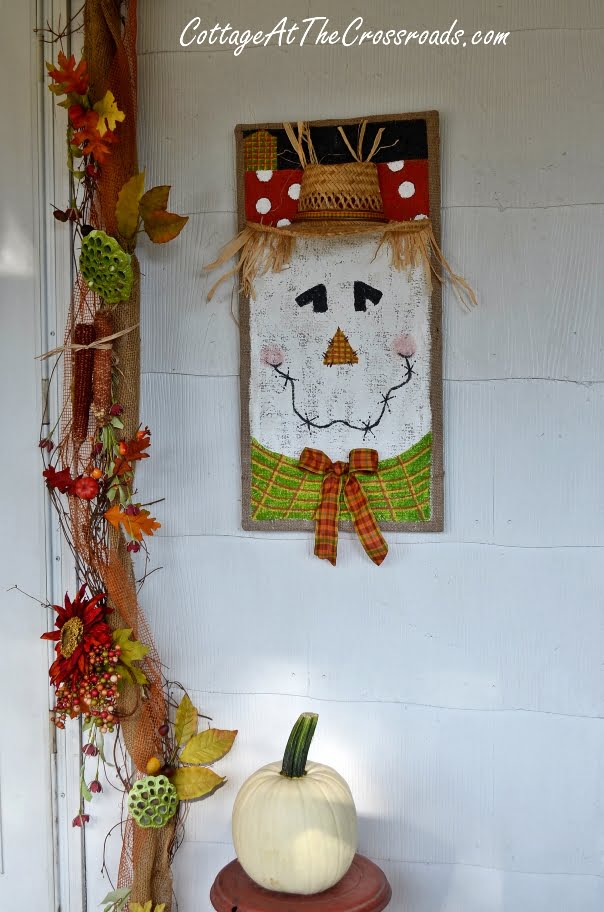
You can see how painting on burlap gives the scarecrows a rustic look. If you want to try to paint your own scarecrows, you could just right click on any of my photos, download, and print them to use as a guide. I promise, it wasn't hard at all!
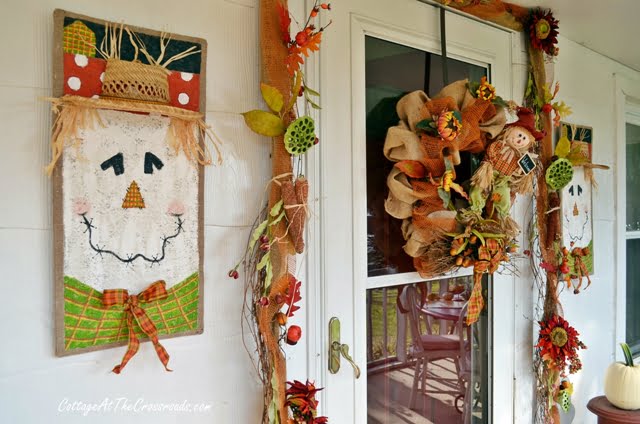
Here you can see how the scarecrows add so much fun to our front porch display-perfect for our country home!


sue
So cute--Love it
Sue
Barbara
It may be 2 yrs since you posted this but I'm so glad I found it. That is just adorable and I think I can paint those scarecrows! You're a true inspiration!
Lucy
Very Clever! I love your scarecrows! They are adorable!
Trish
I collect Scarecrows during this time of the year, so it was wonderful finding your tutorial. You are amazing!!
Wish me luck!!
judith perez
Thanks a bunch for that great idea! I just bought a similar scarecrow at that hobby store, but now I know how to create one for our porch!
Kathleen
Thanks so much for sharing! This is just adorable....beautiful work!
Michelle
These are just adorable!!! I saw them at HL this week, snapped a pic and worked on my own, too!!!!! Great minds think alike! 🙂
Jennifer @ Town and Country Living
Omigoodness Jane, these are just adorable!!
maria cabrera rivera
How I get the instruction for paint the scarecrows on Burlap. Thanks
Linda
Wow! These scarecrows are fantastic!! What an awesome tutorial as well. Thanks!
Vickie
That is so cute-and easy too. I love the addition of the hats!
Lorraine Swindol
Thank you SO much for the tutorial. Love your scarecrow and porch!!! I am going to try to make a snowman using the same concept. My Christmas Open House theme is burlap and lace. I will send you a photo IF it turns out. THANKS for the tutorial.
Trish
I am dying to know how your snowman turned out, Lorraine Swindol. If possible, can you give me some feed back? I was considering doing the same thing. (Great minds think alike)
🙂
Gail H
Absolutely love these scarecrows! Cute, cute, cute!
Mary
Jane, I adore your scarecrow canvases! They look so professional, you're an artist and I love the texture painting on the burlap added! The addition of Leo's hat is icing on the cake!
Kathy
Jane,
These are just adorable! Thanks for the tutorial. So fun!!
Marti
Thanks for the scarecrow tutorial! You're the best!
Debbie
I am in love! I may have to copy 🙂
Debbie
Lisa Palmese
That was In Incredible Creative Idea. I Loved it and your Front Porch.
Beautiful Job
Thank You
Lisa
Susan (Between Naps on the Porch)
Sooo cute Jane...I love these! You are so smart to figure out how to make your own! Adorable and you can use them year after year. 🙂
SheilaG @ Plum Doodles
They are absolutely adorable, Jane! Their smiles are just too friendly and welcoming to be "scare" crows. 🙂
Moni ~ Zu Haus at Home
So fun and cute!! Thanks for sharing the tutorial....you make it look so easy!
Jean WindhamJeanwindham
The scarecrow is very creative and I love the addition to the fall porch decor. thanks for the tutorial. jean
laurie
You clever, clever girl! These are just soooo cute, and I love the way you used the hat. You ALMOST made me think I could do this, but then reality set in. I cannot draw anything, even if I have something to copy. My brain just isn't wired that way. Very well done, Jane. laurie
annie
LOVE LOVE LOVE!!!! thank you so much for sharing--i may do this method for painting a witch for my sons girlfriends door! you rock! 🙂
Shan
Super-super-cute! I love fall decorating and all the warm, welcoming colors. I can't wait to see all that you are doing for autumn. Keep the pictures and blogging coming!
blessings,
Shan
Melanie
Jane, they are so cute and yes they are perfect for your porch! That hat really made them cuter!
Donnamae
He. Is. Adorable! Thanks for the instructions...looks like he'd be fun to make! 😉
Cynthia
These are just too cute for words, but I am sure I can muster some!! I love what you did and the piece of hat is just perfect. Great tutorial and they add so much!!!
Cynthia
Barbara F.
Love~love~love, just a fabulous fall craft and this tutorial was so clear, I actually believe that I can make one! xo
Diane @ The Checkered Apple
Wonderful tutorial Jane and you made it look so easy!
Debbie
So cute!!!! They made me giggle! I love all the pic's on how to make them, you are so cool!
Thank you,
Debbie from the Northwest
Mary Ann
I saw the scarecrows on the home tour, and I'm so glad you showed us how to make them. Now... what about the beautiful wreath on your door!
Betty
I love it. Thanks so much for sharing how to make him
Helen
Jane, I'm loving the scarecrows and I'm guessing Santa and the Elves cannot be far behind. Love this idea.
Thanks for sharing,
Helen
Tammy
This is such a cute scarecrow wall hanging. Love the real hat and straw you added.
michelle
This is going to look so good on my porch. Thank you for sharing.
Jenna
Great tutorial Jane! I am an artist and I couldn't have done a better job! This is the cutest painted burlap project I've seen and the hat is genius! Can't wait to see what you come up with next!
Jenna
Holly
Good grief Jane... that is adorable! Love the scarecrows and love your tutorial... pinning and sharing. Thanks for sharing!
priscilla
Super cute ! Thanks for the tutorial !
Gina
Jane, these are absolutely fantastic! So cute! Thanks for sharing the how-to.
Debbie Hooper
This is so cute! Love your porch!