If you have a chest freezer in plain sight, you may want to check out my idea of how to disguise a chest freezer. (no sewing machine needed!)
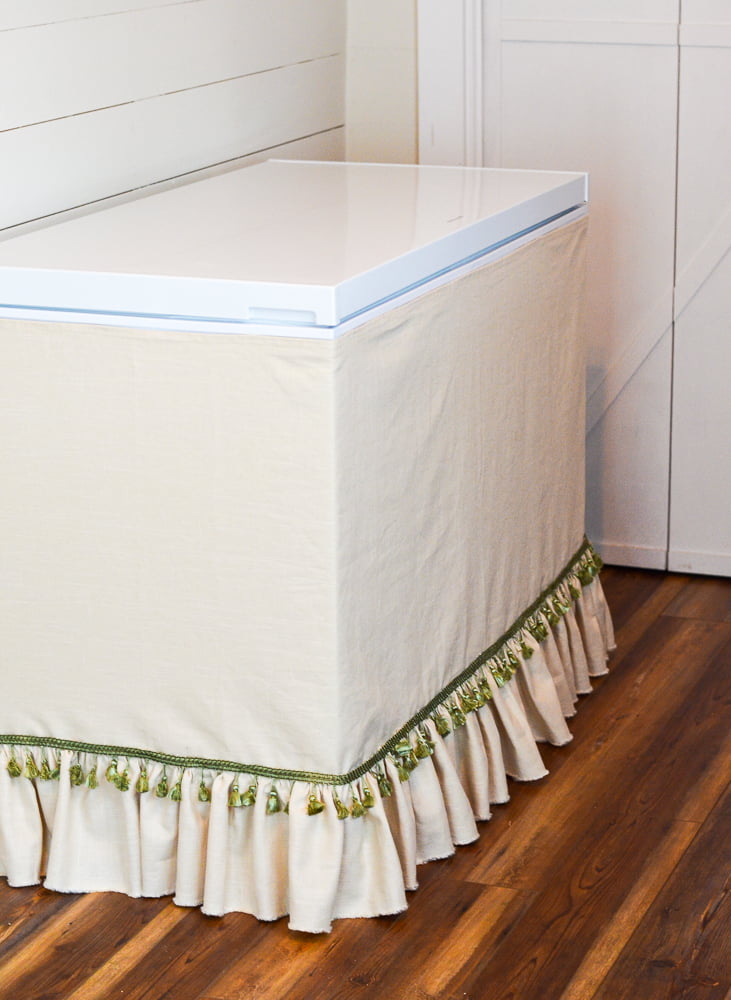
Last year we purchased a chest freezer to go in our remodeled mudroom/laundry room. I had been wanting one for years but we didn't have a good place to put one until we created this new space.
I'm so glad that we bought it last year because freezers have been in big demand over the past few months due to people not wanting to go to the grocery store as often and because many people started a garden this summer and needed to do something with their produce.
Many people have gone to the big box stores to get one but found that they had to order one and wait for many weeks to receive it!
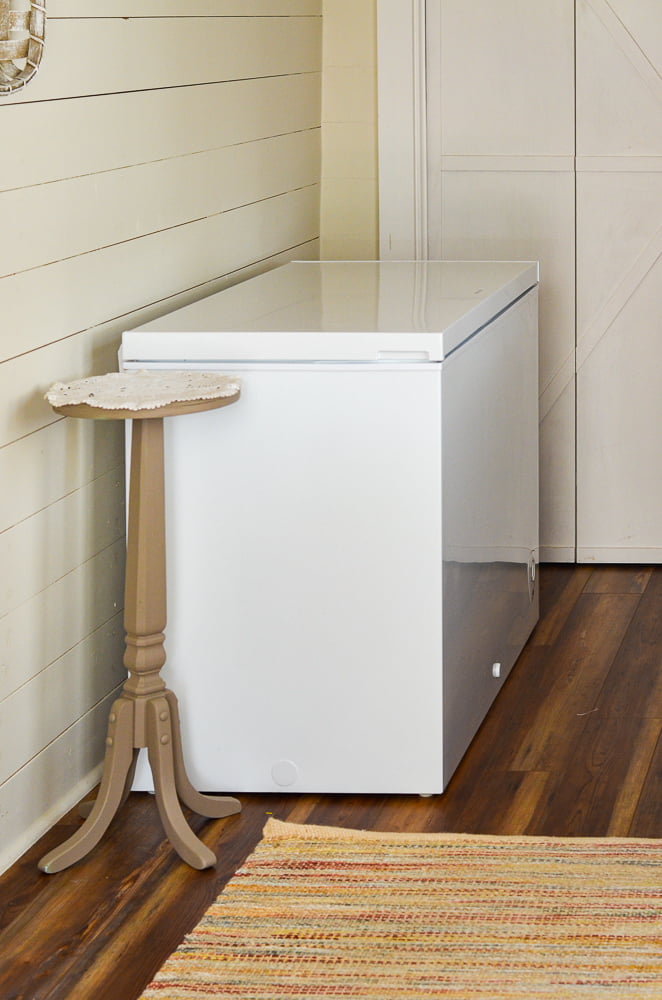
After we placed the freezer in our mudroom/laundry room last year, I thought it looked a bit stark so I got the idea to make a skirt for it.
I purchased some fabric that was on sale at JoAnn's last year, some green trim that I found a very good price, and some Velcro. But I never got around to making the skirt until a few days ago.
Do you have projects that sit and wait on you, too?
Well, I'm glad that I made the time to do this and I'm sharing all the details today as part of Thrifty Style Team day hosted by the lovely Julie from Redhead Can Decorate.
I have seen various ways on how to disguise a chest freezer. Some people paint them, some people turn them into a chalkboard, some make a wooden panel to surround it, and there are even vinyl wraps that can be placed on a freezer.
The most economical way is to make a skirt for one. I was planning on using my sewing machine to create mine, but I'm having a mechanical problem with my machine so I only did some hand sewing to make mine. *If you can thread a needle and can sew a straight stitch, you can make your own freezer skirt!
What you need to make a chest freezer skirt
- several yards of lightweight fabric (the number of yards depends on the size of your freezer-I used about 5 yards of fabric and I had enough to make a topper, too)
- embroidered trim
- scissors
- measuring tape
- pins
- hot glue gun and glue sticks
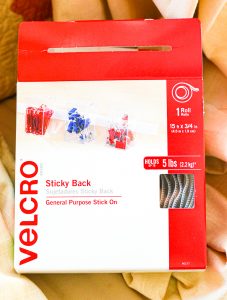
- Velcro
- Make sure that the type of Velcro you purchase has the sticky back. This box contains 15 feet but I did not use the whole box.
- iron (if necessary)
- needle and thread
How to make a skirt for a chest freezer
Step 1
The first thing that I did was to take some measurements.
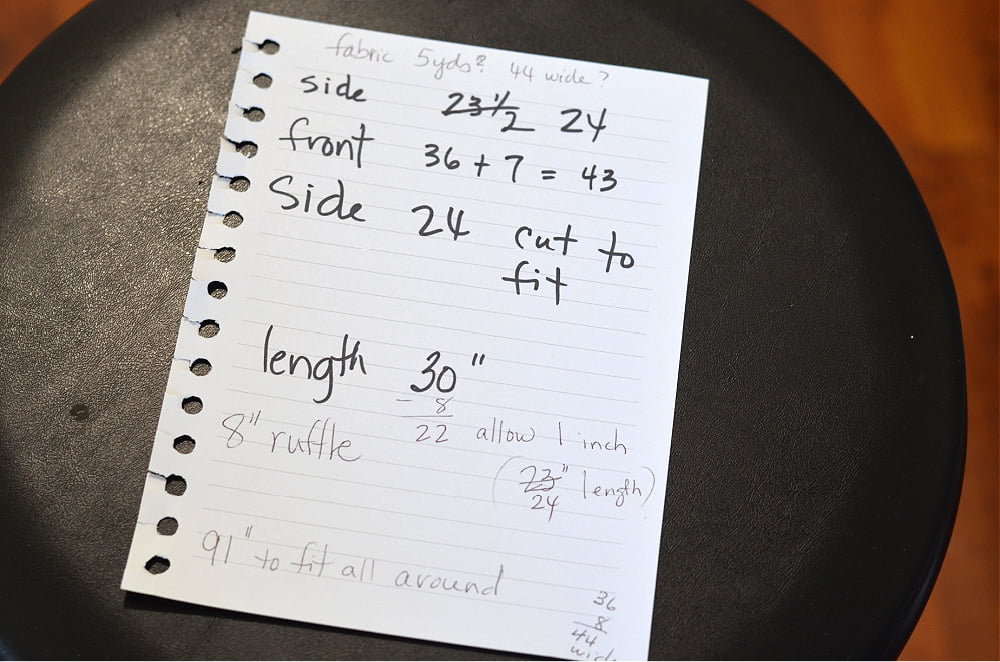
Measure the distance around your freezer excluding the back. The total distance around mine was 91 inches but I added about two inches on each side to wrap the fabric a small distance on the back. Cut one long continuous piece of fabric that length.
Measure the height of your freezer from the floor to the edge of the seal on the top. For my freezer, that was 30 inches.
Since I decided to add an 8 inch ruffle to my skirt, I subtracted those inches from 30 and then added back 2 inches so that I would have enough fabric to attach the ruffle.
Step 2
Next I cut the long piece of fabric so that it was 24 inches wide.
The part that you cut off will be used to make your ruffle.
Step 3
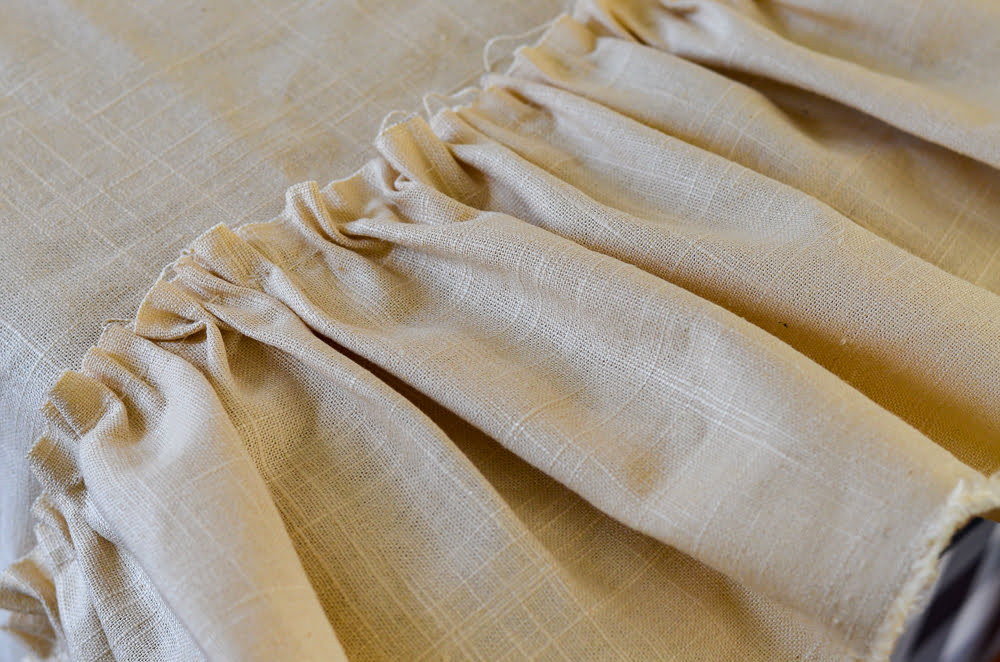
To make the ruffle, thread a needle with thread, knot the end, and make straight stitches. Pull the thread tight and ruffles will be formed. Keep doing this until you reach the end of the fabric. More than likely, you will run out of thread before you reach the end. No problem. Just secure the end with a knot and start over.
Quick tip:Don't pull the thread too tight, though. You just want a soft ruffle.
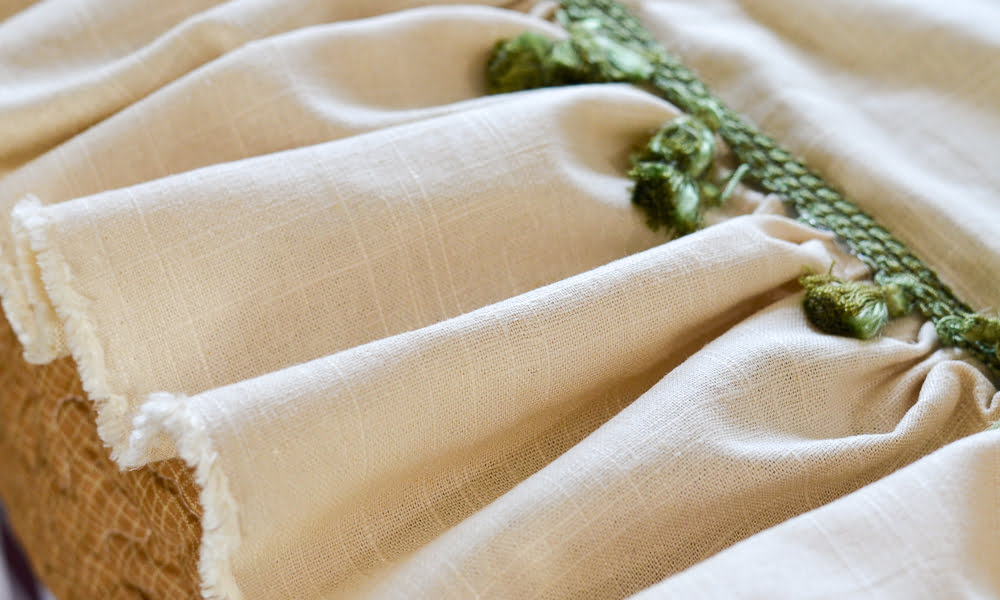
When I was cutting my fabric, I kept in mind where the selvedge edge (the woven edge of the fabric that keeps it from raveling during the manufacturing process) was so that I didn't have to hem my ruffle.
Before attaching the ruffle to the long piece of fabric, I took the long piece to my freezer and figured how much I needed to trim the skirt so that it wouldn't cover the ventilation panel on the side.
Step 4
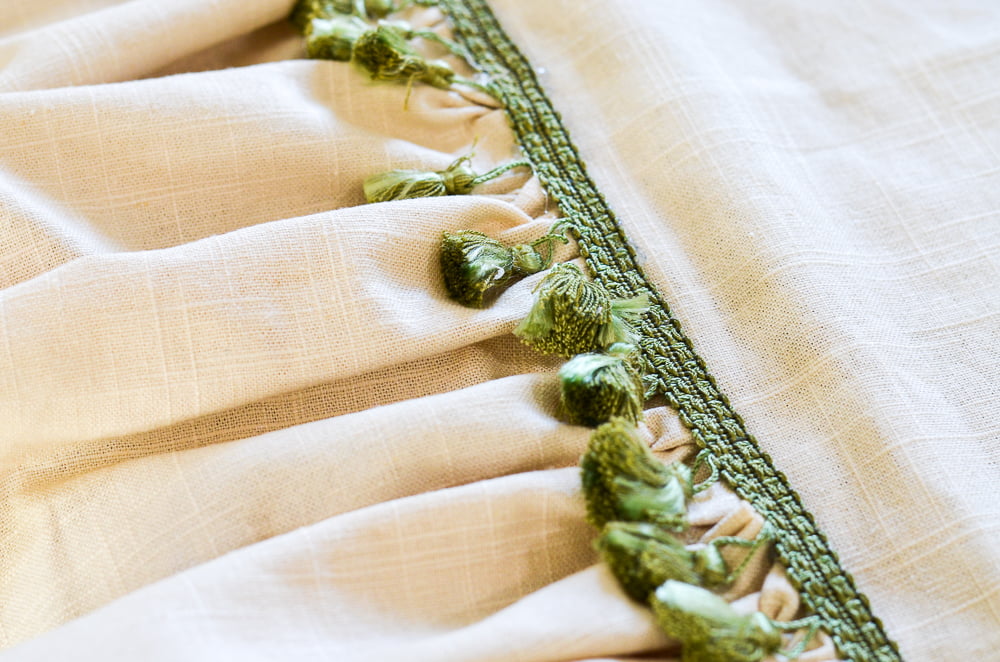
The next step is to hot glue the ruffle to the long piece.
Step 5
To "dress up" the place where the ruffle meets the long panel, hot glue some fabric trim onto it.
At this point, if your fabric needs pressing with an iron, do that before the next step.
Step 6
Attach Velcro tape underneath the seal. Start about 1 inch on the back so that you can wrap the skirt around the edge. Do this to the end as well.
This is where I needed a second set of hands. My Velcro got all twisted because I was doing it by myself.
Step 7
And finally, put Velcro tape onto the backside of the top of your skirt.
Tada! All done!
There are a few places that need to be hemmed but they are not visible so I'm not sure they will ever get hemmed! No one will ever know if you don't tell them! Wink! Wink!
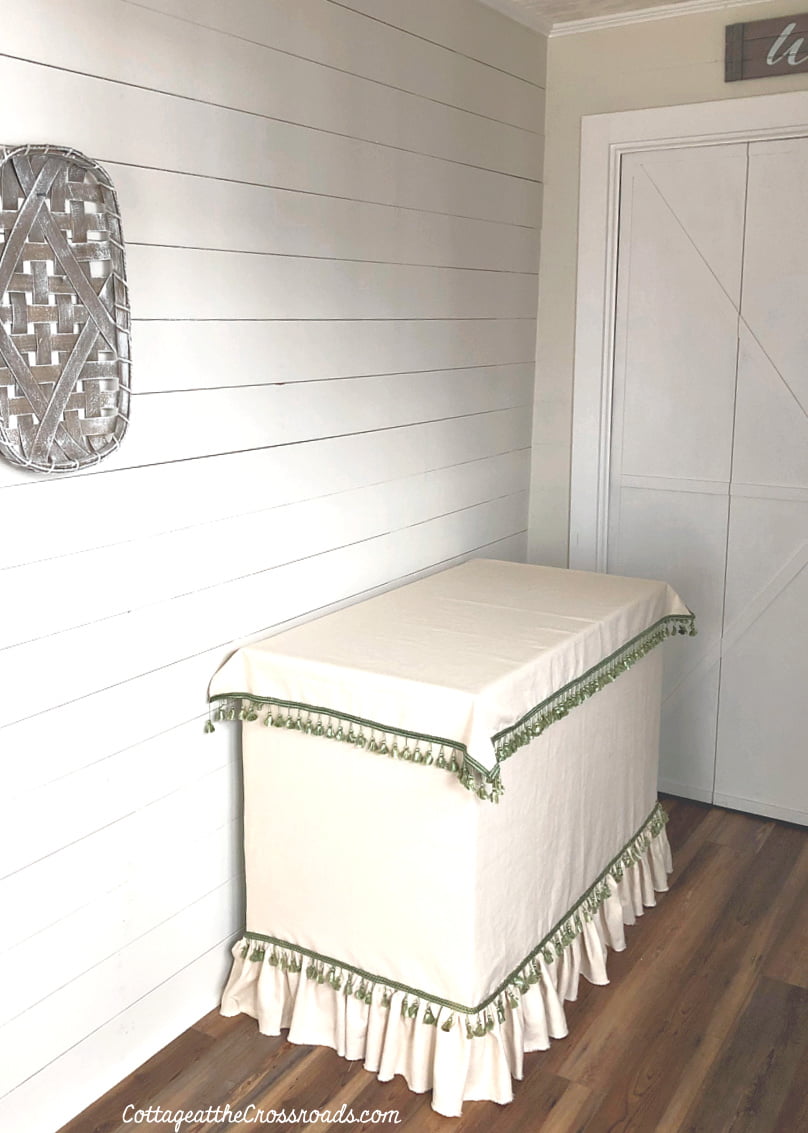
I had enough fabric left over from my original piece of fabric that I was able to make a topper. I'm not sure I'll leave it on everyday but it sure will hide the freezer when I decorate for the holidays!
I've used this method of attaching a skirt to tables using Velcro many times in a classroom. Sure does hide a lot!


Kristi Dominguez
Oh my word, Jane. You are so CLEVER! I have this exact same freezer and now it feels so naked...lol! I'm adding this to my to-do-list for sure.
Michelle @ The Painted Hinge
This idea is pure genius Jane! It makes it so pretty that you could have it in any room! Pinning!
Meegan
This is THE cutest idea, Jane! You have the best tutorial with all the details.
Your new and fresh look will be so inviting.
Thanks for the inspiration.
Kelly Radcliff
What a smart idea! It's just darling...pinned!
Angela Kraeske
Jane, this is adorable and such a clever way to disguise your freezer chest! I love the tassel fringe. Thank you for the great tutorial for the ruffle. I always have a hard time with those.
Dianne Stewart
Love this idea!
Paula@SweetPea
Your chest freezer skirt and topper look great! I know that anyone visiting your home is going to examine both and give you lots of compliments when they see it.
Mary Beth
This is such a great idea, Jane, and I love how it turned out. If I ever get a chest freezer again I am going to make it a pretty cover using your directions. Seriously, awesome!
Jane Windham
Thanks so much, Kris! Now I'm ready to put up my tree that will go beside it!
Kris @ Junk Chic Cottage
Jane this is sooooo cute. What a genius idea. Looks great. Hope you and Leo are doing well and staying safe. Happy Friday. xoxo Kris