Today, I'm sharing how I made a welcome chalkboard sign super easy to put it together and looks fenomenal.
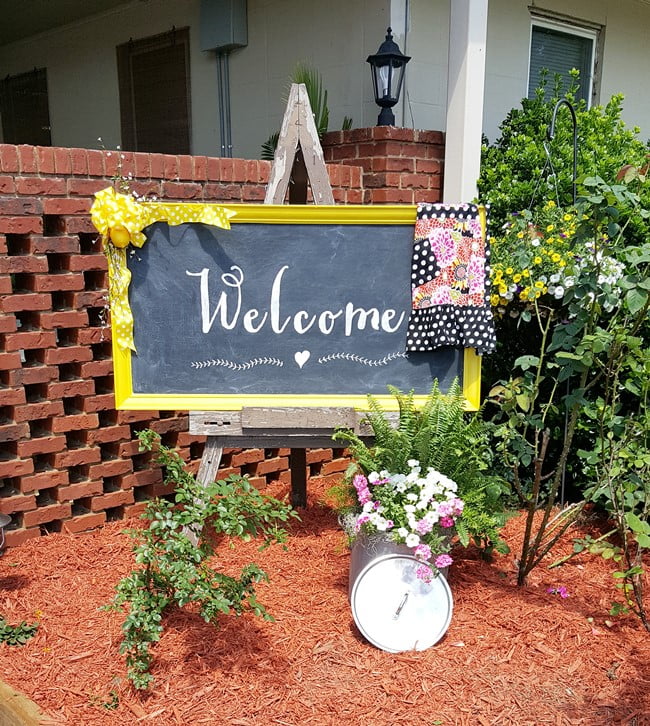
Hi friends! I hope that all of you had an enjoyable Mother's Day weekend. I am blessed to still have my mother, who is 93, with me, and we celebrated by having a wonderful lunch together. I cooked her favorite food, pot roast, which she no longer cooks for herself but still enjoys. Blessed beyond measure, that's for sure! Today, though, I'm sharing how I made the welcome chalkboard sign.
DIY Welcome Chalkboard Sign
Would you believe that the welcome chalkboard sign in the photo above started out as an old, dated piece of artwork?
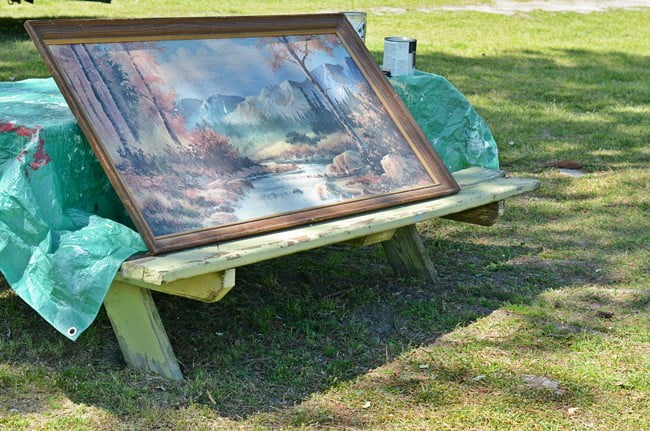
About a month ago, I found this framed piece of artwork at the local auction that we attend all the time. It was old and faded, but the frame was still in good shape except for a few dings. I knew I would be painting it so those didn't matter.
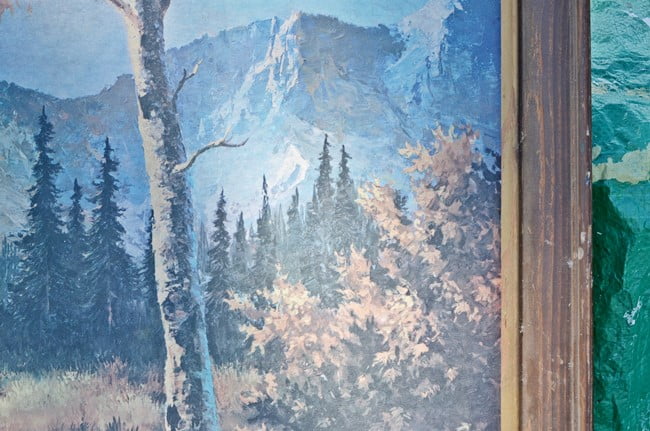
It wasn't anything valuable because the scene was just printed on cardboard. When I saw it, I thought the size of the frame was perfect for creating a welcome chalkboard sign for our party, but I was thinking that I would have to replace the cardboard backing with some thin plywood in order to make it into a chalkboard.
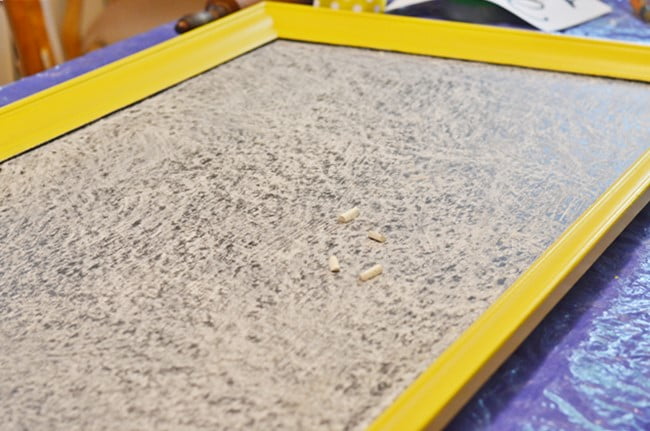
Since our color scheme for the party was yellow, I painted the frame with some leftover DIY chalky paint that I had on hand. Since we were having some rainy weather, I had to move my project indoors so I just threw a plastic tarp over our dining room table in order to continue. The more I looked at the cardboard I thought that I would just try painting it with chalkboard paint. My sister-in-law brought over her paint and sure enough, I didn't even remove the cardboard. I just painted over the scene with two thin coats of chalkboard paint. Worked perfectly! After letting the paint dry overnight, I "seasoned" the new chalkboard by rubbing the surface with a piece of chalk turned horizontally on its sid until the entire surface was covered with chalk.
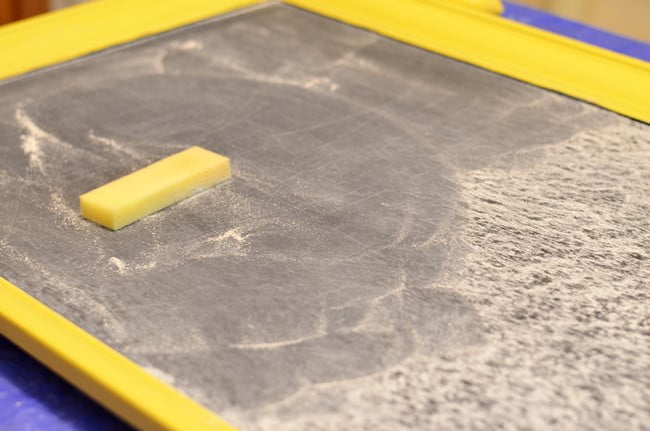
If you don't season a new chalkboard, your writing will saturate the board and you won't be able to entirely erase it. Y'all do know that I'm a retired school teacher, don't ya? Well, after the chalkboard was completely covered with chalk, I gently removed the excess chalk with an eraser.
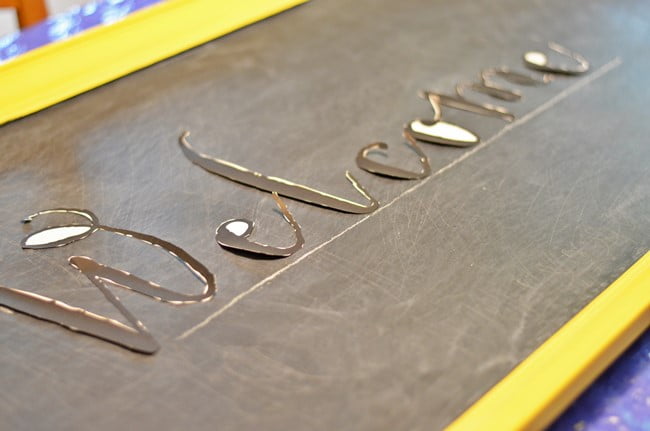
See how the chalkboard looks like an old chalkboard rather than a brand, spanking new one? Anyway, at this point, I printed off the letters I needed to write the word WELCOME on the board. I used my fancy font that I use here on the blog, and I have no idea how large I made them. If you're doing this yourself, the size of font would be determined by the size of your board, of course. Just experiment with one letter until you get the right size for your chalkboard.
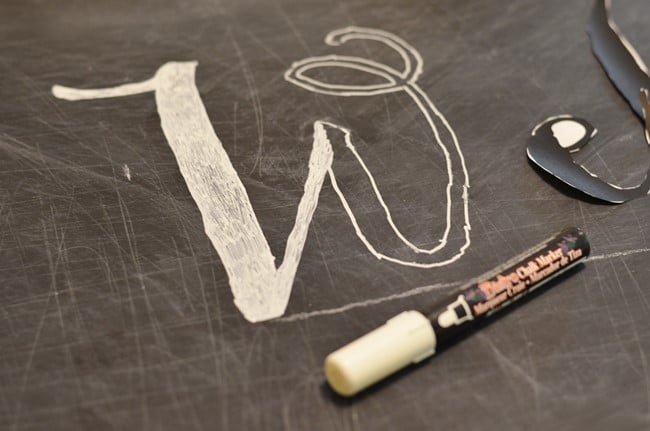
Then I simply traced around the printed letters with a chalk marker. They come in different sizes and colors, and I purchased mine from Hobby Lobby but here is a link to the same chalkboard marker on Amazon for your convenience. Sorry for the blurry photos, but did I mention that we had days and days of rain?
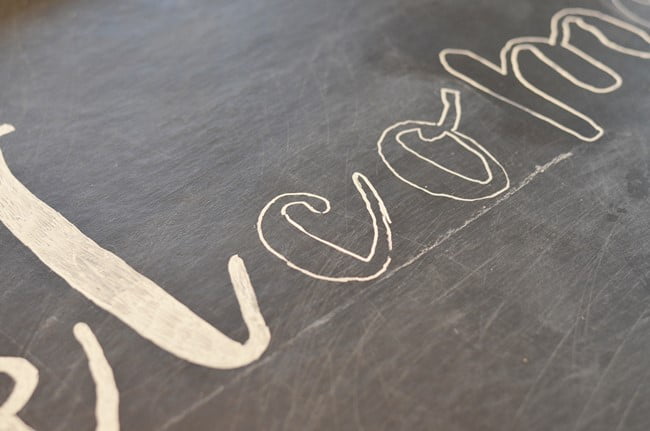
Then it was a matter of filling in the letters with the chalkboard marker. Once or twice I went outside of the lines so all I did to clean that up was to wet a Q-tip and erase my mistakes.
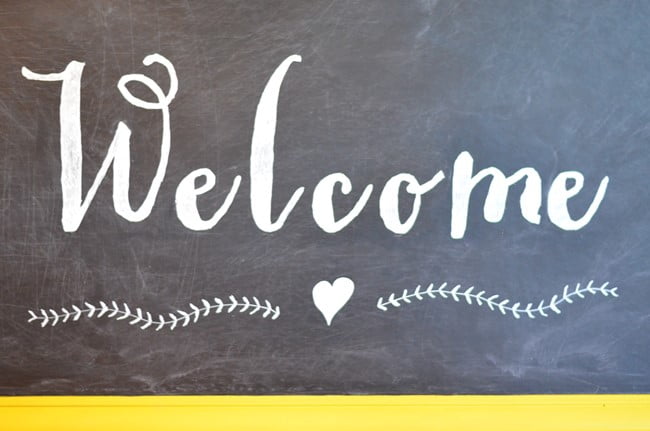
To finish up, I just freehanded the heart and the viney-looking design.
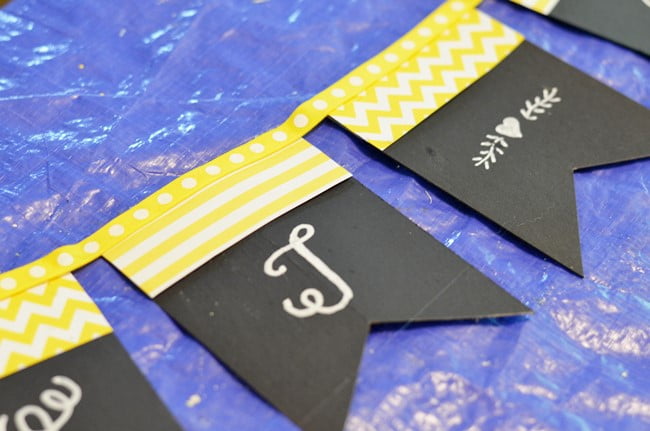
At the same time, I was creating a chalkboard banner to hang over the photo displays. I spray painted cardboard with (affiliate link) chalkboard spray paint, traced the letters of each honoree's name using the same chalkboard marker, and hot glued a little scrapbook paper to the top along with a ribbon to tie them all together.
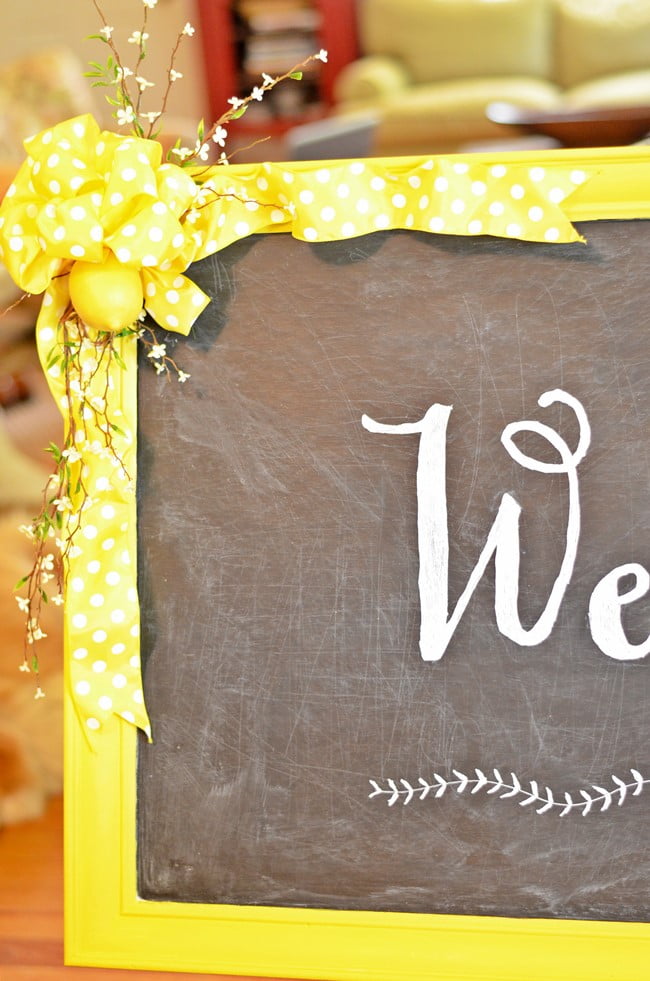
A few days before the party, I attached some polka dot ribbon to the frame along with some little white artificial flowers and an artificial lemon. That took the whole welcome chalkboard sign up a notch!
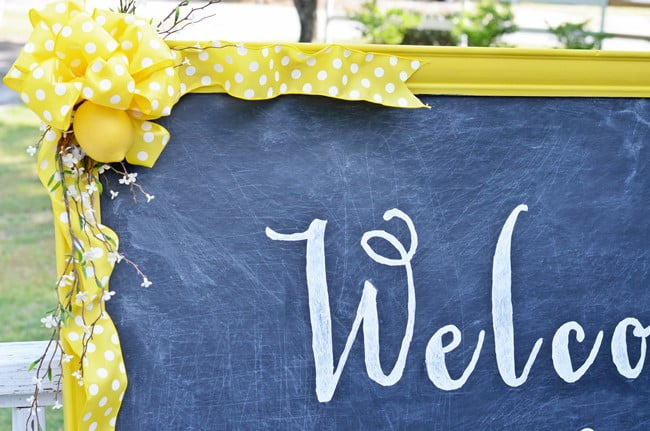
Before delivering the sign to the club, I took it outside to take some photographs.
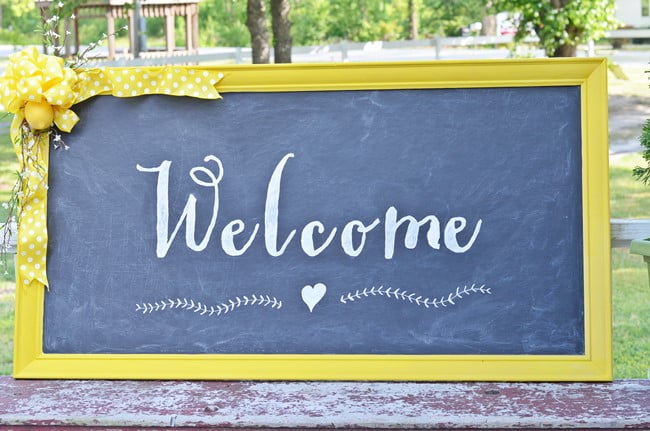
It was all finished and dressed for the party! Did I mention that I only paid $5 for the old piece of artwork? Don't think so, but look at it now!
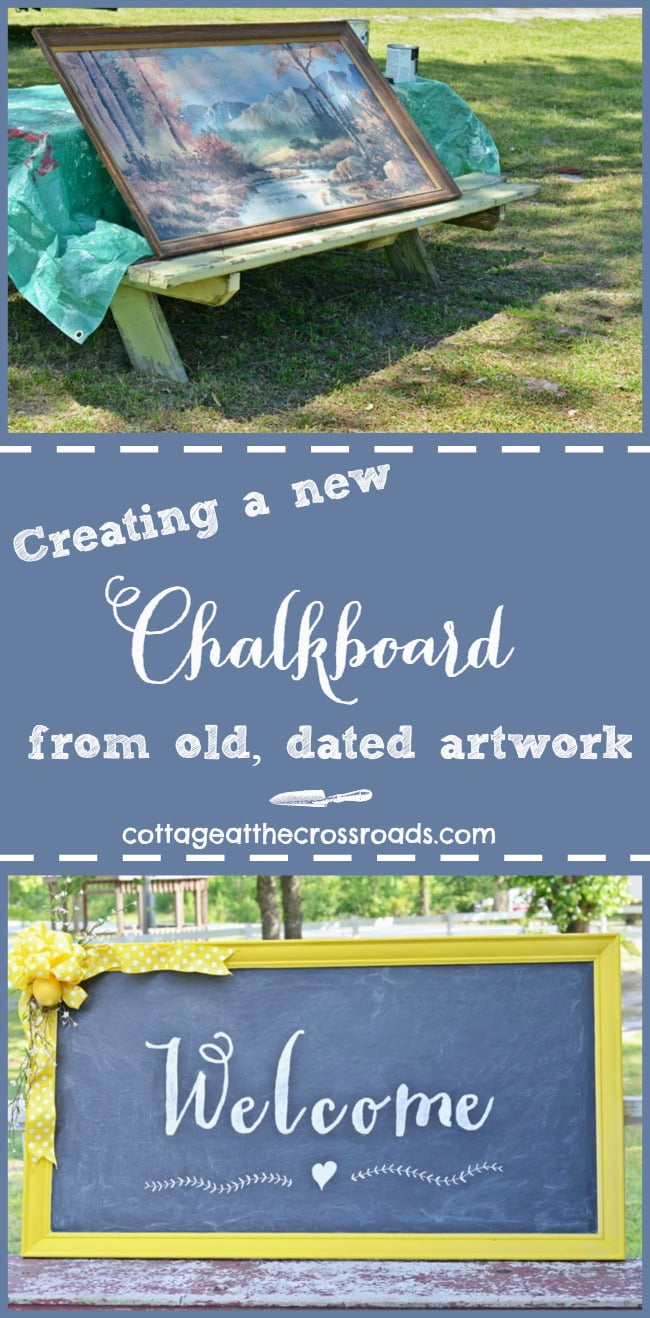
So if you see an old, cardboard printed piece of artwork at a thrift store or garage sale, grab it because you can make a chalkboard with it!

Jules
Hi what is the font that you used called?
Linda Hertlein
Your ideas never cease amaze me!
Rachel
This is such a cute idea! It's great because it's just as simple as an old frame and some cardboard. Thanks for sharing, I will definitely have to try this out!
Sandra Oosthuizen
WELL DONE!!!!!
Dianne Stewart
Great idea!