Hi friends! I'm back with the directions for making the DIY Punched Tin Can Lanterns that we used as centerpieces for the recent golf benefit party.
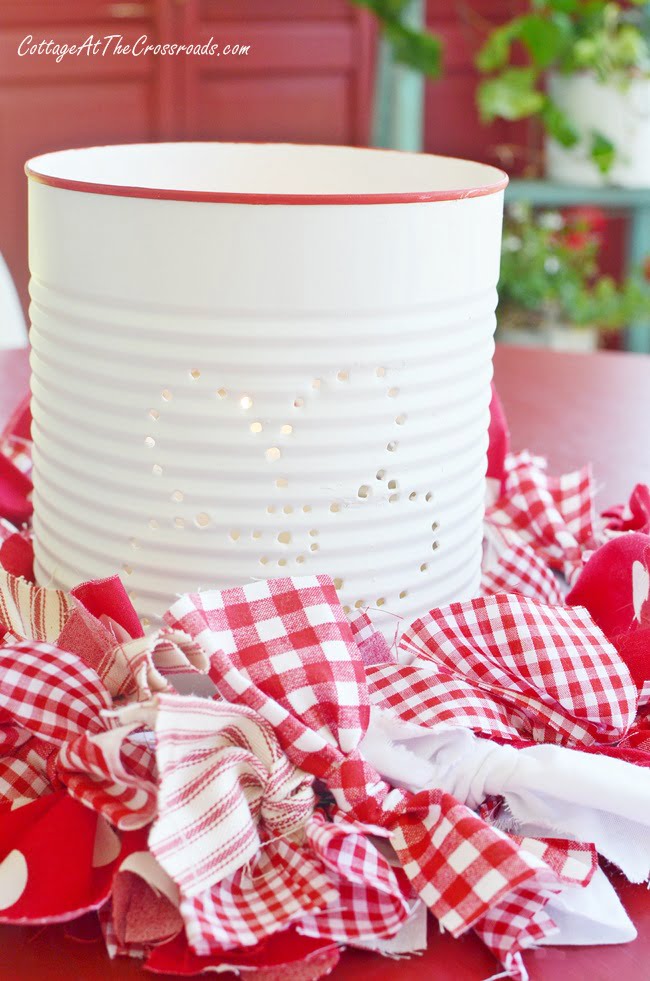
Here is one that I photographed on our front porch because I didn't get many photos of them being used at our party.
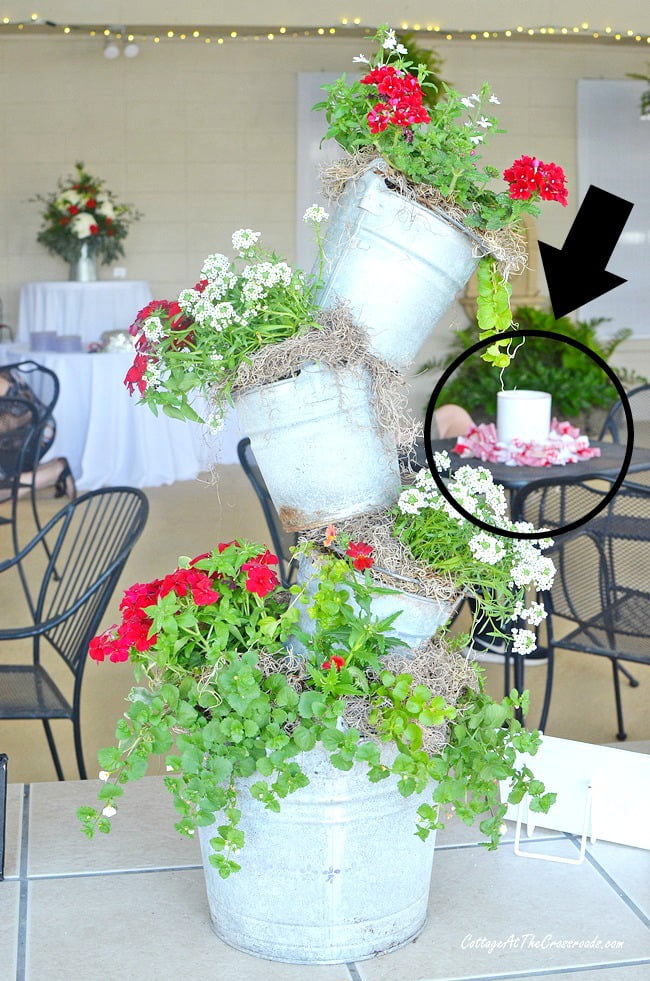
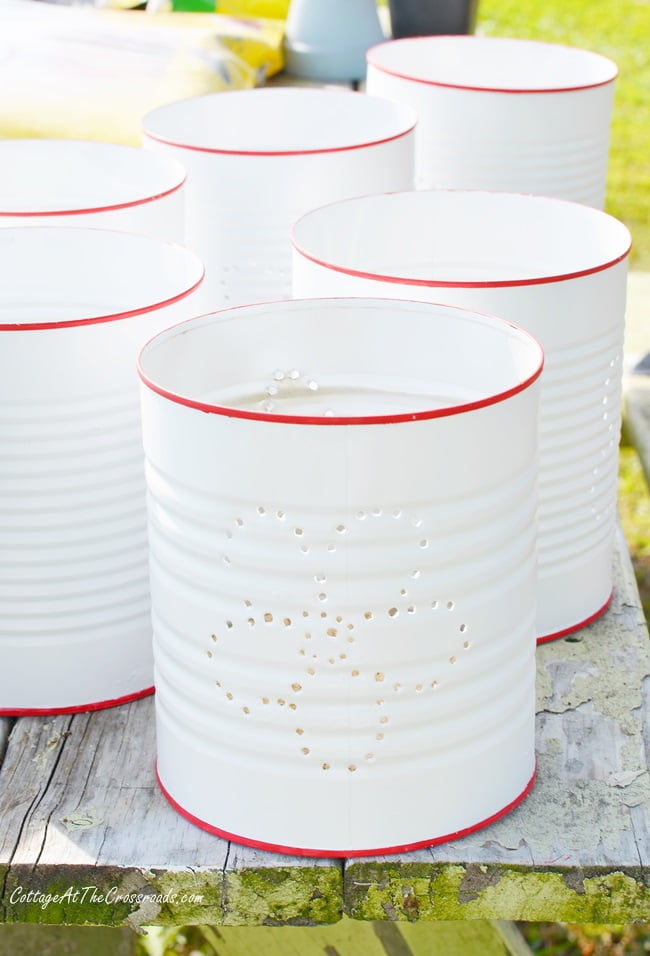
But here is one of the eight punched tin can lanterns that we used as centerpieces on some of the tables at the party.
Yes! Leo and I made 8 of these babies so we have some tips on how to make them.
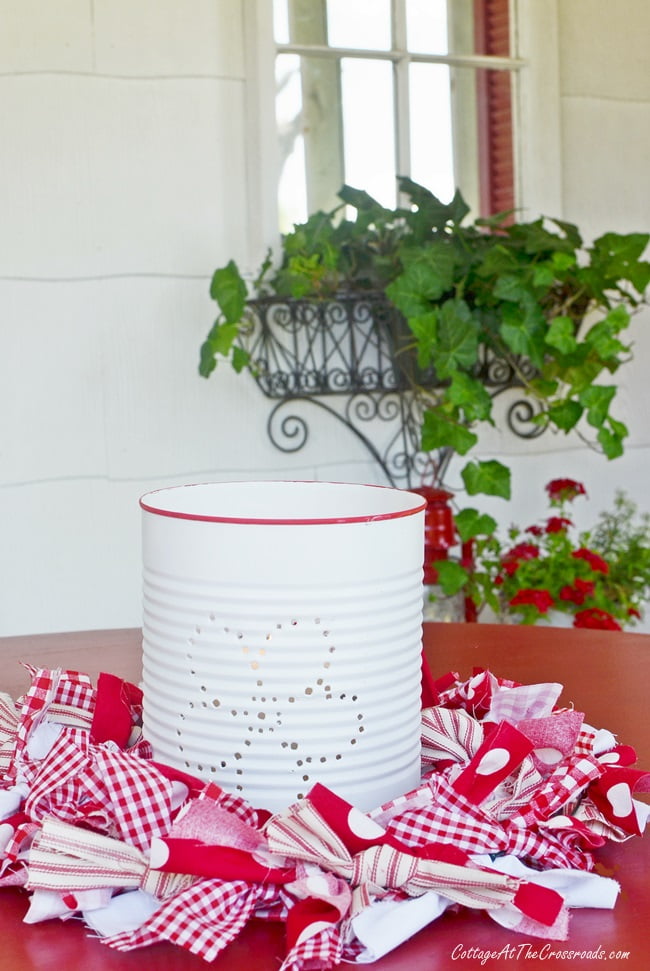
I was really pleased with how these lanterns, or luminaries as they are sometimes called, turned out. I painted them to replicate red and white enamelware, and my sister-in-law and I made the rag wreaths to encircle them. Cute as pie, don't you think?
So I'm sharing the directions today as part of the Thrifty Style Team's linkup. I can't think of any thriftier way to decorate for a party than taking tin cans and turning them into cute lanterns! The only costs in making them involved paint and a bag of sand.
Making these punched tin can lanterns would make a great summer project for upcoming holidays and events. But if you need very many of them, go ahead and get started now!
What you need to make make punched tin can lanterns
- any size clean, empty tin cans (we used #10 size cans)
- hammer
- nails (we used 3 different sizes)
- pattern printed on paper (I found one online and simplified it but you could freehand one)
- towel
- gloves
- flat white spray paint and red acrylic craft paint (Folk Art-Cardinal Red)
- small art brush
- painter's tape
- bag of sand
- water
Step 1: Prepare the Cans
The only hard part of this project was accumulating the cans! We got ours from the store across the street, a workplace cafeteria, and a school lunchroom. First, clean and remove the labels from the cans. Remove any glue residue. I was able to scratch it off with a knife blade. Fill each can with water up to an inch from the top and freeze overnight or until fully frozen. The ice prevents the can from denting when you punch holes in it.
Step 2: Choose your Design
A simple design is the best! I found the flower design that I used online and simplified it even more. You will find many ideas by doing a search for "tin can luminary patterns" or you can draw your own. Print out your design on paper (don't forget that you'll need a copy for the front and back of the can!) If you are making more than one lantern, you will need a fresh copy of your design each time you punch holes. Although I did not do this, you could freehand your design and mark the places to make holes with a permanent marker.
Step 3: Punch the Holes
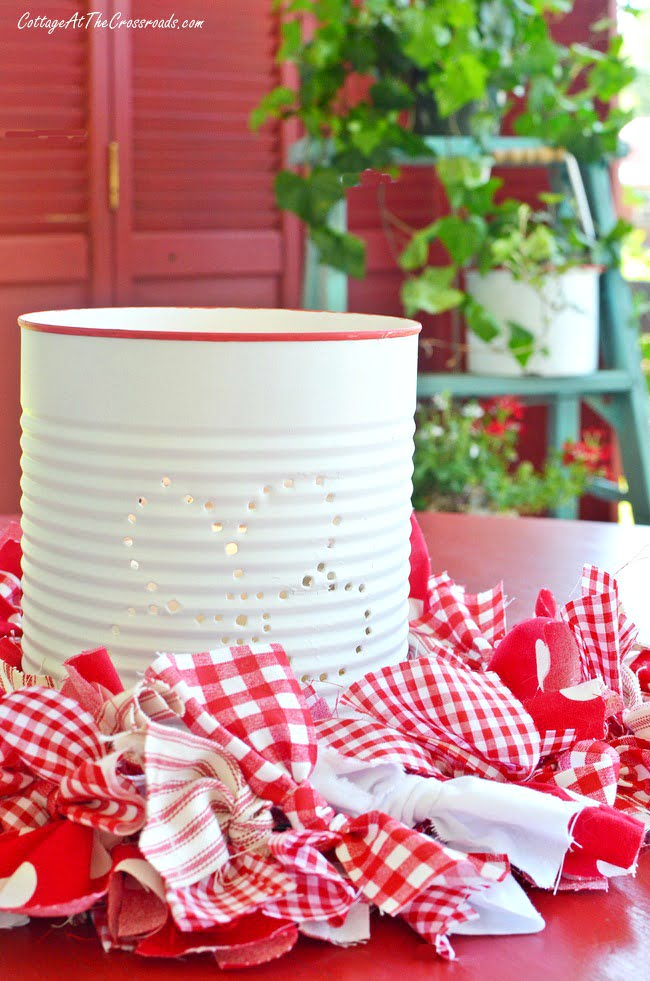
When you get ready to punch your holes, place a folded towel on your work surface. The towel will keep the can from moving and will catch any ice chips. Place your design on the can. To keep the template from moving, I held it in place as Leo punched the holes. But you could probably secure it in place with rubber bands or tape. Position a nail over each mark and gently tap it 3-4 times with a hammer. Repeat for each mark until you've completed your pattern.
Step 4: Remove the Ice
Place the punched tin can under hot tap water to melt the ice until it falls out of the can. (If it's warm enough, you could just place your can outside to allow the ice to melt.)
Step 5: Fix the Bulge on the Bottom
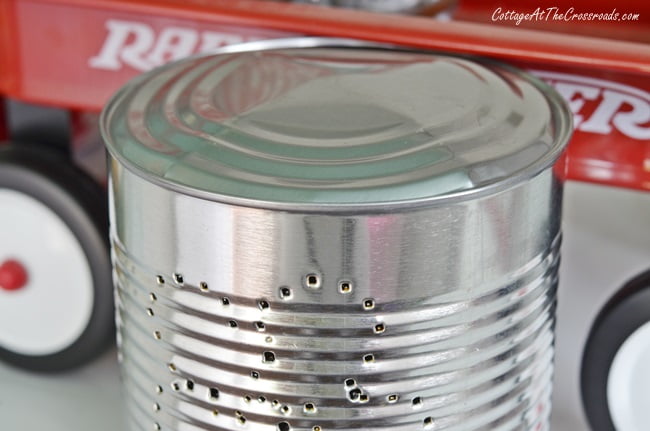
Because the ice caused the bottom of the can to bulge, you will need to fix this. Just tap it a few times with a hammer until it sits level on a surface. Of course, this makes the inside of the can unlevel but that can be remedied in another step.
Step 6: Paint the Can
Since we had a red and white color theme for our party, I chose to paint the cans to look like vintage red and white enamelware. First, I spray painted the cans, inside and outside, with flat white spray paint. It's best to do this outdoors where there is good ventilation. It took me a while to do this because it was windy many days during April!
After the white paint dried, I placed painter's tape near the top and bottom of the can and then painted the edges red with craft paint and a small brush.
Step 7: Add Sand and Candles
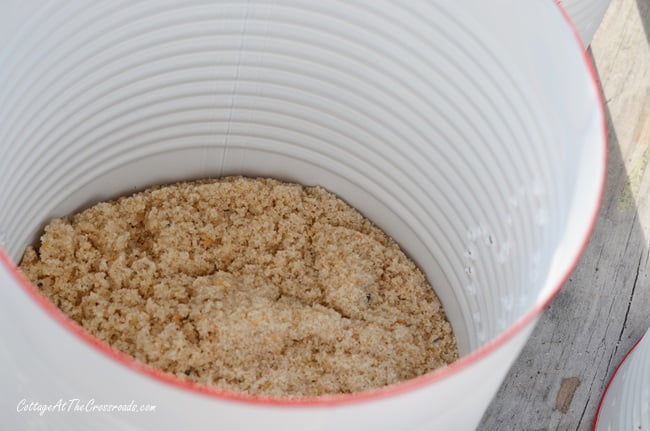
After the paint dries, you're ready to add candles. But wait! Remember how I said that the inside of the can was unlevel? Just put a small layer of sand inside and your candles will sit level. Voila!
You're ready to put your punched tin can lantern on a nonflammable surface to enjoy.
Note! Be careful placing your candles inside as the nail holes create jagged edges on the inside!
If you want to hang your lanterns, it's very easy to punch a hole on each side near the top, attach a piece of wire, and secure both ends.
Just imagine all the possibilities of ways you could decorate these upcycled tin cans for upcoming holidays and celebrations!




Katie Mansfield
Those are adorable. I love, love the red and white.
laura janning
Jane, these luminaries are just the cutest.
Jean Windham
I love this red and white can centerpiece. The design and color scheme was so pretty. The cans in my opinion made the tables pop. The candlelight was nice and added another dimension to the display. Thanks to Jane and Leo for their work. The tables were very pretty. Jean
Kristi Dominguez
Super cute! Perfect for a summer dinner...al fresco!
Michelle @ The Painted Hinge
These are lovely! I bet they are gorgeous when they are lit up at night!
Dolly
Very cute!
Meegan Fast
Oh Jane! I just love this. AND especially the red and white mimicking enamelware! Just pure perfection. Thanks for the inspiration.
Sandy
These are simply adorable. The red and white truly looks like enamel ware. The ribbons really set it all off. Love this project. I would never have thought to freeze water in them.
Pondside
These are adorable and I can think of a few ways I'd use them this summer. Bonus is that it's a project that The Great Dane and I can do together!
Cindy
These are absolutely adorable Jane! I'm inspired to make some for my porch!! Thank you!
Betty White
WOW. They are so cute. I can see making some red, white, and blue for July 4th. Maybe orange ones with a pumpkin design for Halloween. Thanks for the great project.
Bliss
Punching tin takes some patience, but it’s a very thrifty way to light up your world!
Kris @ Junk Chic Cottage
Jane these are so adorable. I loved all you did with the golf outing too. Very creative and fun.
xoxo
Have a great week.
Kris
Stacey @ Poofing the Pillows
Love this idea, Jane!! They are so cute out on your porch and I know the light shines through beautifully in the dark.