It's been almost a month since I took down the Christmas decorations in the kitchen, and the large chalkboard in there has been bare and empty. And since I'm not very good at creating chalkboard art, I went a different route and created some Valentine's Day art decoupaged on canvas!
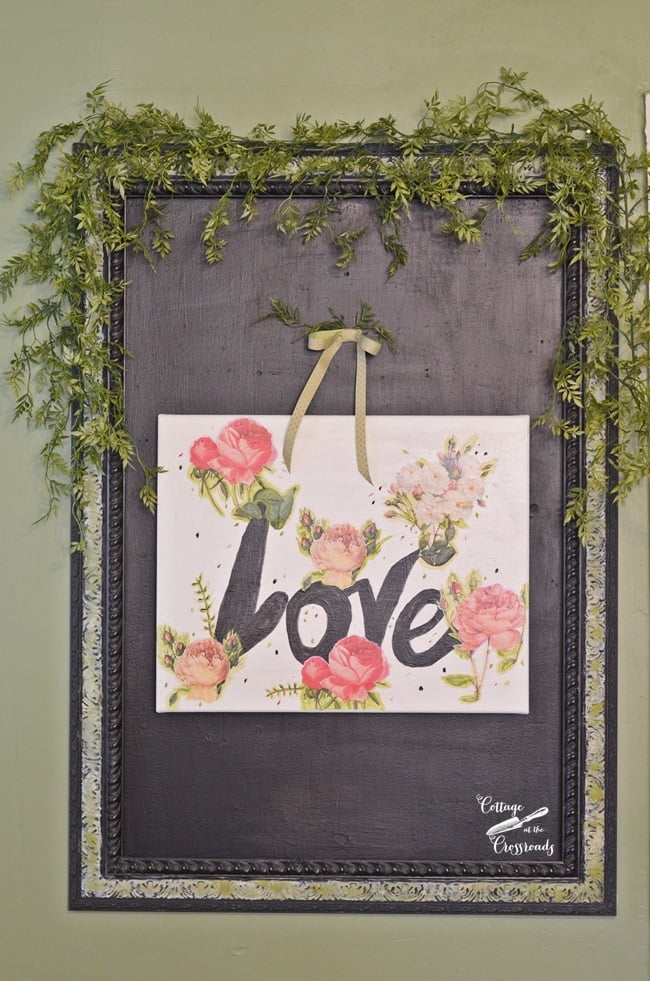
And although it has the word LOVE on it, I think I can leave it up as an early spring decoration as well. Ah, we all could use and show a little extra LOVE right now, couldn't we?
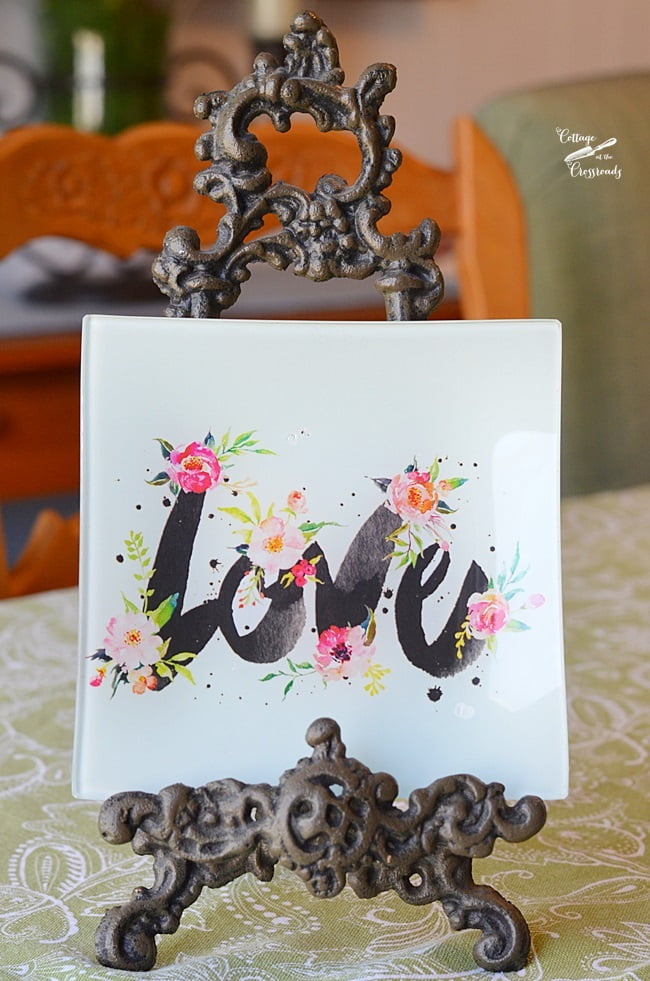
My inspiration for my piece of art decoupaged on canvas was the little decorative plate that I found at Hobby Lobby a few weeks ago. I loved the beautiful roses and the colors used on it, and the more I looked at it, I wondered if I could create something similar to hang on the large chalkboard.
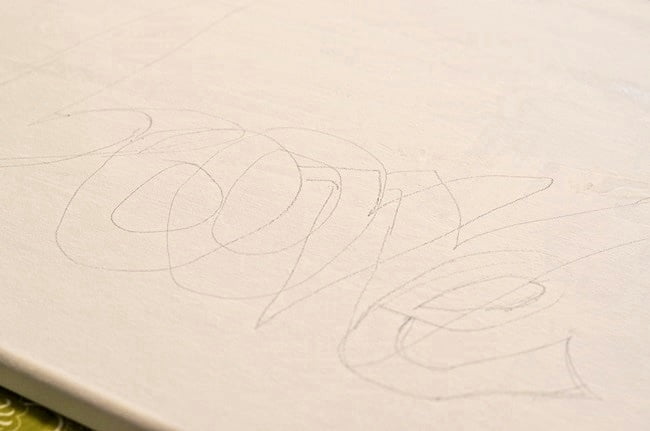
So I found an old canvas that I had sketched something else on it and gave it a fresh coat of white acrylic paint. After it dried, I hand sketched the word LOVE on the canvas. I didn't quite get the spacing correct on the first try so I redid it but didn't bother to erase!
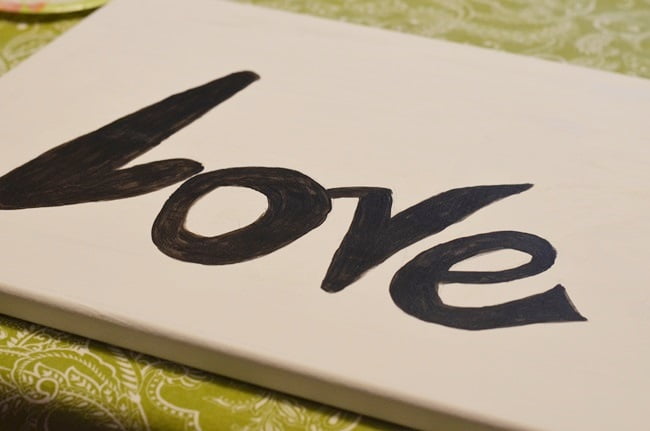
I painted the word LOVE with chalkboard paint simply because that was the only black paint I had on hand. But the chalkboard paint actually replicated the look of my inspiration piece fairly well.
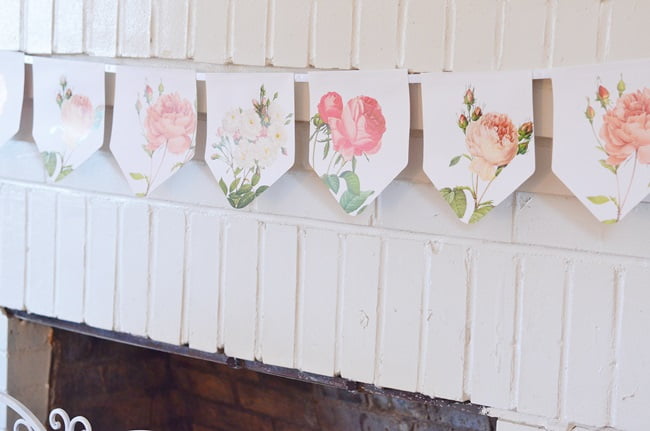
Imagine my surprise when I came upon this gorgeous floral garland at Jo-Ann's last week with roses in the same colors as on my inspiration plate! The banner was so long that I cut off the excess and had plenty of roses to use in my project! (Plus, the garland was 60% off at my local store!)
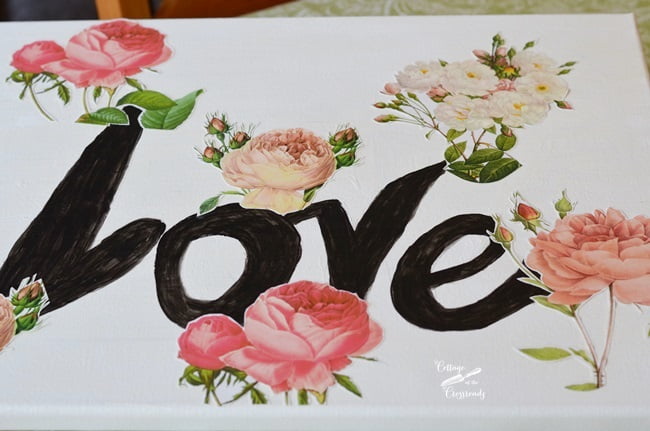
After cutting them out, I brushed a little Mod Podge on the back of each rose and adhered them to the canvas. I waited several hours and made sure they were dry before I applied a thin layer of Mod Podge to the entire surface.
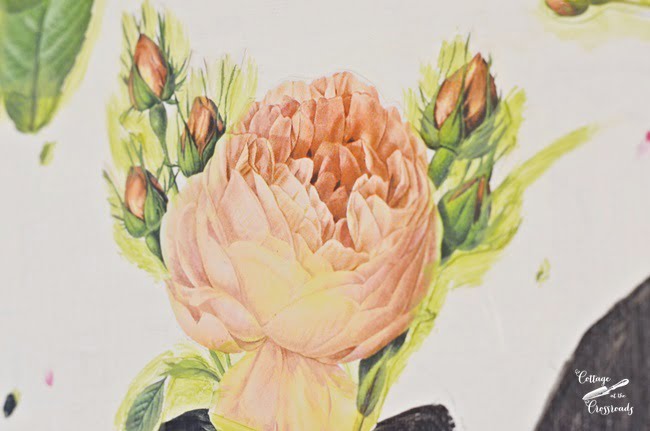
The next day I decided to add a little embellishment to the piece by brushing a little green paint around the leaves which helped to disguise the white paper left around the original cut out.
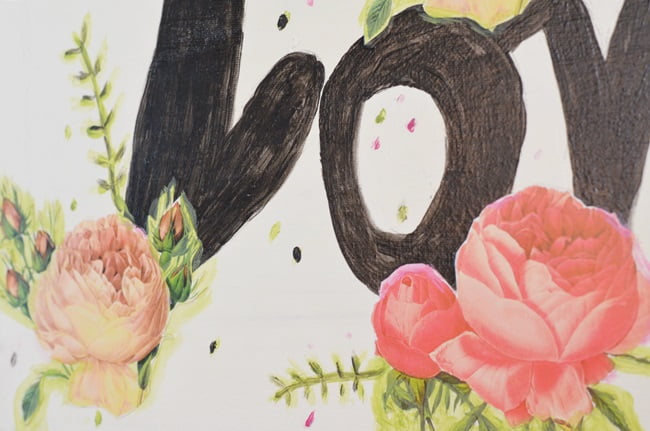
I painted on a few pieces of greenery and added the little dots of paint.
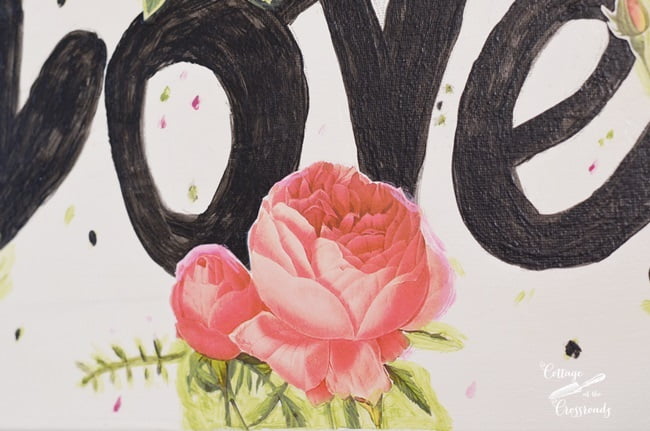
I just had a little fun adding and daubing the paint colors around the roses and the letters!
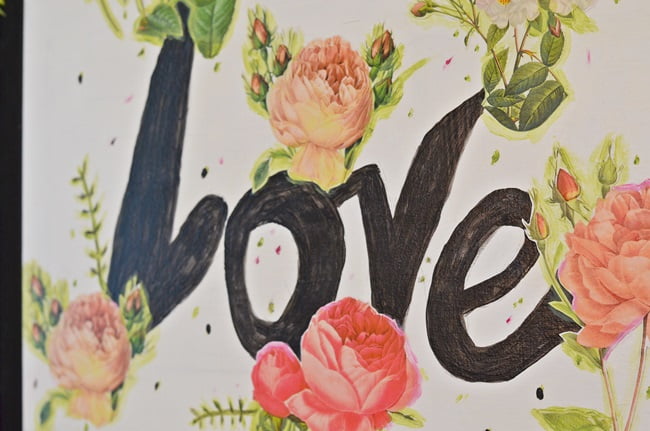
I didn't worry too much about messing up because I knew it could all be fixed with some white paint!
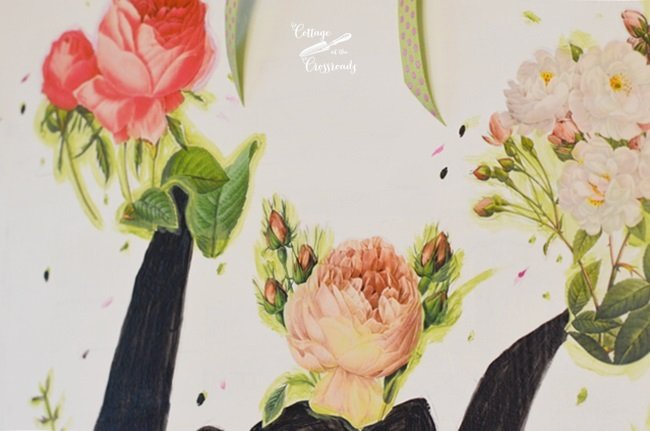
If you look in the top left, you can see that I even extended a leaf that was cut off in the original design. Can you spot it?
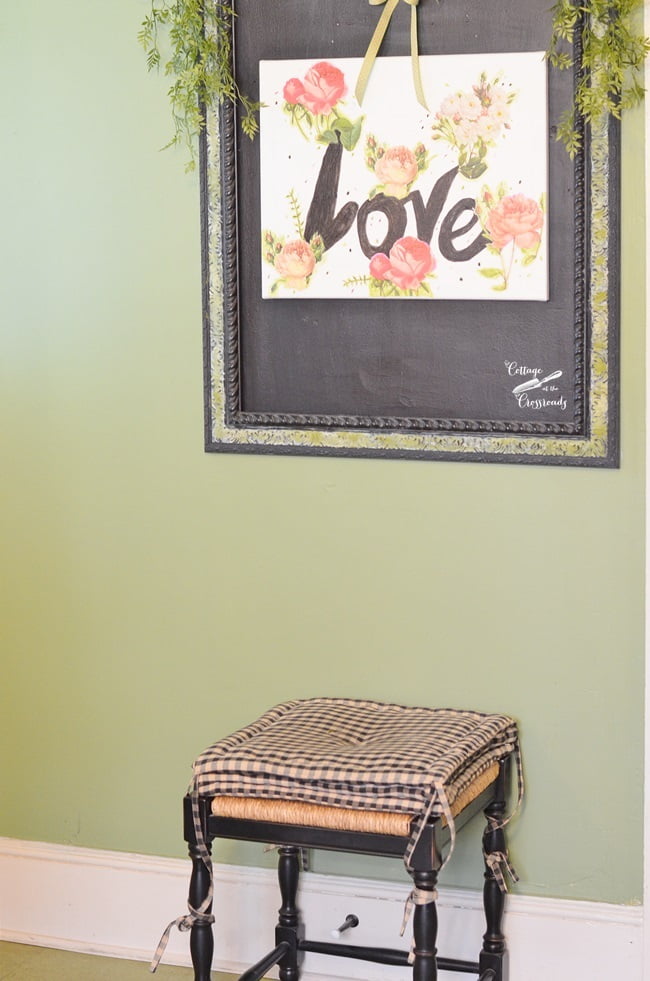
Here it is hanging on the chalkboard in our kitchen!
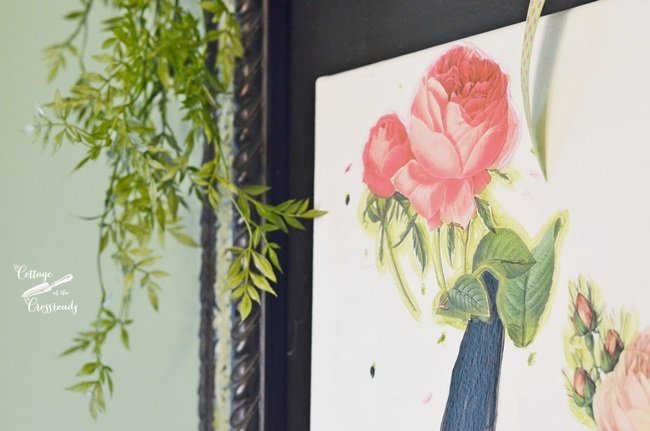
The faux greenery that's hanging around the chalkboard has leaves similar to a rose! Didn't plan that at all because I had the greenery hanging here this past autumn!
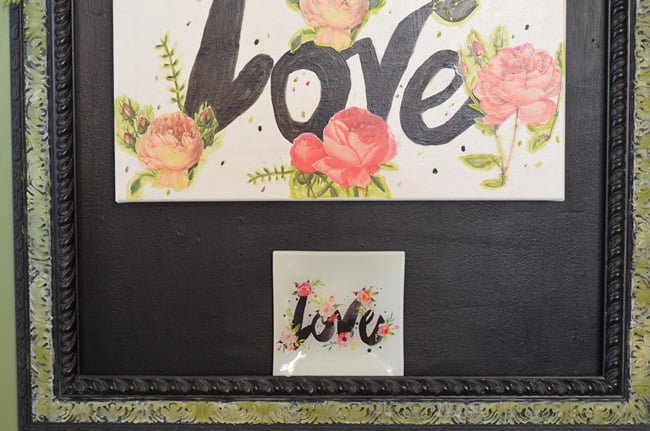
I propped my inspiration plate here on the ledge of the chalkboard. You can see how small it is!
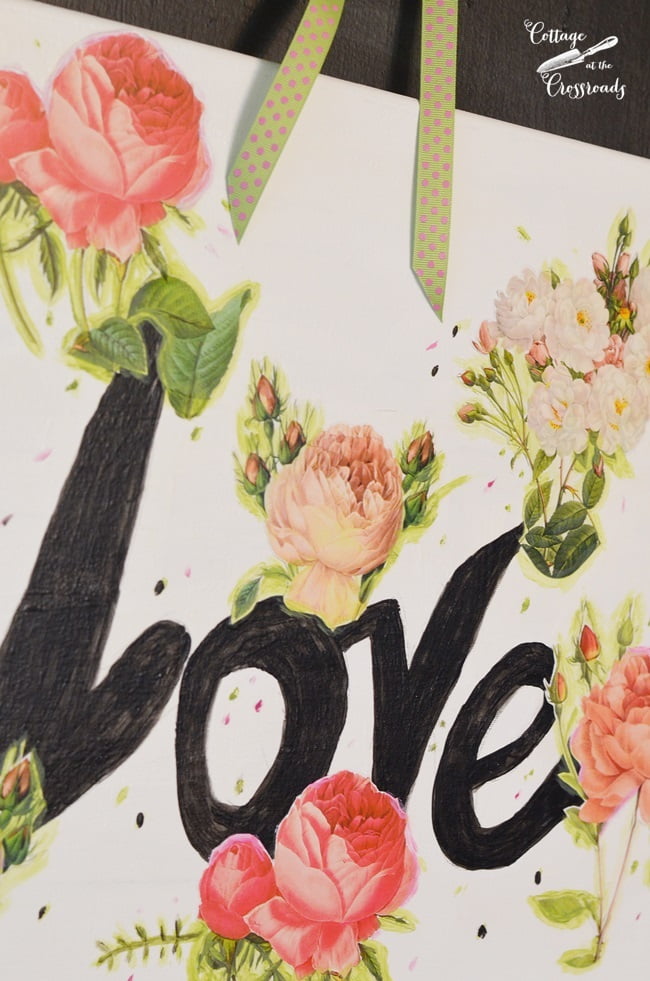
I just love how my Valentine's Day art decoupaged on canvas turned out! I'm thinking this would be a great way to use the artwork on old Valentine's Day cards for anyone of any age!
Have I mentioned how much I love our readers? For your convenience, I'm including a supply list of materials that I used for this project. (Some of these are affiliate links from which I earn a small fee if you decide to purchase with no extra cost to you!)




Stacey
Jane, I absolutely love this! It's romantic and pretty. Great idea.
Pam
My chalkboard is bare right now, so you've taught me to do something different on it. Thanks. Love your new creation.
Sandy
It is all adorable and very springy too. Don't you love it when things come together like that?
patti @ pandora's box
Cute idea, and you can carry this idea into each season, too! Very clever!
Jean Windham
This is so cute Jane. I especially like the garland. Nice touch. Jean
Nancy
I love it! How clever!
Dolly
Very pretty talented lady!
Kris @ Junk Chic Cottage
Very Sweet Jane. Gotta love Mod Podge!
Happy Monday. Have a wonderful week.
Hugs,
Kris
Carol Roddy
BEAUTIFUL!!! I've been searching for something for an office wall, I think you've inspired me to create something!! Is the frame something you repurposed? Could you explain what you did to that as well?
Thanks for sharing :0)
AnnMarie
I love it! How creative you are putting all the pieces together. I would leave that up year round!
Libby Wilkie
Very nice!!! Amazing what Mod Podge can do, isn't it? Love those roses and the colors!
Jan
Awesome - Beautiful Thanks!