Making repairs to our old Southern Pine Floors was a task that we've been putting off for over two years, but we are finally tackling the job.
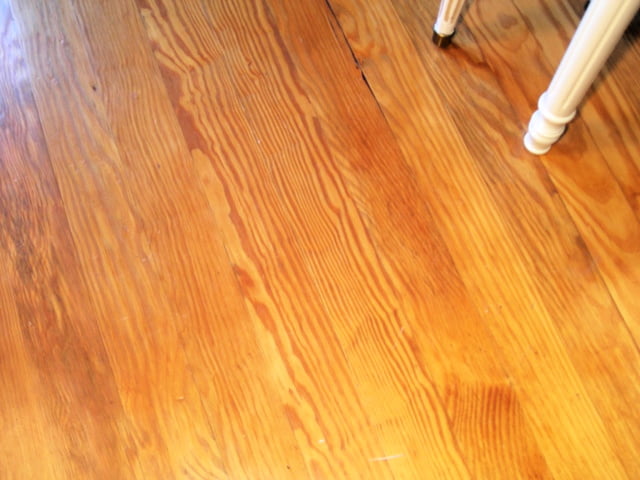
One of the things that gives us a clue as to the age of our house is the old yellow pine floors that it has. It is a very common flooring material to find in homes built prior to 1920.
The reason that pine was used so prevalently in the South is that yellow pine trees such as the loblolly and longleaf pines were so abundant on the coastal plain.
So pine was a readily available building material. Often the trees would be cut from the property and milled locally. We do know that Leo's grandfather built this house but we don't know if he used trees from the property or where he had them milled.
Prior to us moving into the house, we had all the carpet ripped up, and we were delighted to find the pine floors underneath. Apparently, the carpet that had covered them since the 1960s had protected them.
So we promptly had them sanded and refinished. The only room that did not have the pine floors was the kitchen and we had cork flooring put there.
And I have always loved the golden reddish-yellow hue of the floors. They are not heart pine floors, as I have had antique heart pine floors in a newly built house, but they are very close to the coloring and grain of them.
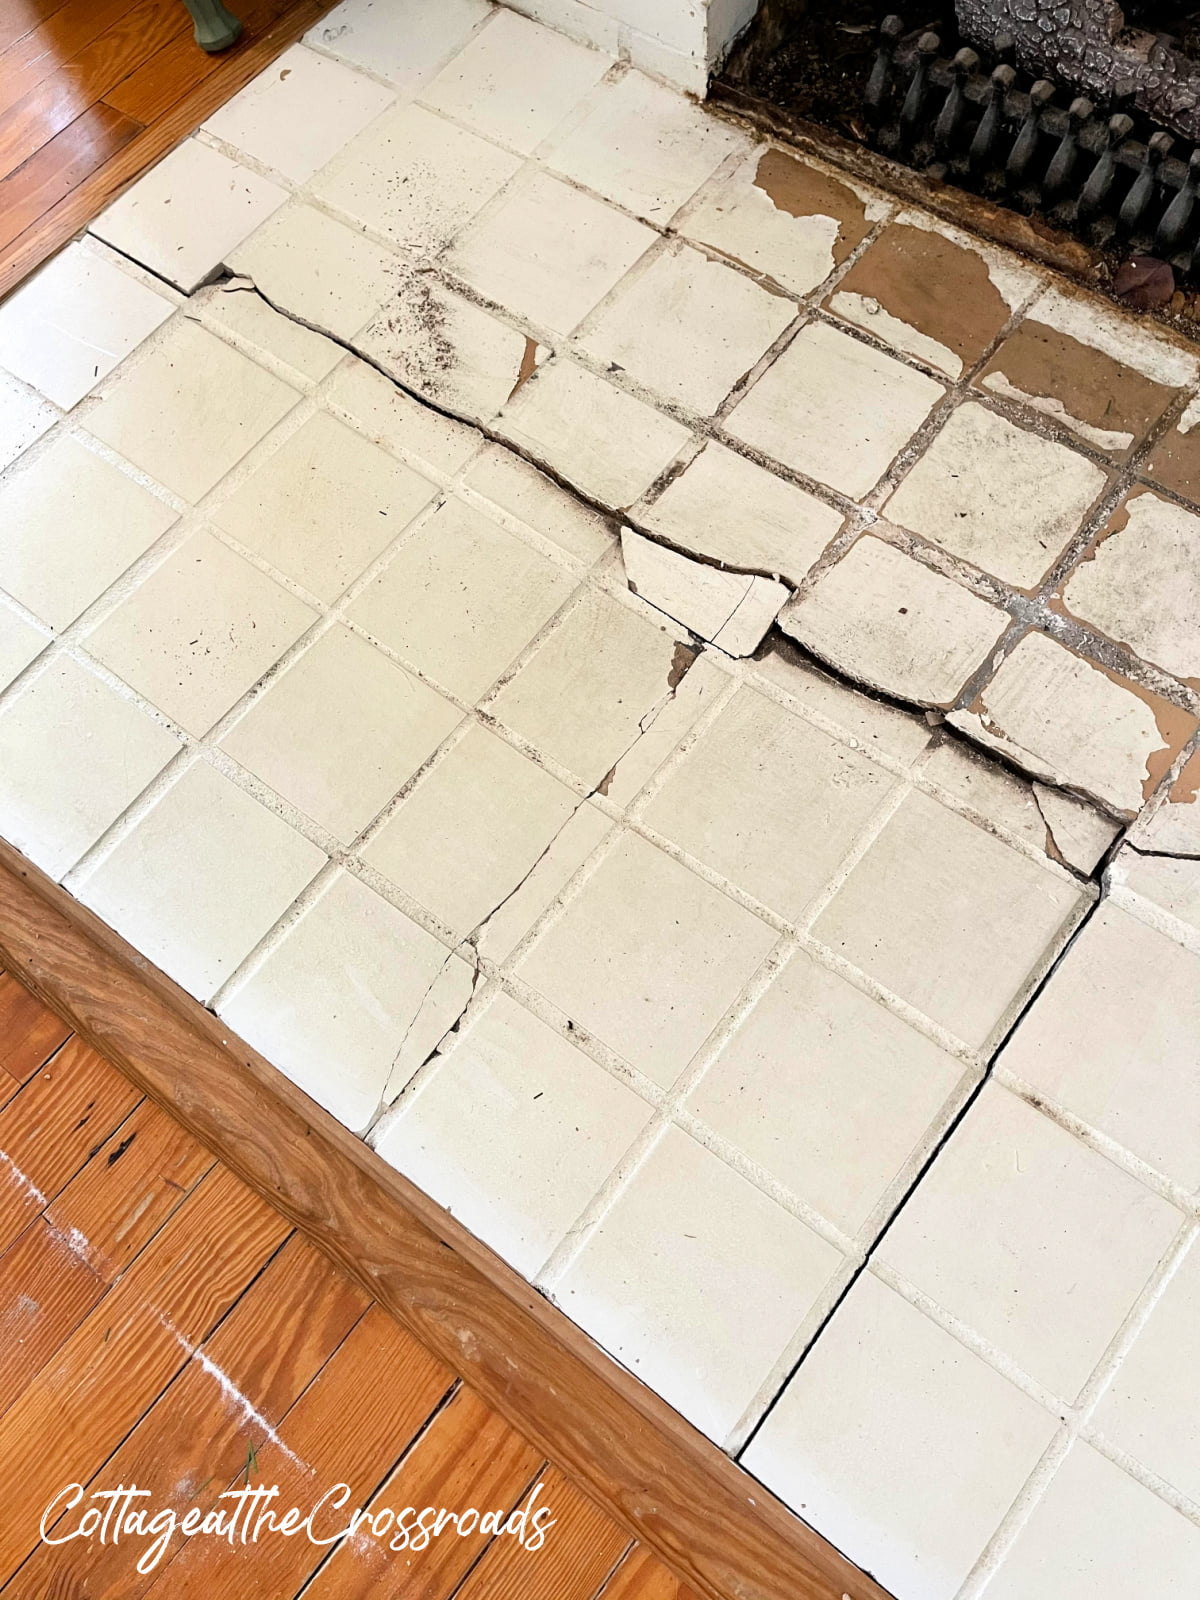
But for about two years, we have known that we needed to do something about the cracked tile in front of the fireplace and the sagging floor in front of it.
And, we knew that we had water damage to the floors in the dining room due to a slow leak from the old water heater. (No, our insurance company would not cover repairs due to a slow leak!)
So, as we were pondering what to do about the floors, we came up with several options.
Old Pine floor repair options
- We could cut out the damaged parts of the flooring and replace it with new pine boards, sand and refinish all the floors in order to try to match the old and new. This would mean that all the floors in the house (except for the kitchen) would need to be refinished.
- We could cut out the damaged flooring and replace it with new pine boards and paint the floors to make it all blend. I have long admired the painted wood floors of Liz Marie's White Cottage.
- We could cut out the damaged flooring and replace it with reclaimed old yellow pine.
- We could cut out the damaged flooring, make the repairs, and cover the floors with something else.
- We could remove all of the old pine floors and replace it with new hardwood flooring.
After seriously considering all of our options, we did make a decision and our contractor got started last week.
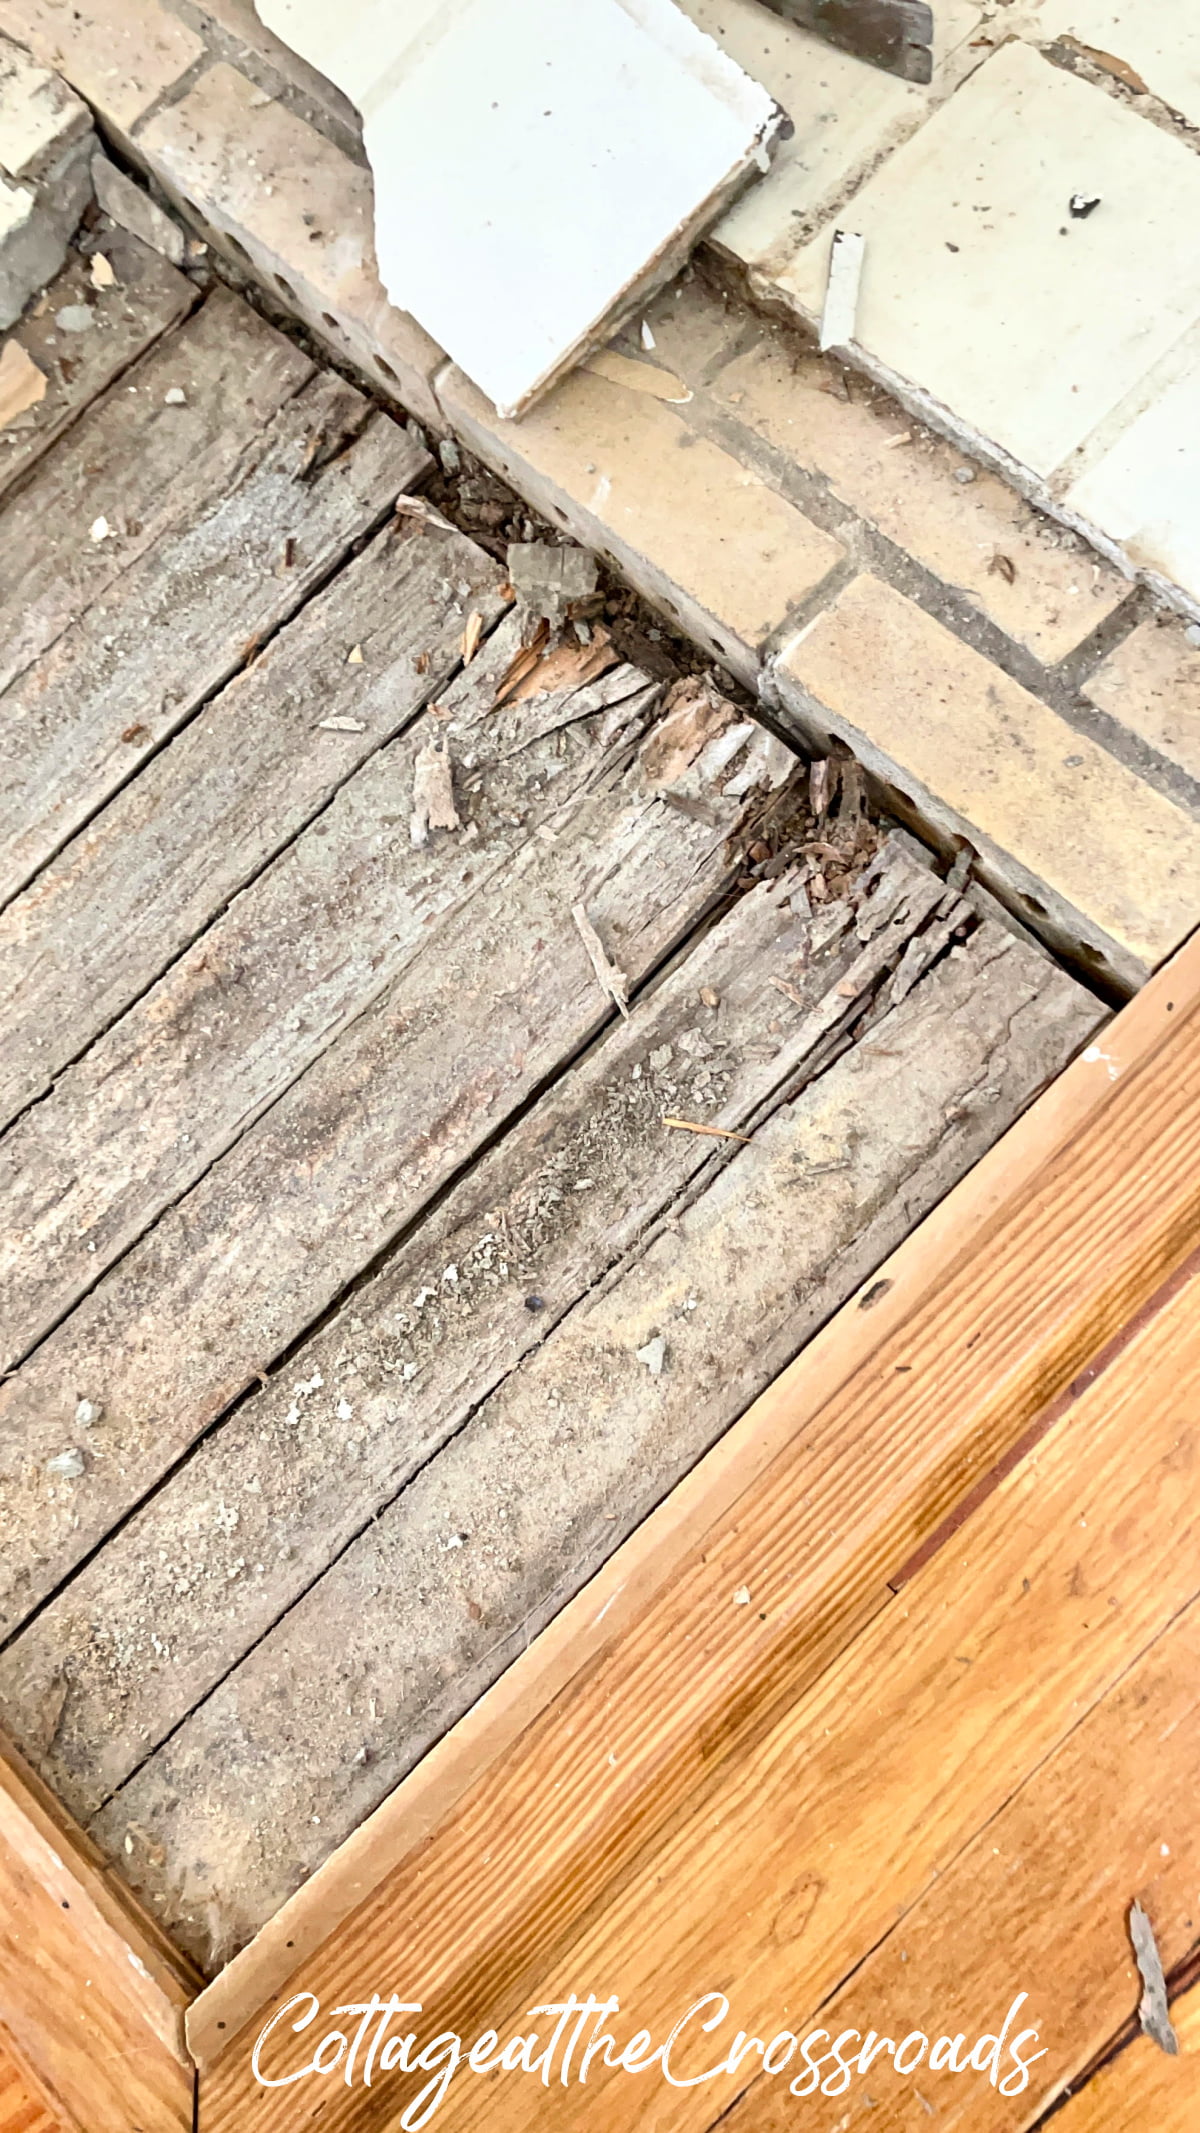
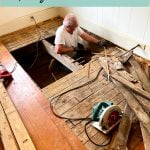
First, he pried off the white tile that was in front of the fireplace and found damage from a long ago termite infestation. We knew that had occurred because it was evident that some new pine boards had been inserted near the fireplace where repairs were made at that point.
The new pine boards were always visible to me and even though we sanded and refinished them, the new boards NEVER matched the old wood.
But apparently not all of the damaged flooring was repaired so through the years, we had noticed the floor in front of the fireplace was sagging and that the tile was cracking.
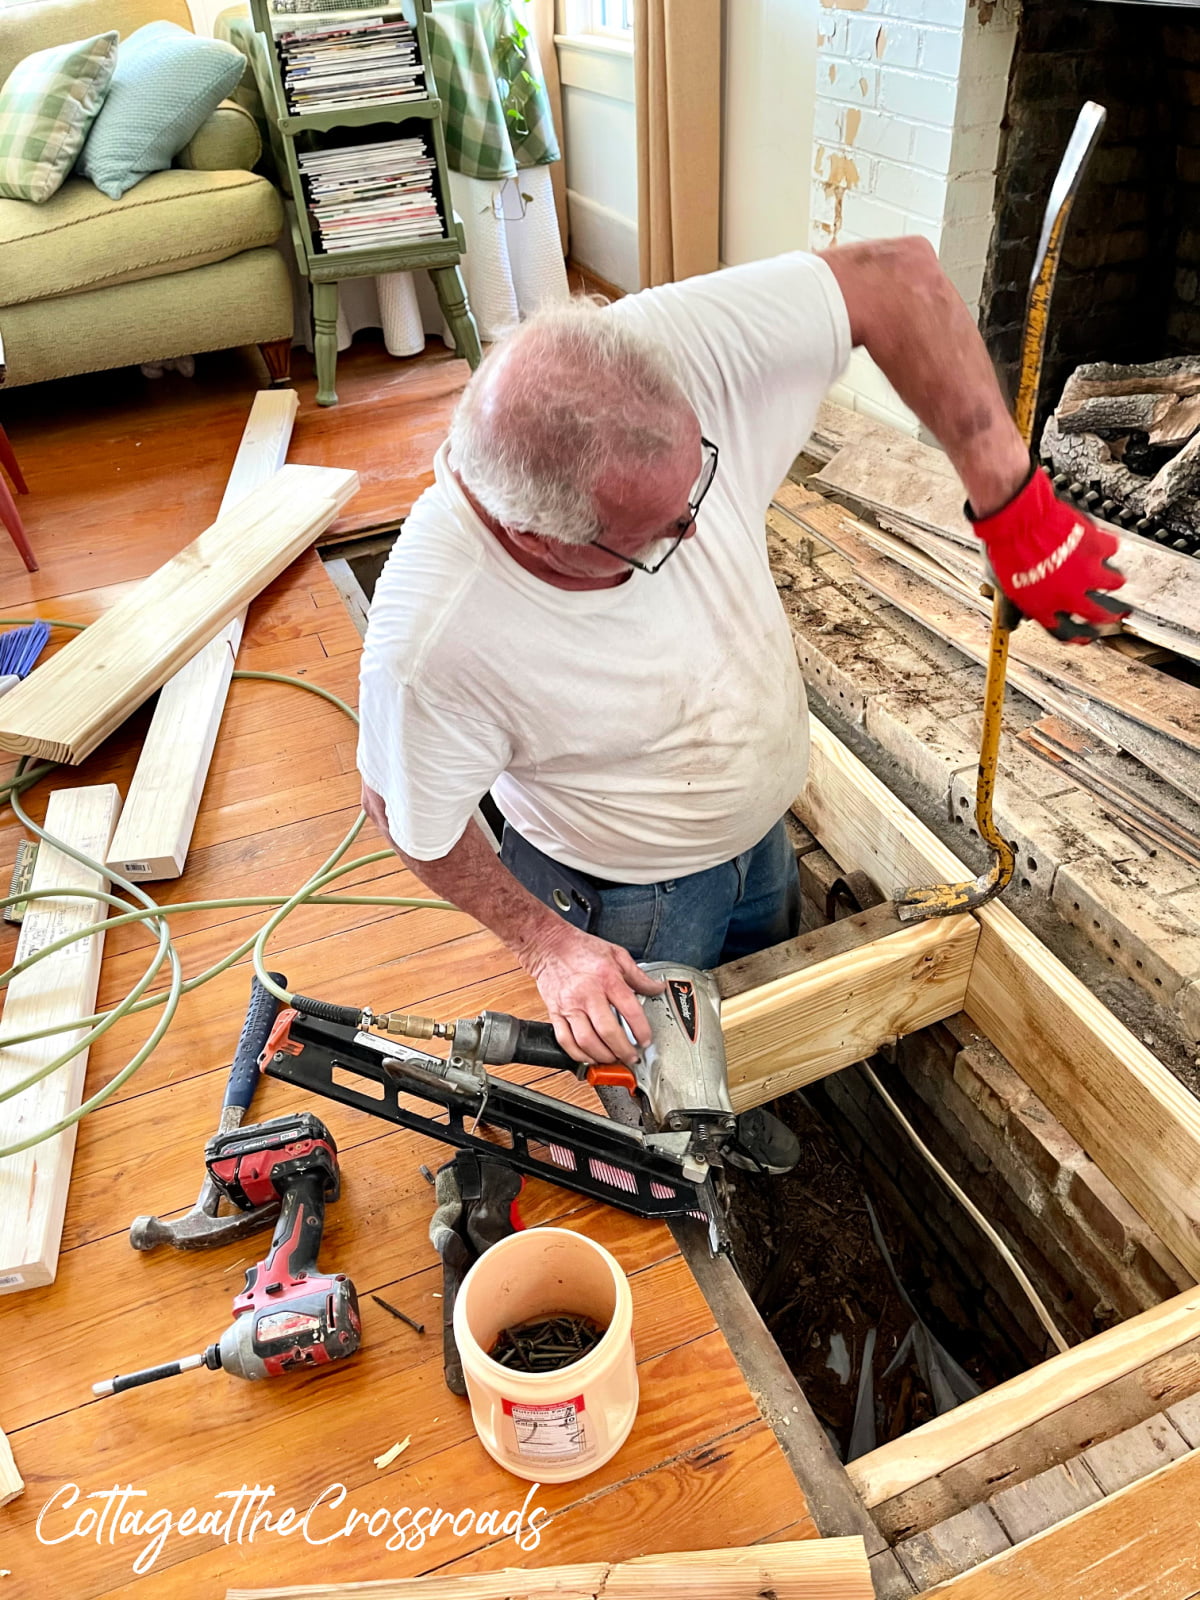
Our contractor cut out all the damage, jacked up the nearby joist, and reinforced the whole area. We were excited that he exposed the original brick hearth that had been covered by the tile.
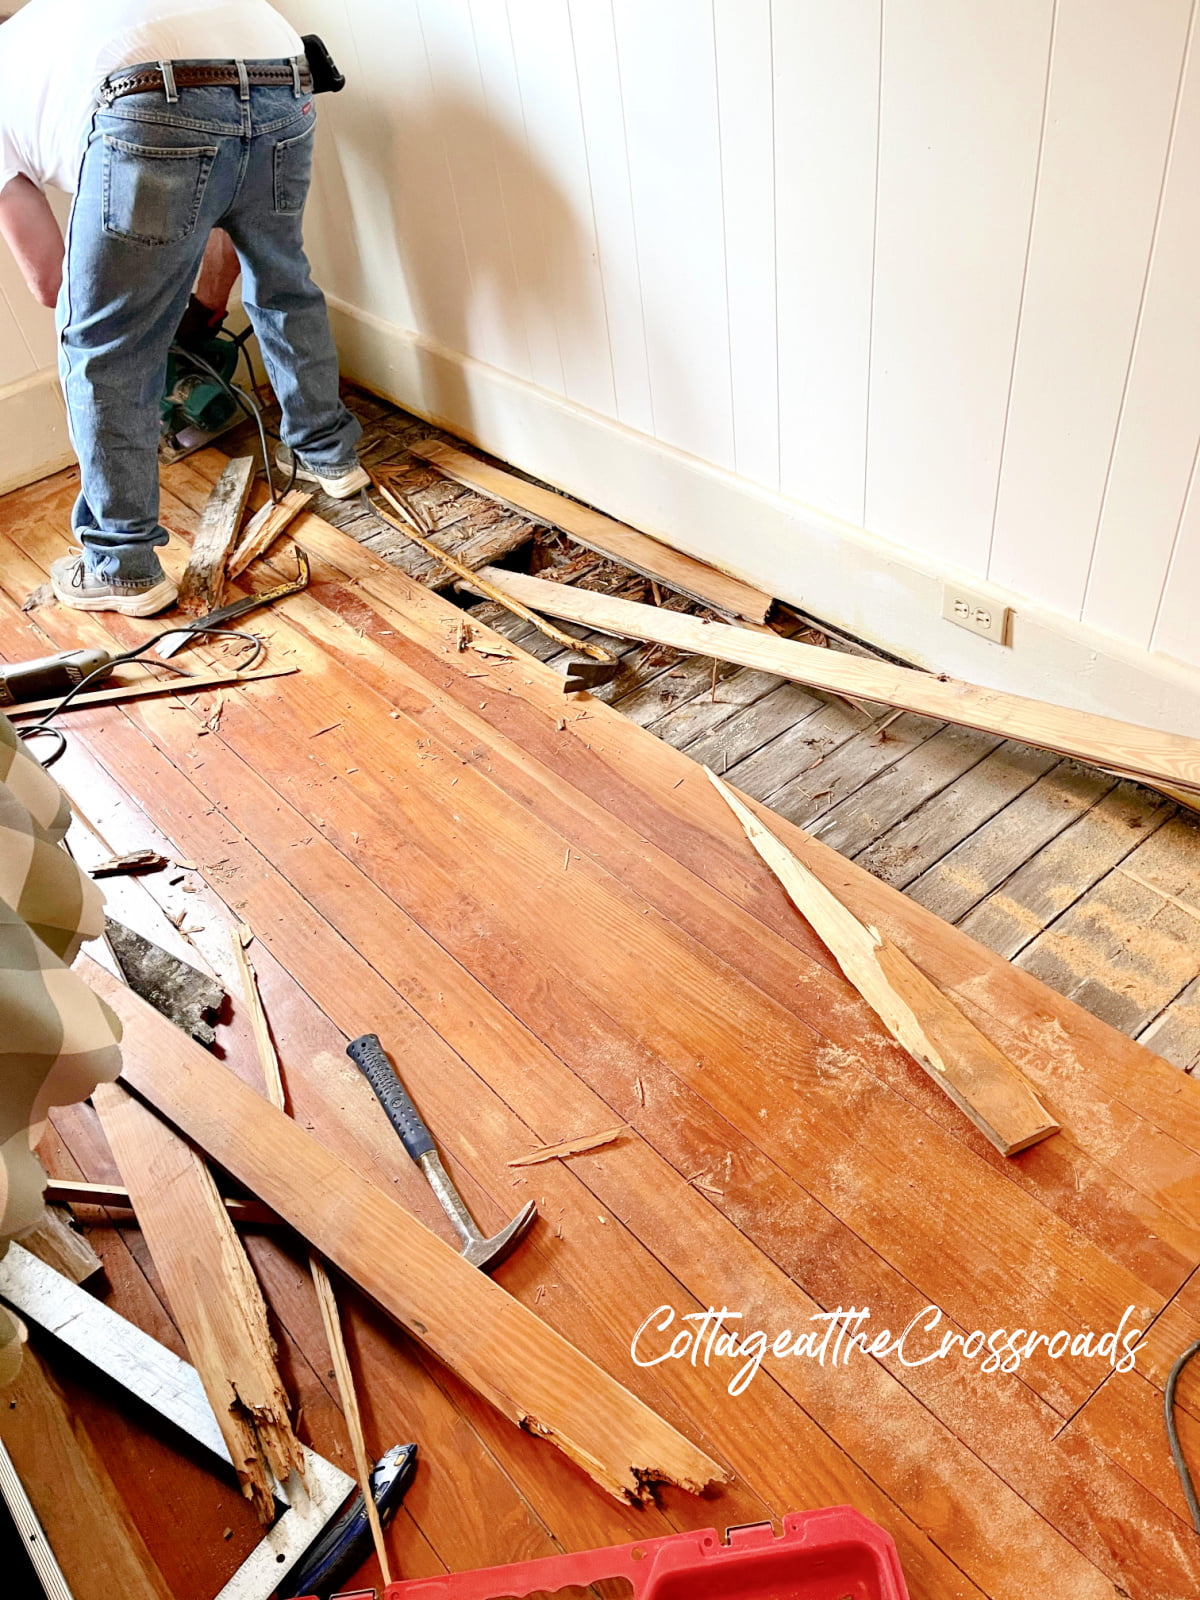
Next he moved over to the corner of the dining room and started cutting out damaged wood. He really didn't know how far back the damage extended so he just continued cutting until he got it all out.
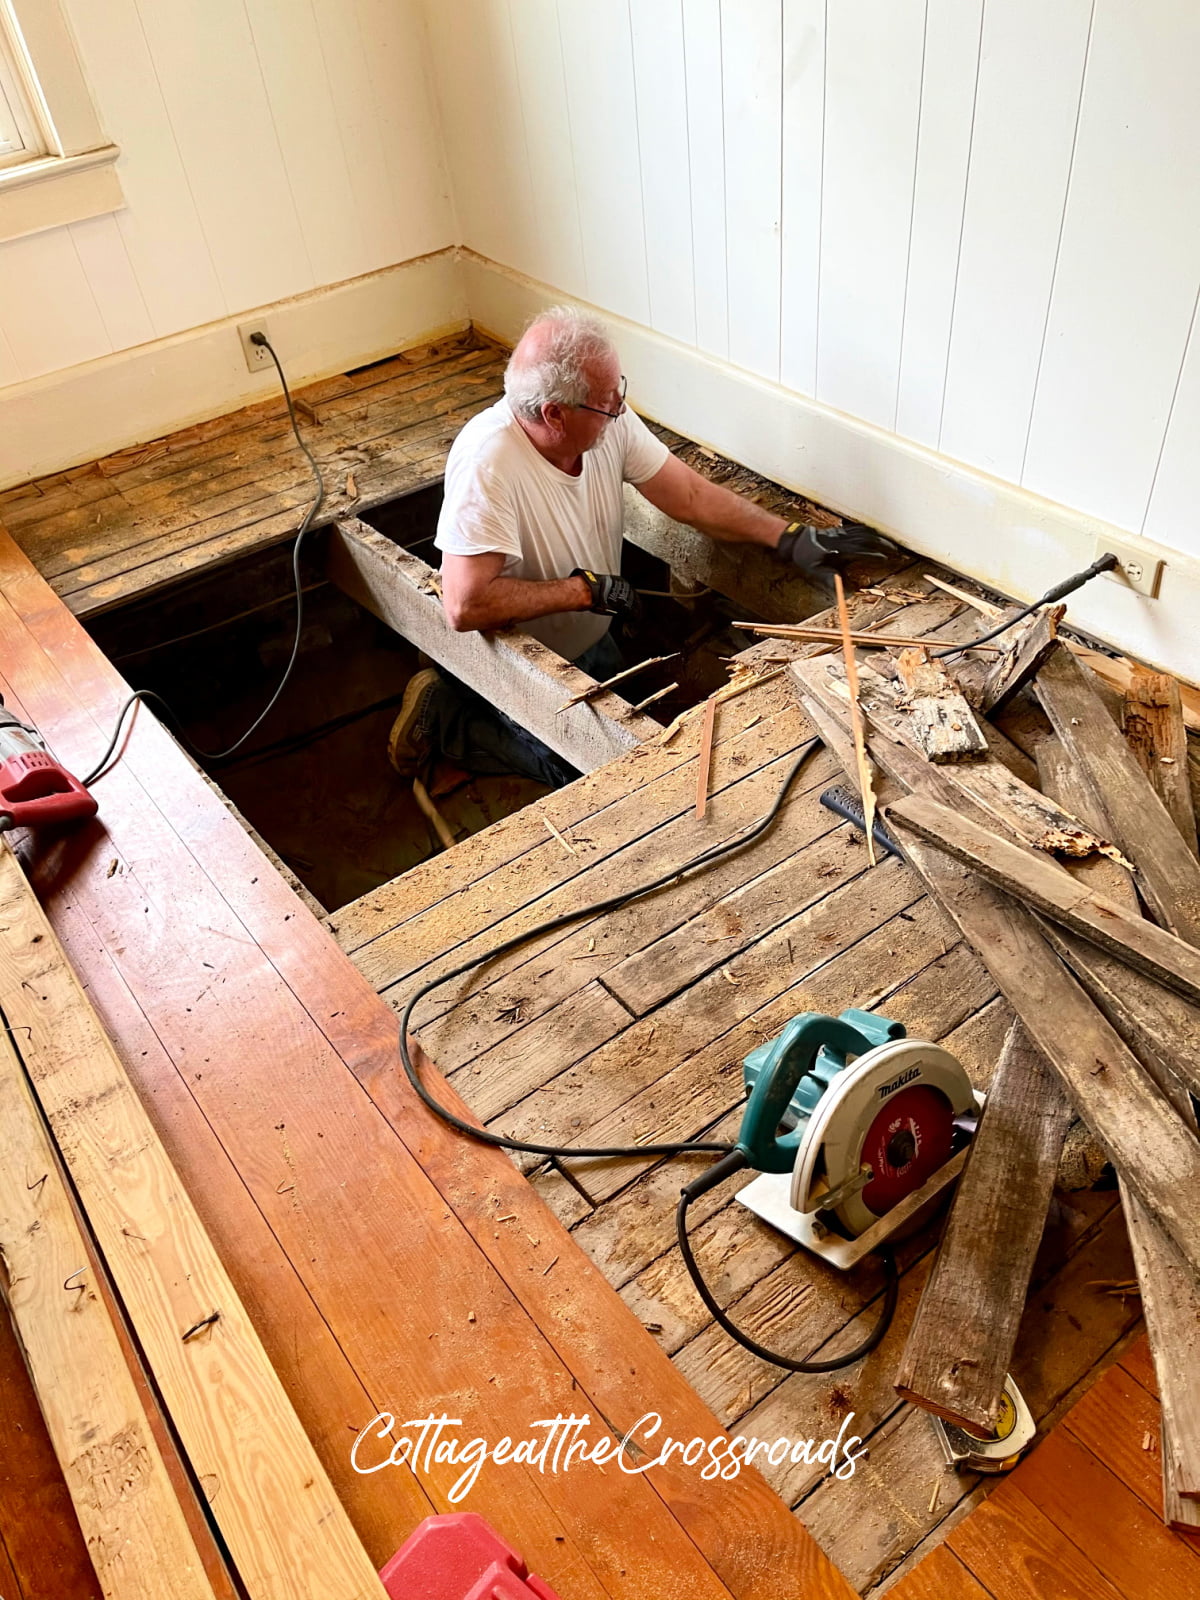
Before we knew it, there was a large hole in the dining room floor. On the other side of this wall is the kitchen so he thinks part of the kitchen floor is damaged as well.
We will have to wait to take care of that later but it may push up the time line for a kitchen renovation.
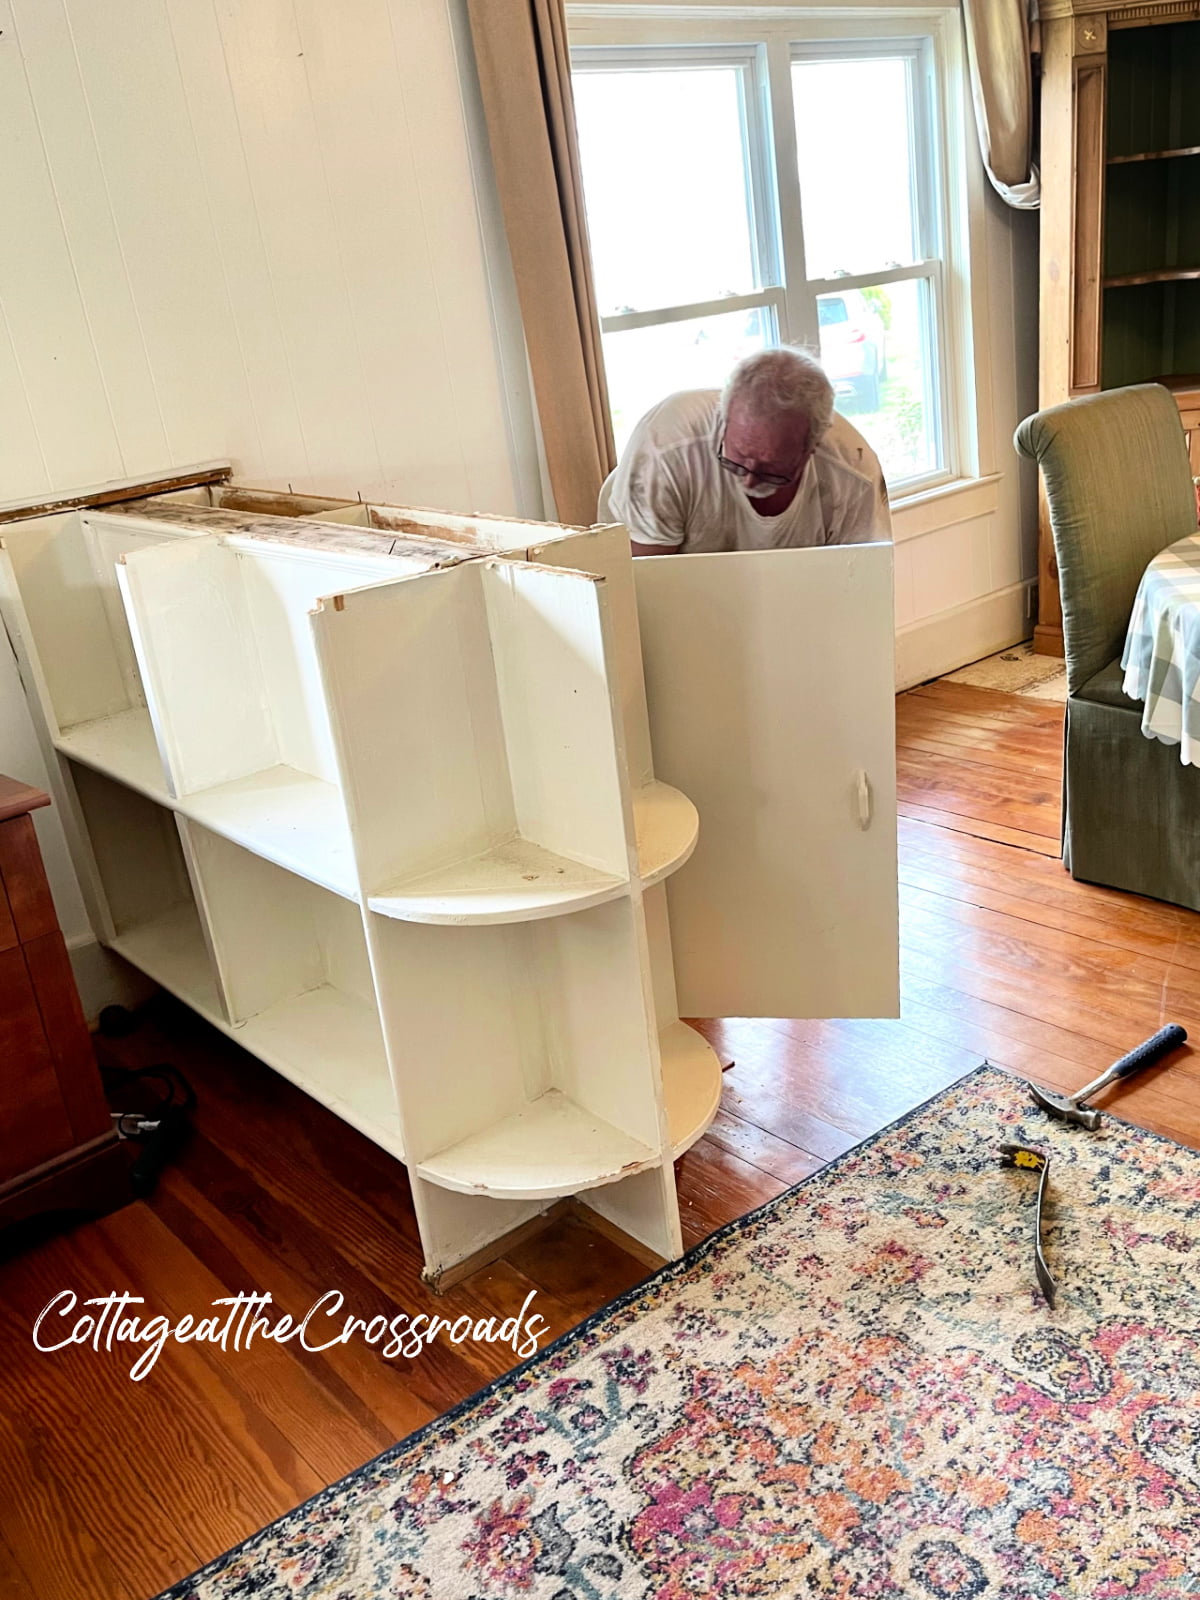
While Archie, our contractor, was here, we had him tear out one of the wooden dividers that separate the dining room from the living area. We saved the old pine wooden top that he removed.
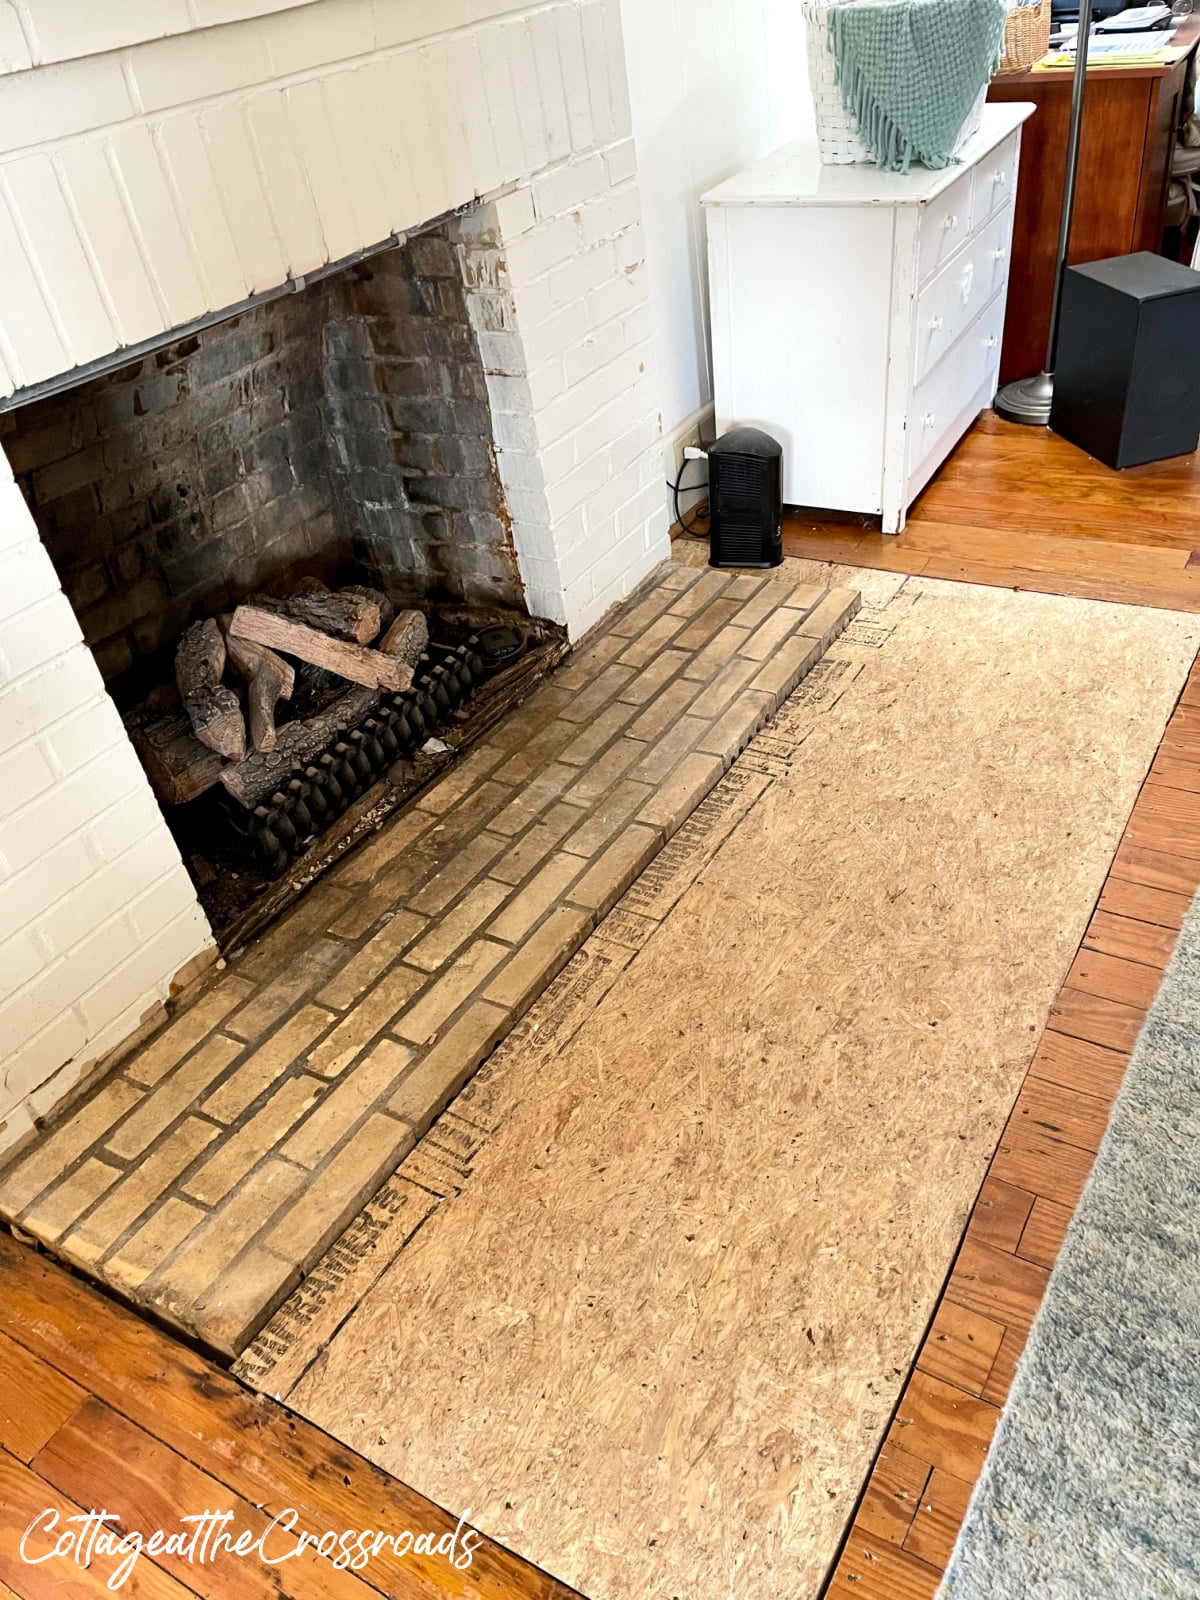
Plywood was put down in the areas that our contractor repaired and that gives you a hint of what option we chose.
For several reasons, we opted to just cover the floors in this part of the house with carpet. The damage was pretty extensive and since we are living in the house, we didn't want to go through sanding, refinishing, or painting.
And because we are retired and living on a fixed income, we could not replace the areas with reclaimed wood or consider new hardwood flooring.
But here's the main reason. Our dog, Lucy, who is 11 years old, has become afraid to walk on the wood floors. We have area rugs everywhere to help her navigate around the house. She also has arthritis so we thought carpet and padding would give her a softer surface.
We figured if the carpet looked like crap in 3 or 4 years that we'd replace it and reconsider the other options for our old Southern pine floors.
Take care and enjoy these spring days!


Becky Dodson
Yes, hardwood floors get so slippery for dogs as they get older. We tried buying socks for our elderly dog who has now passed. They didn't work all that well.
Janice
You are right, Jane. Being retired & on a fixed income, I fully understand your thinking. There is only so much one can do....AND only so much one can invest in a home at this stage in life!!
Enjoy your carpeting!! 😊
JoJ
There are just no easy options for some repairs! So many things to consider. The carpet certainly sounds like the best option.
Jane Windham
We have wrestled with this decision but feel we are doing the best thing at this time. But I will not lie, I will miss seeing those floors!
Sandy
Oh sweet Lucy. Our Golden who just passed was like that about certain areas too. I think you made the right decision especially in light of wood prices at the moment. When the time comes that you need to do over maybe wood will be an option then. The prices have skyrocketed at the moment.
Jane Windham
I'm so sorry to hear about your pet. We definitely considered the cost of wood in making our final decision.