Hi there, everyone! Easter is fast approaching so today I'm sharing my most recent version of painted plastic Easter eggs!
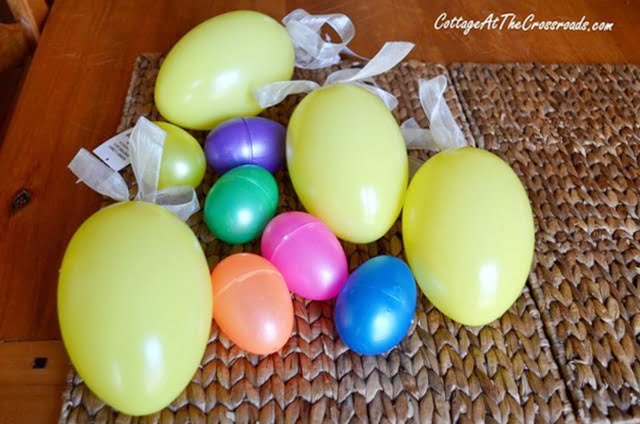
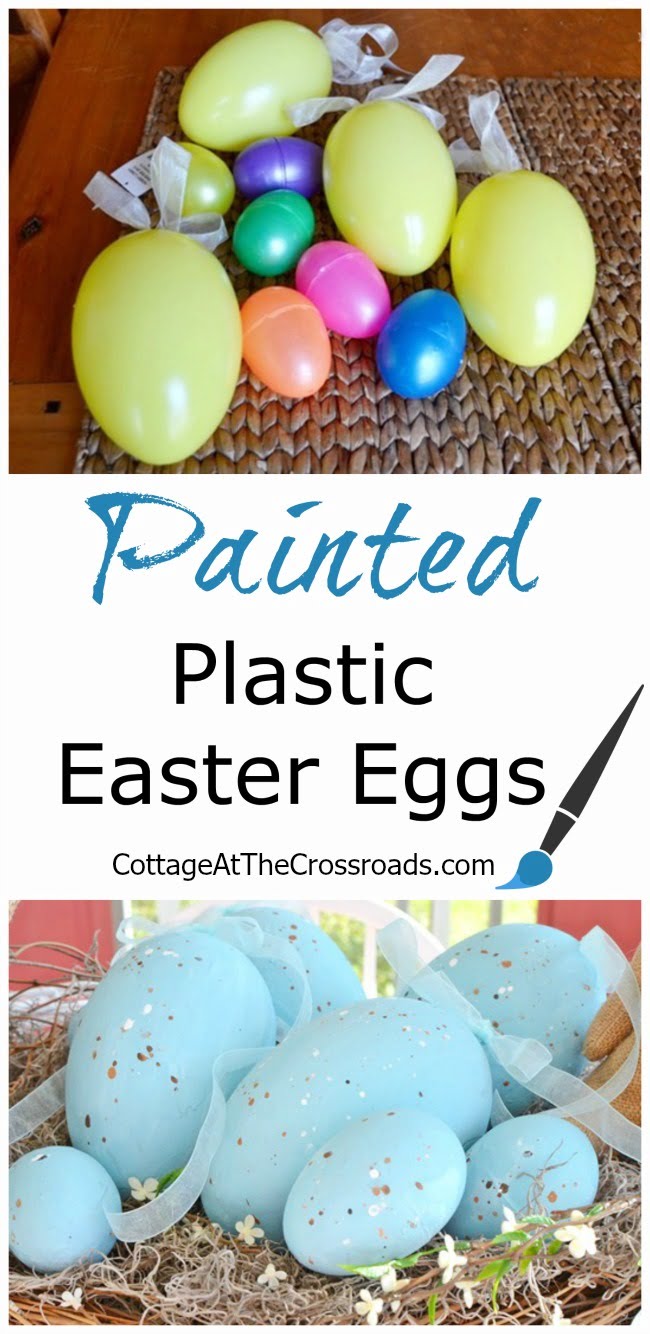
You know those plastic, neon-colored eggs that you see everywhere right now? They can be turned into beautiful spring decor just by painting them. In the photo above, those are some plastic eggs that I bought over 4 years ago.
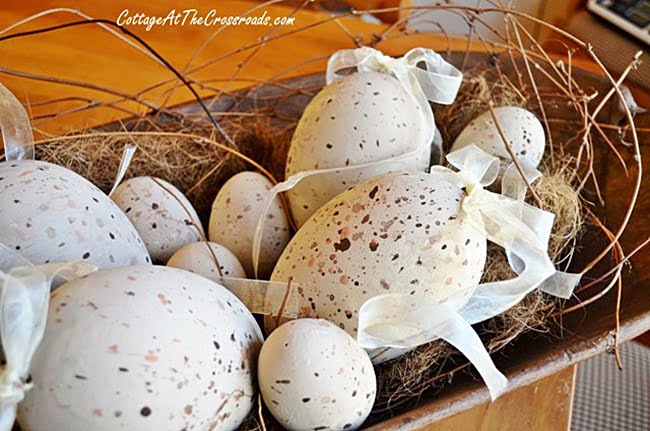
I originally painted them with neutral colors and used them to decorate our porch way back in 2013.
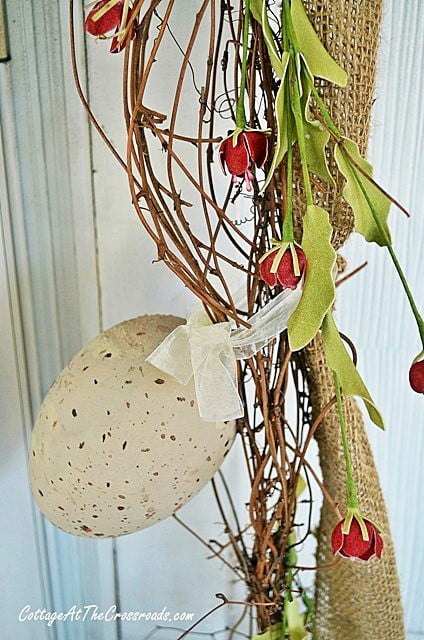
If you've been a longtime follower of our blog, you may remember seeing them in the post PAINTED BUNNIES AND EGGS ON THE PORCH.
Well, this year when I pulled out the spring decorating bins and saw the eggs, I thought I'd paint them a different color. Just in case you are inspired to paint some plastic eggs yourself, I'm going to review the steps in how I painted them originally.
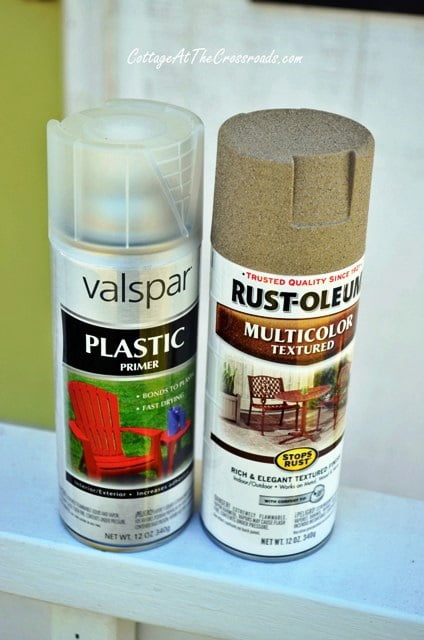
Because the eggs had a slick surface, I sprayed them first with a plastic primer. After that dried, I sprayed them with a neutral colored textured spray paint.
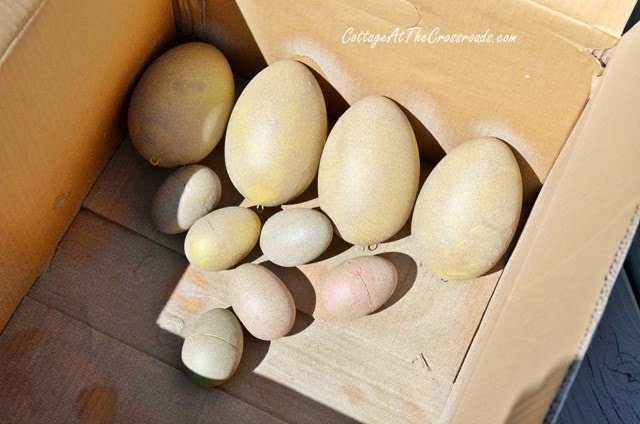
Because the eggs roll around, I put them in a box to contain them as well as the overspray. It took several hours and several coats of paint to get good coverage on the eggs.
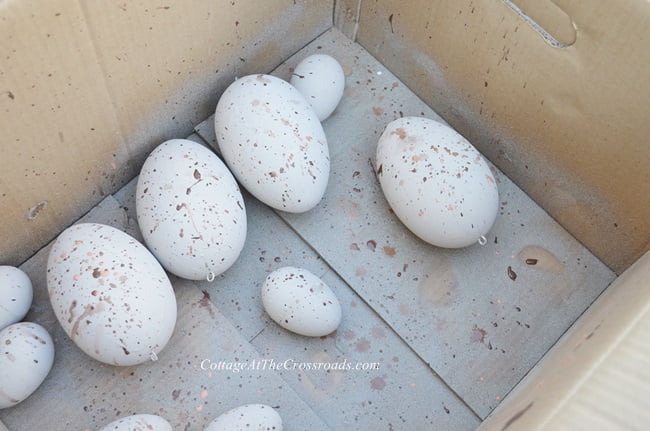
After letting them dry overnight, I brushed on some lighter acrylic paint to give them more of an "eggshell" color. The final step was adding speckles by dipping a toothbrush into several different shades of watered-down acrylic paint and flicking the paint onto the eggs.
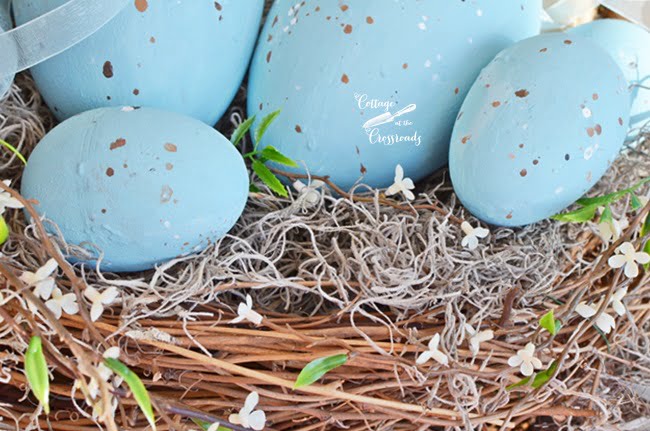
This year the eggs are a pretty aqua color because I'm using them on the front porch. But first, I painted them a beautiful, light blue shade by Valspar called Schoolboy Blue since I thought I'd use them on the dining room table.

That was before I decided to make-over this basket that I've had since 2012! It's been hanging out in my storage shed ever since I bought it and the very large pine cones at the auction that I attend frequently. So I thought that I would spray paint it white and turn it into an Easter basket.
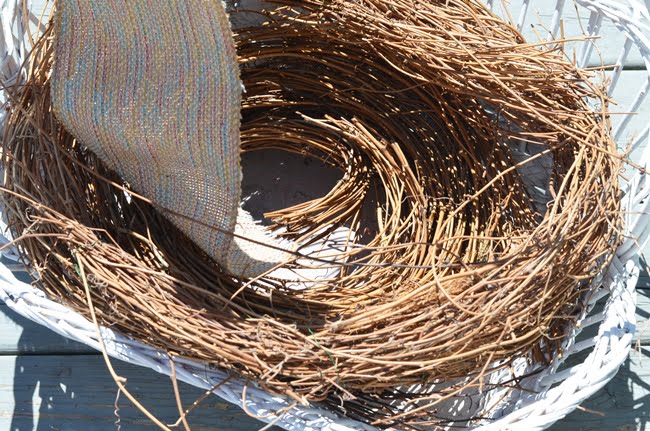
It's really hard to tell from the photos, but this basket is really large! I used some of the grapevines that used to hang around our front door as a filler in the basket.
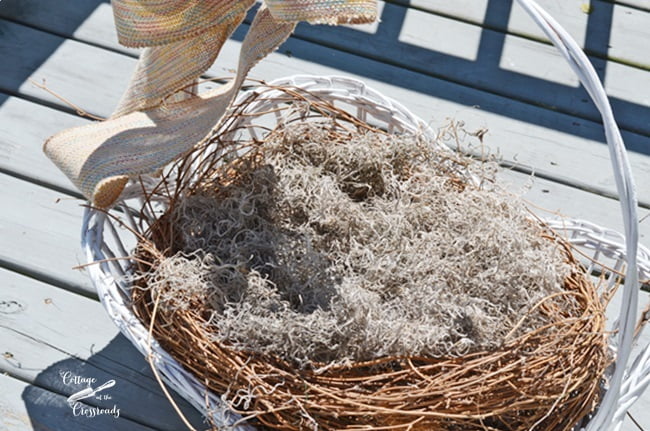
Then I added quite a bit of Spanish moss on top of the grapevines to create a nest for the painted plastic Easter eggs.
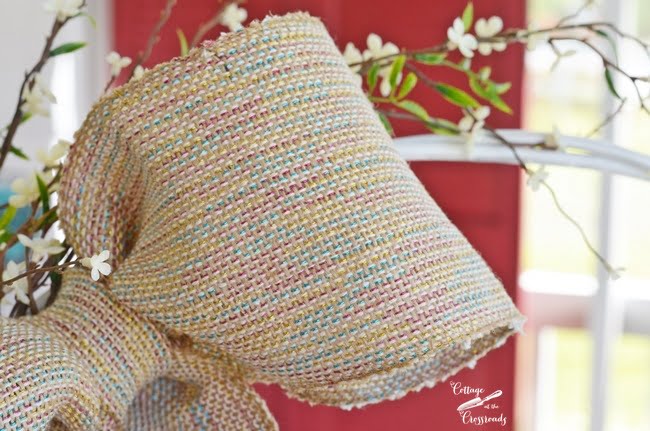
Such a large basket needed a large bow so I created one out of this gorgeous burlap ribbon that I found at JoAnn's in early spring. I grabbed it as soon as I saw it because it contained all the colors that I'm using on the porch now.
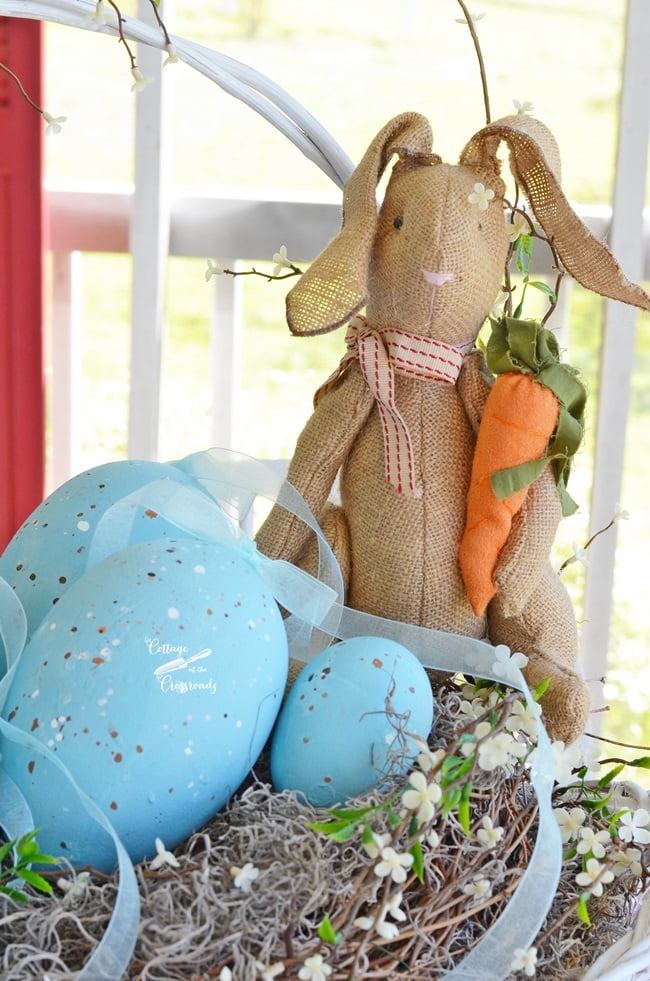
The eggs got a coat of aqua paint that I had leftover from painting the wheelbarrow and the wooden bench on the porch. And there was just enough room left in the basket to tuck inside this burlap bunny. After all, what is an Easter basket without a bunny!
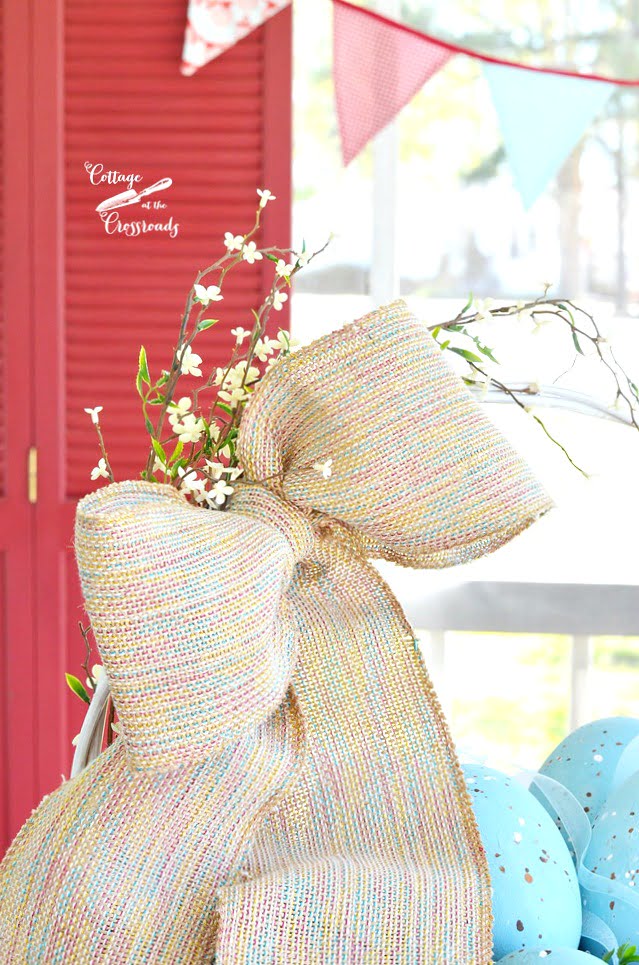
As you can see, the bunting that I used on our CHRISTMAS PORCH is still hanging although I am gathering fabrics to complete a new one so that I can give you guys a quick tutorial on how to make one.
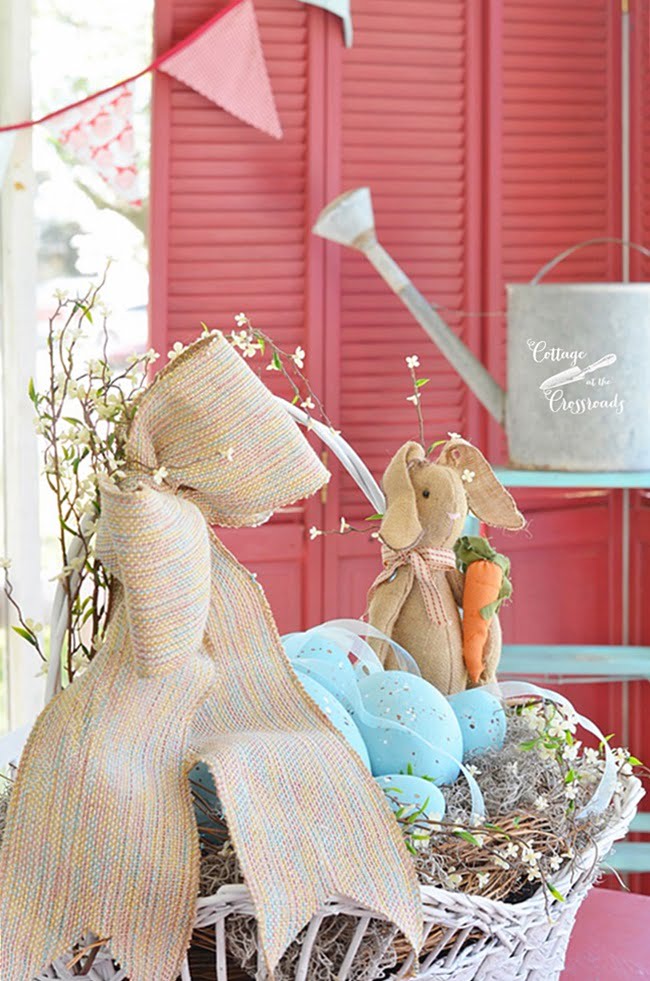
The made-over basket with its painted plastic Easter eggs turned out really cute, and I'm loving the new color of the eggs. It makes a great spring decorative piece for the front porch and shouts "Hooray, Spring!" to everyone who comes to the Crossroads.
Thanks for pinning, y'all! Now go paint or decorate some Easter eggs to celebrate this glorious season!







Nancy
What a nice idea! Thanks for sharing!
Jean
The basket is just perfect for your porch. The blue Easter eggs really set the basket to blend beautifully with the red on your porch. I think I will try to paint some eggs for use next year. Thanks for sharing....Jean
patti @ pandora's box
What a great idea!! Love the completed basket, too!
Linda
Love seeing your unique creations
Jane Windham
Thank you, Linda! And thanks for reading our blog!
Shirley@Housepitality Designs
They are indeed the cutest Jane!...Great job..I so love seeing all of your most creative projects!!! Love the color! Happy Spring!
laura janning
Jane, those look pretty close to the real thing. i have never painted the plastic eggs, i should cause I have a boat load. thanks for sharing your technique
Trinkie
Thank you for such a great tutorial! I am gonna make this weekend!
Sandy
Adorable. You are so creative!!!
Jennifer @ Decorated Chaos
You eggs turned out great. Very realistic looking. I have been wanting to do this for a while now.
JoJ
The info about the plastic primer is very helpful. Thanks for sharing the basket make-over. It turned out great!
Liz @ Infuse With Liz
Those turned out great! I didn't know there was a plastic primer that could be used. I remember when my mom "antiqued" some furniture in the 60's and learning about creating spattered spots. These eggs certainly look a lot better than the colors they were in the beginning! Love the shape of that basket, the ribbon you used and the cute bunny!