This Labor Day weekend, I've been painting plastic pumpkins and gourds to use in my fall decorating.
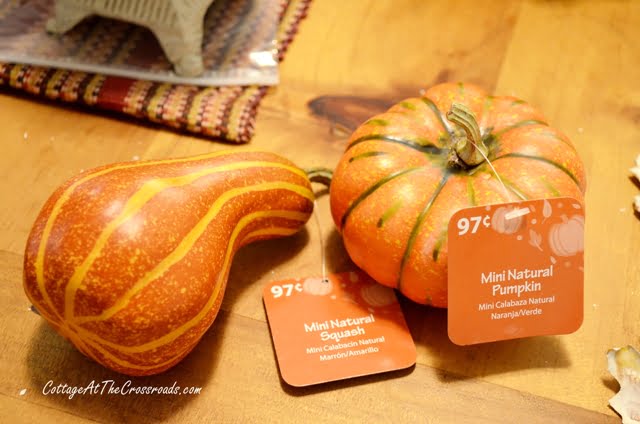
I've been using these inexpensive plastic gourds and pumpkins that I found at Walmart. Not a bad price, but they look way too artificial and bright to me. So I've been doing something that I'll just call "burnishing."
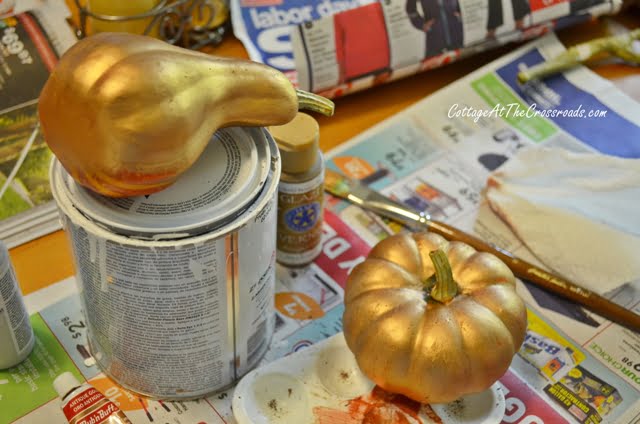
It's really a simple process to change these pumpkins and gourds.
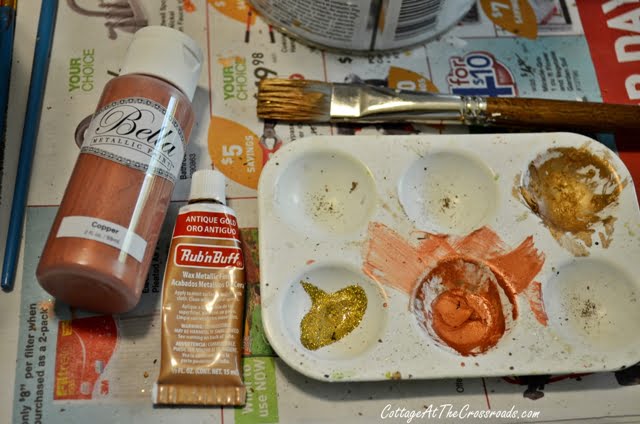
First, I brush them with antique gold Rub 'n Buff. Yes, I know, most people rub it on but I prefer to brush it. It dries very quickly and then you're ready to move on to the next step. To knock back some of the shininess of the gold, I use some metallic copper paint.
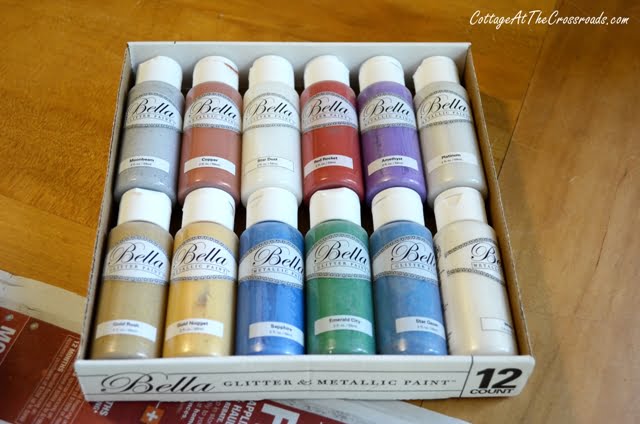
The copper paint came in this set of metallic and glitter paint that my sister-in-law gave me. I'm not sure where she got the set but Bella Glitter and Metallic Paint available on Amazon HERE. (I must disclose that I'm an Amazon affiliate and I do make a few pennies if you order through this link!) I've used several of the other colors in the set, and they create a really pretty finish.
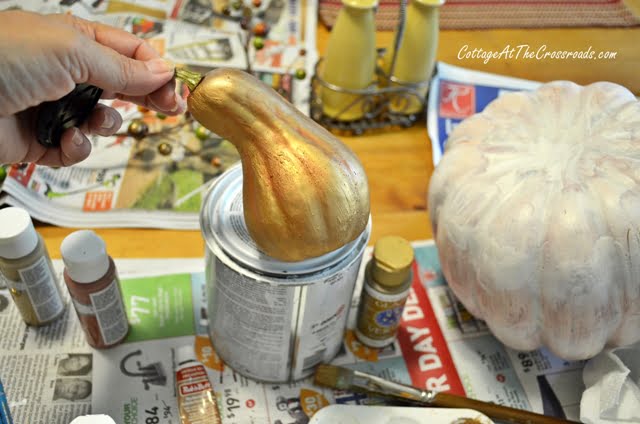
Using a brush, I put some of the copper paint in the ridges.
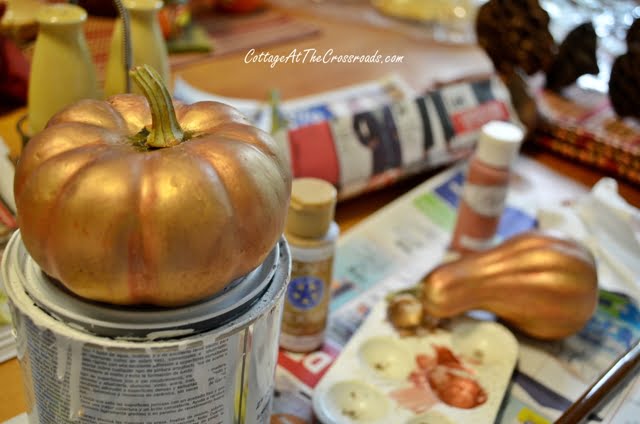
Then I lightly brush more of the paint on the surface. If I feel that I've added too much, I simply wipe some off with a paper towel.
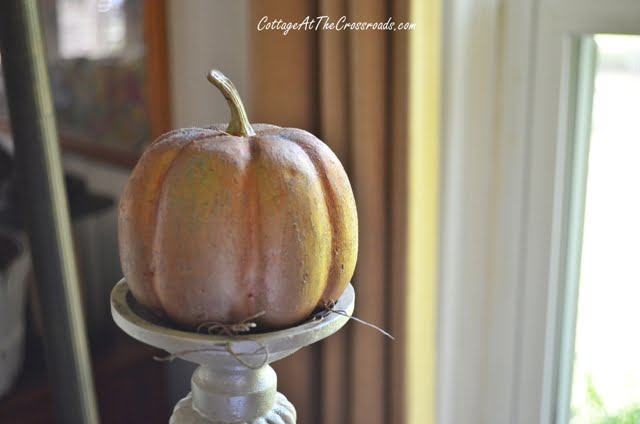
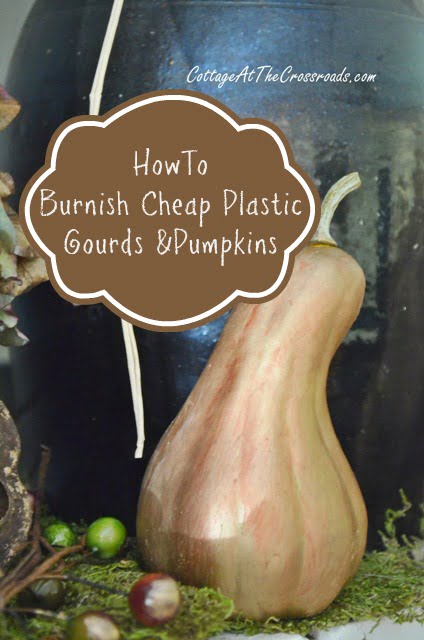
I love the color. It's not quite gold nor is it copper, so I just call it "burnished!"
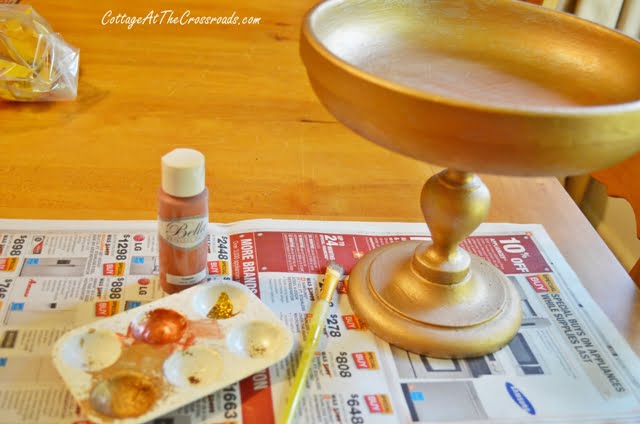
You can see my technique a little better on this wooden pedestal bowl that I've "burnished."
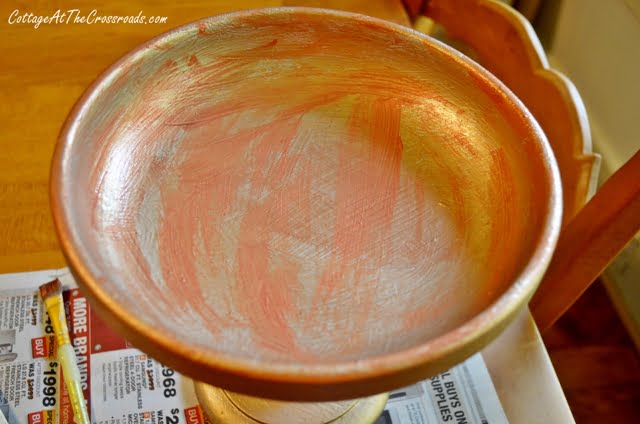
After applying the antique gold Rub 'n Buff, I roughly brushed the metallic copper paint on. Work in small sections because it dries quickly.
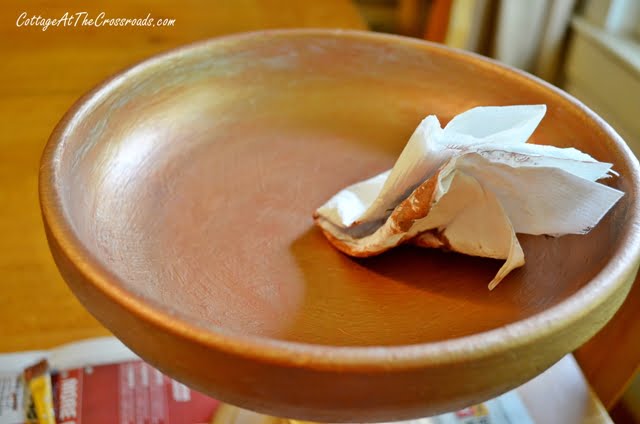
Rub the paint around with a paper towel until you achieve the look that you like.
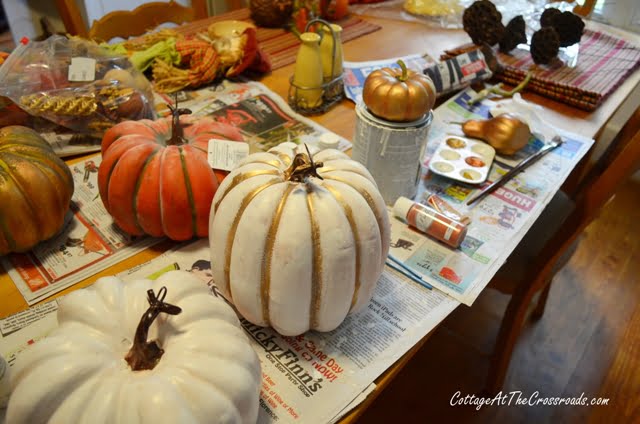
As you can see, I painted some larger pumpkins, too. They were $4.99 at Walmart and they've all gotten a treatment.
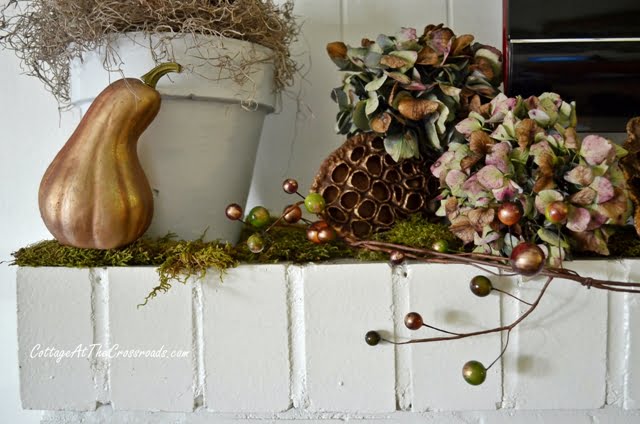
I can't reveal my decorations just yet, but here's a little sneak peak at my mantel. The easily burnished gourd picks up some of the colors in my dried hydrangeas!




Rebecca
i LOVE COPPER METALIC PAINT! i use it on many items / mirrors, metal items, etc. your blog/ pictures are beautiful Thanks for sharing!
Jill Reed
Well here I am a year late! But had to say that after using fake gourds and pumpkins for years I had never considered more than spray painting them copper and gold. Now I'll go back and this year 2014 and "burnish" them! Everything is 1/2 off in September so perfect timing.
Thanks so much, Jill from Hurst Tx
laurie
You are so clever, Jane. Those look beautiful! Thanks for the how to. laurie
Judith Bush Polcari
Hi Jane. I'm a newbie, but I like your idea. I always have so many small gourds left from a bag and don't know what to do with them. Thank you for sharing. Have a lot of paints on hand....
Kim L
Love the end result. I do have one question. Since these are plastic does the paint scratch off of them easily?
Christy @ Creating a Beautiful Life
These are some great tips to make something inexpensive look luxe! Thanks for the tips. I'm visiting from The Lettered Cottage link party.
Christy @ Creating a Beautiful Life
Mary-Alice DeSpain
Love it and so easy. they look so rich now. I clicked on your link for Amazon to purchase the paints and it does not work. Just thought I would let you know. I will wait to see if you can fix it. I have clicked on it so many times and every time I get a message.
jp
I'll be getting out my rub and buff tomorrow....thanks for sharing your technique. I pinned it and am your newest follower!
Hope @ Fairhope Supply Co.
And I thought they just grew that way in some magical pumpkin patch I couldn't find!
Boo-tiful!
Mary
Your burnished gourds and pumpkins are beautiful Jane! I'm looking forward to seeing your mantle!
Moni ~ Zu Haus at Home
I love the new look, much more sophisticated! Looking forward to your mantel reveal!
Linda@Coastal Charm
Luv what you have done here Jane and so looking forward to your mantel reveal. I have nothing at home yet...just got my window display done at the shop...Fall has arrived there.
Blessings,
Linda
Janelle
Meant to also say I'm looking forward to see all your autumnal splendor! (Can you tell I love the word autumnal?)
Janelle
Now that looks very doable! I have a ton of those autumnal plastics. I might have to give this a try.
Kim
Jane, those look so much better than the cheap orange look. Great idea.
Ruth Anne
Thanks for posting your tutorial on burnishing the faux gourds, etc. I have a bunch of them that can expect to get this treatment! Yours look very upscale.
Jean WindhamJeanwindham
Jane I love the new burnished look. It is fresh but pretty and perfect with the fall colors. I cannot wait to see the mantel. Your teaser remarks have me excited. Jean
Shan
I LOVE it. Fall is by far the season I get the most excited about after our southern smoltering summers.
Thanks for the ideas chicka!
blessings,
Shan
Leah
I love this idea! I had thought the gourds and pumpkins looked fake as well but never thought of 'burnishing' them. Wow!
Texcilla
These are fantastic! But I noticed your dining table has a similar "decor" to mine!
Pam
Well done Jane! I will have to try this. Thanks for the tutorial.
Pam
Ann
Oh my gosh I can't believe the transformation! Good job and I love the pedestal. Looks like you had quite an assembly line going!
Holly
Jane, I bought the same pumpkins and I love what you've done with them! I was lazy and simply spray painted mine gold and white... but after seeing your post, I'm rethinking that! I love the combination of the rub 'n buff and copper paint. Thanks for the inpsiration!
laurie
Jane, those are so pretty, and you are so clever to have made them look that way. I'm impressed. Can't wait to see your full mantel. laurie
Betty
Hi
I just bought the same gourds at Walmart and I have printed out your burnishing pumpkins and gourds tutorial. I'll be working on my project in a few day. Thanks for the great idea.
Betty @ My Cozy Corner
Bernadette
I was wondering what "burnishing" is and now I know. Thanks for sharing. As an aside, I saw a burlap wreath on sale at Kirkland's for $29.99 and it isn't nearly as nice as the one you made. They have an online catalog if you want to look at theirs.
Rondell
I saw those the other day at Walmart, I'll have to pick some up and try some with your style because they are adorable. They look so pretty on your white mantel.
Bonbongirl
Move over, Martha Stewart! I love the look of these and can't wait to try your method- thanks for sharing!
Christine
Such a great idea....and walmart's prices? cannot be beat it seems! LOL
Your gourds and pumpkins turned out amazing...good job!
Carlene @ Organized Clutter
They look great, Jane!
Martina
They look fabulous!!
Yvonne @ StoneGable
What a great idea! I love your pumpkins pretty new patina! I have a bunch of old pumpkins in the basement that are in need of a new look! Thanks!
Denise at Forest Manor
Great idea, Jane! These look so pretty and much more expensive now. 🙂 Thanks for sharing the technique with us.
Have a great week!
Denise
Kathy
Looks like fun, and it makes them look so much better too! Gotta remember this!
Donna Wilkes
What a beautiful patina - you would never know they were plastic.
Savannah Granny
Jane, Your pumpkins and gourds look great. So much better. I love how the dish turned out.
Thanks for sharing.
xoGinger
Sandy
Great ideal they look wonderful, so much better. Thanks for sharing.
Sandy