Today I'm sharing how to make these adorable handmade gingerbread boys and girls! I have been wanting to make some of these for several years ever since I saw a basket full of some at my friend Sherry's house.
These must be the cutest gingerbread boys and girls I've ever made.
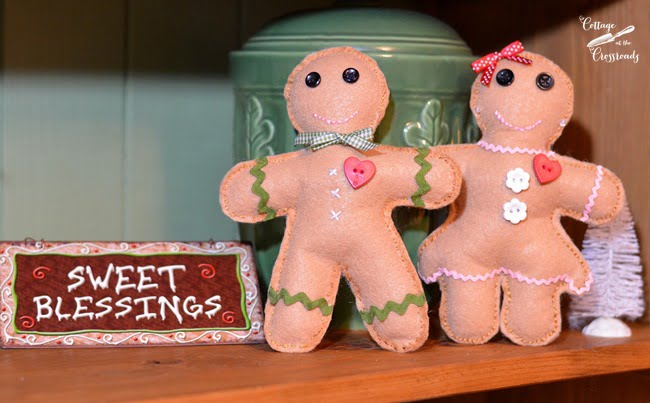
She told me that she remembered her mother making them when she was young. And now she puts them out every year as part of her Christmas decorations. So I took the time to make two of them this year, and when the grandgirls are here for Christmas, we're going to make some together. They are just the right age to learn how to sew, and this project will make it fun to learn a few basic skills such as threading a needle, sewing a straight stitch, and attaching a button.
What you need:
To make 2 gingerbread boy and girl, you will need the following supplies:
- pattern for a gingerbread boy and girl-Click to download
- 2 pieces of tan colored felt (9 inches x 12 inches)
- light brown marker
- scissors
- a few straight pins
- a needle
- 4 small black buttons
- 2 small heart shaped buttons
- 2 small flower shaped buttons
- black, white, and red thread
- pink, white, and tan DMC embroidery thread
- package of polyester fiberfill
- green and pink rick-rack
- fabric glue
- thin green checked ribbon
- tiny red bow
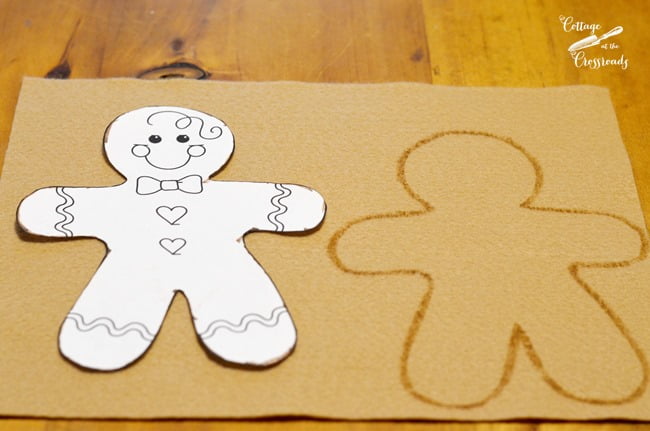
The first thing you will need to do is to trace the pattern for the gingerbread boy twice using a light brown marker and then do the same for the gingerbread girl. I used a brown marker so that they would have a "toasty" edge.
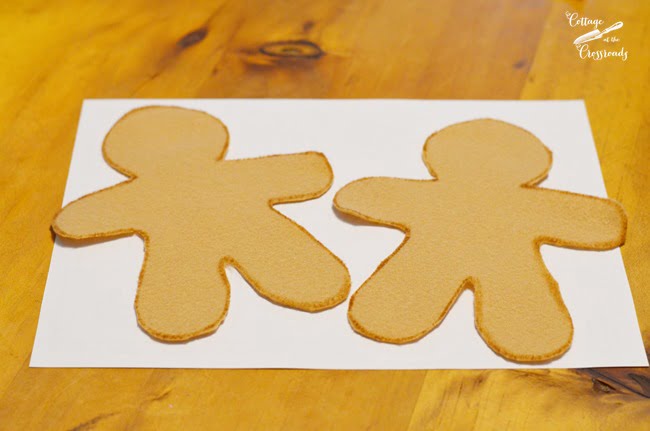
Cut them out with scissors and then place one on top of another (back to back) and use straight pins to keep them together. (Don't worry if they don't totally match because you can always trim them later.)
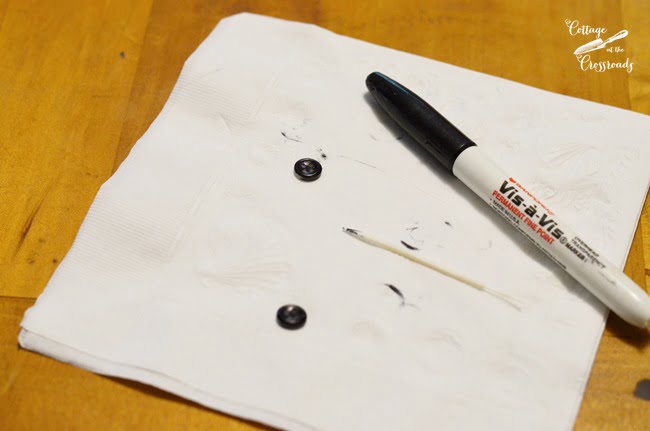
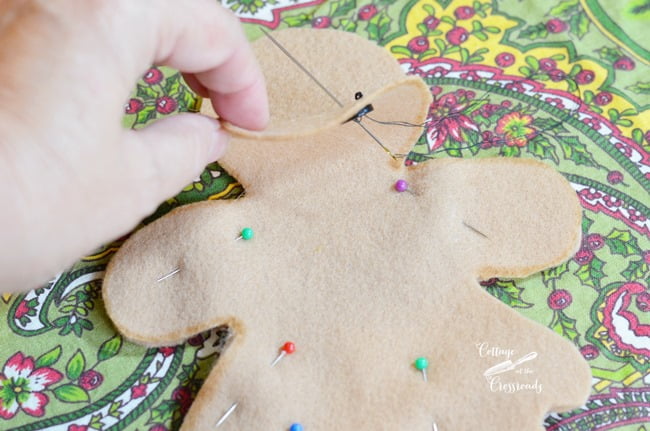
At this point, you are ready to sew on the buttons for eyes. When I made the first one, I didn't have any black buttons so I used a permanent marker to create some. Worked just fine until I could get to the store to buy some more! Thread a needle with some black thread, doubled and knotted at the end. Be sure to put the knot on the inside of the boy or girl so that it won't be visible.
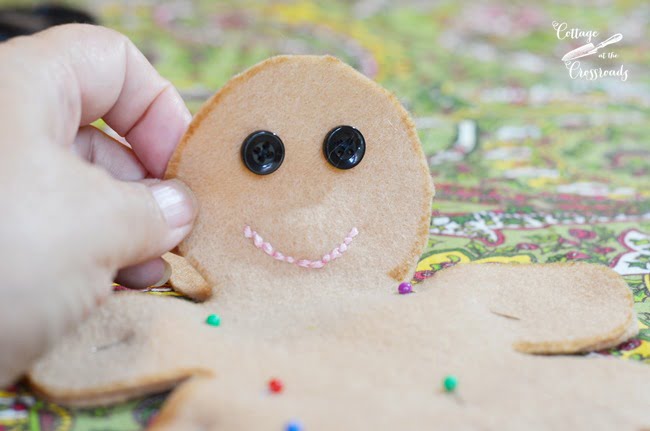
After attaching the eyes, stitch a mouth using some pink DMC embroidery thread (the color I used was #776.) Once again, keep the knot on the inside. If your smile turns out a little crooked, that just lends to the charm, right?
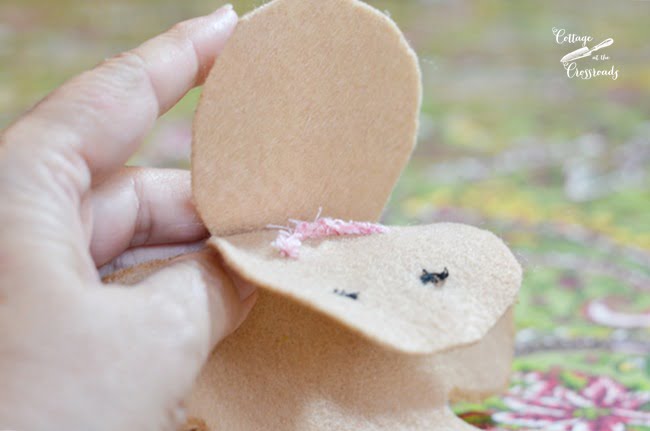
My stitching looked a little messy on the inside, but no one is going to see it (except all of you who are reading this post!!!)
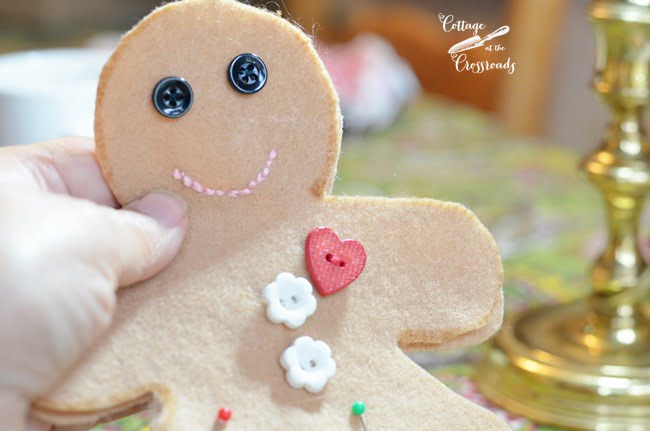
Now you're ready to give your boy or girl a heart by sewing it on with red thread. And I added these flower shaped buttons onto the girl, but for the boy, I used some white DMC embroidery thread to make 3 x's on his chest.
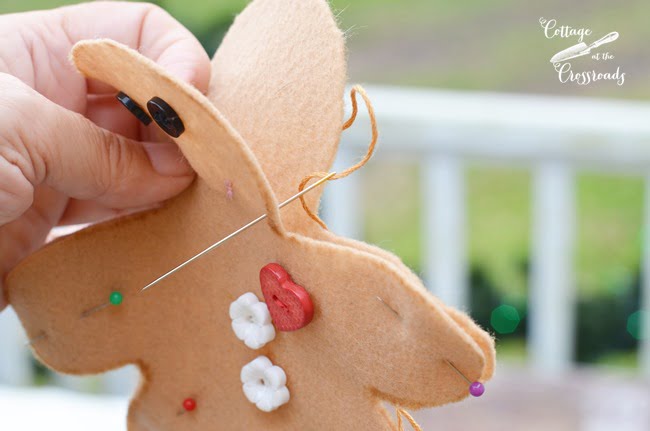
Here comes the fun part! You are ready to attach the front to the back using some tan colored DMC embroidery thread (I used #436.) I doubled and knotted the thread, starting by pulling the needle through the front so that the knot would be on the inside.
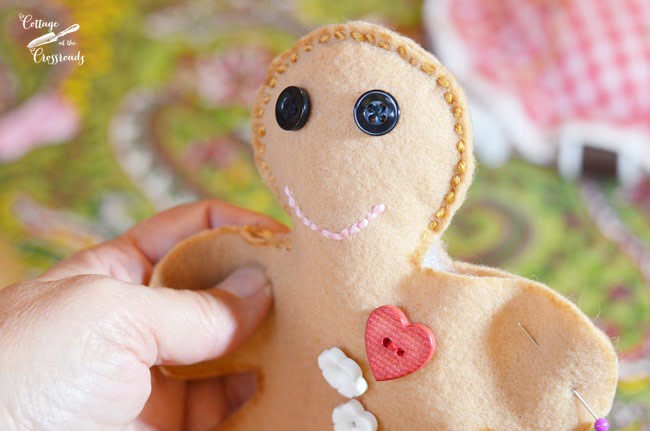
Once you get the head stitched, stop and stuff it with a little fiberfill.
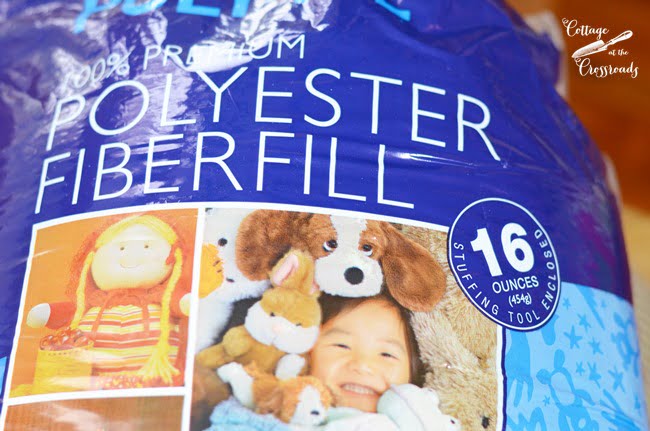
This is the kind I used.
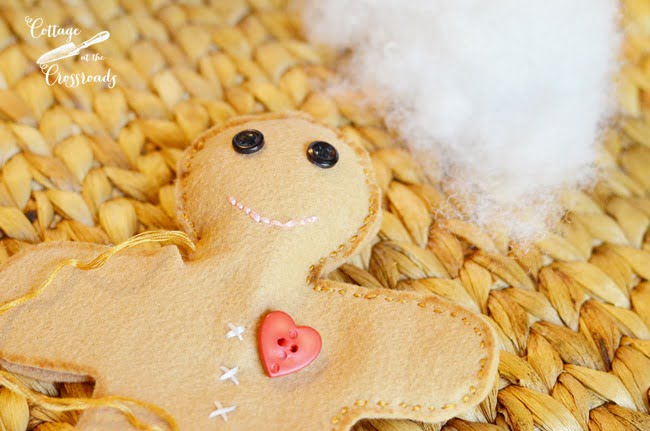
As you stitch each arm or leg, stop and fill those as you go along. And as you re-thread your needle, just remember to bring the knot up on the inside to hide it.
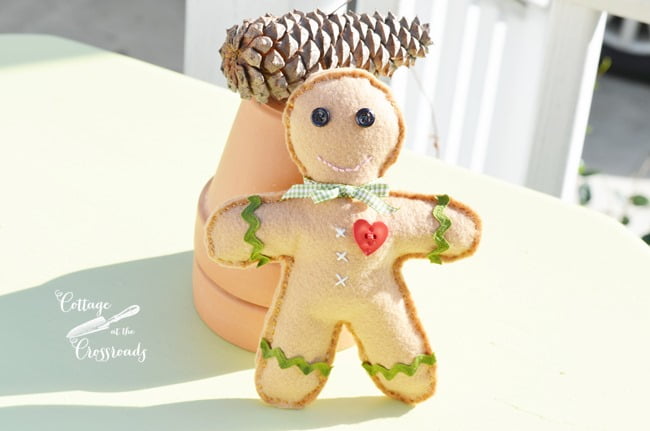
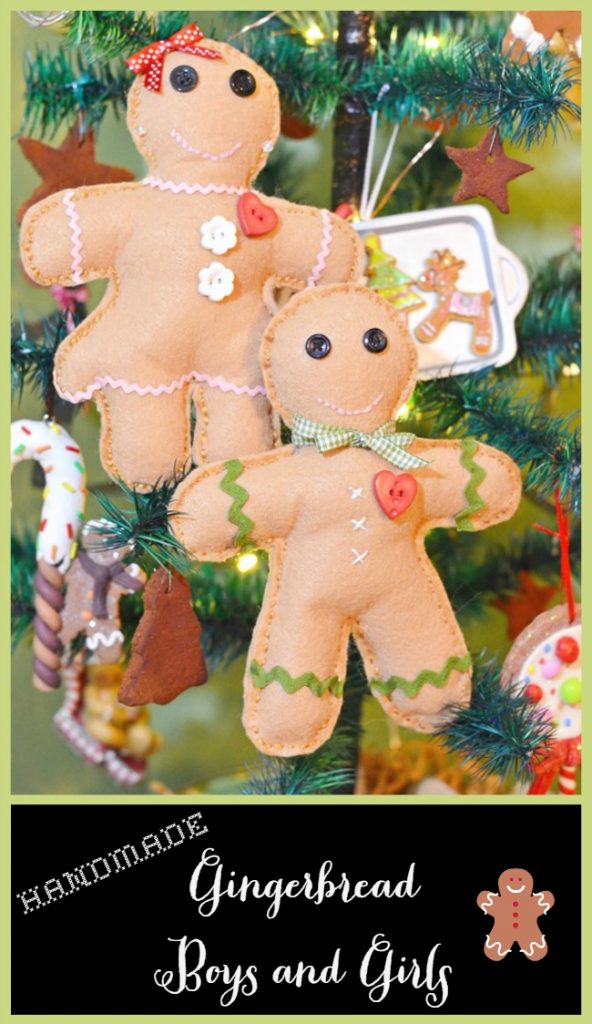
Once you get your gingerbread boy or girl stitched together, you are ready to attach some rick rack with some fabric glue. (I use Aleene's No-Sew Fabric Glue) To finish off the boy, I tied some very thin ribbon around his neck to resemble a bow tie, and for the girl, I put a bow on her head and added some little beads for earrings!
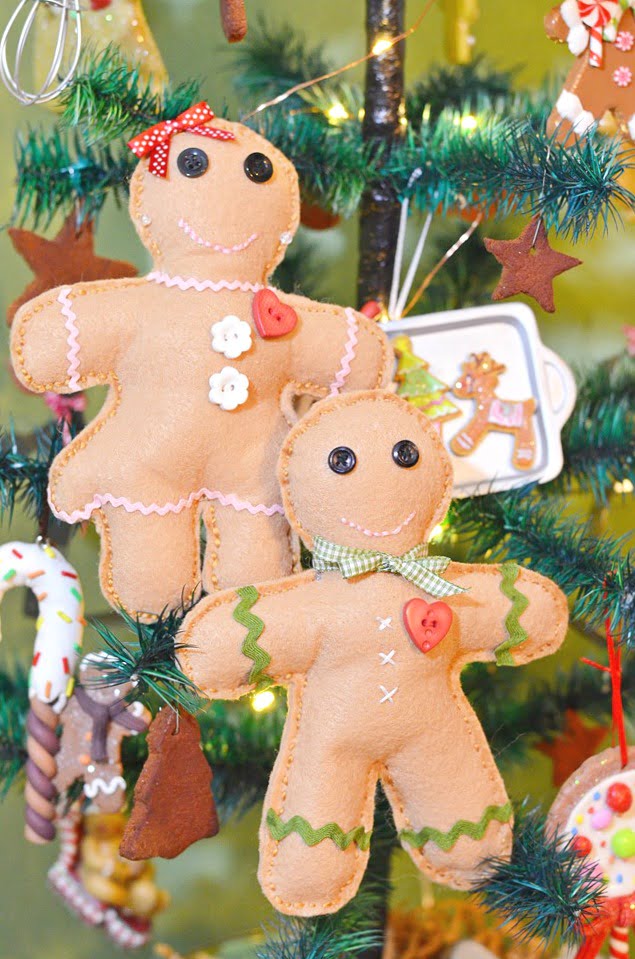
I just adore them and I can't wait to make some with our granddaughters! Not only will we be making gingerbread boys and girls, we will be making memories-at home!


Pamela
Jane I love these! Will have to buy the supplies to make some with the boys.
laura@duke manor farm
oh Jane, those are precious. my lily would probably love to make some of them. thanks for sharing the details. i hope you are enjoying this wonderful holiday season.
Meredith @ unOriginalMom
So stinkin' cute! My daugher would love these. Thanks for sharing!
Leanne
I love your gingerbread boys and girls and all the details on them. What a fun project! Pinning for later!
Maryann @ Domestically Speaking
So cute... I have a couple nieces who would love these!
Lynne
Precious!!! Pinned
sarah @ {Home-ology} modern vintage
These little guys are just too cute and so perfect for the little g'babies!
Kris @ Junk Chic Cottage
Jane,
These are so adorable.
Kris
Lisa Huff
These are adorable!! And since I'm clueless with a sewing machine I think I can actually make these, yay!!
Lindsay Eidahl
These are so sweet! My kids would love them! It has been fun touring with you this week! Merry Christmas!
Vicki and Jennifer 2 Bees in a Pod
Oh my goodness Jane - these gingerbread peeps are adorable!!! We can't thank you enough for sharing your pattern and tutorial. We too have been wanting to make some of these but didn't have a pattern. Your grandgirls are going to love this! So much fun sharing tour week with you. Merry Christmas!