We had a wonderful Thanksgiving here at the Crossroads, and we hope you did, too! I found some time this weekend to decorate some PINE CONES.
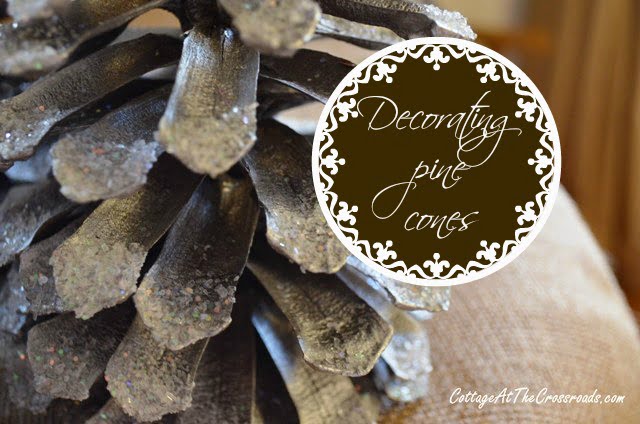
You see, I have decided that it's going to be a Pine Cone Christmas here at the cottage.
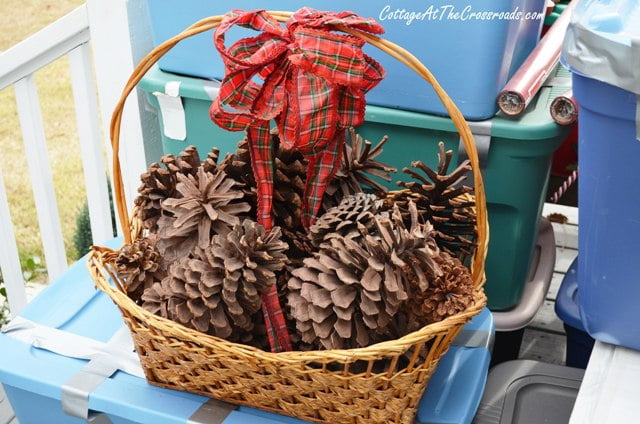
During November, Leo has been gathering some large pine cones from a neighbor's yard, but I didn't really have as many as I wanted. So last Monday I found this big basket of pine cones at the auction. I only paid $5 for the whole basket, and the pine cones in the basket were larger than the ones I had.
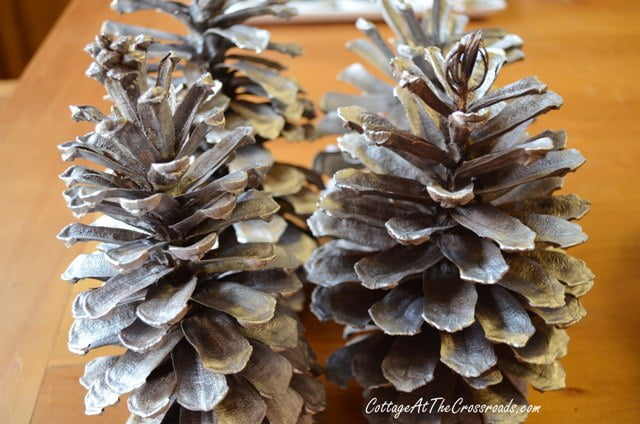
The first thing I did was spray paint the cones with bright, shiny silver paint. I gave them a light coating so that some of the natural color would show through. The result was a beautiful color and I left some of them this color.
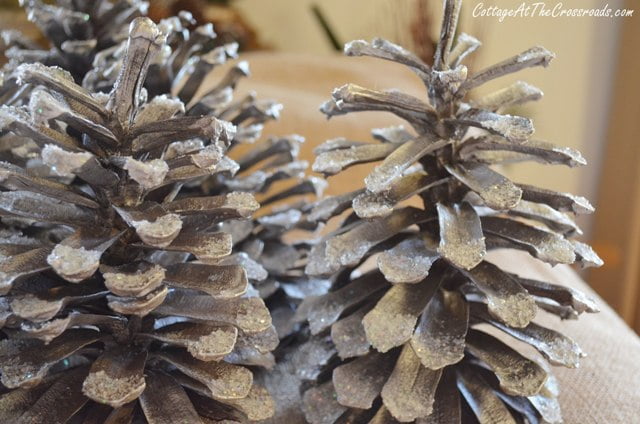
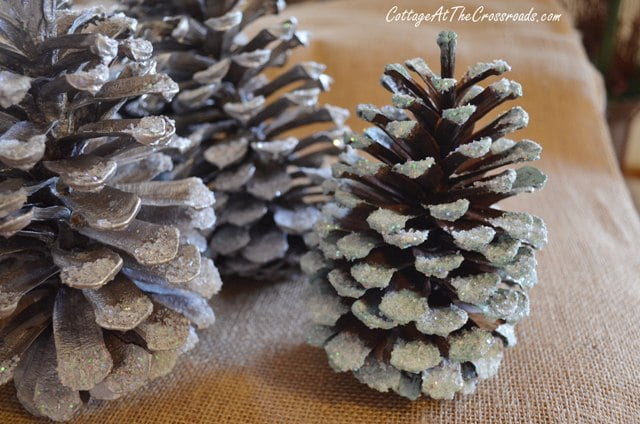
Some of them got glammed up by adding Epsom salt and a little glitter to the tips!
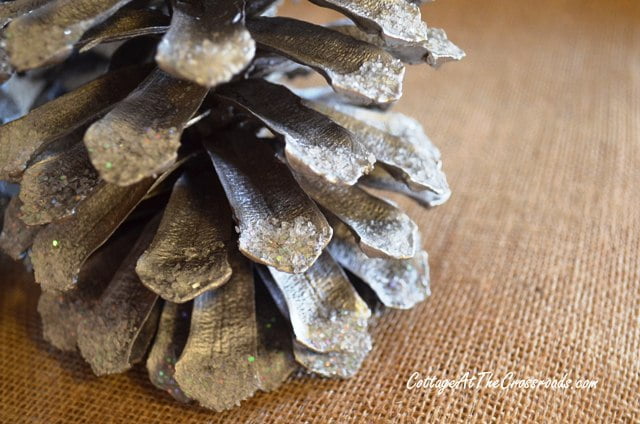
Oh wow! They turned out so pretty! It looks like they've been dusted with ice and snow!
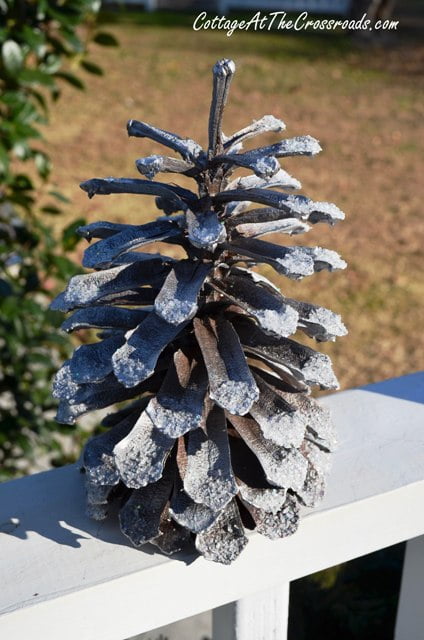
I took one outside so that you could see the color a little better.
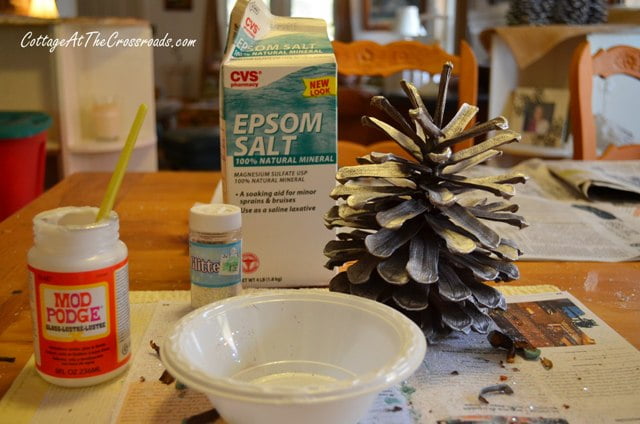
Here's what I used to decorate my pine cones. Epsom salt, white glitter, and a little watered-down Mod Podge.
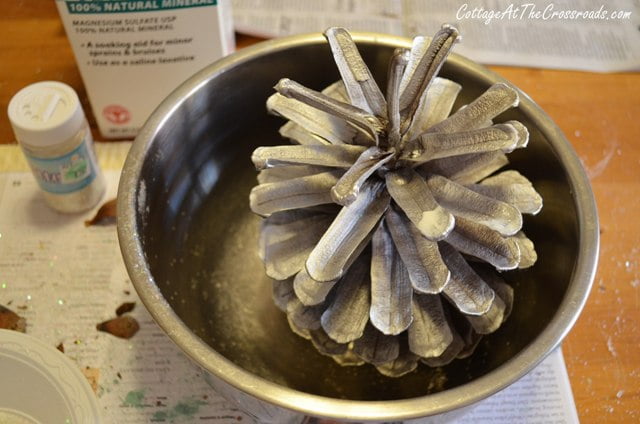
I just brushed some Mod Podge on the tips and put the cone in a bowl to apply the salt and the glitter. It still made a mess as you can see, but the clean-up was a small trade off for the results.
I painted the tips of several pine cones aqua, and you may be seeing those on a kitchen wreath soon. I made sure I painted and decorated the underside of the scales just in case I want to hang them upside down.
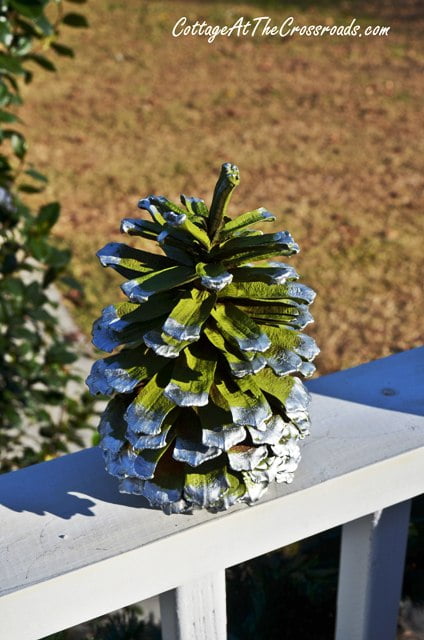
And since I'm going to be using a lot of green in my Christmas decorating, I spray painted a few cones green and brushed the tips with silver. Pretty,huh?
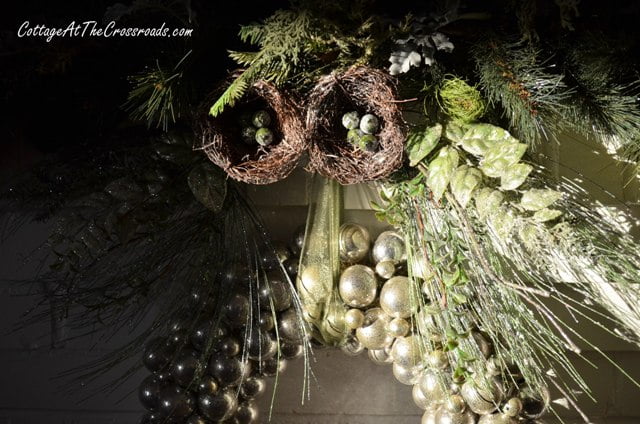
Yesterday I decorated the mantel and I thought I'd give you a sneak peak of it and one of our trees.
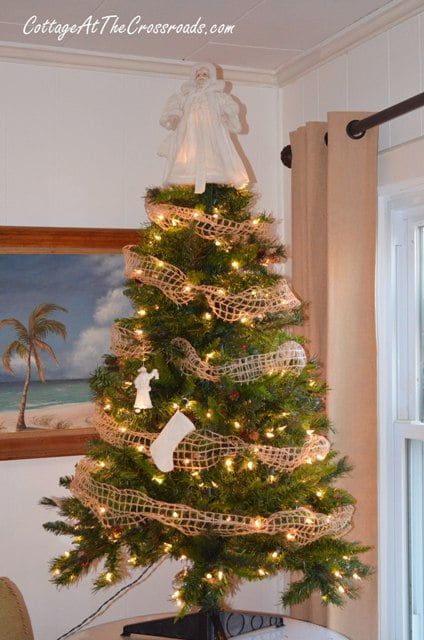
Yep, it's going to be a pine cone (and burlap) Christmas around the Crossroads!



Pat
Love the pine cones... I live in southwest Florida, and have many large pinecones available to me.. Will definitely try this out!
Jill
Just stunning! Thanks for sharing!
Mary
I love your snowy and glittered pine cones Jane! I had already made a note from your curtain rings post to remember to add Epsom salt to my glitter. Thanks for the tip 🙂
Emma Briggs
Love the versatility of these pretty pine cones, thanks for sharing.....
Dawn
Jane,
Thanks for linking to my party. I think natural elements are a hit this year. Hope to see you next week, with another budget friendly idea:)
Keeping it Cozy
I love the idea of using the salt... they look so beautiful, Jane!
Kathy
Very pretty Jane! Love the pine cones.
Savannah Granny
Jane, this is so pretty. Love pine cones. We have many, tho not the really large ones. My daughter took a large box home after Thanksgiving.
Thanks for the tip about the epsom salts. That is new to me.
Have a blessed season,
Ginger
Tanya@TakeSix
They look great Jane! I need to do some of these. I'm thinking about a silver Christmas this year. Thanks for the inspiration. 🙂
JoAnn @ SweetPepperRose
Jane, it's lovely, and I have tons of pine cones to "play with"
Thistle
Jane,
I love this idea! Sometimes just a little glitter makes everything so much better! I am totally pinning this and google + ing it, too!
blessings,
karianne
Donnamae
What a great and easy to follow craft with pinecones! Thanks! 😉
Jean Windham
Oh Jane the pine cones are beautiful. I love the different colors and the tips with the snow and silver added. I am sure this will make a lovely decorating theme. The theme is a great idea for the family home at Windham's Crossroads.... Thanks for sharing. Jean
Shirley@Housepitality Designs
Pinecones are not prevalent around my neighborhood...I love those pinecones with the epsom salt ... what a great alternative to glitter!!....Can't wait to see your mantel...love the "sneaky peek"
Your tree looks wonderful....Have a great day Jane and Leo!!
Melanie
Thanks for showing how to do this Jane! Love the idea, had wanted to use pinecones this year too. Love the green pinecone!!! Thanks for the inspiration!!
Glenda Childers
I love projects like this that are so fun and doable ... and beautiful.
Fondly,
Glenda
Carlene @ Oganized Clutter
I know I'm going to like it all, Jane. I love pine cones and burlap. I never thought to use epsom salt with mod podge. I use mica flakes a lot.
Danni Baird
Those are such pretty pinecones! I particularly like the green with the silver tips! Your tree is going to be fabulous!
Gee
Oh Jane... how luvly. I too have been collecting pine cones this season. Got some from church yesterday 🙂
I worked some of the cotton in the mantel scape and some in the centerpiece as well. having fun with my cotton!
Cheers, Gee
laurie
Jane - I just love those sweet pinecones! Thank you so much for the great idea and wonderful tutorial!!!! 🙂
xoxo laurie
Andrea at Opulent Cottage
These are so pretty! Thanks for a great tutorial, they are exactly what I have been wanting. I got lucky and scored some great pine cones at the thrift, since we don't have many here in north Texas. I'm hoping for a pine cone Christmas here too, so we will have to compare notes!!! Can't wait to see what all you have done.
Cheers, Andrea
Ann
Love your silver pine cones! I bought some glitter spray paint in silver and gold but haven't done a thing with it yet. Thanks for the inspiration!
Carol
The pinecones look great, Jane! I sprayed a few cones, too, and added faux snow. I really like the idea of the Epsom Salt better. Love the tree with the burlap ribbon!
Gina
The pinecones look wonderful! Looks like you had some fun with them.
I love the direction your Christmas decor is going in. Can't wait to see it all finished!
Jennifer @ Town and Country Living
Love the pine cones! My daughter has some in her yard ... maybe I'll go snag a few. 🙂 Your decorations are really coming together!
Dawn
Jane,
Those are wonderful. Hope you link them to the party tonight. So many people could do this with little expense. Great theme for this year:)
Jessica @ Mom 4 Real
I love them, Jane! I have some that I am going to work on, but am not sure what I want to do quite yet...I just love yours!
Olive Cooper
Beautiful Jane and not difficult. Our yard has three different kinds of pine cones in it but I do not know that I will get to them at all. I am not talented like you;} Happy Christmas, Olive
Kris
What a pretty tree! I love the idea of decorating pinecones with glitter and paint! I'd like to try the glitter on the edges. I have some German glass glitter that I might try to use. Thanks so much for the Christmas decorating tip! 🙂
Sue B.
I love this process for decorating pine cones! Thank you!