In this post you'll find the directions for making the cutest wooden snow globe ornament in addition to a source list for your convenience.
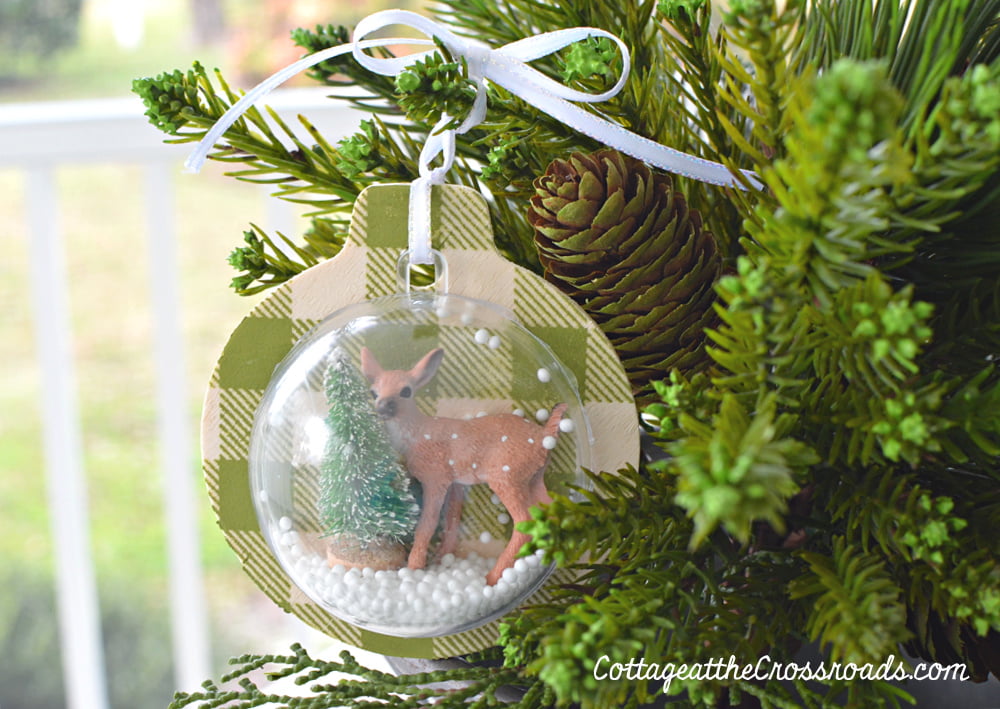
When I posted my recent Christmas front porch tour, some of you commented about these snow globe ornaments that I made to hang on the garland. So I thought I'd do a quick tutorial on how to make these.
I made the background of mine to match the buffalo check green rugs that I have on the porch, but you could make yours any color or design. There are just so many possibilities!
And I was thinking that this would be a great craft for older kids to make for their friends or their teachers. Or, wouldn't these be so darn cute attached to a gift!
Once you see the basic process and supplies, you'll find that these can be personalized to anyone's interests as long as you can find tiny objects to place inside.
What you need to make snow globe ornaments
- 3.5 inch unfinished wooden ornaments (I found mine at JoAnn's but I also ordered some from Amazon.)
- 80 mm clear fillable plastic sphere ornaments
- miniature trees
- miniature deer
- hot glue gun
- glue sticks
- faux snow (I got mine at Dollar Tree)
- mini buffalo plaid Chalk Couture transfer, decoupage materials, or acrylic paint to create the background
- thin ribbon
How to make wooden snow globe ornaments
Step 1
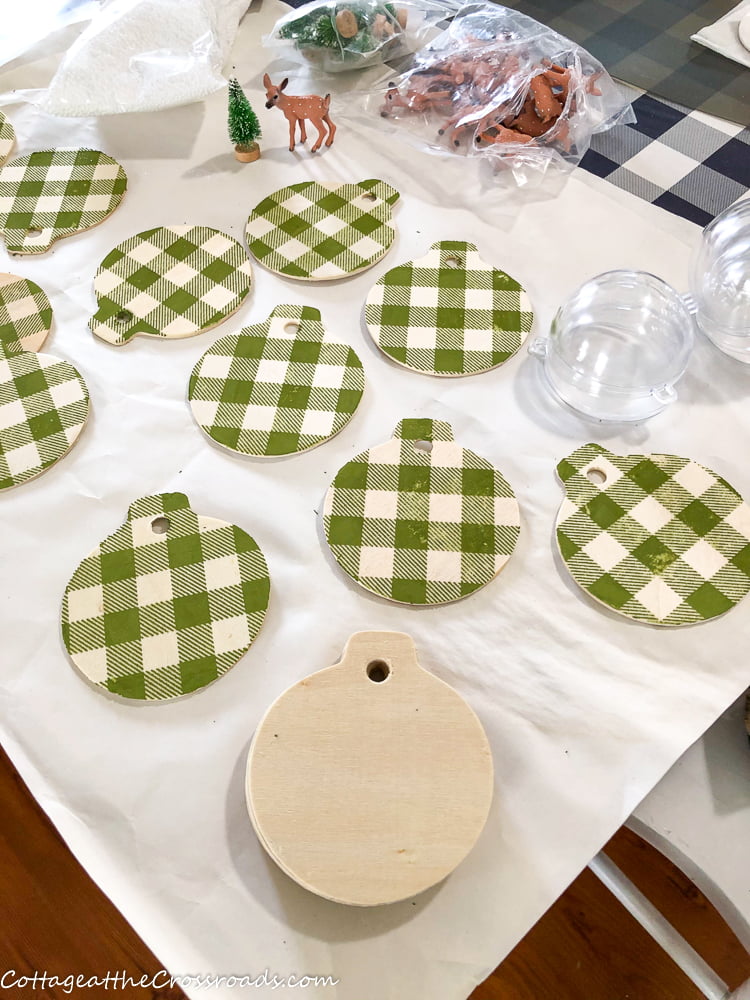
Paint or decorate the wooden ornaments first. You could make a solid background by painting it with craft paint, you could decoupage a design by using napkins or wrapping paper (see my post on how to decoupage wooden ornaments) or you make a buffalo check background as I did by using a Chalk Couture transfer or painting it freehand.)
Step 2
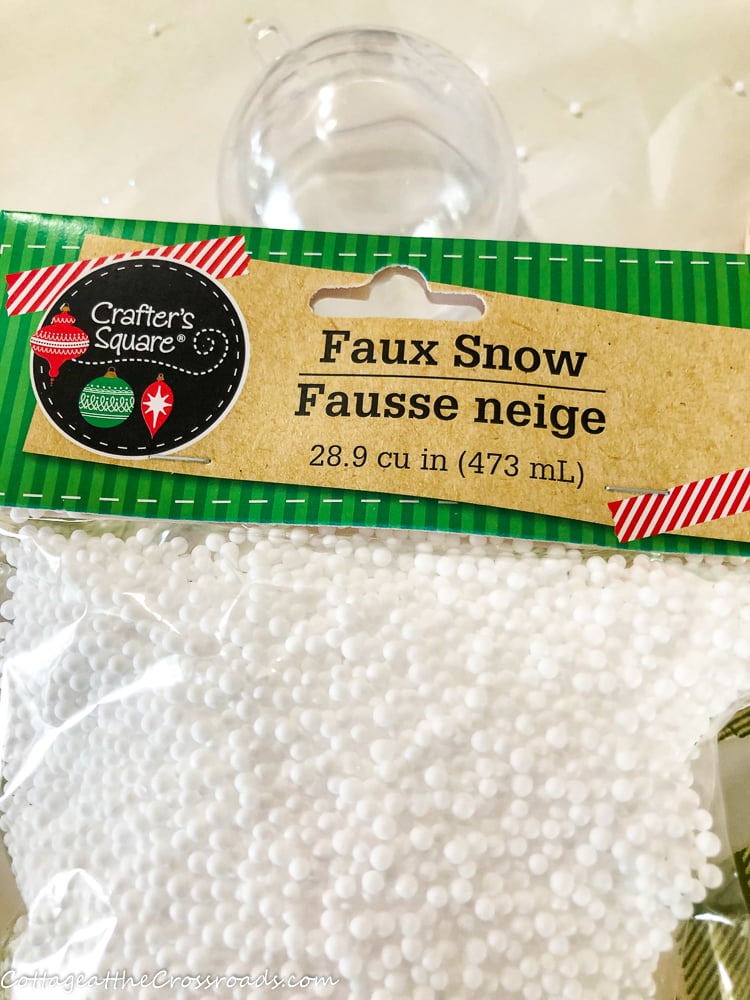
Open the package of faux snow and pour it into a container with a spout such as a large measuring cup. (If you don't, you will have snow everywhere!!!)
Step 3
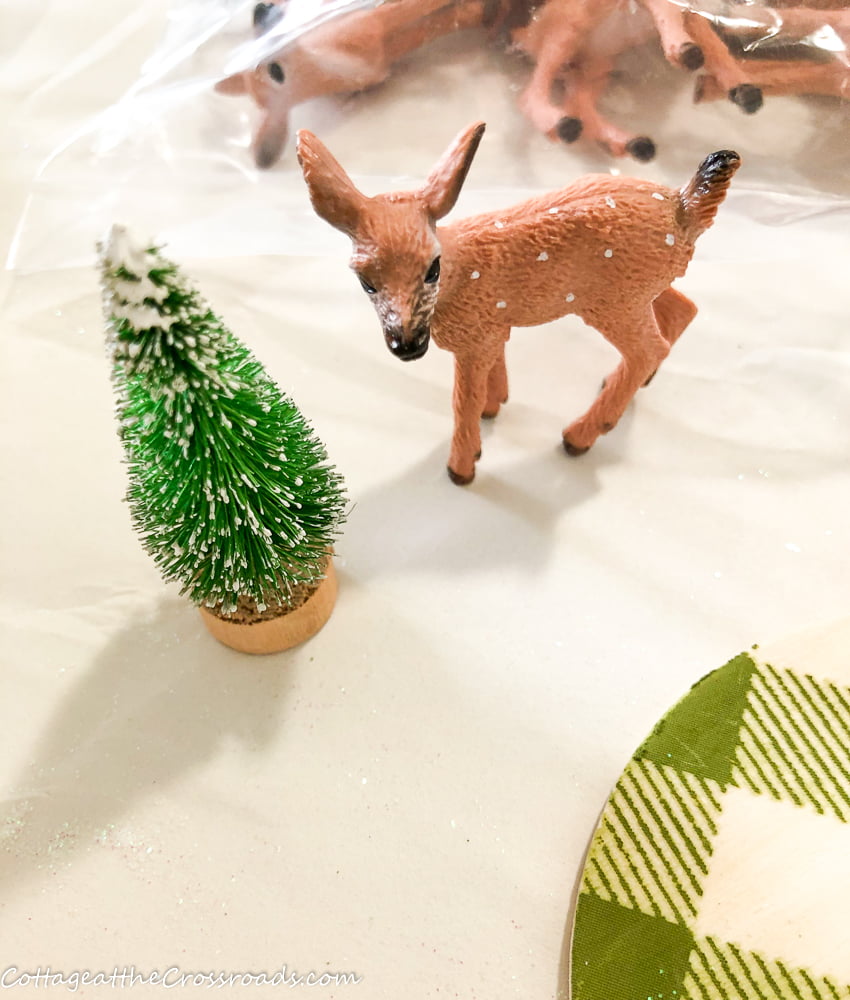
Open the packages of miniature deer and trees or gather other small items.
Step 4
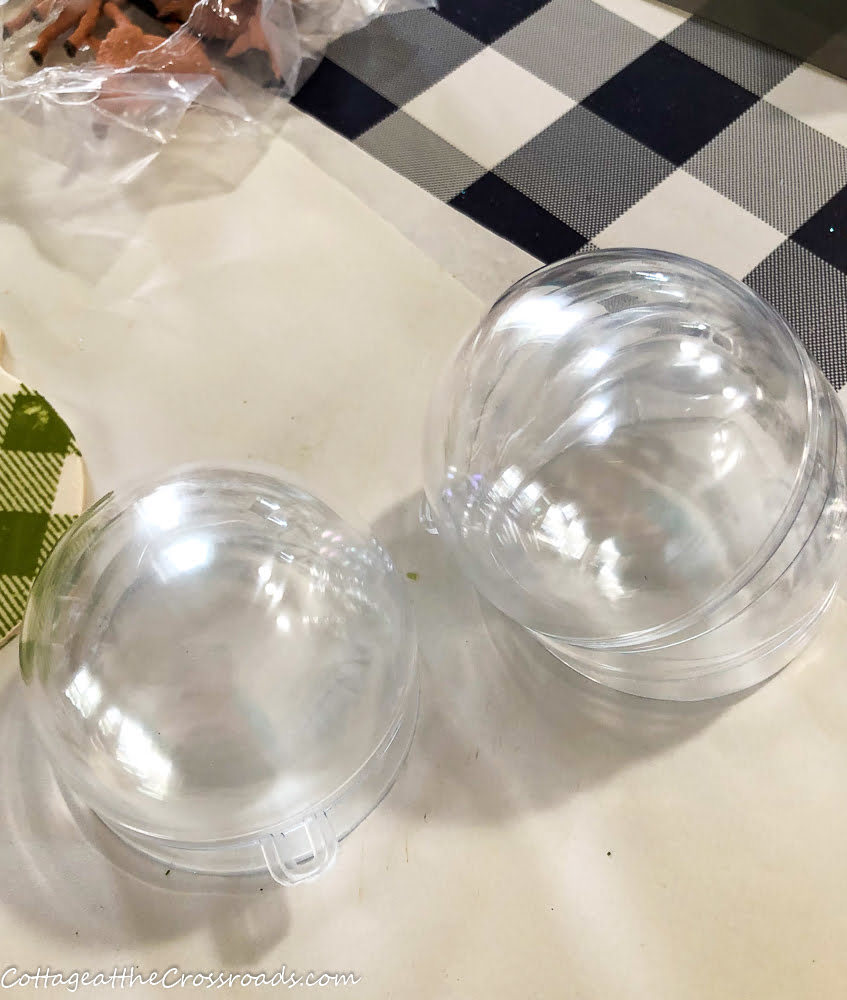
Open the package of the small plastic spheres and separate some of them. (You will only used a half of one for each snow globe ornament.)
Step 5
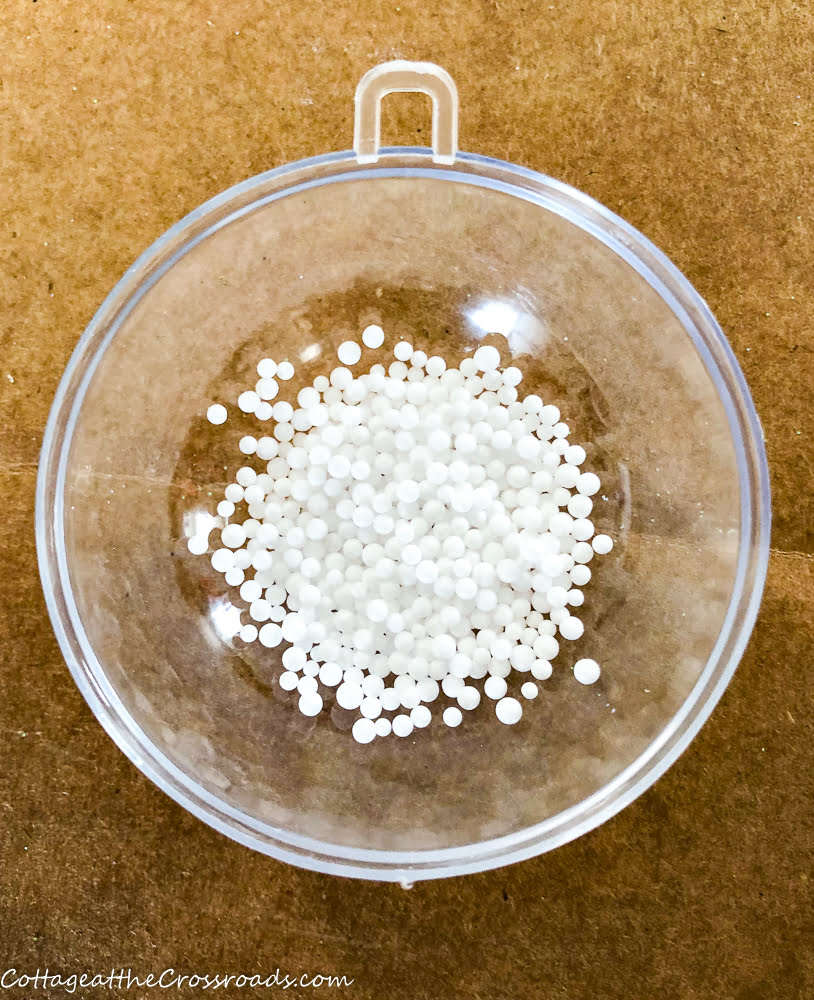
Pour a small amount of faux snow into one of the halves of the plastic spheres.
Step 6
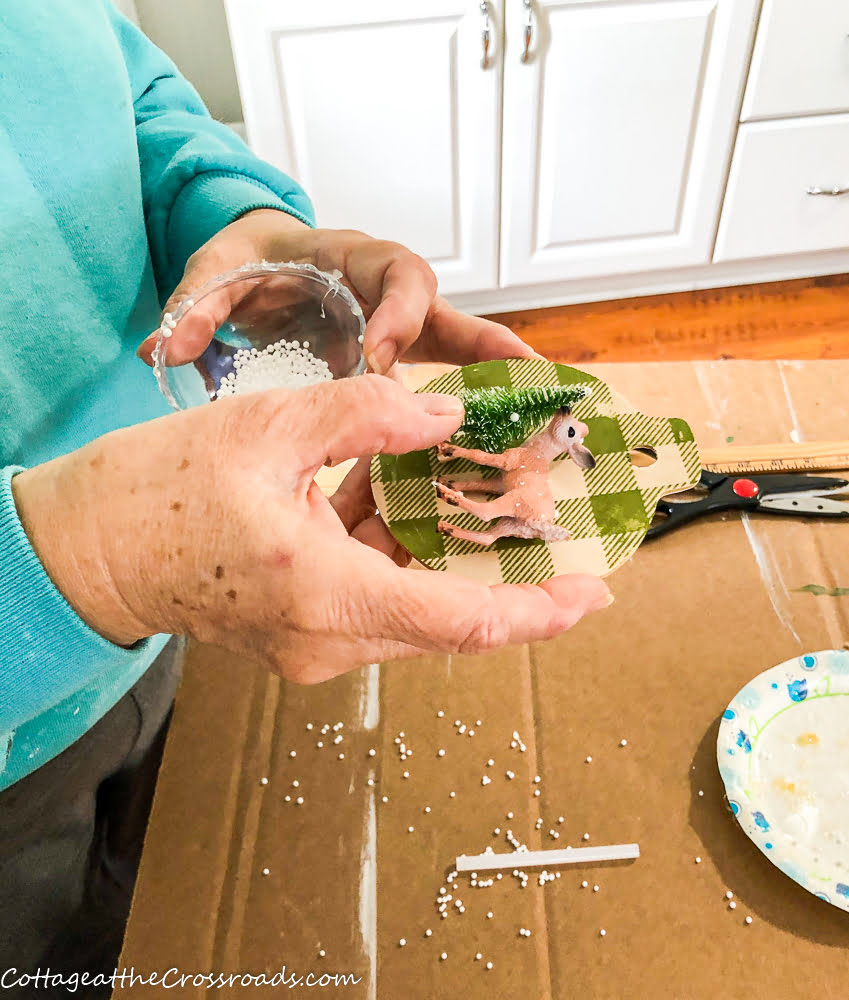
Glue a deer and a tree to the back of the wooden ornament. You will need to put them close together so that they will both fit inside the plastic sphere.
Step 7
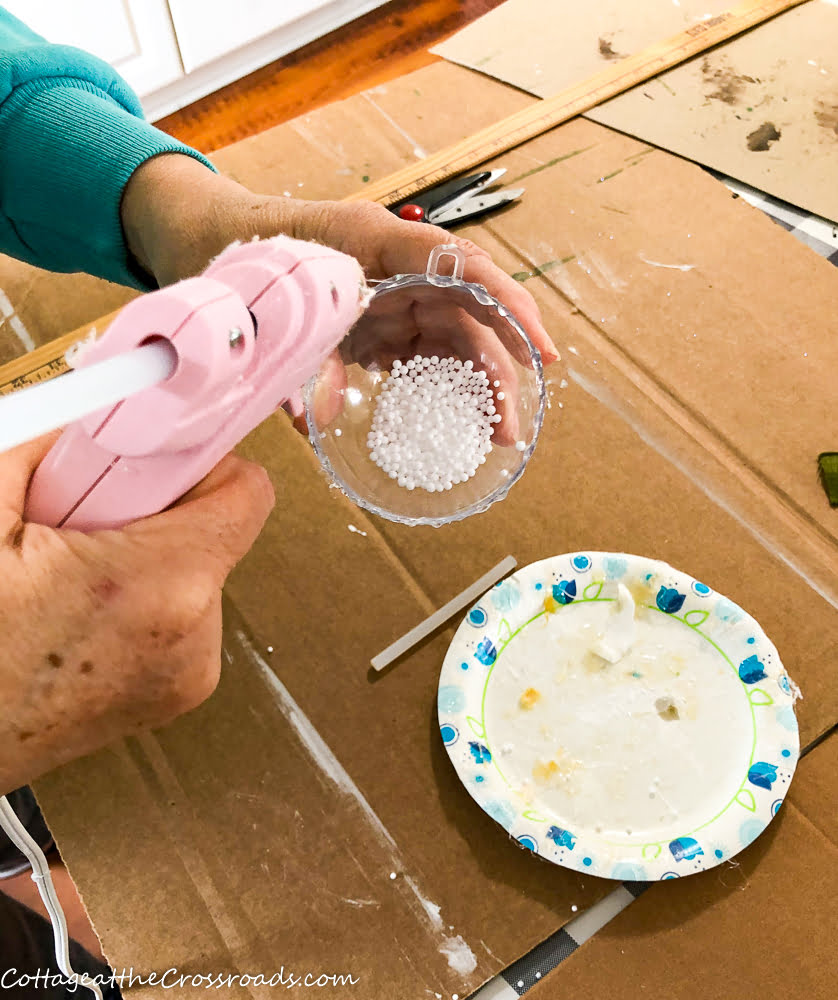
Apply a small amount of hot glue around the edge of the half of a plastic sphere.
Step 8
While holding the plastic sphere in one hand, carefully place the wooden ornament on top of the plastic one. Be sure to line up the hole in the wooden ornament with the one in the plastic ornament.
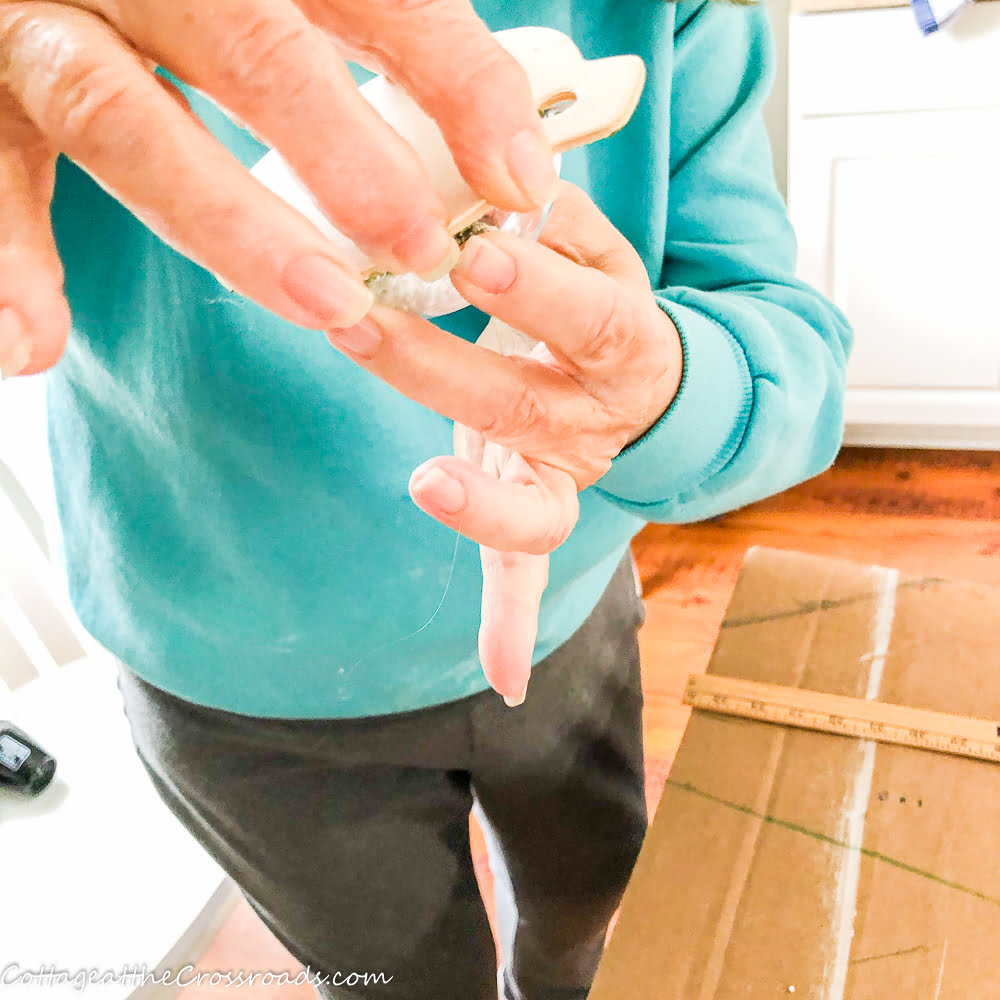
Step 9
Flip it over and hold the two parts together for just a bit while the hot glue dries.
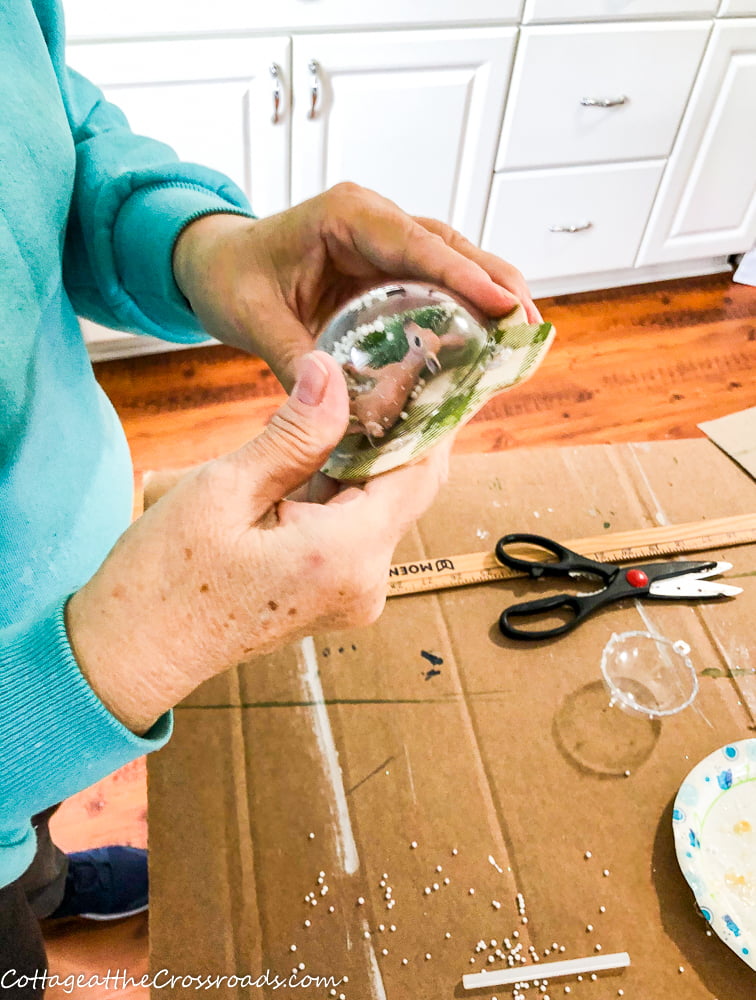
Ta da! Now you have a snow globe ornament! All that's left to do is to attach a thin ribbon.
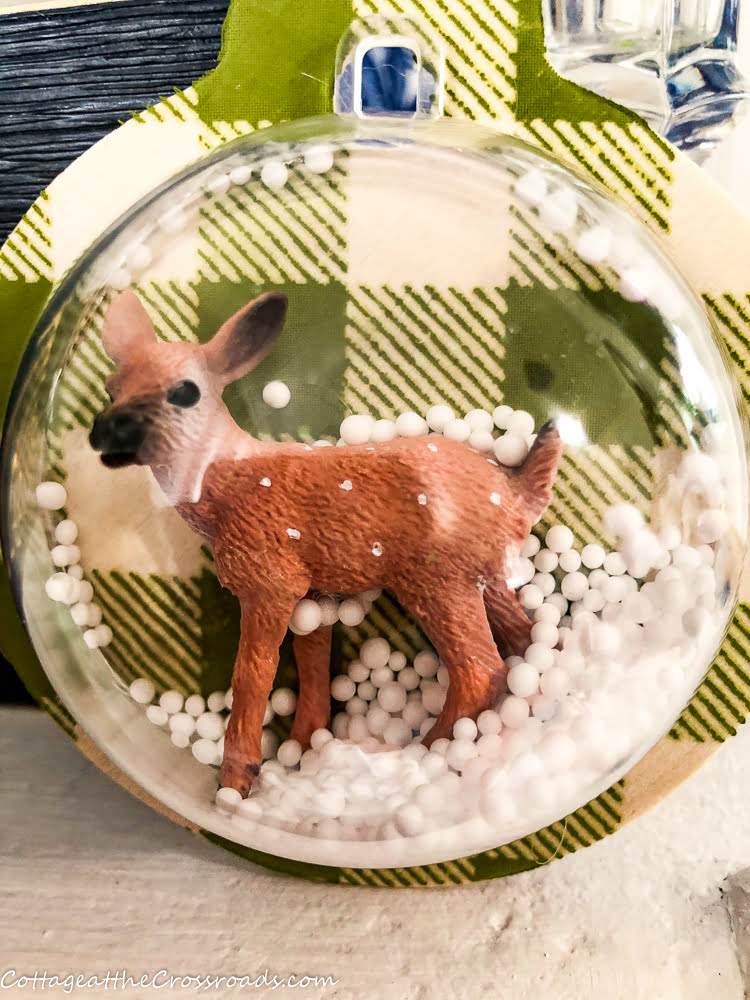
This is one in which I just put in a deer without a tree because I didn't think they would both fit but they do!
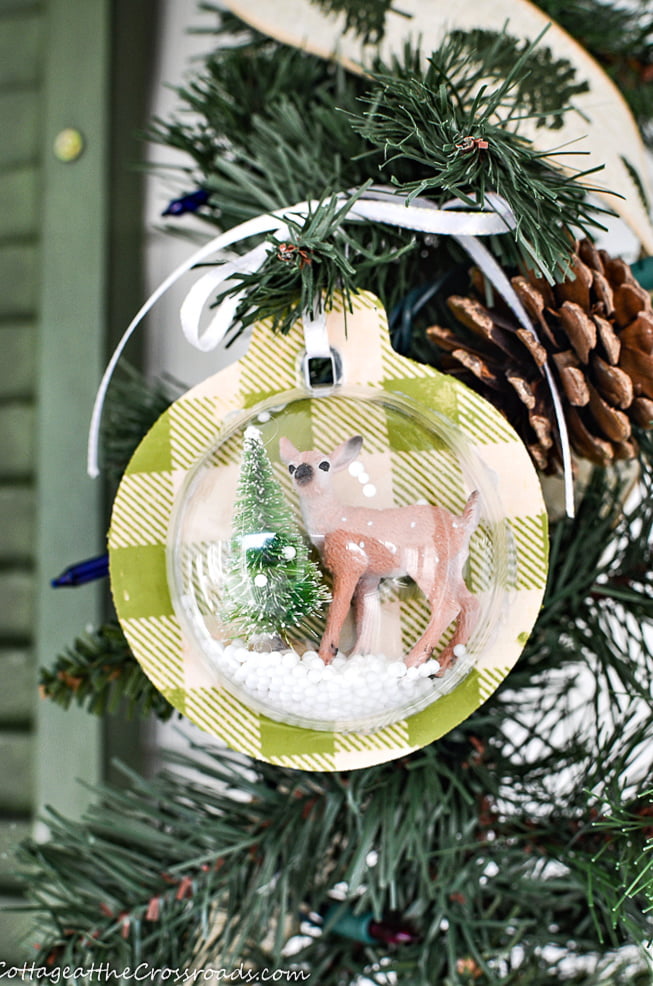
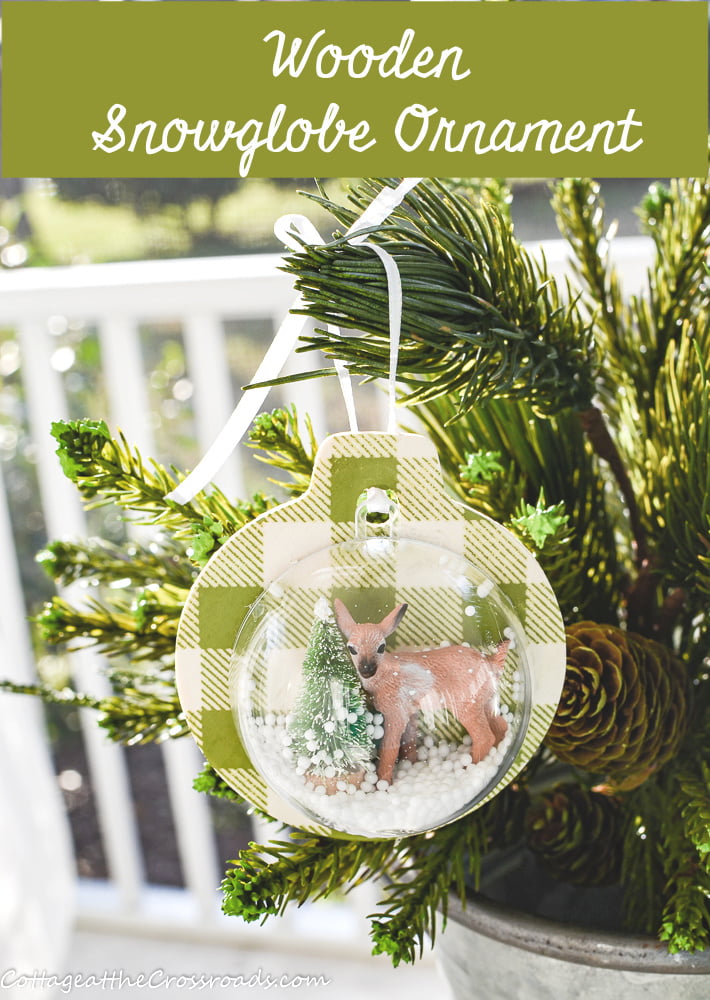
Here is one hanging on the garland around our front door. I just think they are darling! You could make them to fit any theme, interest, or color scheme.
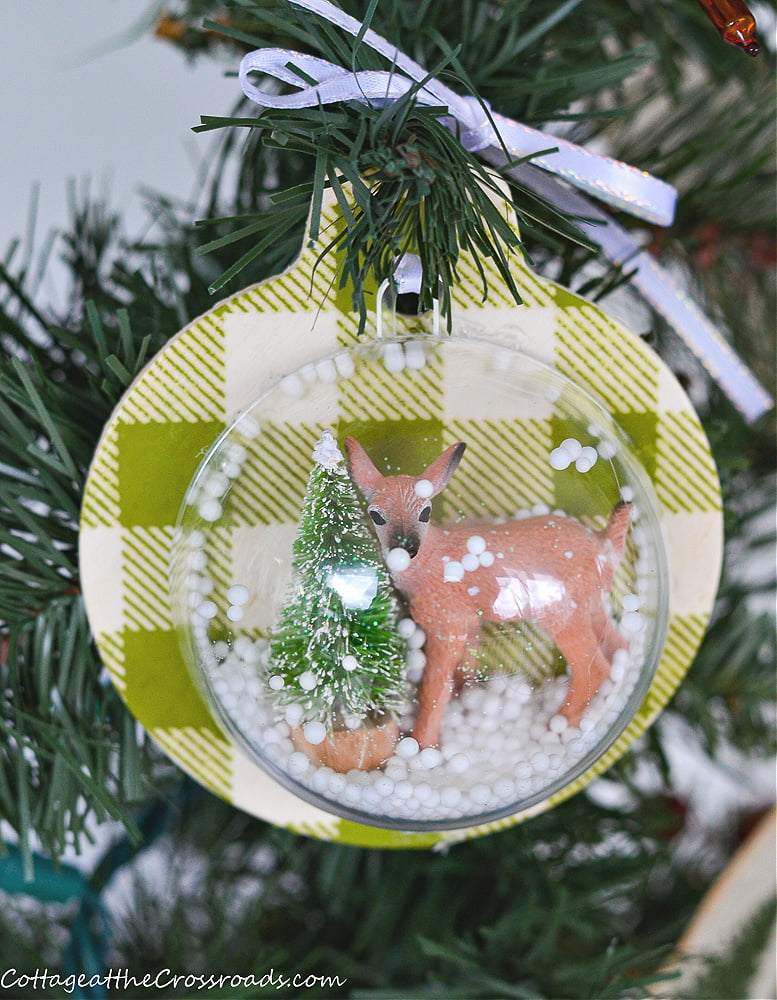
I don't know about you but crafting has relieved much of my anxiety this year. I've been so busy making things that I don't have the rest of the house fully decorated yet!
I'm working on a gingerbread garland that I should have ready to show you tomorrow.
In the meantime, would you please pin this to one of your Christmas boards on Pinterest?
I'll be back soon, friends, with more Christmas decorating projects!







D. Lynette Leplat
What a great idea, now I can get two ornaments out of one!
Lyn
These are lovely! Very creative. Thank you for sharing!
Jane
Oh my goodness, these are precious! Thanks for the tutorial, I can see so many variations. You are one of the most creative ladies I've met in Blogland!
Happy Holidays, Jane!🎄