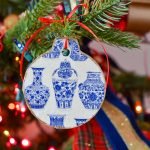
If you are a fan of blue and white, then you're going to love how easy it is to make this wooden Chinoiserie Christmas ornament!
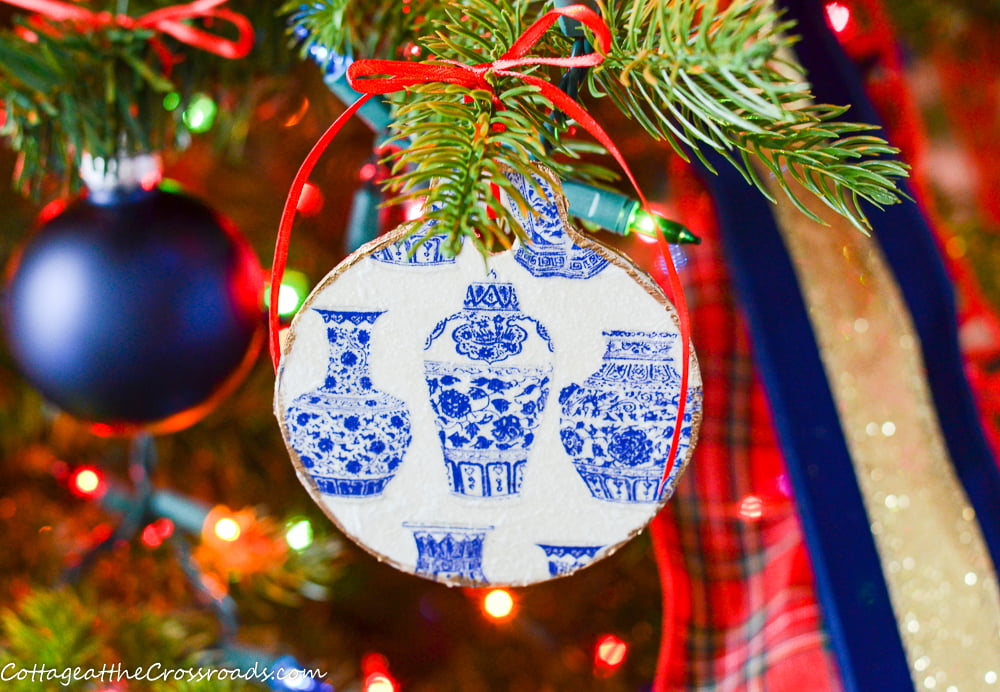
Hi there, friends! I'm sharing this easy to DIY Chinoiserie Christmas ornament. Once you acquire the basic supplies, you will find yourself churning out lots of these for gifts, tags, or for your own Christmas tree.
I made these wooden Chinoiserie ornaments to go on the Christmas tree in my craft studio. Because this space was formerly my mom's apartment, I am using part of her blue and white Chinoiserie collection to decorate for Christmas. Once I got the tree decorated, I felt it needed some blue and white ornaments on it.
I thought about ordering some but they are super pricey! So I thought I could make some. I've seen plenty of tutorials for making DIY Chinoiserie ornaments but most of them use round ornaments. I already had these flat, unfinished wooden ornaments that I found at JoAnn's.
I also already had blue and white napkins because I tried to decoupage a pumpkin. That was a major fail because: 1. the pumpkin had ridges and it was hard to get the napkins down in the ridges without tearing the paper and 2. I put the design on the pumpkin upside-down and didn't realize it until it had dried! UGH!
Because the surface of the unfinished ornaments is flat, it was a breeze to create these!
supplies needed to create chinoiserie ornaments
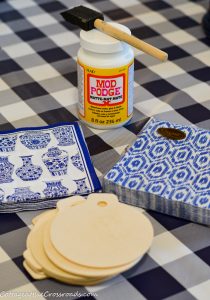
*Amazon affiliate links have been included for your convenience in case you're shopping from home
- paper napkins (BLUE AND WHITE URNS AND IKAT)
- unfinished wooden ornaments-3 ½ in. diameter
- MOD PODGE-matte finish
- pen or pencil
- foam brush
- scissors
- LIQUID GOLD LEAF
- small paint brush
- thin red ribbon
steps in making chinoiserie christmas ornaments
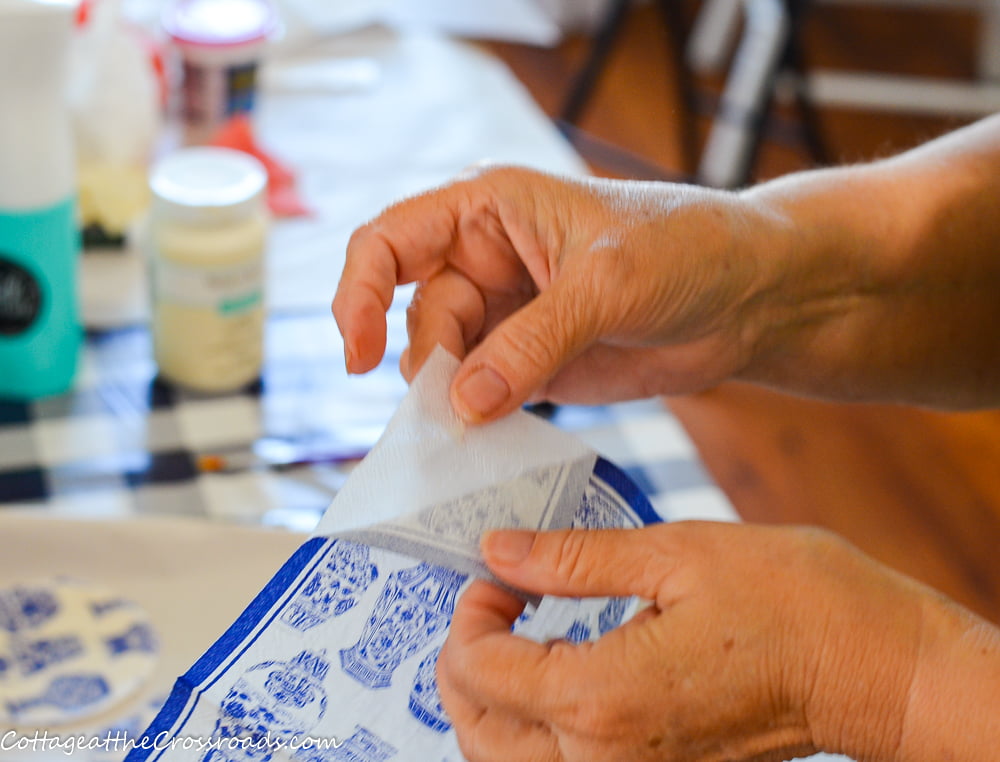
The first thing that you need to do is to separate the layers of the paper napkins. Dispose of the white part.
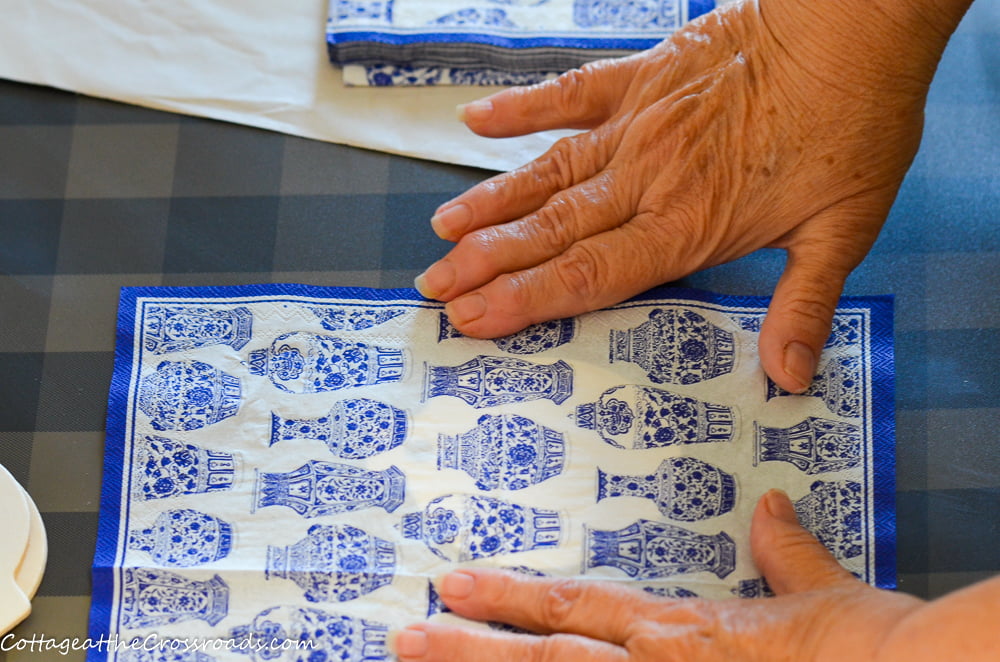
if you are using a design that you want centered, lay the napkin on top of the wooden ornament.
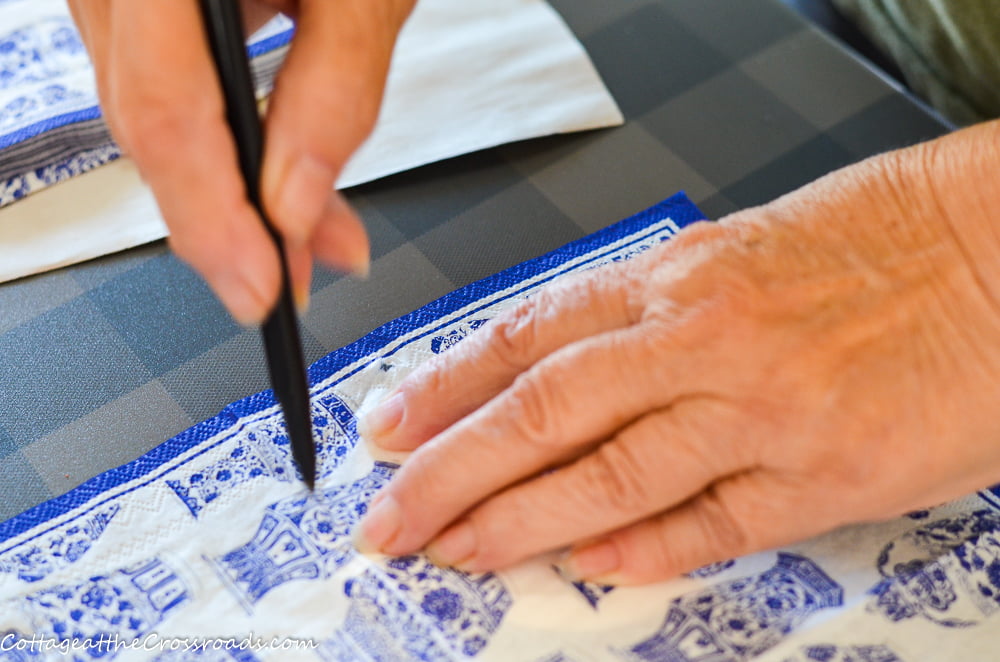
Trace around the ornament with a pen allowing a ½ inch border.
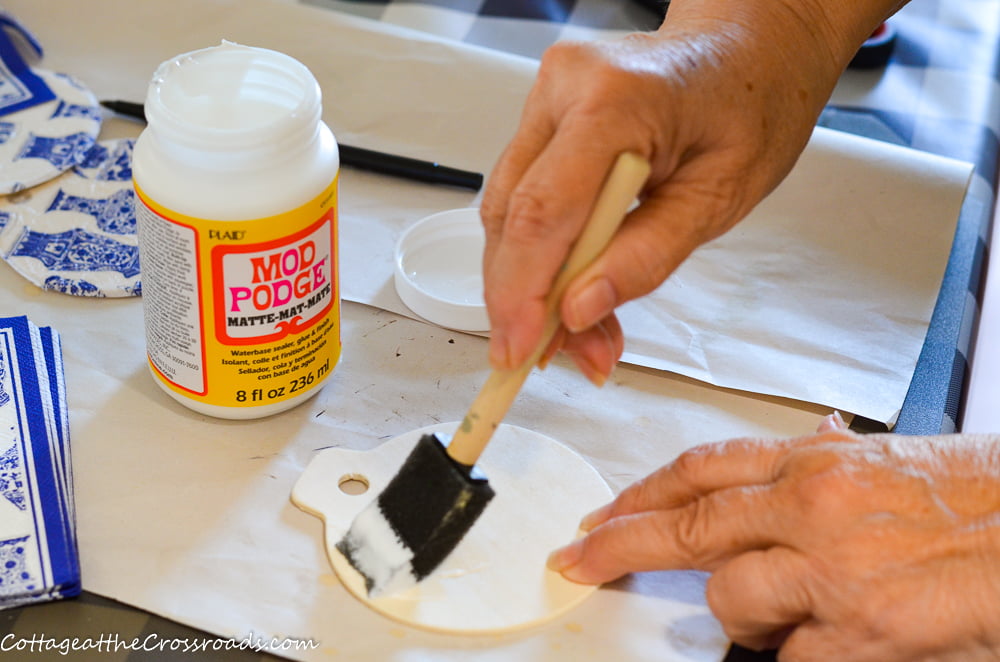
Using a foam brush, apply a thin layer of mod podge to the front of the wooden ornament.
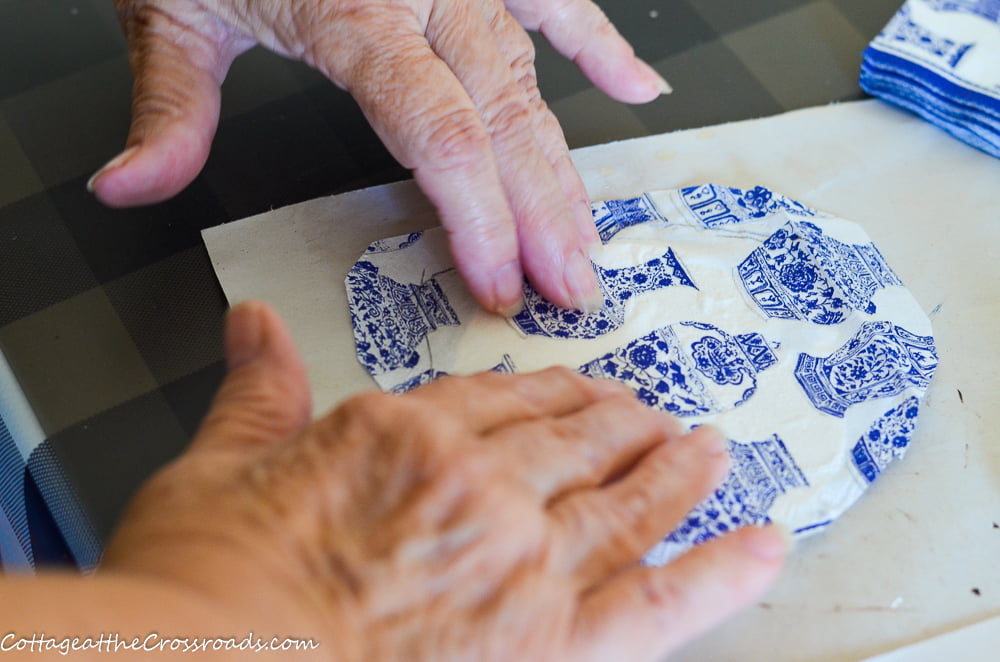
Very carefully position the napkin onto the ornament and use your fingers to smooth it out. Work gently because the napkin will tear easily. At this point, leave the hole in the ornament covered.
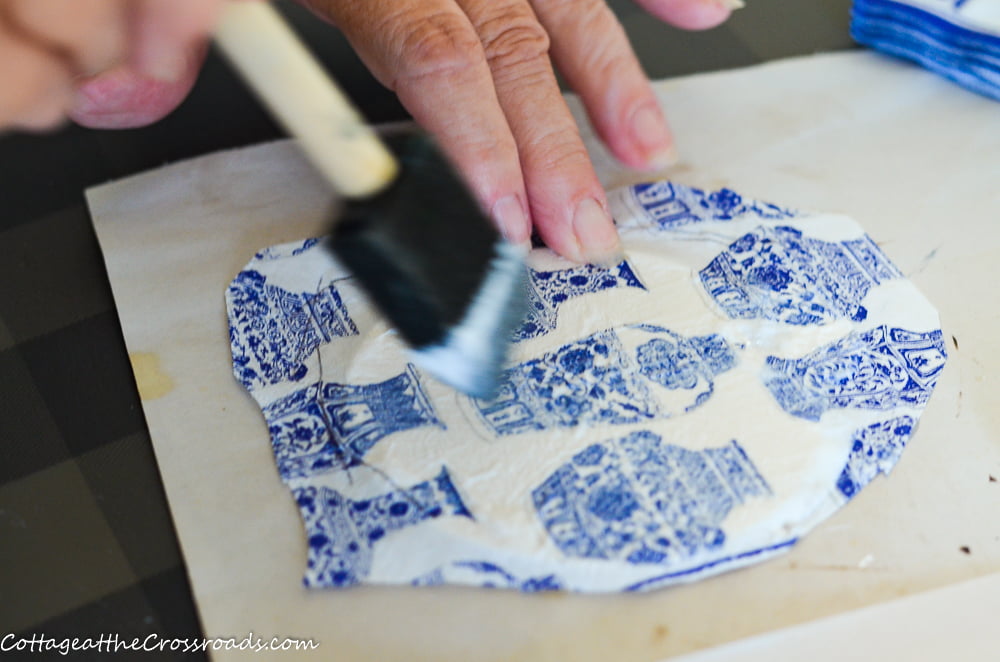
Brush another layer of mod podge on the top of the ornament. Set aside to dry several hours or overnight.
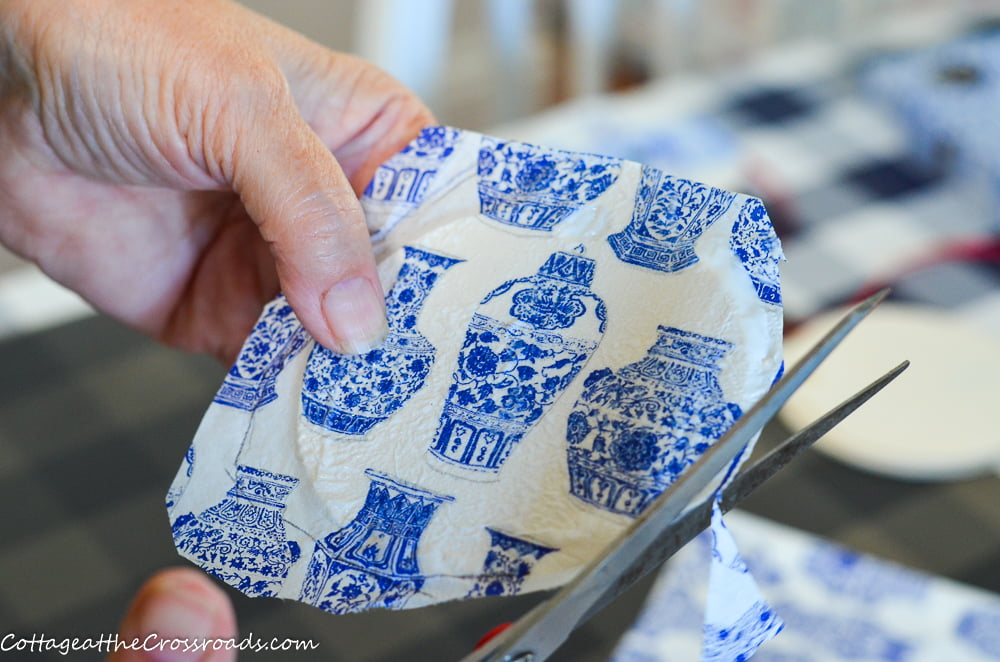
Using scissors, trim the excess napkin from the ornament and use the tip of the scissors to punch through the hole.
Since these ornaments will hang on a Christmas tree, I decided to repeat the process and add the same design to the back of the ornament.
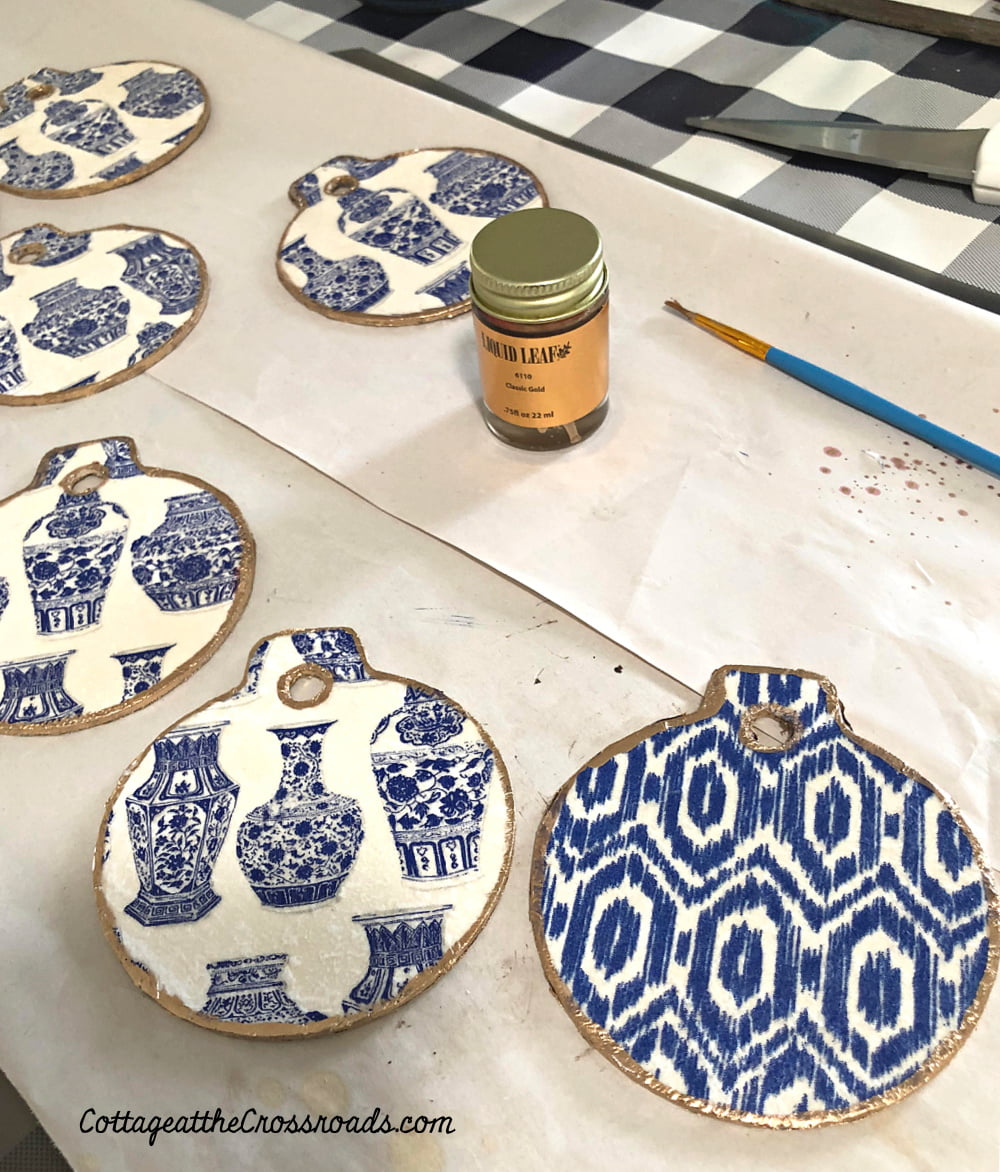
Here you can see both of the designs that I used. To finish the ornaments, I brushed liquid gold leaf onto the edges and around the hole at the top, letting each side dry thoroughly before doing the other.
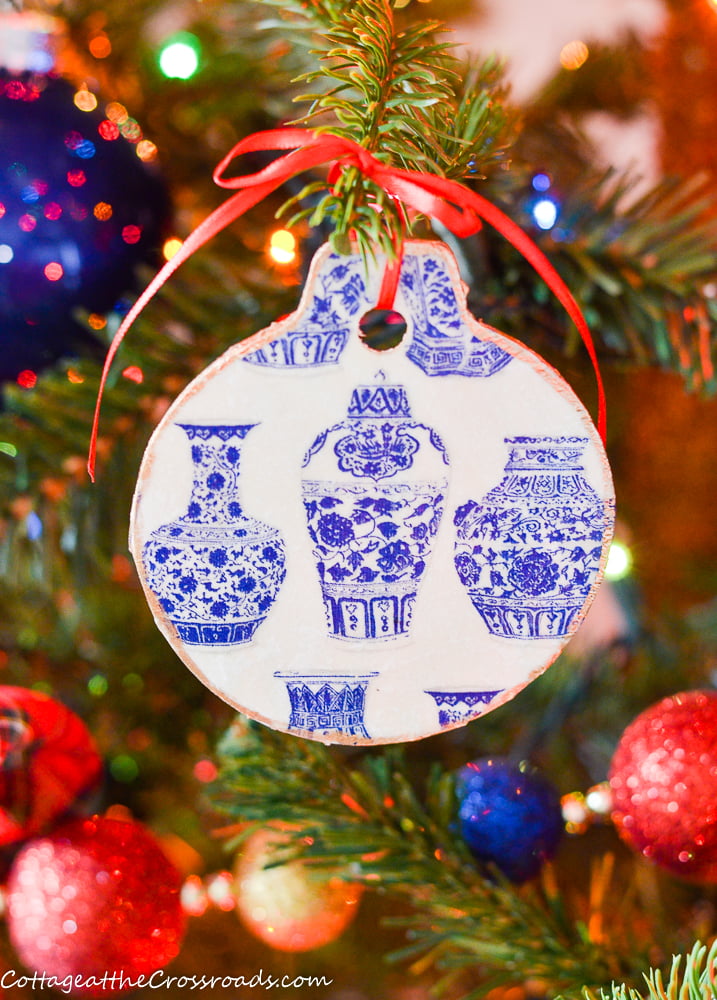
I used a thin red ribbon to hang the ornaments on the tree!
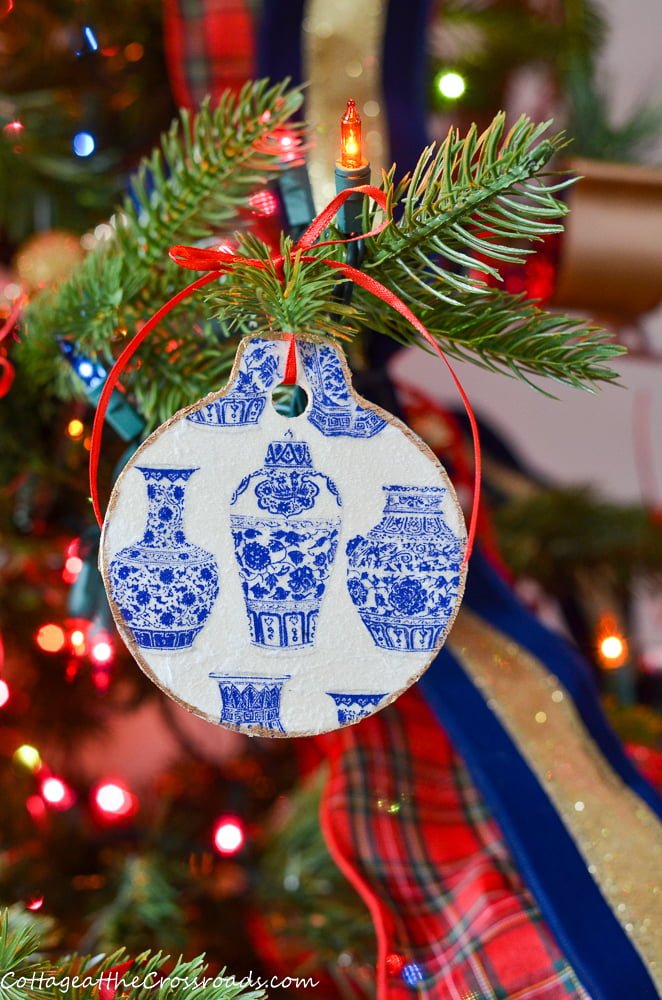
Making these DIY wooden Chinoiserie Christmas ornaments completed the look of the tree. I can't wait to show it all to you soon!




Kristin
This is such a beautiful idea! I can't wait to try it!! I just love it!
Kristi Dominguez
Jane, you had me at chinoiserie. These are STUNNING. And, well, ANYTHING blue and white is totally up my alley. Loving these, friend and I'm actually planning to make a few for the little tree in my office area. xoxo,Kristi
Julie
It blows me away how simple this is!!! You could sell these they are gorgeous, Jane!! I hope you & Leo have a wonderful holiday season!!!
Kelly Radcliff
Jane these ornaments turned out just beautiful! I love anything chinoiserie! Thanks for the great tutorial. Pinning!
Meegan
You know how much I love blue! Your ornaments look like ceramic pieces. You are so creative. They are also a lovely tribute to your sweet mom. Thanks for sharing, Jane.
Michelle @ The Painted Hinge
Your ornaments are gorgeous Jane! If I didn't know better I'd sworn they were made out of china cut into the shape of ornaments. And I love the blue and white color combo!
Paula
Your chinoiserie ornaments are lovely, Jane! I'm looking forward to seeing your entire tree decorated in blue and white this Christmas season. This is a great craft idea and would be fun to do with napkins of any design.
Mary Beth
These are so pretty, Jane, and it's good to know that they are thrifty because they look so chic and expensive.
Lora Bloomquist
So pretty! Love how you put a design on the back, too, so it looks good from every side. Blue and white is so hot this year. Pretty napkins are so fun to craft with!
Angie
These are adorable, Jane. They make wonderful ornaments and would be great gift tags too!
Cindy LONG
I adore these ornaments Jane! I'm kinda bummed that my trees are already decorated and i didn't do a blue and white one this year! Pinned and plan to make! The gold leaf really finishes them off beautifully!
Joan B Bloom
Thank you, Jane. You never fail to amaze me. You "think outside the box" and inside the box!
Kathleen
So pretty! Such a lovely tribute to your mom.
Kris @ Junk Chic Cottage
Super cute Jane. Some of those napkins out there have the prettiest patterns. Happy Friday.
Shirley @Housepitality Designs
Looks so beautiful Jane!!! So very creative!!
Outstanding job!!!
Jane Windham
Awww, Shirley! That is a true compliment coming from you! I have always admired your blue and white decorated trees!
Linda Hickey
Love your idea for making this ornament. Very pretty pattern to use.
Jane Windham
Thanks so much, Linda! I'm glad you like them!