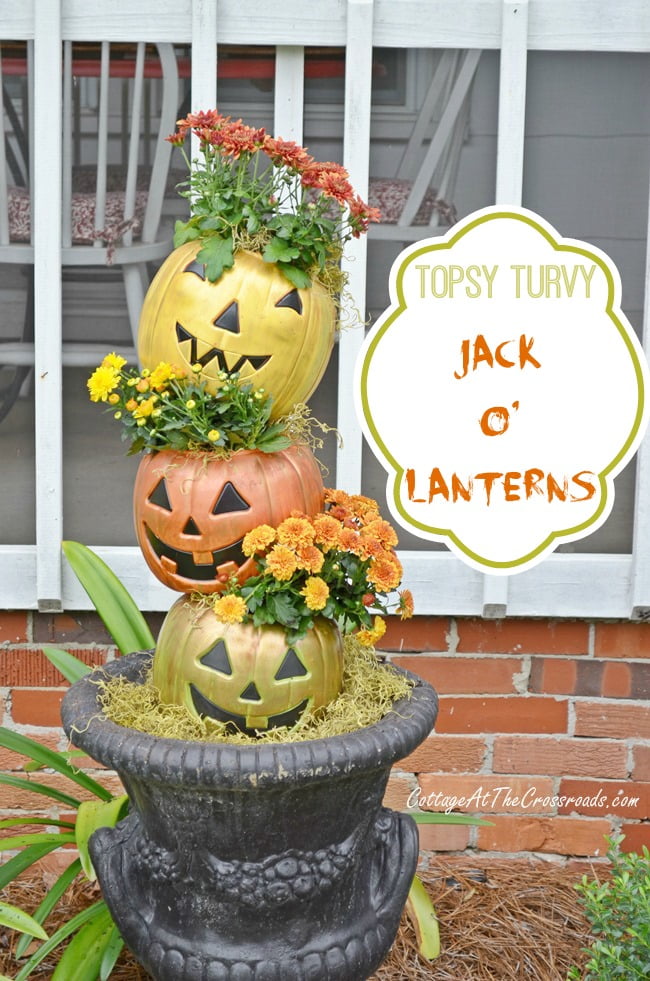
Hello everyone! We recently made these topsy turvy Jack-O'-Lanterns and can you guess what we used to make them?
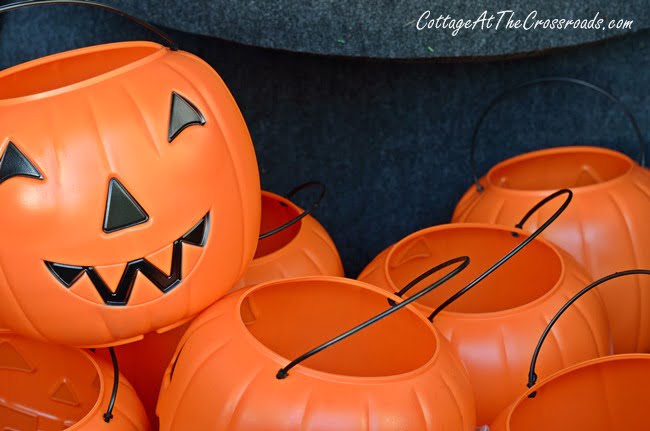
If you guessed cheap, plastic trick-or-treating pails then you are correct! These came from Walmart and they were only $1 each.
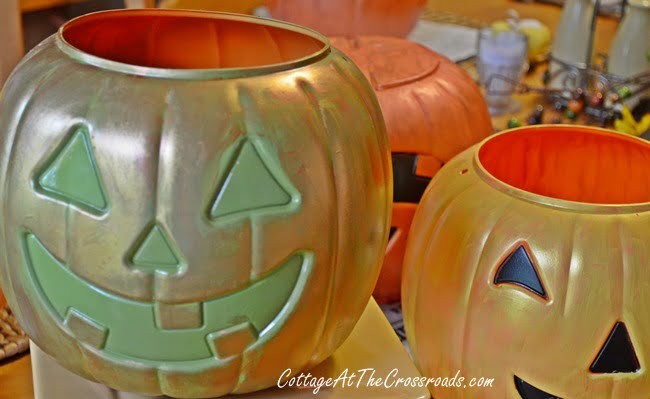
I started playing around with painting this one. I first painted it with some white latex paint that I already had and that certainly wasn't the look I was going for so I then painted it with some orange chalk paint that I had on hand. What I had at that point was a color that looked quite a bit like orange sherbet! So I pulled out some bronze metallic glaze and then it kept getting better and better, but it still a little too red for me. So the last thing I did was to add some gold leaf Rub n' Buff here and there.
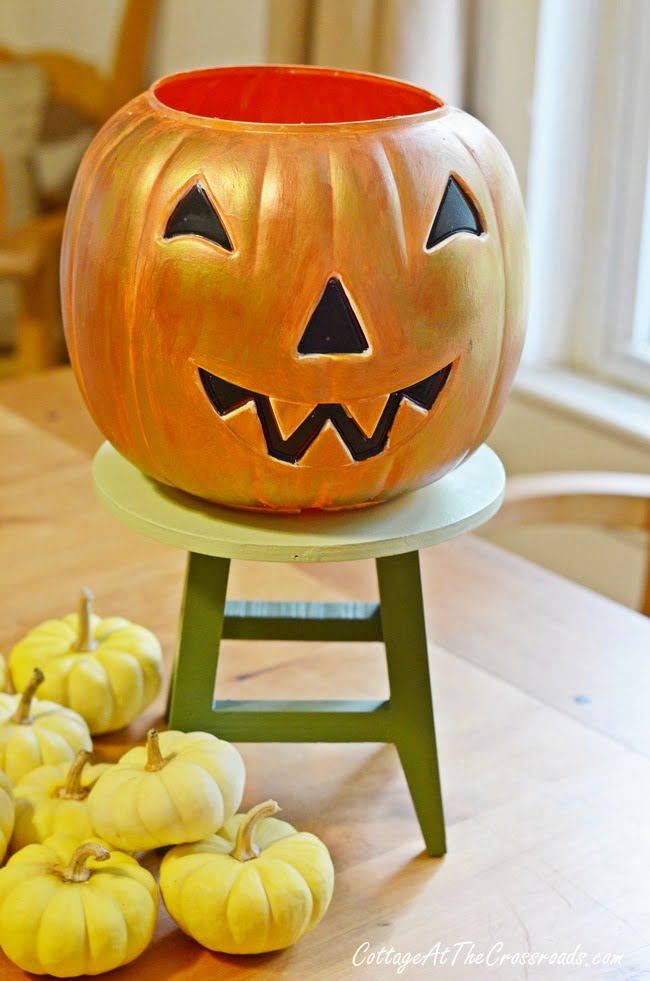
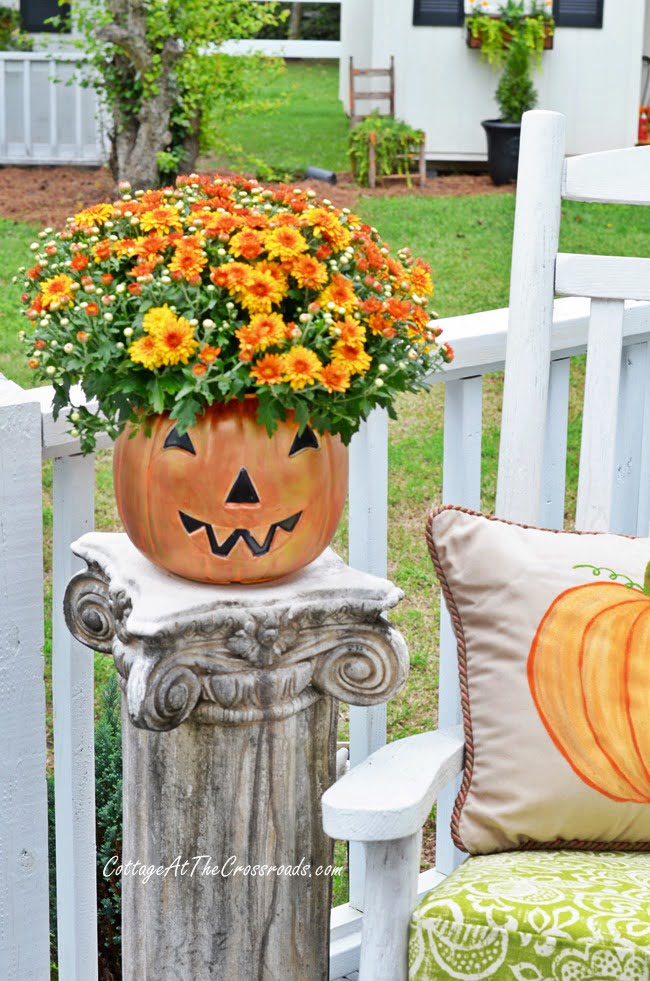
Ah, perfect! So I drilled a few holes in the bottom and plopped in an orange mum and the trick-or-treat pail was instantly turned into a cute Jack-O'-Lantern planter! Well, not really instantly because I had to wait for all those paint layers to dry so perhaps I should say that it was fairly easy to turn the pail into a fall planter!
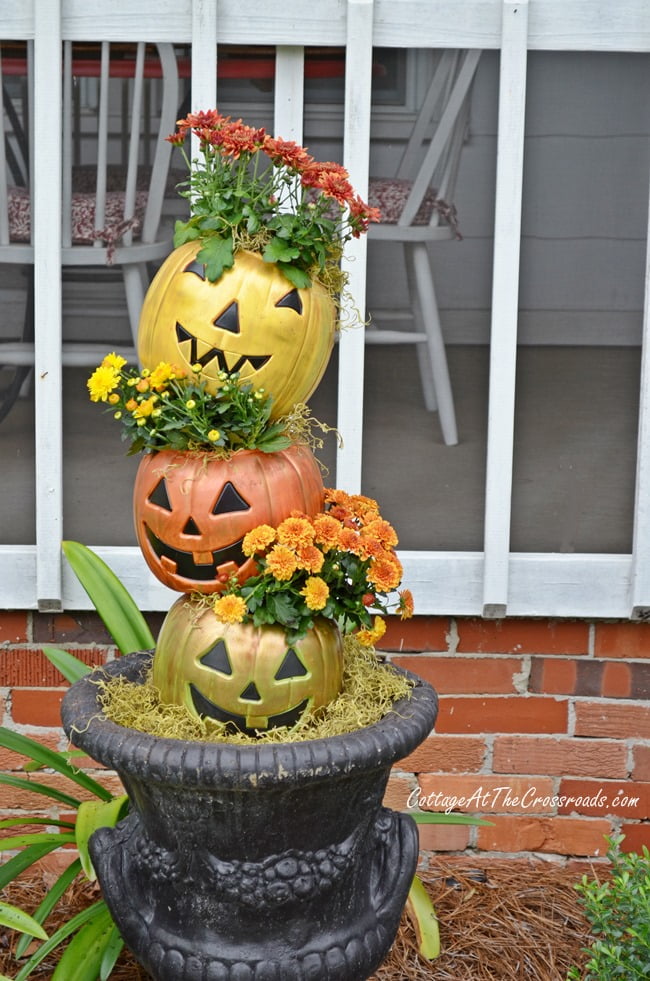
So then I got the idea to make a topsy turvy planter (y'all know how much I love topsy turvy things, don't ya?) by painting the pails 3 different colors. One of them I spray painted green and then added metallic copper paint and some gold leaf Rub n' Buff. Another one I painted in a similar way as I did the original one, and the third one I painted a sunshine yellow color with some gold metallic paint on top with just a little gold leaf Rub n' Buff added.
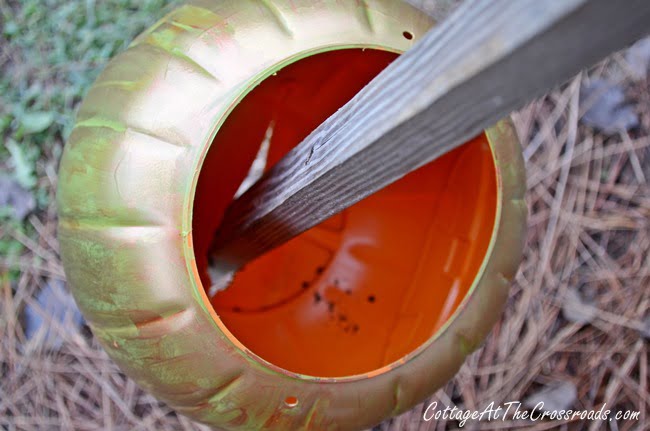
So once they were dry, Leo cut a hole in the bottom of each one so we could insert a wooden stake into it. (We have plenty of wooden tomato stakes lying around!)
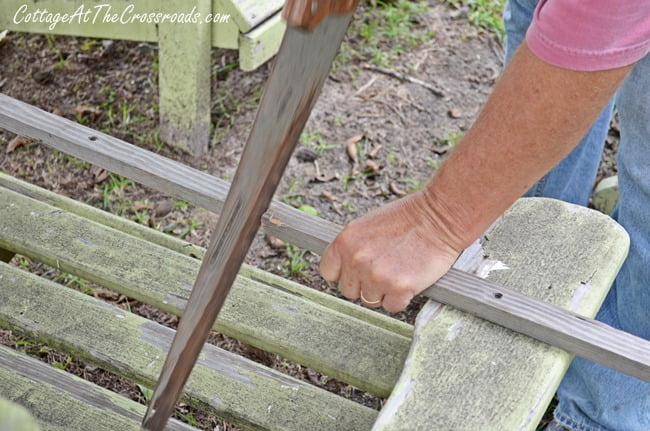
Since we were putting the topsy turvy pumpkins in some black urns, we judged how long the stake needed to be and then Leo cut it off so it wouldn't stick out of the top.
Here they are looking just as cute as can be, unplanted.
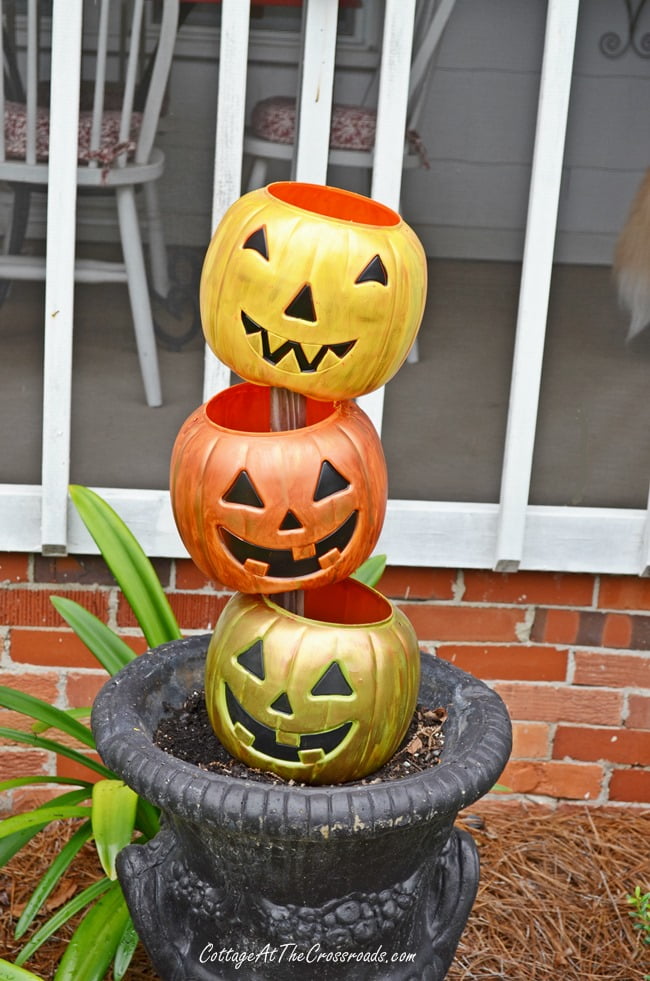
But since I wanted to use them as planters, I filled the bottom of each one with packing peanuts so that they wouldn't be so heavy with soil, added a little potting soil, and then tucked in some small mums.
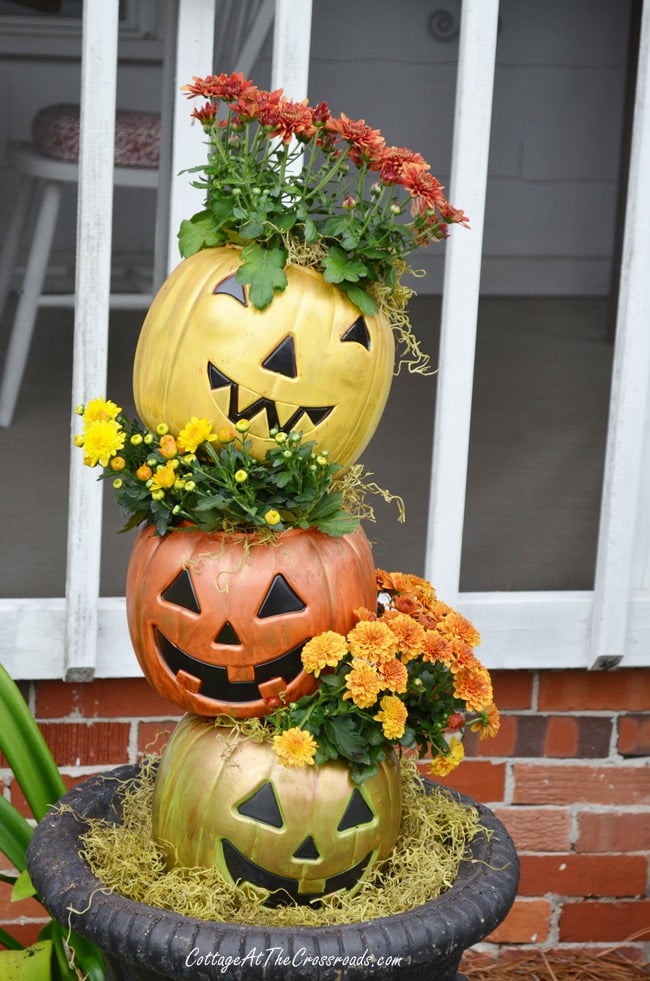
I added a little moss which looks a bit like hair, doesn't it?
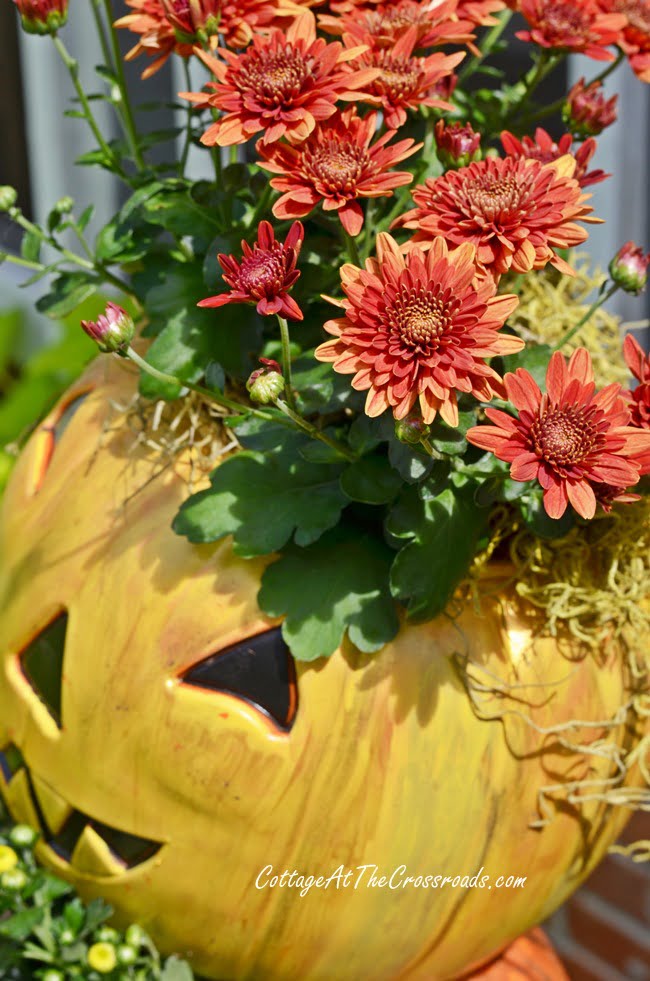
I just love the combination of colors!
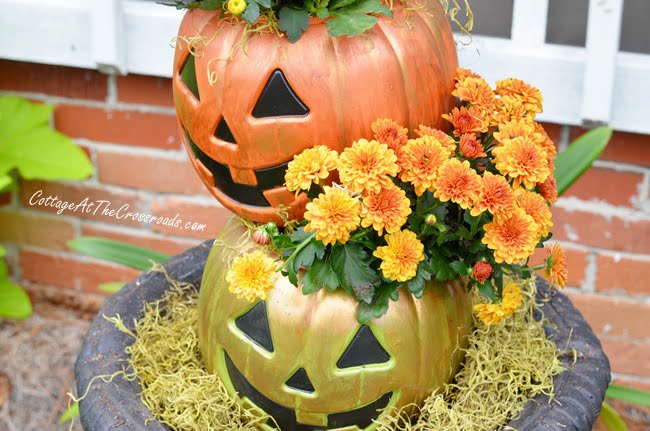
Every time I pass them by they just make me smile!
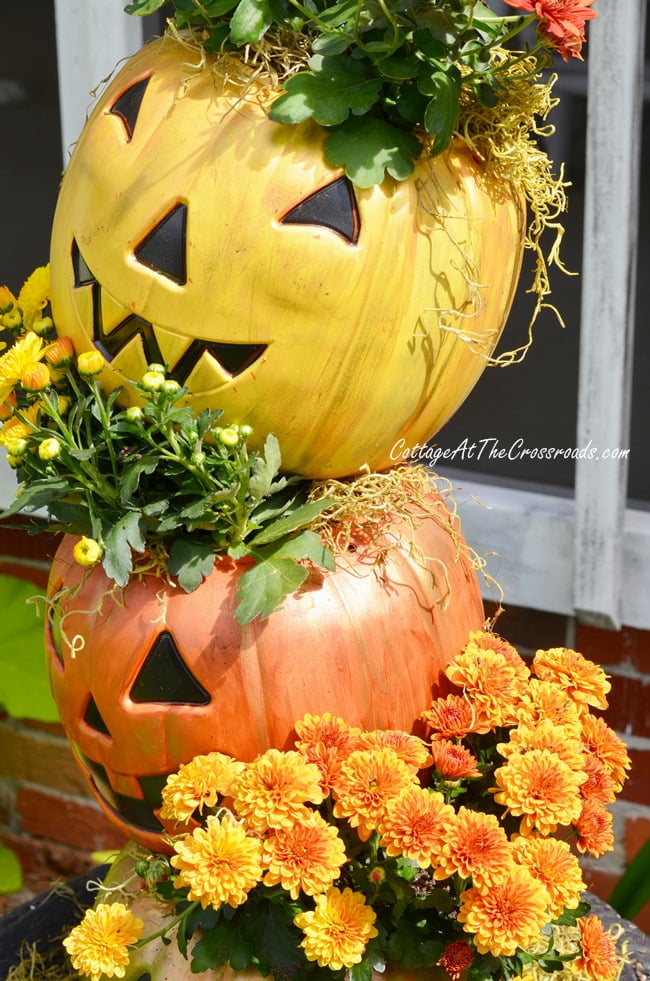
They really brighten up the front of the house and can be seen from the road. Oh, and do you see the large, green plants? There are 2 matching black urns under them that you can't see!
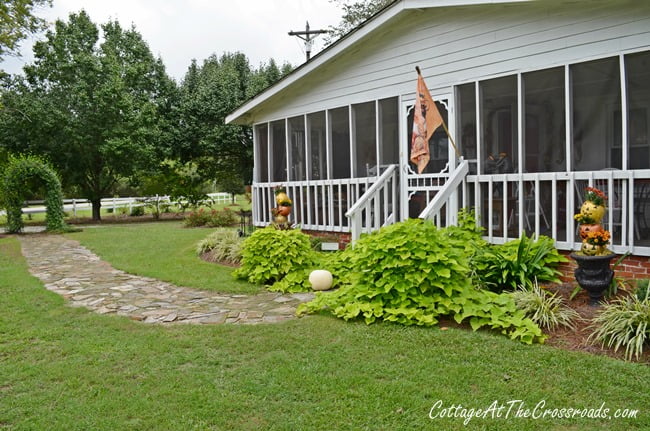
Those are sweet potato vines that keep growing and growing kinda like Jack and the Beanstalk vines!
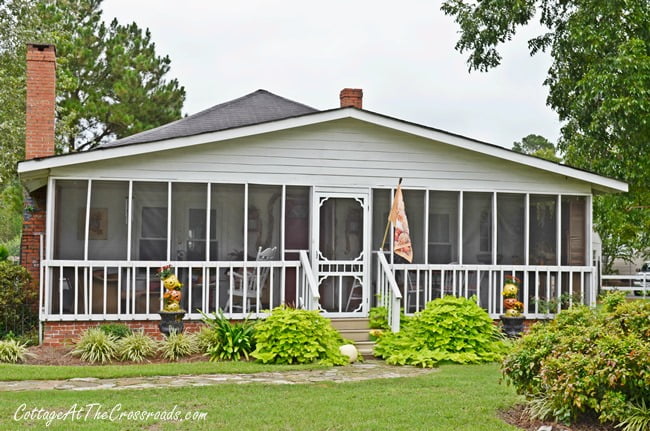
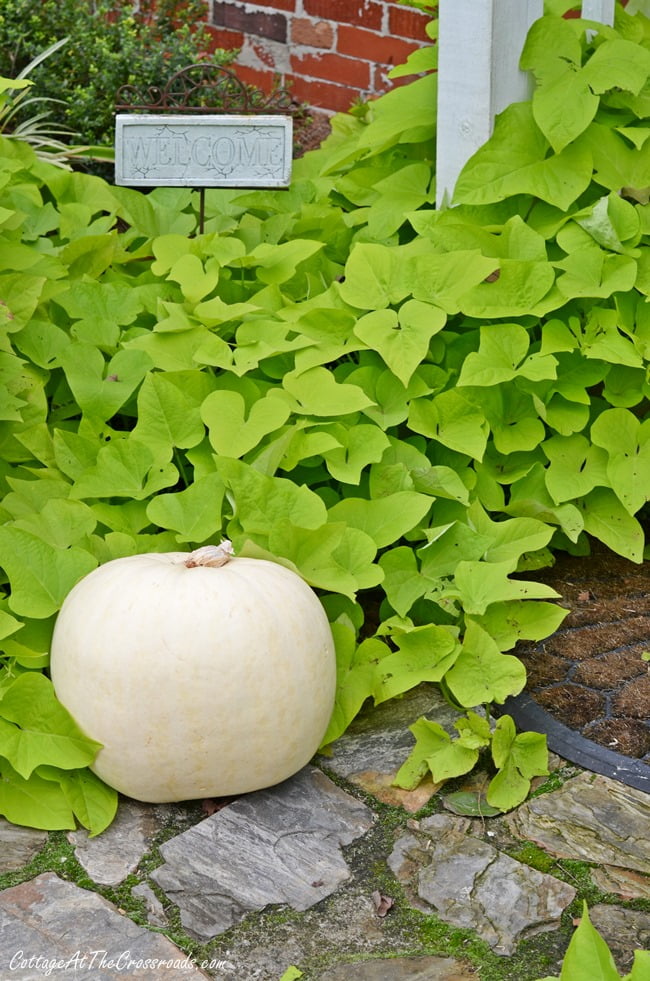
They're even growing up the front steps, which contributes a little spookiness, don't ya think? This white pumpkin started growing in our compost bin early this summer, and I transferred it to the garden so it could continue to grow. I'm so surprised that it had lasted this long. We have some other pumpkins growing in the garden that aren't ready yet.
So in the meantime, I have my topsy turvy Jack-O'-Lanterns to amuse me!

Cindy
I love your Jack-0-Lanterns! I haven't done much painting, but you have inspired me to try. I have the perfect place for them! Very cute!
Cindy
connie
love your topsy turvy pumpkins the paint is so creative
Bessie
These are so adorable! I love the topsy turvy look. Thanks for sharing the idea.
Linda @ Itsy Bits And Pieces
I love this fun project, Jane! Looks wonderful! Thanks for the tutorial!
VICKI
What a wonderful idea!! They are so cheerful! Now, wonder what WM will have cheap that we could use to do this for Christmas? Think girl think!!! Best, Vicki
Jonni
Great DIY idea.
Joan Bloom
Jane, you have done it again! Your ideas are wonderful. You do soooooooooo many different things with soooooooooooooo many different things. I continue to be amazed at how much you do accomplish! I love your blog!!!
Pat @ LifeAtLydiasHouse
Oh Jane, you have out done yourself with these topiaries! Whoever thought plastic jack-o-lanterns could look so cute? I love them!
tonia conner
A must do. Such a cute idea and easy and most important not expensive. Thanks for sharing your great ideas.
Blessings
Tonia
shelley
love it....easy and cheap too..
MaryJean Zajac
What a cute idea! I definitely have to pin this one. If I don't get to it this year I hope I can next year! Gotta get me some of the sweet potato plants too! Really great looking growing up the steps!
Marlene Stephenson
Really cute,looks simple,i will see. Thanks for the idea.
Dawn
What a brilliant idea Jane and those pumpkins look much richer than walmart specials. The painting technique makes all the difference.
Connie
You are so clever . . . these are adorable:)
PC
Jane,
Thank you for the inspiration for using that stash of plastic pumpkins from when the children were young. I am seeing a green, gold, and purple stack on my porch (Mardi Gras colors)
Kathleen
Great job, they look wonderful, Jane!
Candy S
Really cute! I will be on my way to Walmart to buy some pumpkins after breakfast. Thanks for the inspiration.
Martie Brown
I want to know where you got LEO!!!!!!!!!!!!!!!!!
Joanne Boulter
You pumpkins are darling and look so festive. I wont tell just how easy that was. I think that I could even make them. LOL
Life is so LOVERLY when we are doing what we love. ((HUGS)) Jo from Anne's Attic - design blog
http://fulcolbaxia.wordpress.com