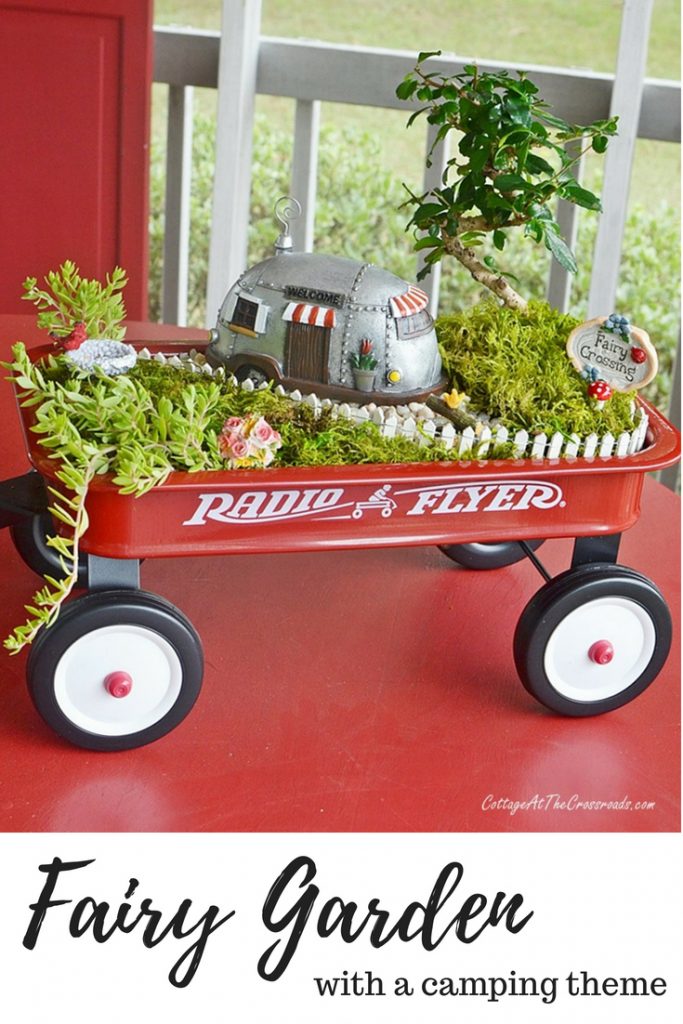
Hi there friends! I have a fun summer project for you today. It is, after all, still summertime. It's a fairy garden that fits in a little red wagon complete with a camping theme, and you'll find all the directions and resources to make your own in this post.
Everybody knows that fairy gardens are fun to create, but putting one in a little red wagon just ups the fun factor, don't you think?
I mean, who didn't pull around a red wagon when they were young?
And I couldn't resist going with a cute camping theme.
This is a great summer project to make yourself or with the kids before they have to head back to school.
Steps in Making a Fairy Garden in a Toy Red Wagon
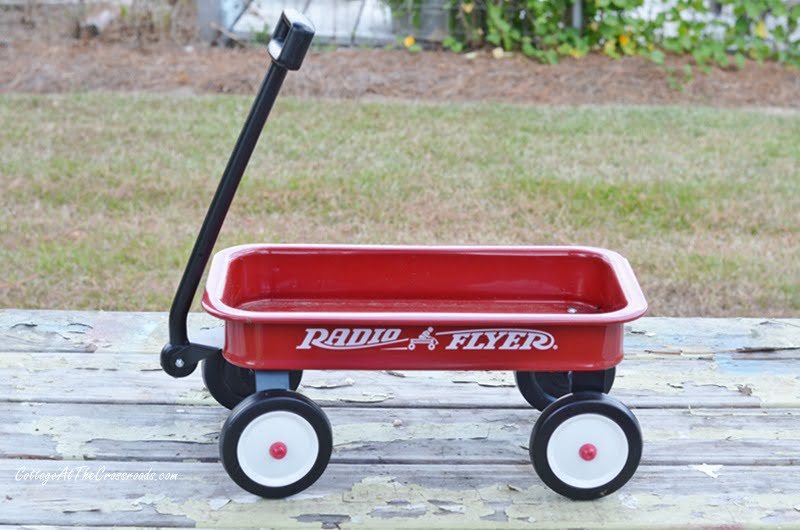
When thinking about what kind of container I wanted to use for my fairy garden, I knew I wanted something small, portable, and would fit on our front porch. I found my little red wagon on Amazon and the link to it is listed below in the supply list.
Of course, if you have a REAL red wagon, that would be perfect. But I didn't have one of those so I went with this toy red wagon. It really is small since it is about a foot long and is almost 6 inches high.
A fairy garden that has soil and plants needs proper drainage, but I didn't want to drill holes in my new wagon. And because I wanted to be able to water it on the porch without worrying about leaking water, I used another way to get good drainage.
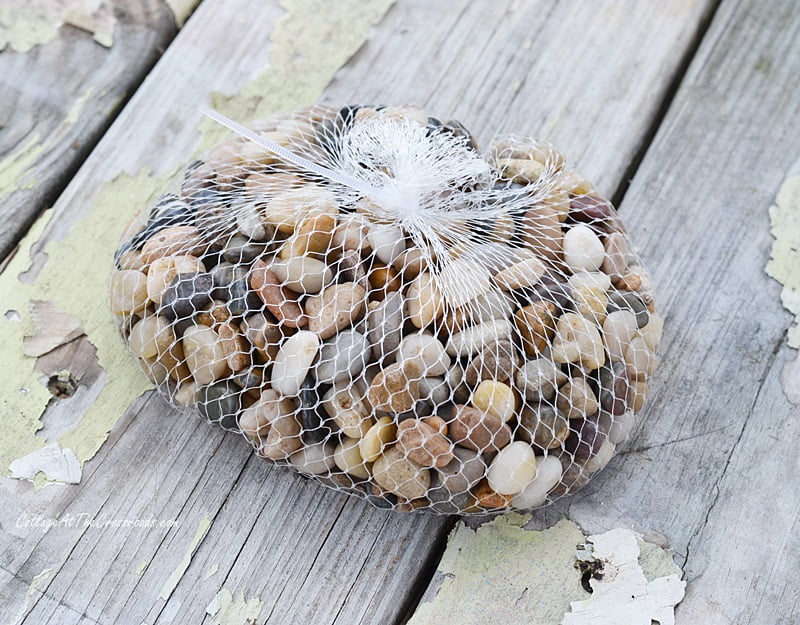
I already had this bag of pebbles that came with a terrarium kit (that never got completed!)
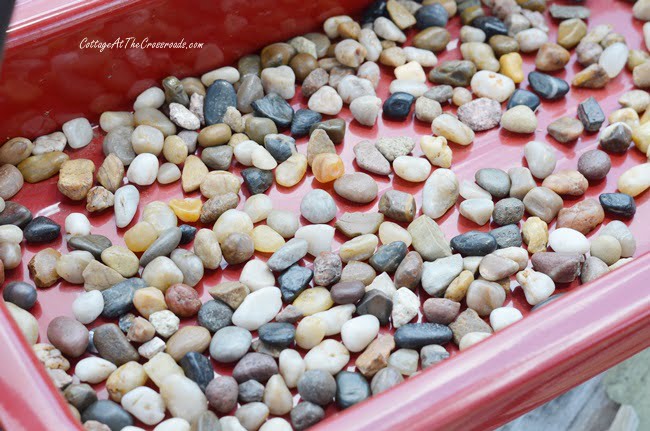
So I spread the pebbles on the bottom of the wagon for drainage. I probably could have used a few more pebbles but we'll see how this goes.
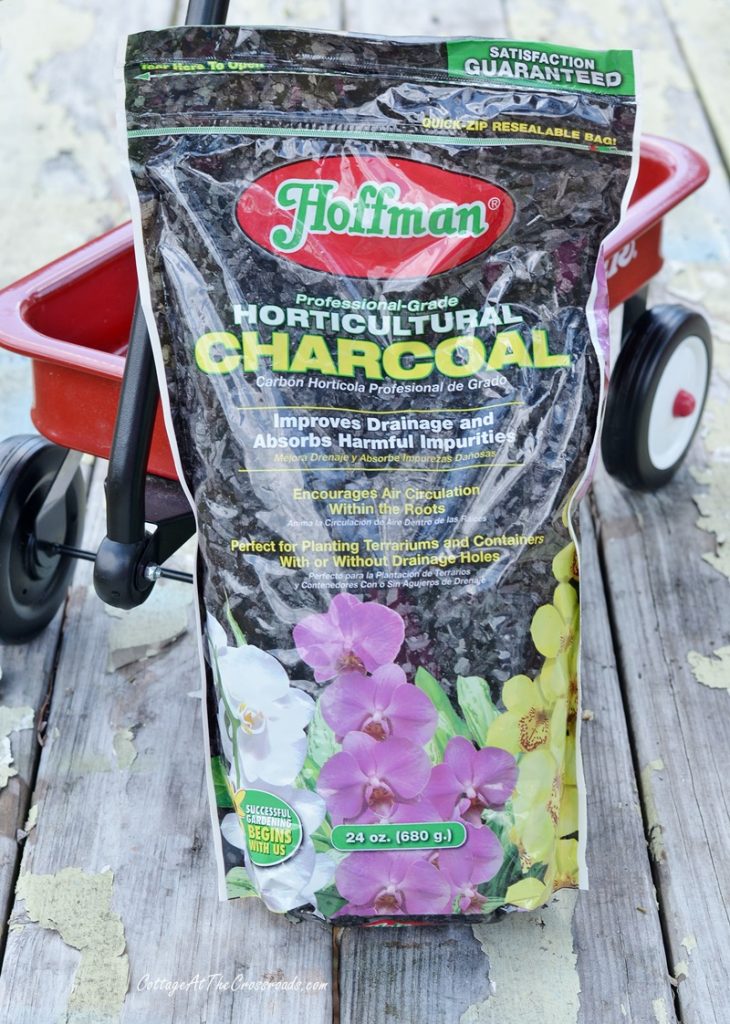
Next, I added a layer of this horticultural charcoal which is great to use in terrariums and containers without drainage holes.
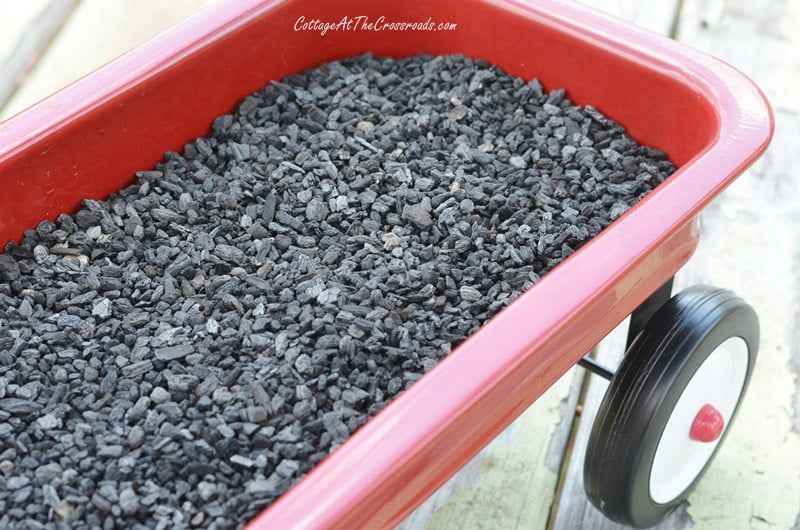
I made the charcoal layer about 1 inch deep.
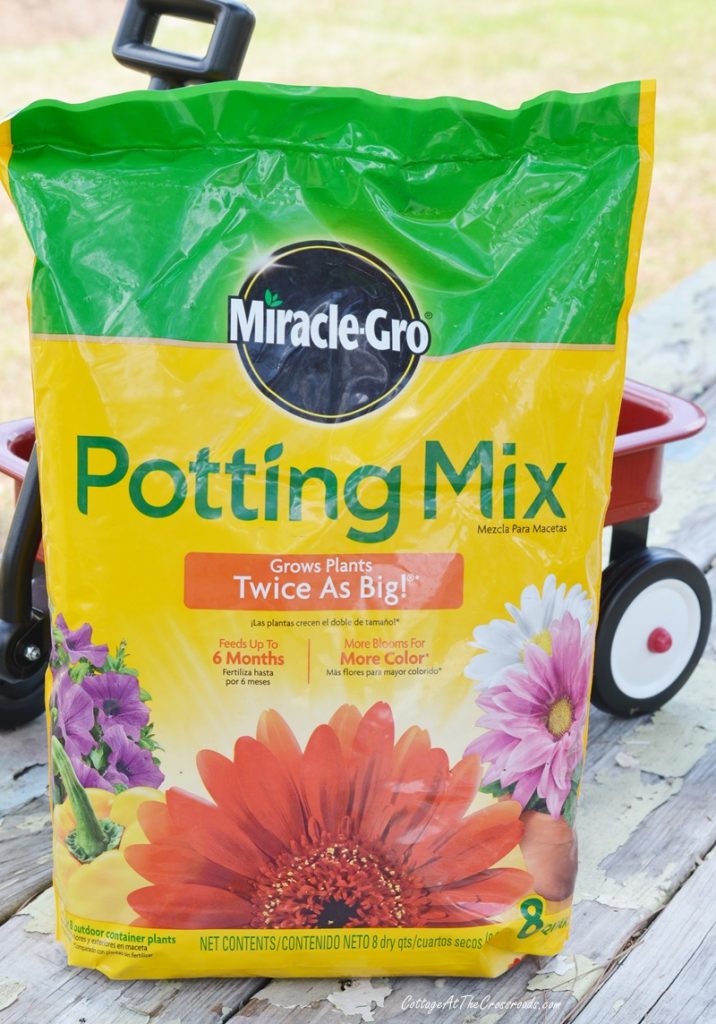
The next step was to add some potting soil. I only used about half of this small bag.
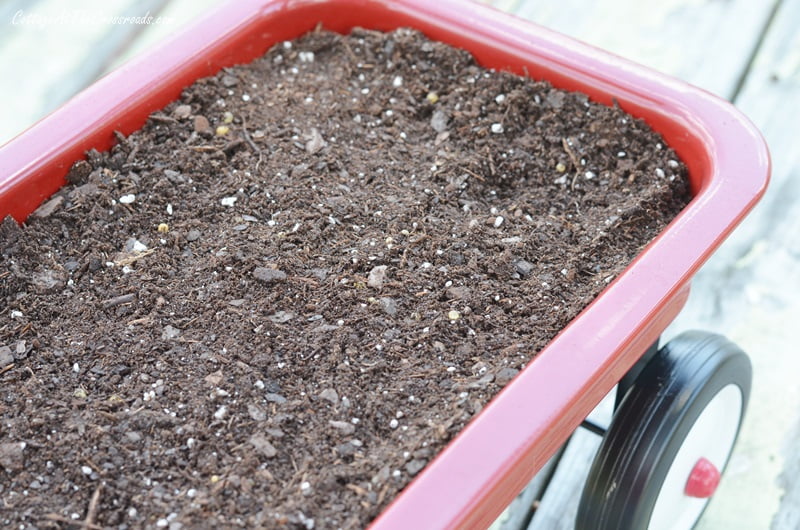
Now at this point, you can get creative with your topography by creating hills, etc. but since my wagon was so small, I didn't do that.
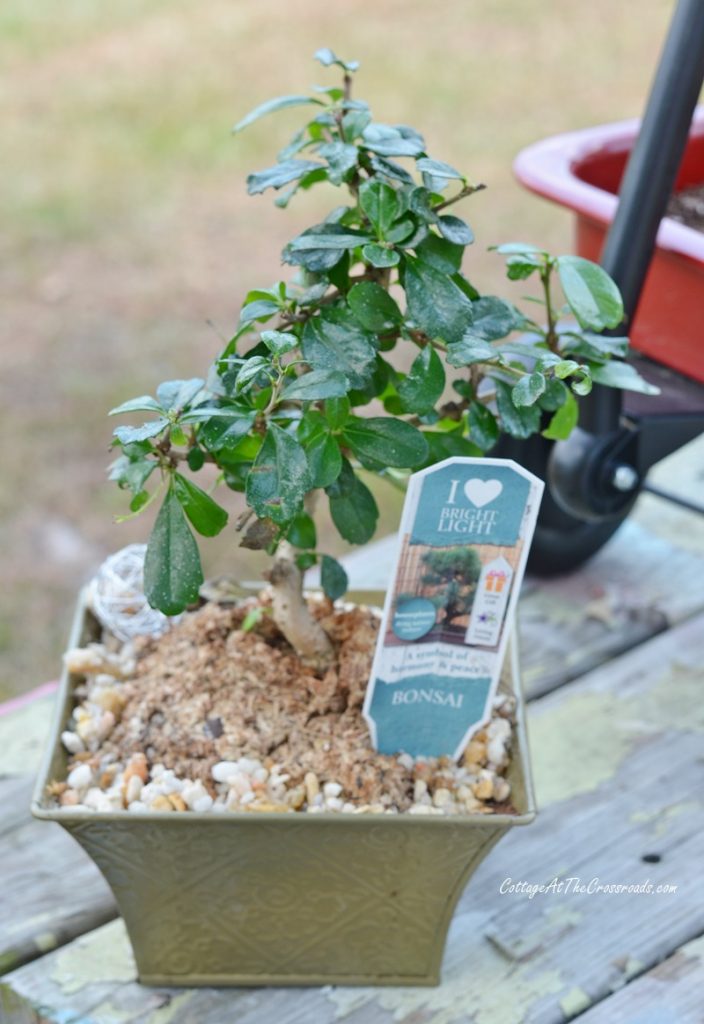
I had found this small bonsai tree at Walmart and I though it was just about perfect for my fairy garden. The exact name was not on the label but it did say that it required bright light. It had the right height and shape for parking a miniature camper under it!
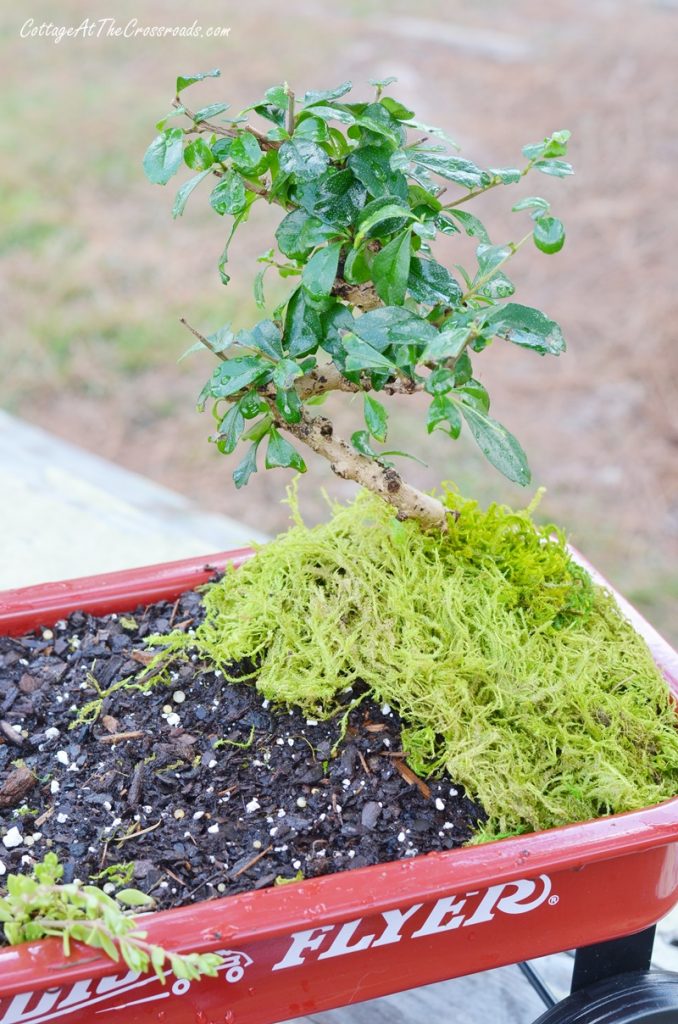
Once I got the tree in place, I gently watered the soil and put some moss down to create grassy areas.
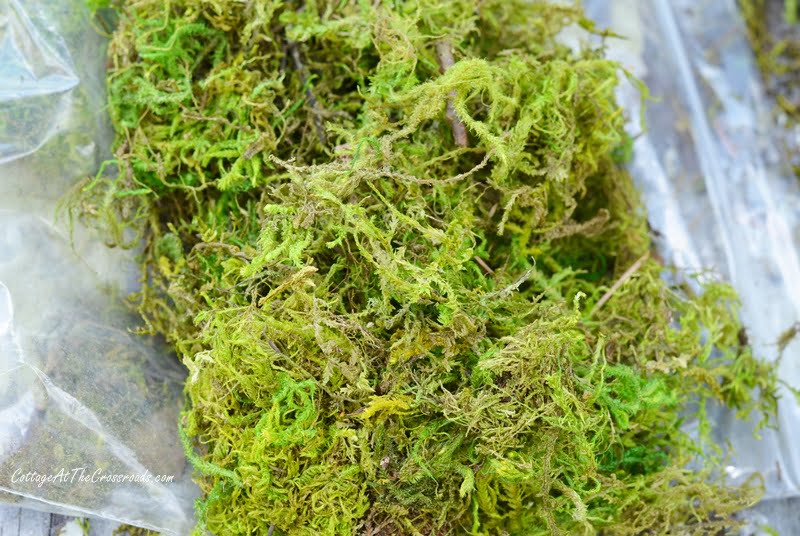
I toyed with the idea of digging up some moss that we have growing in our yard but I used this preserved moss instead.
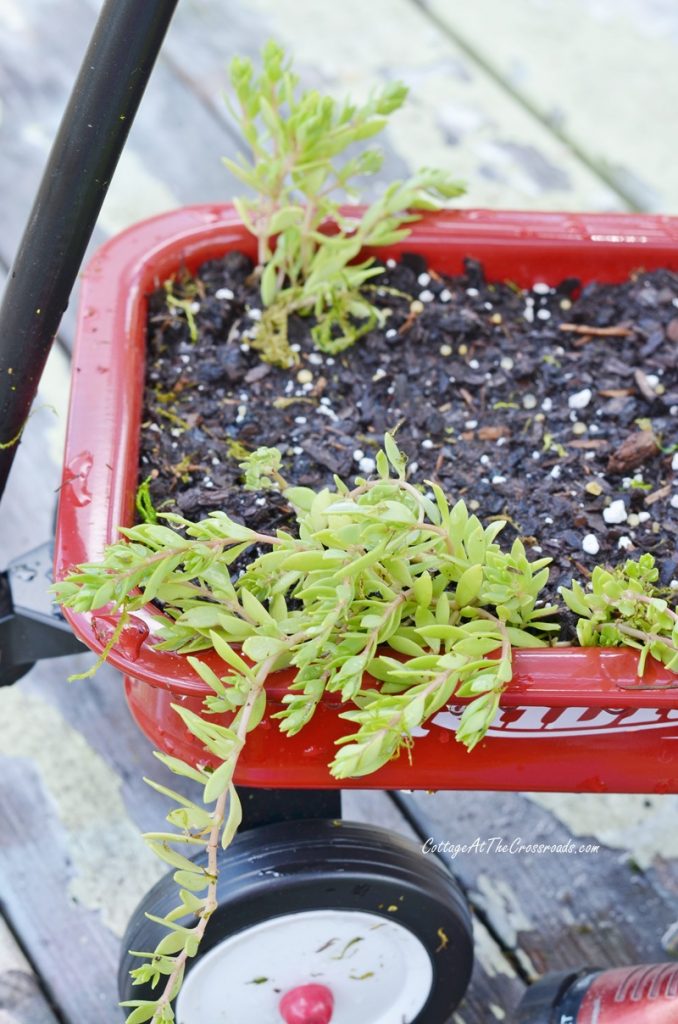
On the other end of the wagon, I tucked in some pieces of a trailing succulent of which I don't know the exact name. I robbed it from some other containers that I have!
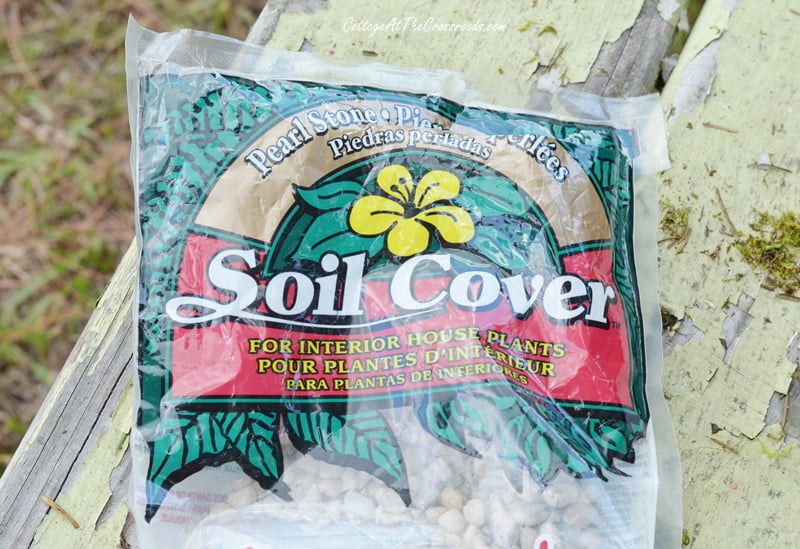
Since I didn't want to park the camper on dirt, I added some soil cover pebbles that I already had on hand.
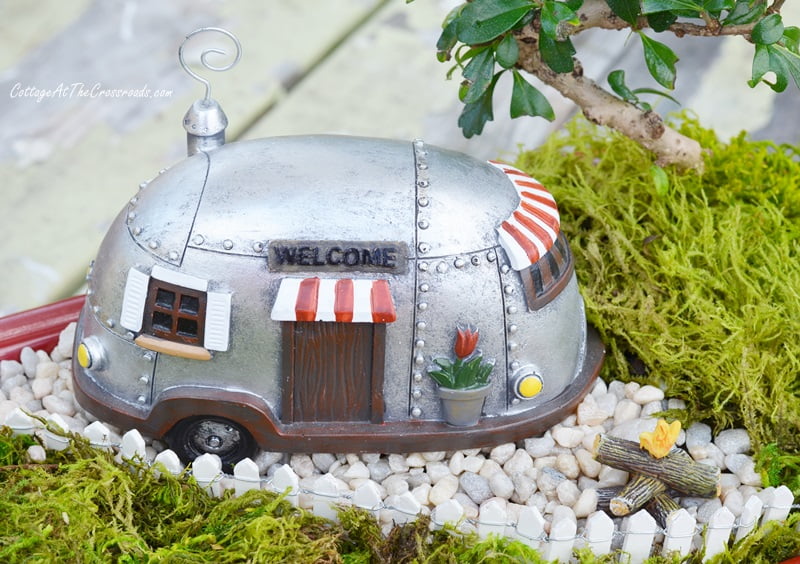
I tucked in a little fence to separate the pebbles from the grassy areas and then parked the camper under the tree.
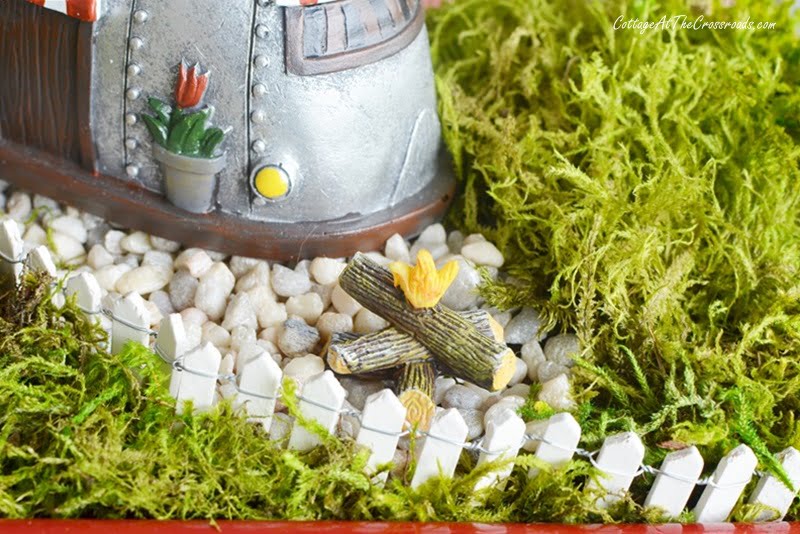
The miniature campfire logs were taken out of a metal firepit that I found at Walmart. The firepit was a little too large for my scene, I thought.
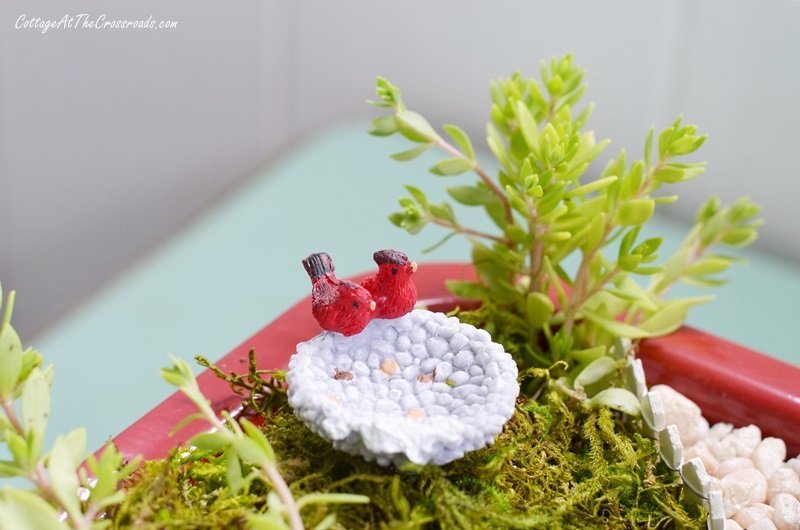
I tucked in this birdbath but what I'm learning is that scale is so important in a fairy garden! I mean, what if you were camping and you saw these 2 large birds! Scary!
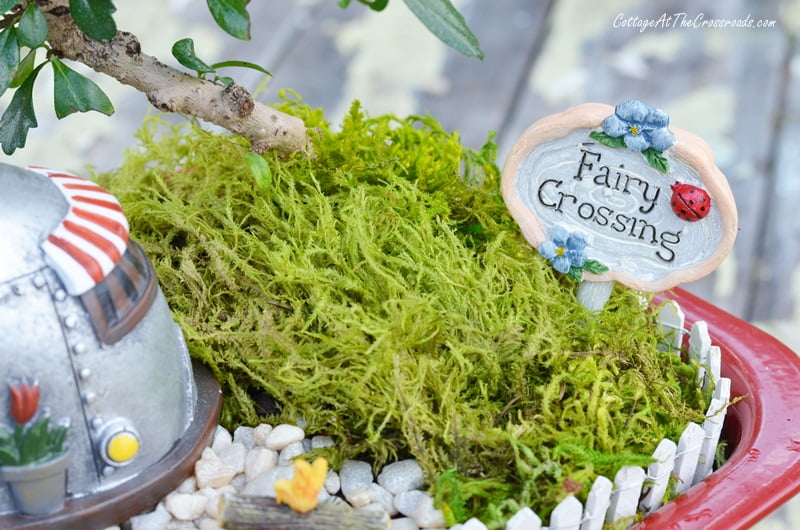
The little sign I picked up at Dollar General so I'm naming this the Fairy Crossing Campground!
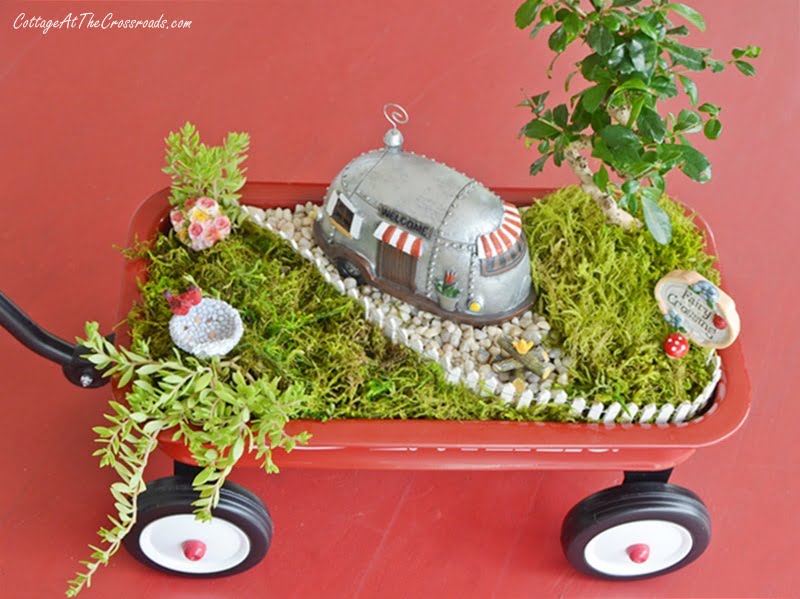
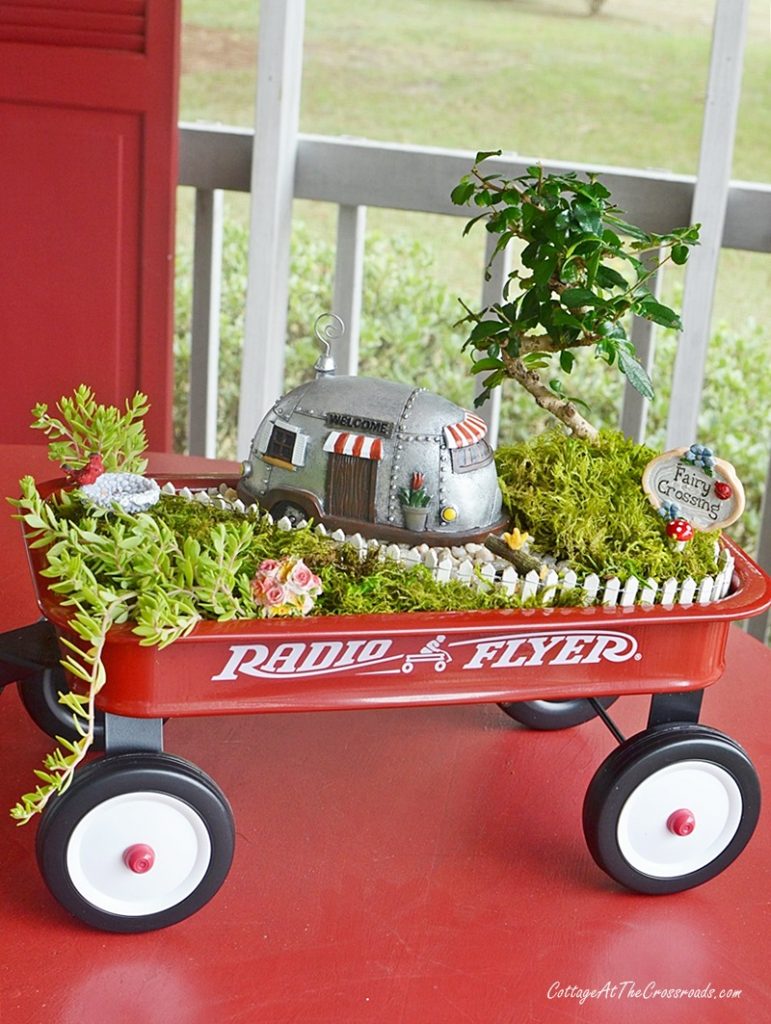
Here's an overhead shot so that you can see where I placed everything. I have found myself tinkering and moving the features from place to place, much like one would move dollhouse furniture around.
As I said, these fairy gardens bring out the kid in all of us!
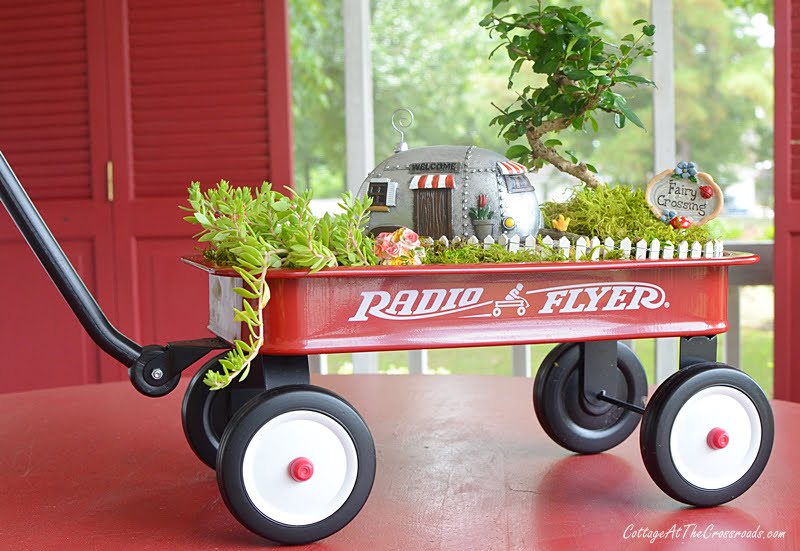
The fairy garden is sure to become a regular fixture on the front porch, bringing smiles to all who happen to see it! I know I'm grinning from ear to ear!
Supplies Used to Create a Fairy Garden in a Red Wagon
- toy red wagon
- river rock stones
- horticultural charcoal
- potting mix
- dcorative soil cover pebbles
- preserved moss
- miniature camper
- bonsai tree and other assorted plants
Several online resources for additional fairy garden supplies are Amazon, Etsy, and My Fairy Gardens. Are you surprised to learn that I'm already looking at fall decorations for my miniature garden?
If you enjoyed this project or were inspired to create your own fairy garden, would you please pin it on Pinterest or share it on Facebook?



Debbie
I love it trying to think where I'll put one! Thanks it's so cute
Akshay
Hi,
Loved this article especially point about Fairy Garden in a Little Red Wagon
sharing this on facebook and pinterest
Jane Windham
Thank you so much for sharing!
Jean Windham
Jane I knew you would come up with a great idea for your fairy garden but this is just over the top. The wagon idea is so adorable and on point for the front porch iat your house. This is suitable for a magazine cover. Congratulations Jean
Susan in SC
Very cute!
Pam
That is absolutely adorable!!! I love that little campfire!
[email protected]
Oh how fun! Thank you for sharing your tips. Enjoy the rest of Summer!
brenta joy
I liked your illustrated steps very much. This garden is adorable. I will be making a variation with my grand daughter.
Miss Kitty
That is adorable, Jane! I rehabbed an old wheelbarrow my neighbor was throwing out. I used it for Fourth of July but was wondering what to do with it after that. Thanks for all of your good tips on how to provide drainage without holes. I tried to make holes in the bottom of the wheelbarrow for drainage but was unsuccessful. I might just have a mini garden similar to yours soon.
Gail W Gambrell
So cute, Jane!
Gina
I love this idea, Jane! I've always wondered how I could make a fairy garden that I could easily remove and this is the perfect solution.
Terri
Wow.... love this idea!!!!!
Jane
I absolutely love what you did! I would love to have a fairy garden but I can imagine how the elements would absolutely ruin it. You have a fantastic idea here and I thank you for the step by step. Maybe next spring I can make one for my grandkids!
Jane